This quarter panel is being APITA to get on and back off! Seems the sail panel has an angle to get under the drip rail and it's not the same angle of the dangle needed to get the flange under the door jamb!!!! I did get the window channel screwed into the quarter and cut from the body, marked a couple of spots that needed attention and took the quarter panel off ....
I am thinking of drilling out the door jamb reinforcement and place it on the quarter panel first and then the quarter panel should come off and go back on without tension and fighting the sail panel at the same time getting under that flange.
ANY PROBLEMS YOU GUYS SEE WITH THIS? GM built the car from the outside in .... should be ok right?
Here's the lastest pictures ...
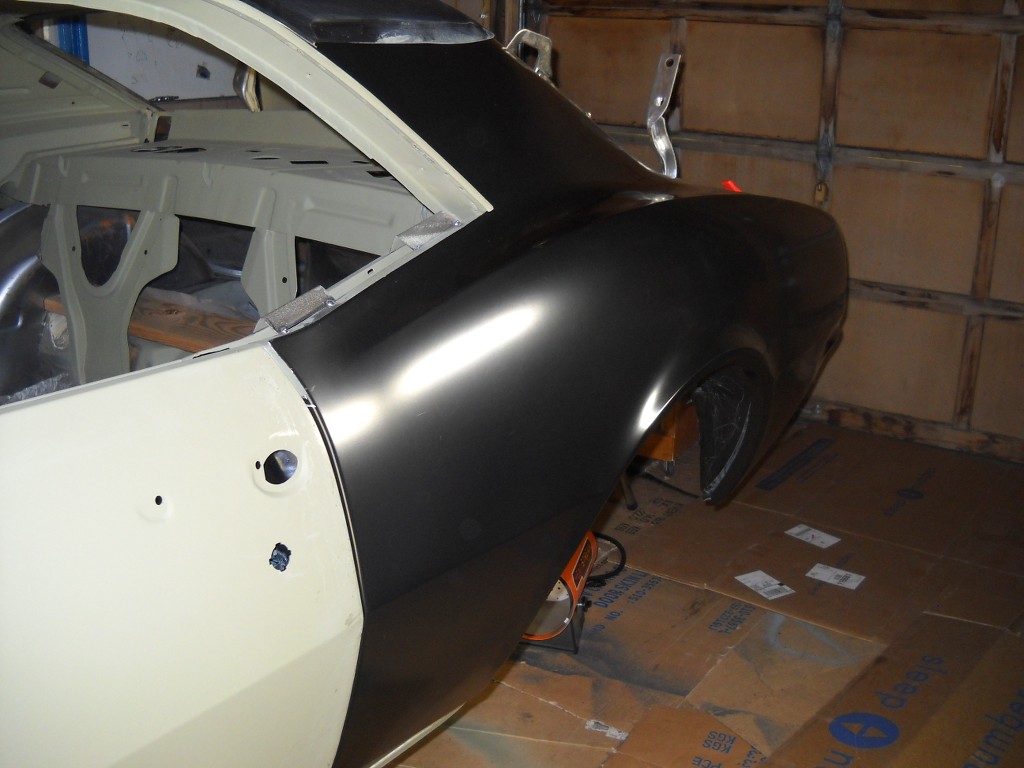 Actually looking like a car!
 Screwed the quarter to the GM window channel!
 Kept the GM corner for reference ... NOT AS CRISP!!!!!
Anyway ... couple hours in the garage today, hard to keep it above 50!!!
I'll work on getting the jamb off this week and positioned on the quarter. still need to tighten up some of the gaps around the tail pan too.
Thanks for looking


 Brian Hobaugh SCCA National Tour June 2014
 First Hemi 'Cuda Convertible Ever Built
 Short clips: Goodguys Pleasanton autocross and pit videos


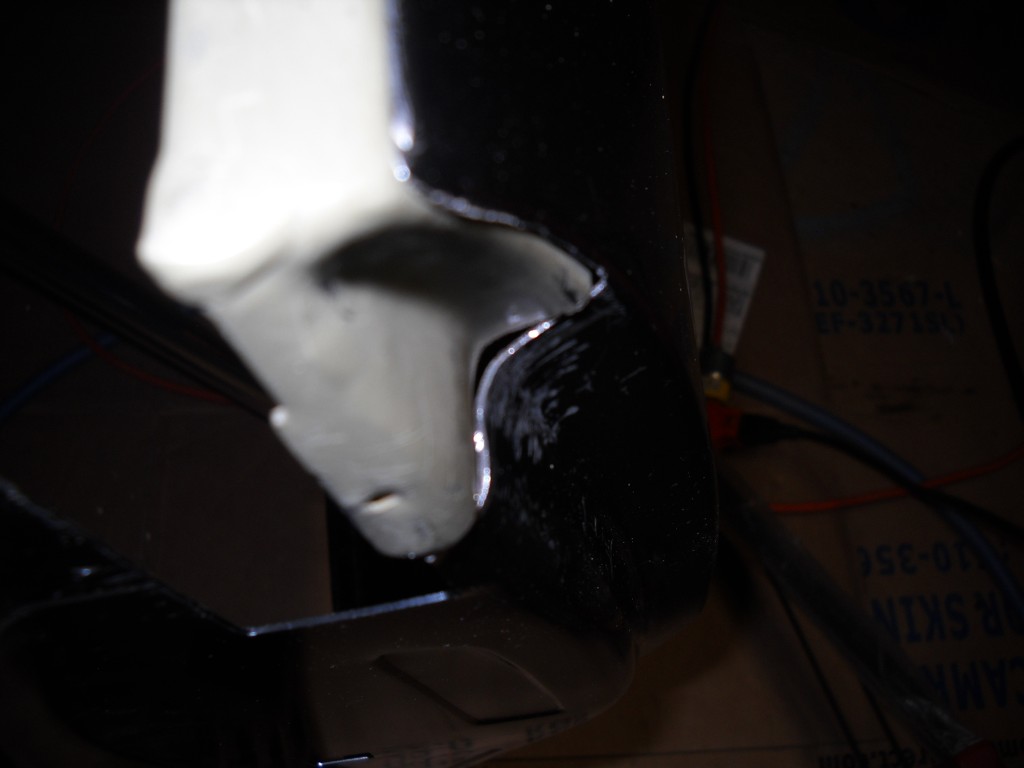
 at least it's parallel. AMD is NOT!!!!


 The jamb brace is welded nice and strong .... guess someone was doing their job that day

 Linear Mode

