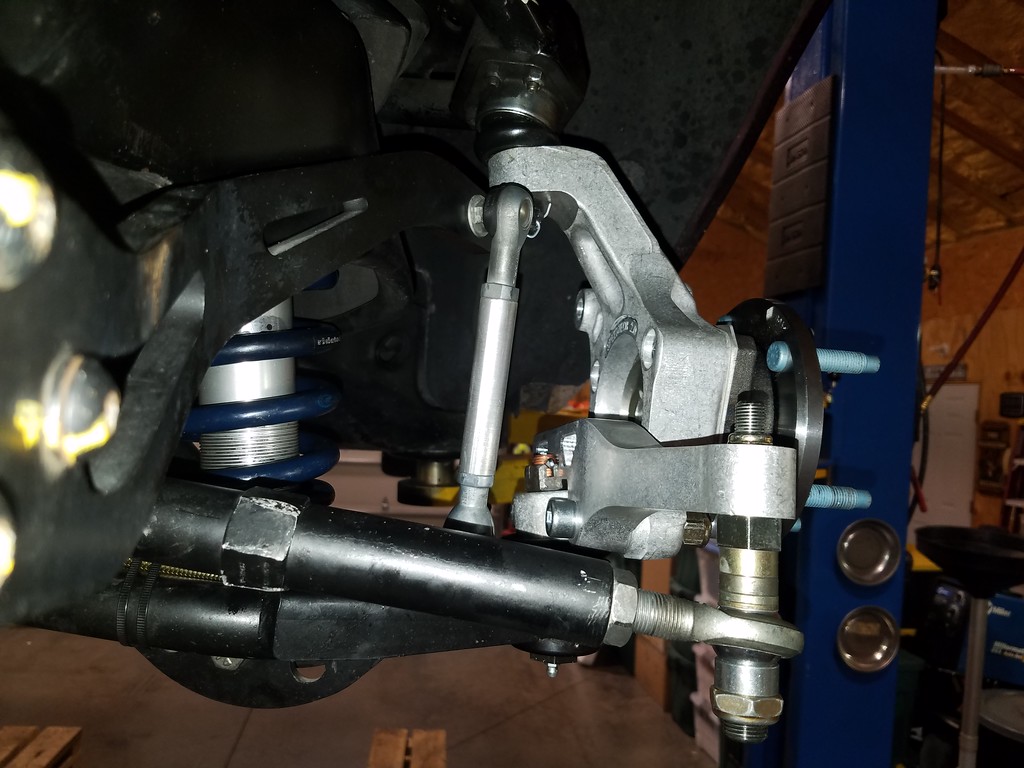
The main part of the difficulty of this brake swap was the swapping of the spindles to a spindle that would take the brake package. We had the front end geometry pretty dang good with the stock metric spindle but in order to bolt these fabulous Stoptech brakes on, a spindle change was necessary. Because of a tight time frame for install, I told Ron I needed a spindle with the least amount of changes necessary to get the geometry back to or better than I had before, he chose the ATS tall.
Basically the ATS is a 1" drop spindle that is also 1" taller than the G body spindle. To compensate for the 1" drop, Ron had me change my tall lower ball joints for ones 1" shorter.
This was not only super simple, but also put the lower control arms in exactly the same spot as before so I didn't have to adjust ride height after the swap. I'm sure he'll say it was for geometry reasons but whatever.
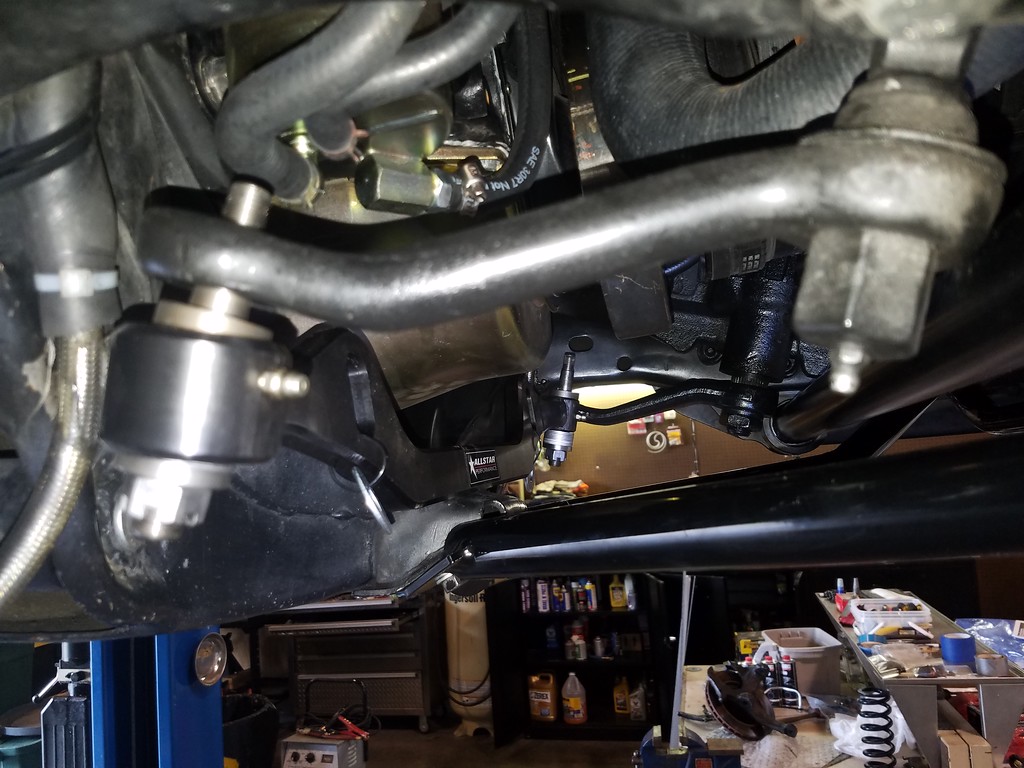
So the spindle is in, ride height same as it was before, now it was time to work on the steering. The ATS comes with a modular steering arm that is curved as it extends away from the spindle. Instructions say to mount it with the curve pointed toward the center of the car. Ron told me to swap them and mount it with the curve pointed out to increase the ackerman. Ron also sent me a new slug adjustable center link and all new rod ends and curved tie rods to try to optimize the steering geometry. Unfortunately, my crossmember has a nub sticking out to attach the triangulation brace to which was in the way of the new centerlink.
With the steering arms pointed out, that meant the tie rods needed to be about 2" longer...fortunately the bump steer kit I had before was able to extend the tie rods out far enough to reach. Everything clears with no interference anywhere and I was able to dial the bump steer back to close to previous specs very easily.
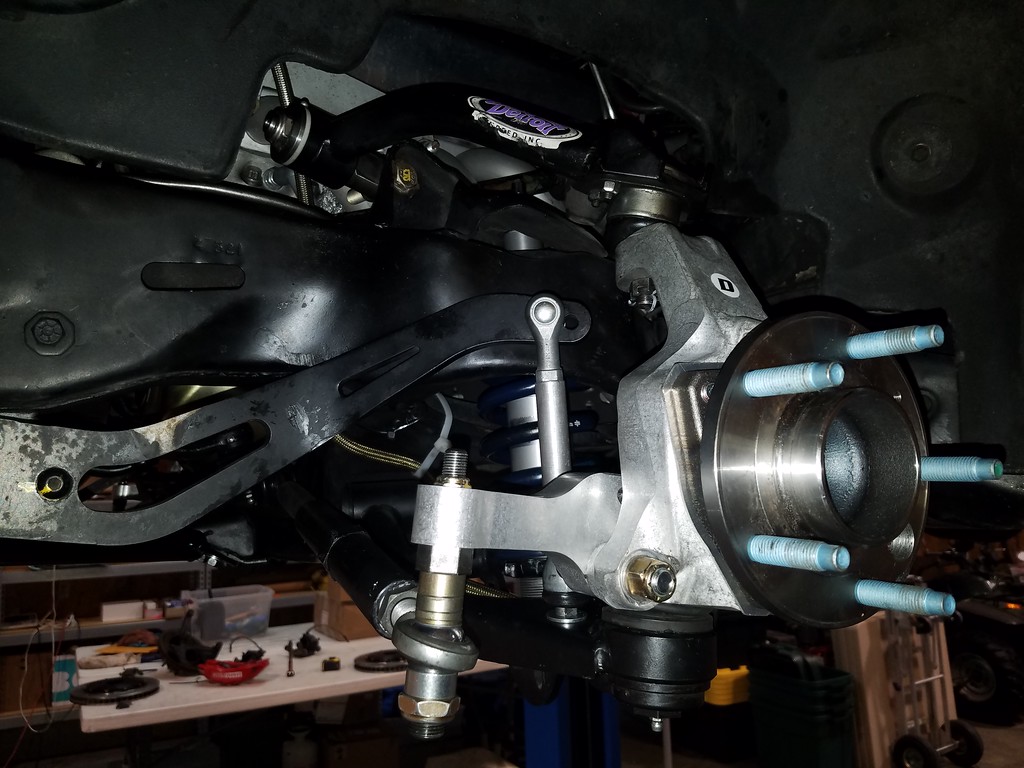
Where I pause the lift is pretty close to ride height. From ride height to full bump it toes out about 3/16" and from ride height up it toes in just a touch if at all. Check out that camber gain though!!
In the interest of time once again, I called this good enough and moved forward with the rest of brake install. I'll revisit fine tuning the alignment specs when I have more time.
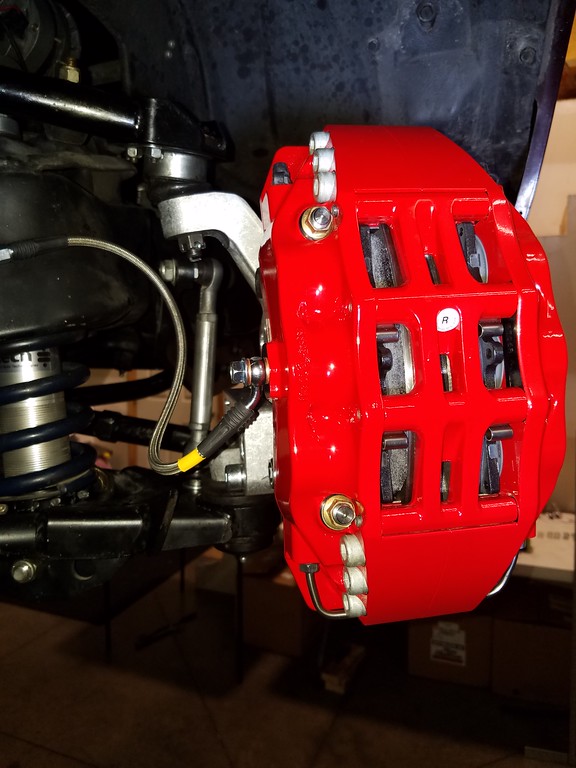
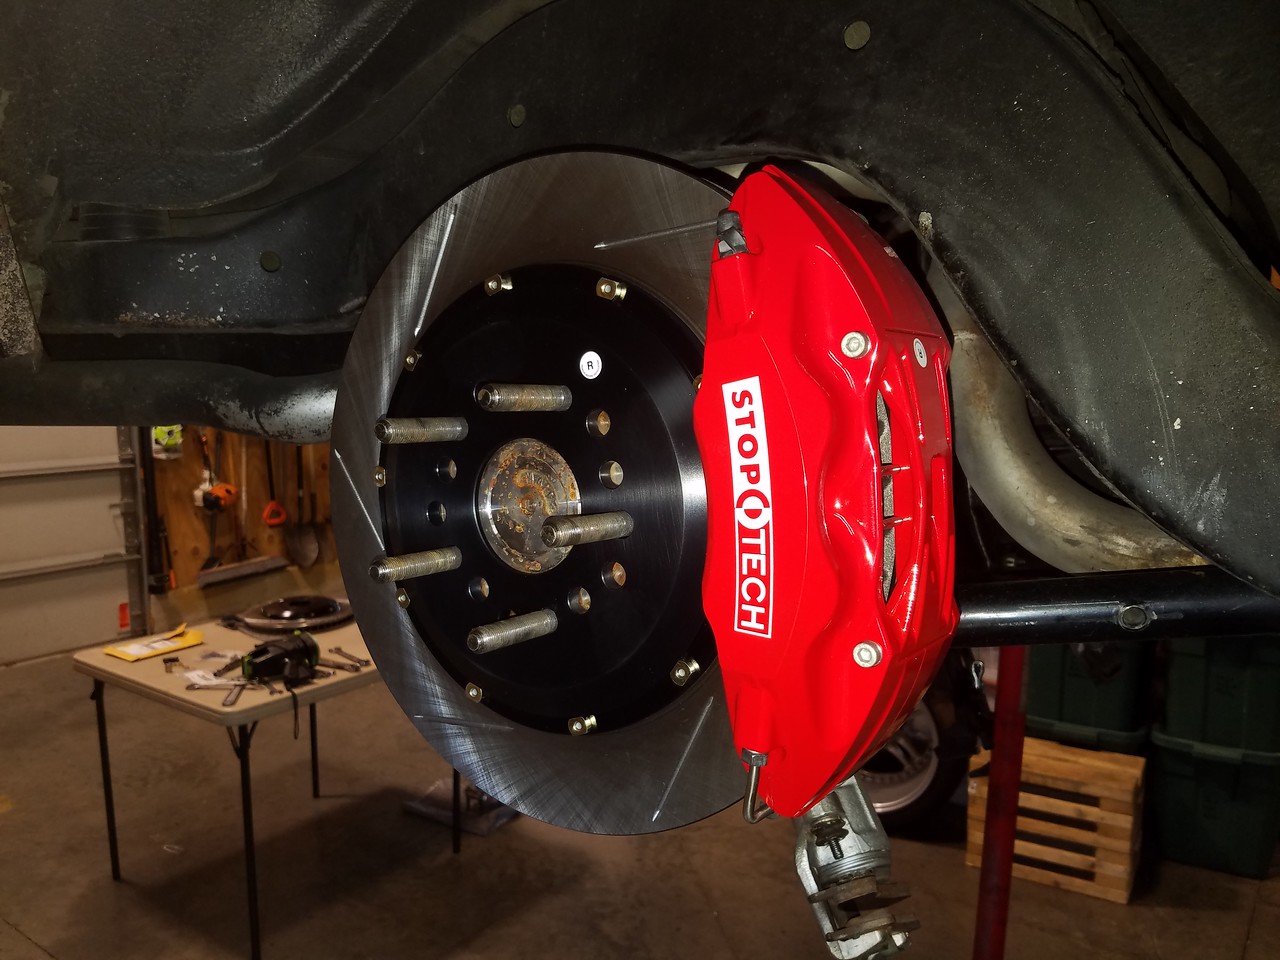
So spindles and steering locked in, time to install the calipers. Pretty straight forward here but couple of things I found interesting.
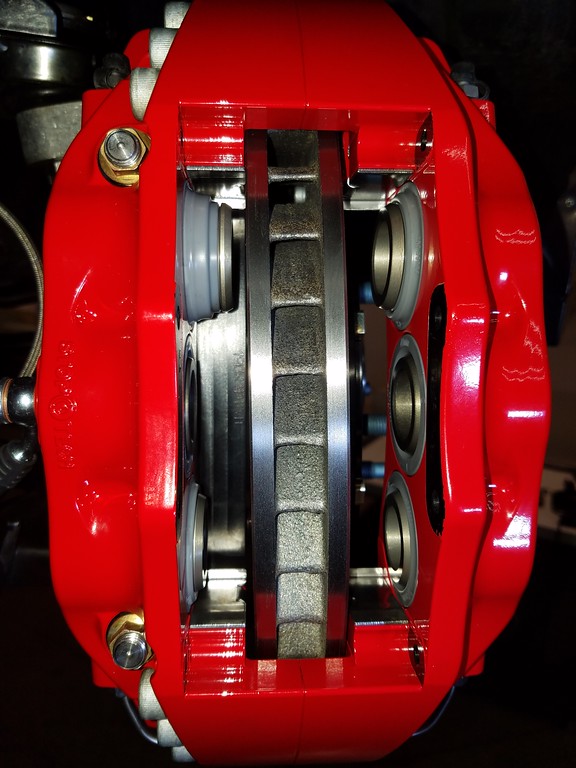
See that top left piston sticking out? I'm assuming it has a knock back spring behind it because when you push it in, it immediately starts to spring back out again. This made installing the brake pads interesting for sure. I finally figured out that a putty knife is a pretty good tool to use to hold the piston in while sliding the pads in place.
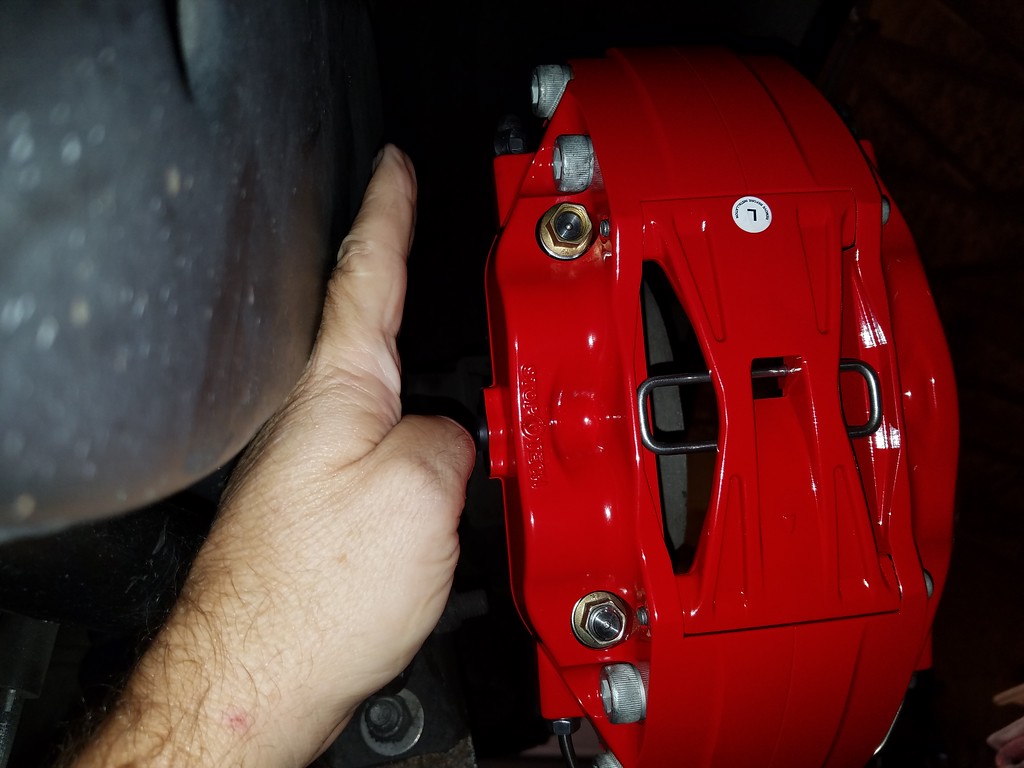
Here is the bridge reinstalled.
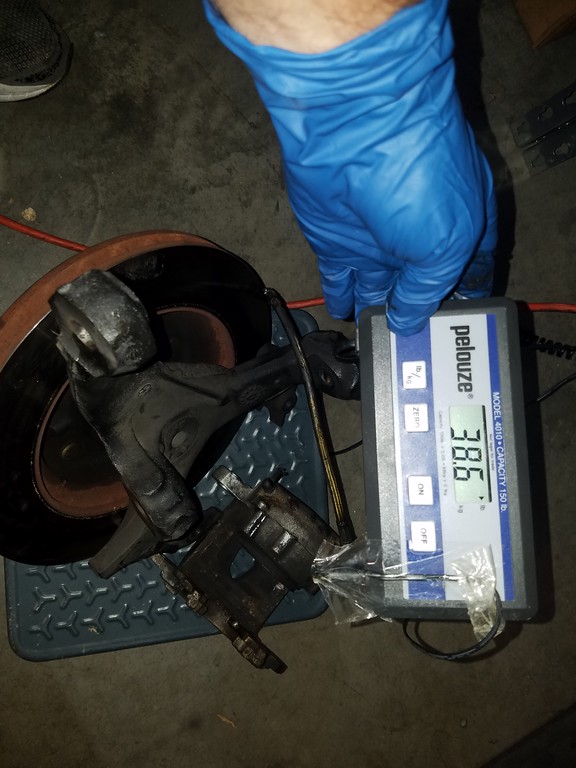
One more thing, I had some questions about how much unsprung weight these huge rotors and calipers added...so I weighed the G-body spindle, caliper and rotor.
Then weighed the new Stopech 14" rotor, 6 piston ST60 caliper and ATS Spindle.
Virtually the exact same weight! All the added brake force with no added weight. Woot!!
Front is done except bleeding and greasing, I'm starting on the rear today. Wish me luck with the calipers fitting inside the frame rails. Today will either go pretty smooth, or stop in a hurry based on that.
__________________
Lance
1985 Monte Carlo SS Street Car
Laughing about fighting the knockback spring...... I have the Griggs Racing rear calipers on the 2007 Mustang.... They have these springs as well.... I ended up having to buy a tool to hold them back - and the only way that worked was to remove the caliper from the rotor - slide the pads in - and then use the tool to jack them both back as far as they'd go.... then with tool in place - slide the business back over the rotor.
I have the StopTechs up front on that car - but nobody makes a rear except for Griggs, for this one year (2007) only rear end.
I might be interested in said tool Greg, I can imagine this might even be more difficult once brake fluid gets in the caliper also. Link to it?
The rears are pretty much mocked in place. Still trying to decide what to do with the flex lines before I button everything up. While the pic I posted above shows a bunch of room between the caliper and frame rail, I forgot that the brake line comes out of that side of the caliper.
I think the lines i have will work for now but to really be neat and tidy a shorter line with a straight banjo instead of an angled banjo fitting might be a better choice.
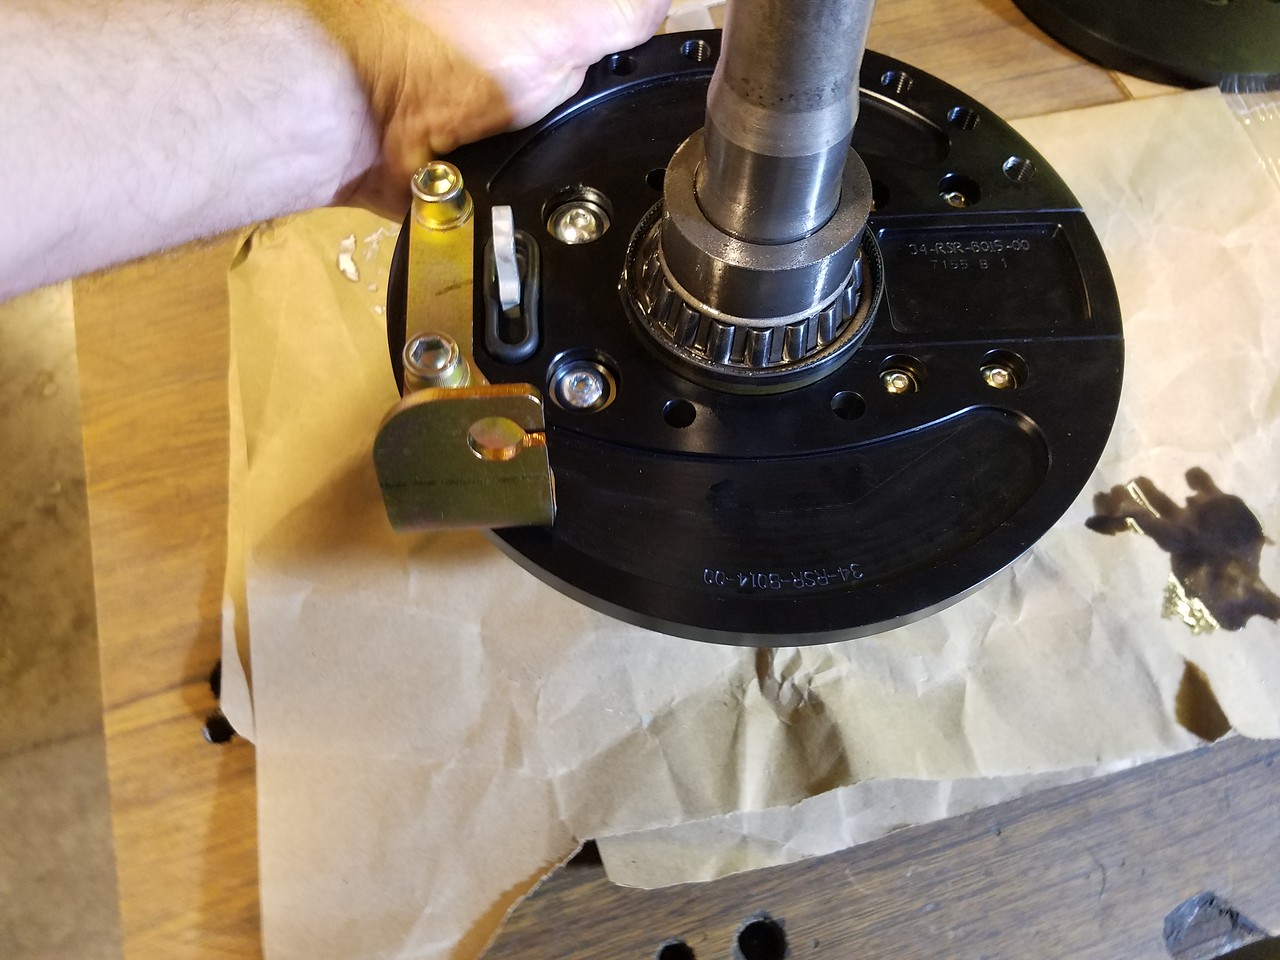
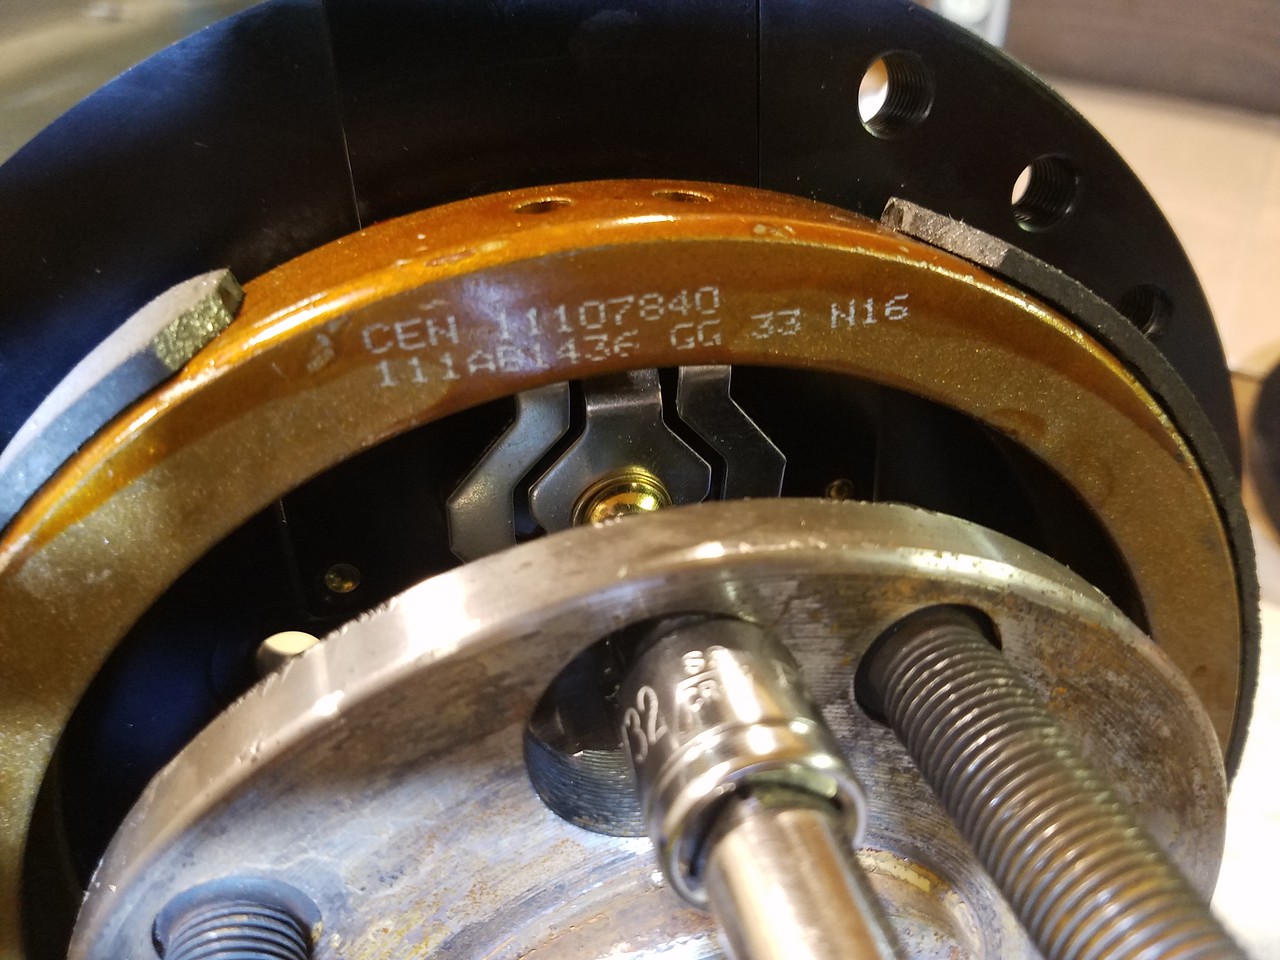
First off, lets talk about the backing plate Ron designed and how slick it is. Putting a brake backing plate on a 9" with Torino axle housing ends can be difficult. I've had the fight many times with my Ford Explorer brake kit which is similar in design in some ways...but then way different in other ways. The axle bearing is pressed onto the axle and whatever you use as a plate has to also double as the retainer that holds that bearing in the axle end. Ron designed this plate to be two piece so you can take it apart, place it over the axle behind the bearing then put it back together again. SO slick!!
You then reassemble the e-brake setup on the front side of the plate with the axle on the bench and it's ready to slide into place all in one piece.
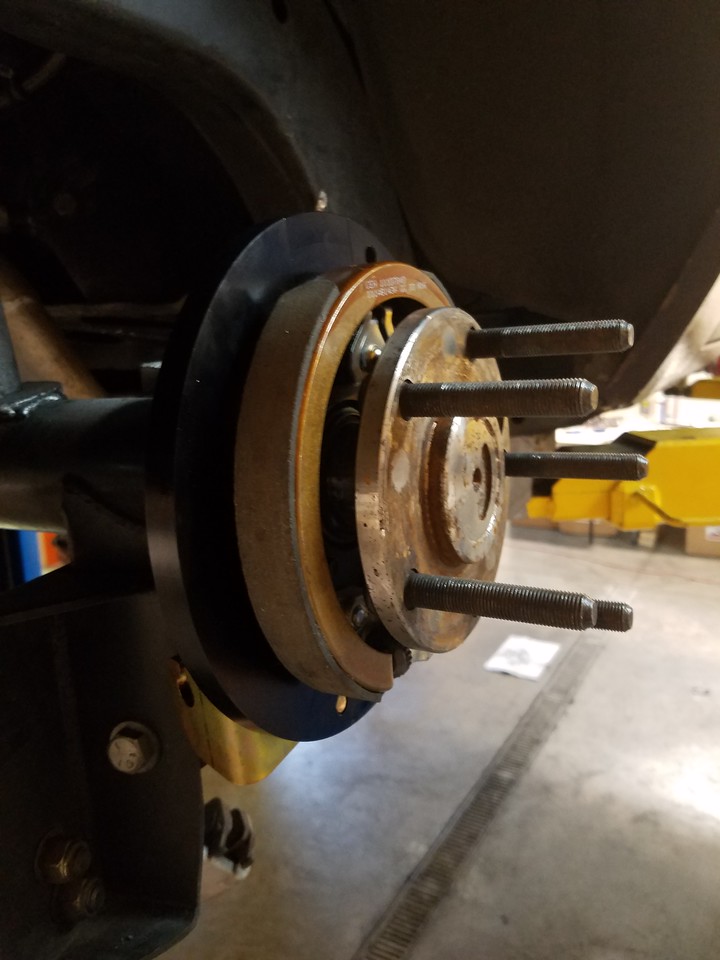
The next battle with this setup is getting wrenches onto the e-brake cable ends to tight the cable housing to the bracket. This setup makes it super easy to just rotate the whole backing plate one hole around getting the bracket from out behind the shock brackets so you can get a wrench on it.
Just one nut on a Tee bolt holds this all in place while you tighten the locknut on the cable end. Then just loosen that nut again and roll the plate back into place.
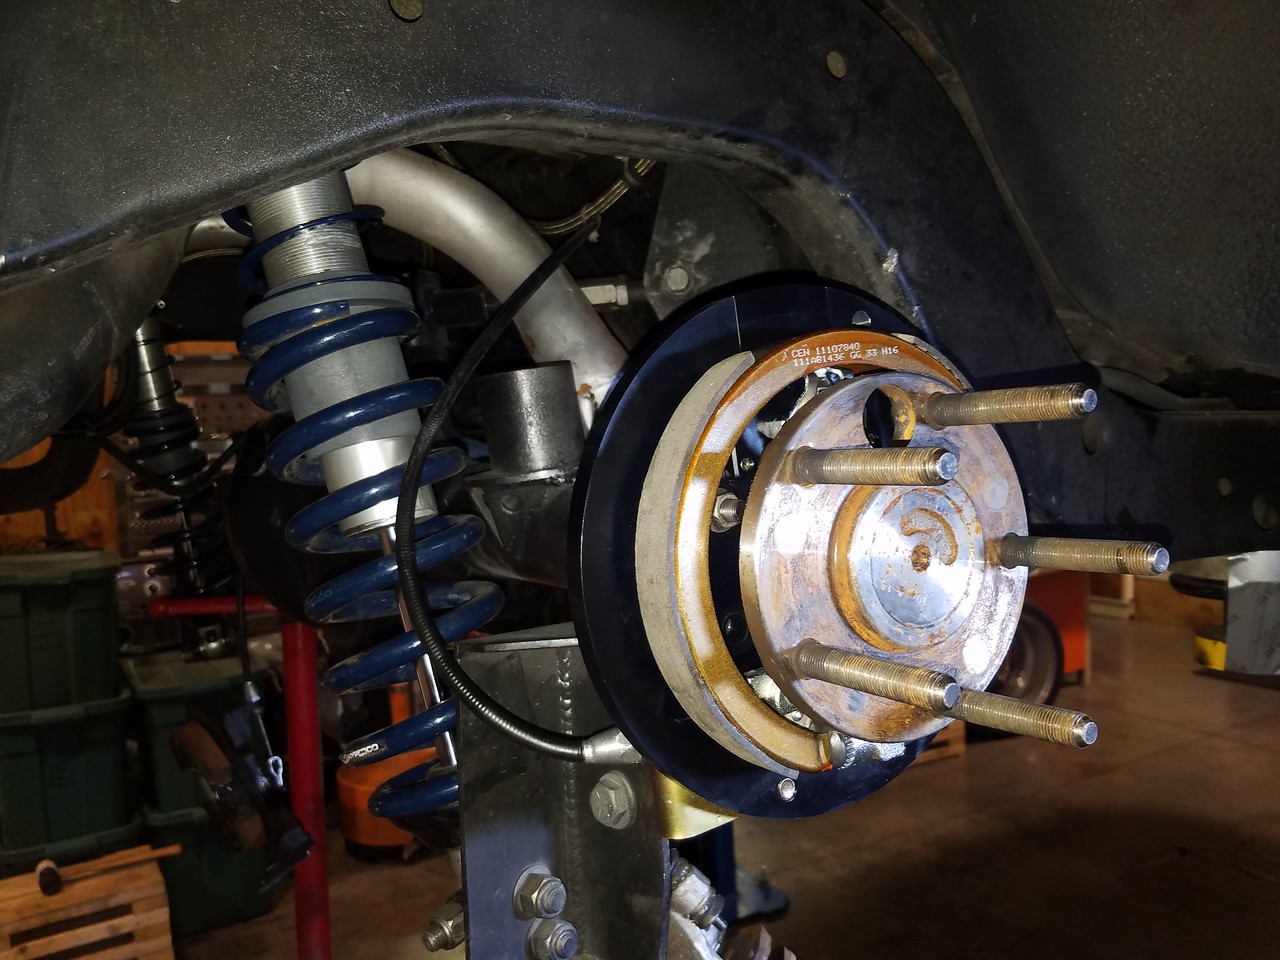
Here's the caliper in place...
Think I'll end up moving the caliper down one more hole to the bottom ones just to take up some of the slack in the flex line and give me a comfort zone between the banjo fitting and frame. It pretty sweet looking though, isn't it?
Hope to button it all up tomorrow... If all goes well, I may even get to race it in Topeka on Saturday.
__________________
Lance
1985 Monte Carlo SS Street Car


 Brian Hobaugh SCCA National Tour June 2014
 First Hemi 'Cuda Convertible Ever Built
 Short clips: Goodguys Pleasanton autocross and pit videos


 Linear Mode

