
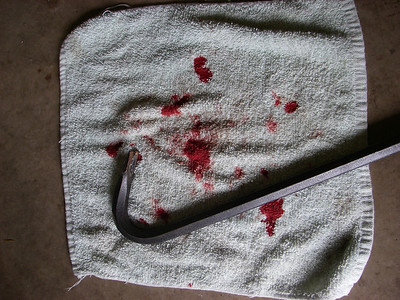
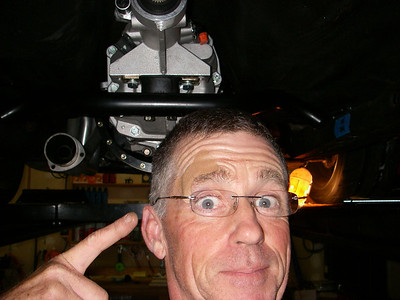
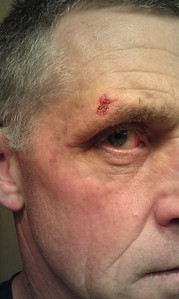
That's a nasty cut... I made it through the day with no wounds

Made a lot of progress today... but ran into some fitment issues installing the new trans. I started out by removing the driver and passenger seats and the center console. I wanted to be prepared in case I had to modify the tunnel.

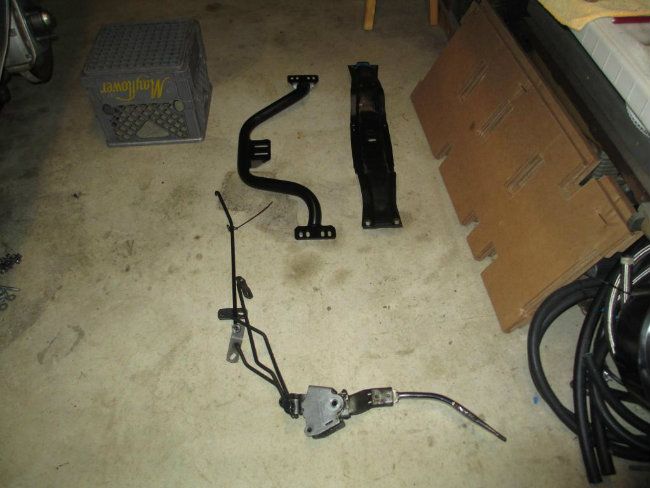
Next I pulled out the driveline, crossmember, and the Hurst shifter.

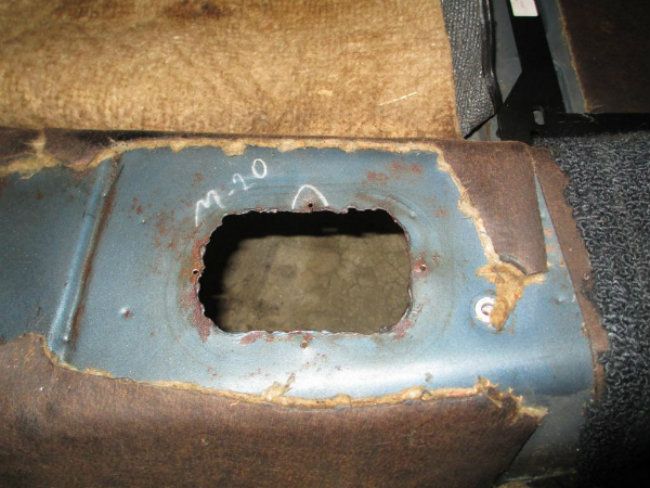
This is a shot of the cutout as the car came from the factory. They used a torch to cut the hole for the shifter. The writing with the white marker was done on the assembly line. I bought this car 30 years ago from my parents neighbor who bought the car brand new. I was the first one to ever take the console off.
Next I pulled the Muncie trans out. I use a transmission jack with a custom made wood support that keeps the transmission from rotating. I have taken this trans out so many times because of clutch problems, oil leaks, and syncro problems, that I rigged this up to make the job easier.
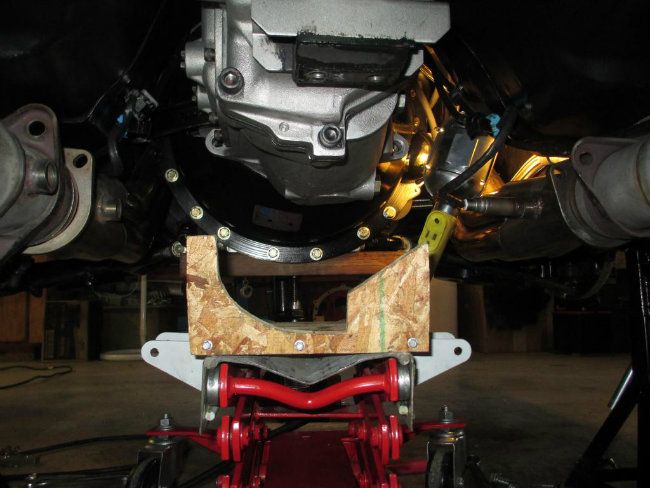
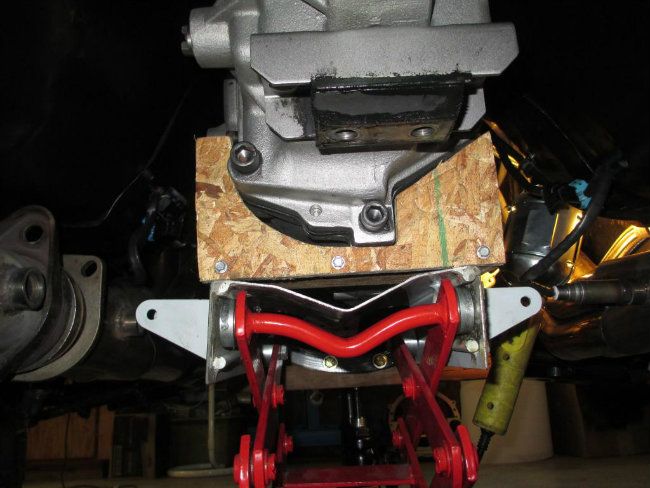
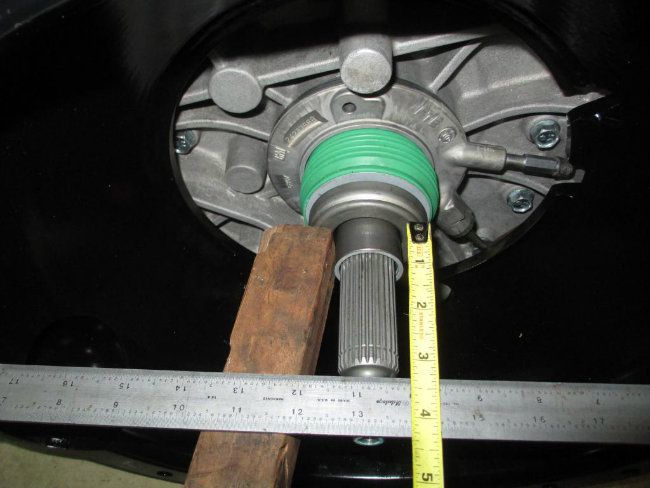
This is a Muncie trans with an Autogear Supercase. The Autogear case has needle bearing pivots for the shift linkage pivots, a thick cast iron mid-plate for extra bearing support, and a thicker casting in front for more bearing support. This case is designed to handle more HP than a stock Muncie.
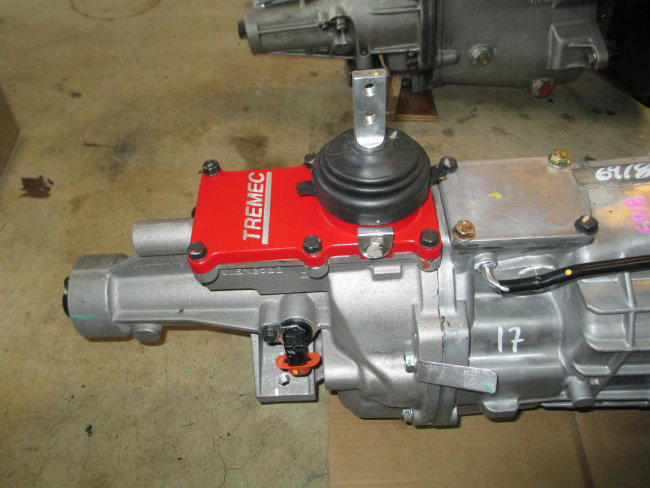
Unfortunately the internals failed this time around and I siezed up third gear on the main shaft the first time out on the track with the new engine. I have spent so much money modifying and fixing this trans that I could have paid for the new T56. Anyway... I am glad to finally have the new trans. It will be nice to have the new technology, crisp shifting, and the overdrive gears for some longer road trips in the future


Here is a shot of the bell housing... I lowered the engine down in the back and was able to reach all the fasteners to remove it.

This is a shot of the ZR1 Corvette clutch.

I have more coming on the problems with fitment


 Brian Hobaugh SCCA National Tour June 2014
 First Hemi 'Cuda Convertible Ever Built
 Short clips: Goodguys Pleasanton autocross and pit videos


 . Also, I have some pictures of a cold air intake that I built to draw air from the outside through the cowl induction hood that I will post up later.


 Linear Mode

