|
|

01-16-2026, 05:39 AM
|
 |
Lateral-g Supporting Member
|
|
Join Date: Mar 2010
Location: San Antonio, Tx
Posts: 888
Thanks: 106
Thanked 347 Times in 144 Posts
|
|
I've used i-Solids for 3D prints too large for me when I wanted it to be one piece. I found them on craftcloud and it was cheaper to go through them then it was through craftcloud.
https://www.i-solids.com/
__________________
Instagram- camaroaj
|
|
The Following 2 Users Say Thank You to CamaroAJ For This Useful Post:
|
|
01-16-2026, 06:25 AM
|
 |
Lateral-g Supporting Member
|
|
Join Date: Apr 2015
Posts: 688
Thanks: 1,415
Thanked 864 Times in 350 Posts
|
|
Quote:
Originally Posted by CamaroAJ

I've used i-Solids for 3D prints too large for me when I wanted it to be one piece. I found them on craftcloud and it was cheaper to go through them then it was through craftcloud.
https://www.i-solids.com/ |
Thanks AJ!! Much appreciated.
|
|
The Following User Says Thank You to Goosesdad For This Useful Post:
|
|
01-26-2026, 05:24 PM
|
|
Lateral-g Supporting Member
|
|
Join Date: Apr 2015
Posts: 688
Thanks: 1,415
Thanked 864 Times in 350 Posts
|
|

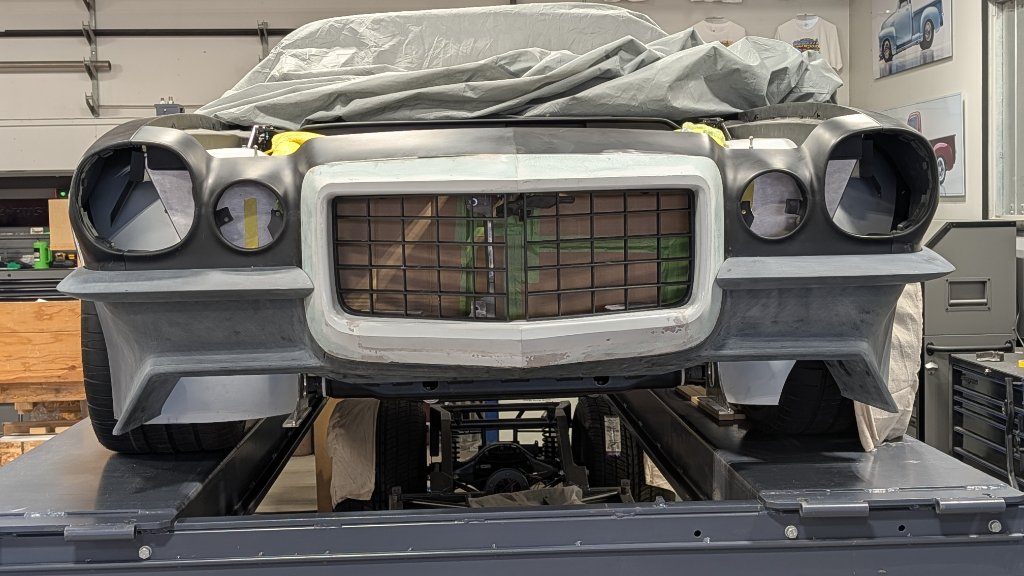
Just some process pics here.
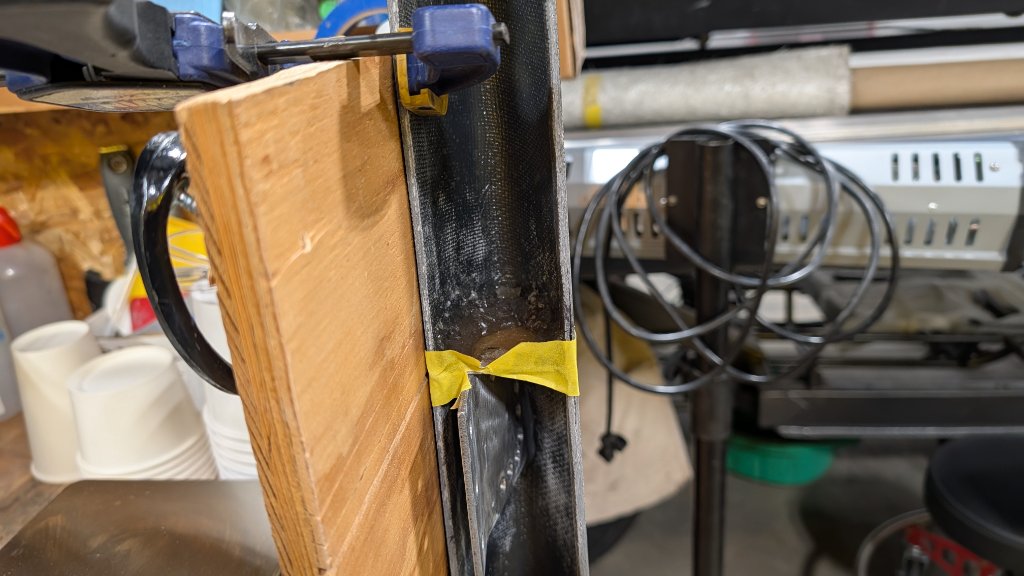
Needed to reattach the lower portion of the nose, hot-glued some paint sticks to anchor it in place, flat, so it can be fiberglass'd in place .
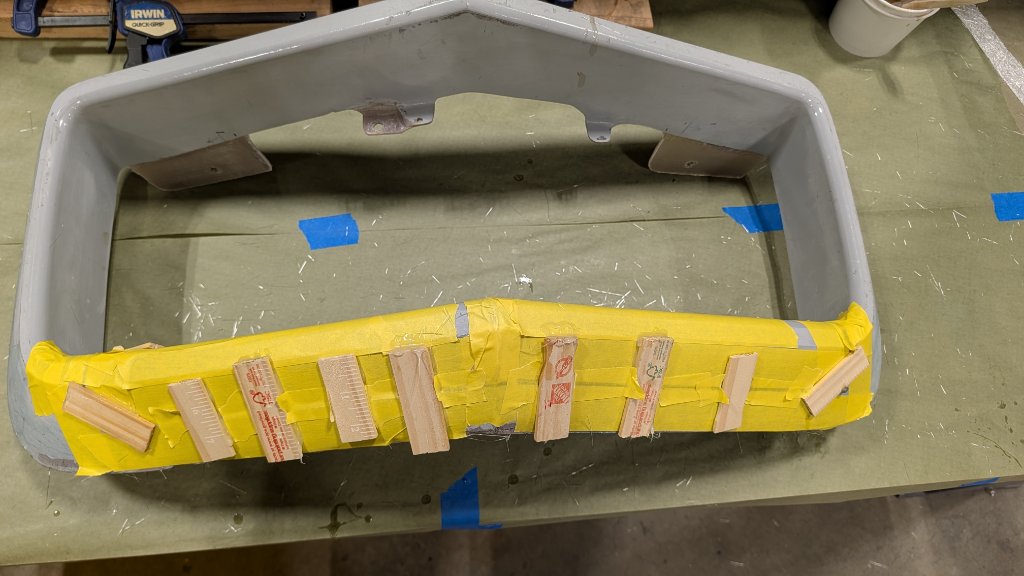
2 layers of 1 1/2oz mat laid down in the back over the cut joint.
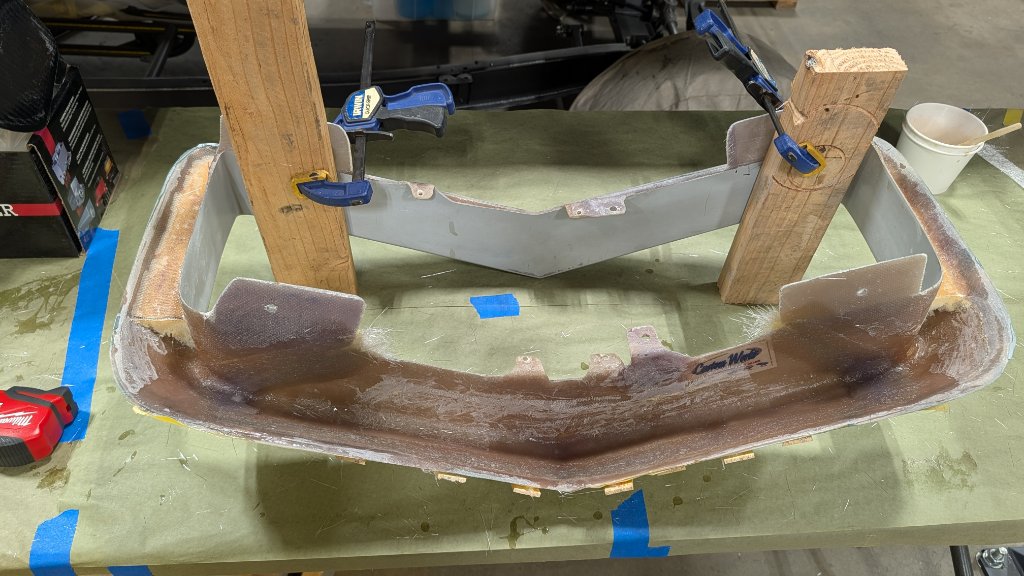 After the above cured solid, ground out the cut joint to get down to clean glass, used a round carbide burr.

Not a great pic here, but used 1/32" glass fibers + resin to create a fiberglass paste and filled that grove that was ground out. Let it cure and then sanded flat. That's all for that now until it gets to body work.
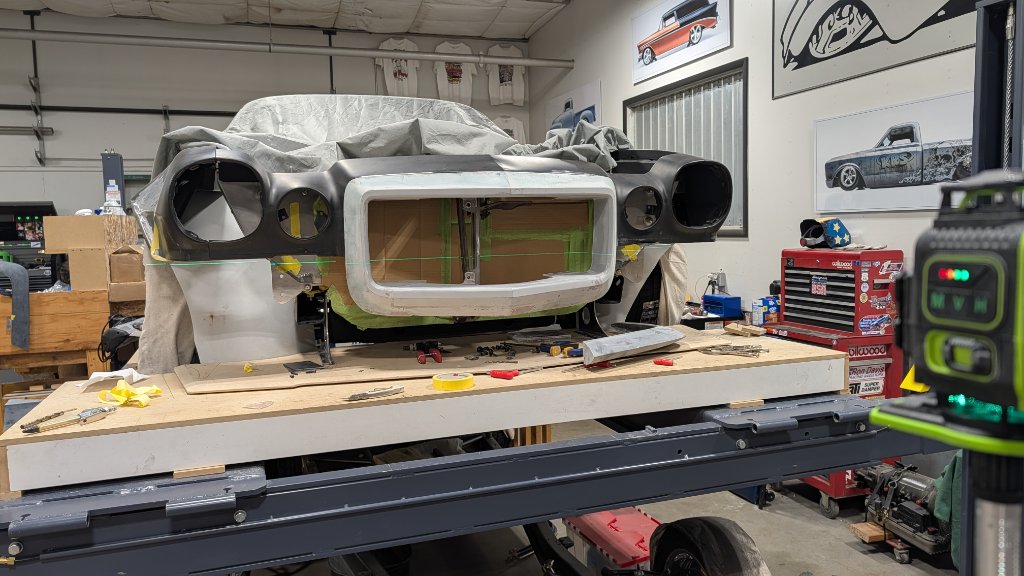
Installed and then set up a laser level to start mounting the bumperette's.
 Using a mix of some fiberglass ribs with a metal mounting bracket. Drilled some holes to create a path for the same fiberglass paste to flow through. The end result will be a combination of a chemical and mechanical (mostly) bond to anchor the metal mounting brackets. This is before the fiberglass paste, used a little hot-glue to hold the bracket in place while the glass is laid down.
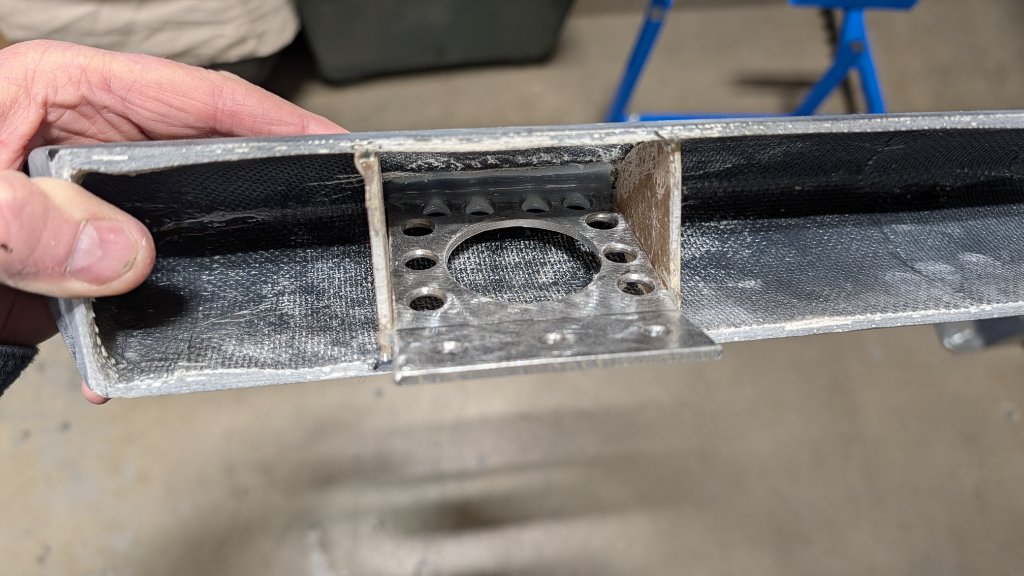 This is the first step in laying down the fiberglass paste.
|
|
The Following 4 Users Say Thank You to Goosesdad For This Useful Post:
|
|
01-31-2026, 07:56 PM
|
|
Lateral-g Supporting Member
|
|
Join Date: Apr 2015
Posts: 688
Thanks: 1,415
Thanked 864 Times in 350 Posts
|
|
Hope all is well for everyone.
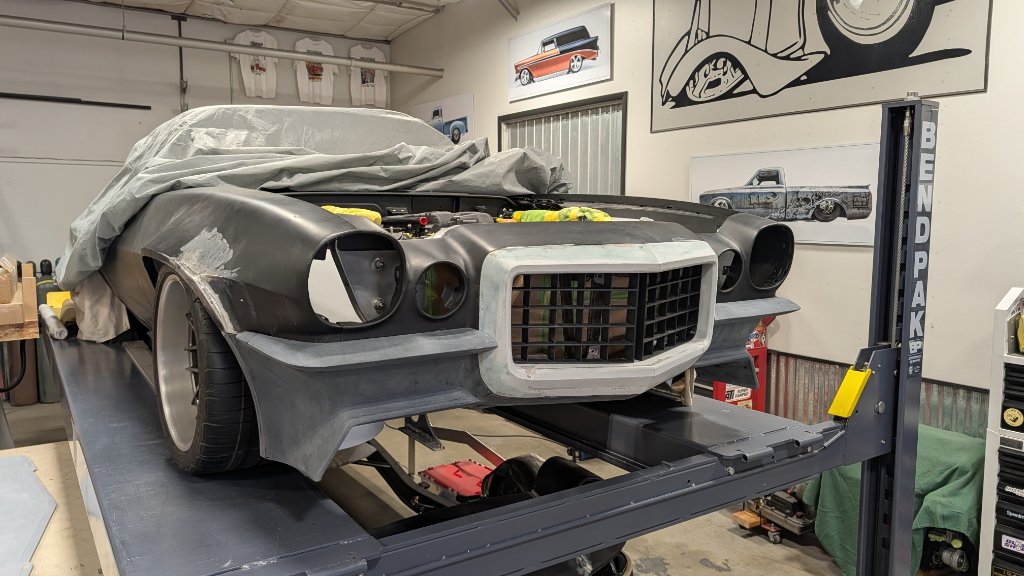
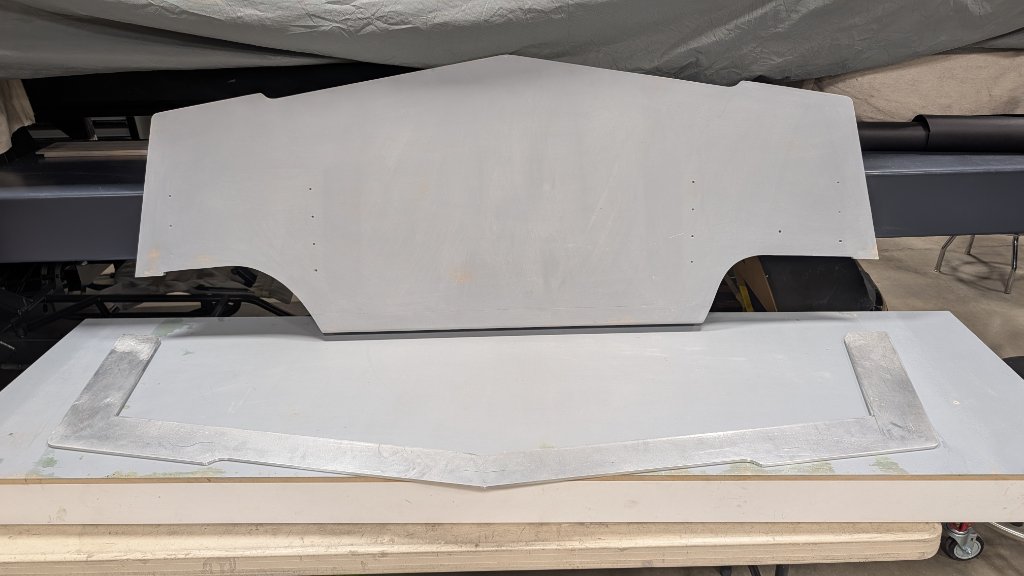
Bumperette mounts are complete. They are done until bodywork time.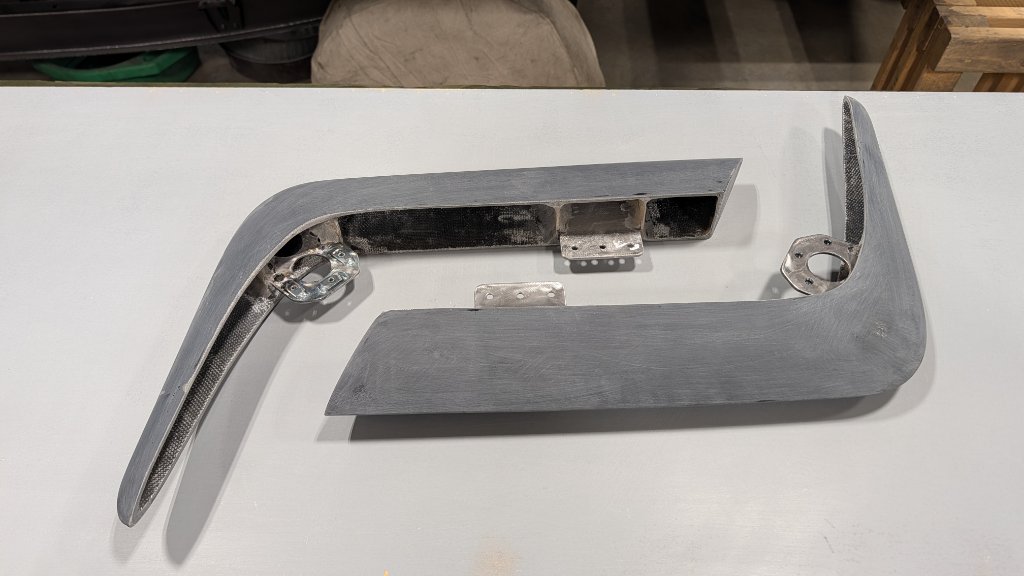
Final sand on the lower splitter plug. Will start the mold next week.
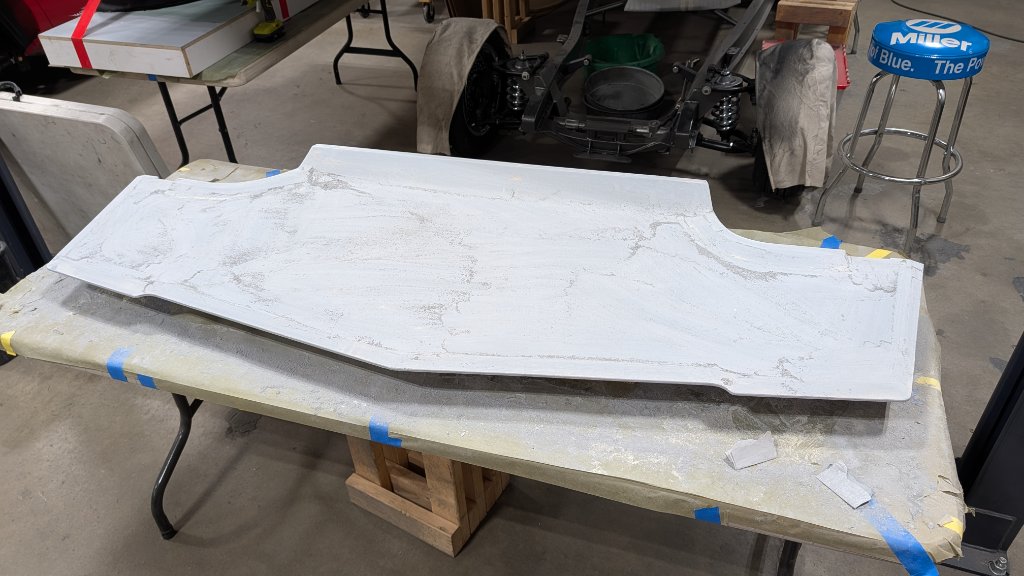 Test fit.
|
|
The Following 6 Users Say Thank You to Goosesdad For This Useful Post:
|
|
02-01-2026, 06:14 PM
|
 |
Lateral-g Supporting Member
|
|
Join Date: Jun 2005
Posts: 8,449
Thanks: 5,661
Thanked 2,043 Times in 1,100 Posts
|
|
This front end is going to be a bad ass
Sent from my iPhone using Tapatalk
|
|
The Following User Says Thank You to syborg tt For This Useful Post:
|
|
02-02-2026, 10:22 AM
|
 |
Lateral-g Supporting Member
|
|
Join Date: Apr 2009
Location: Wisconsin
Posts: 292
Thanks: 169
Thanked 110 Times in 66 Posts
|
|
Quote:
Originally Posted by syborg tt
This front end is going to be a bad ass
Sent from my iPhone using Tapatalk
|
Marty, Id say front end to rear end!
__________________
Chris
1969 Firebird: injected Pontiac 462ci, T56
|
|
The Following 2 Users Say Thank You to Tinker For This Useful Post:
|
|
02-03-2026, 05:29 PM
|
|
Lateral-g Supporting Member
|
|
Join Date: Apr 2015
Posts: 688
Thanks: 1,415
Thanked 864 Times in 350 Posts
|
|
Quote:
Originally Posted by syborg tt
This front end is going to be a bad ass
Sent from my iPhone using Tapatalk
|
Quote:
Originally Posted by Tinker
Marty, Id say front end to rear end!
|
Thanks guys!!
|
|
The Following User Says Thank You to Goosesdad For This Useful Post:
|
|
02-03-2026, 06:12 PM
|
|
Lateral-g Supporting Member
|
|
Join Date: Apr 2015
Posts: 688
Thanks: 1,415
Thanked 864 Times in 350 Posts
|
|
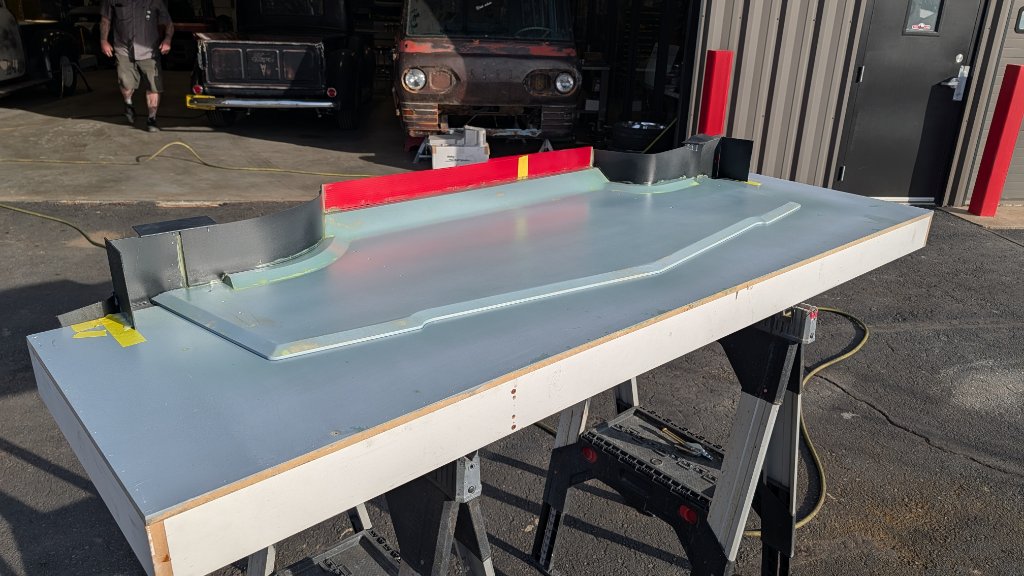
Started the mold on the lower splitter.
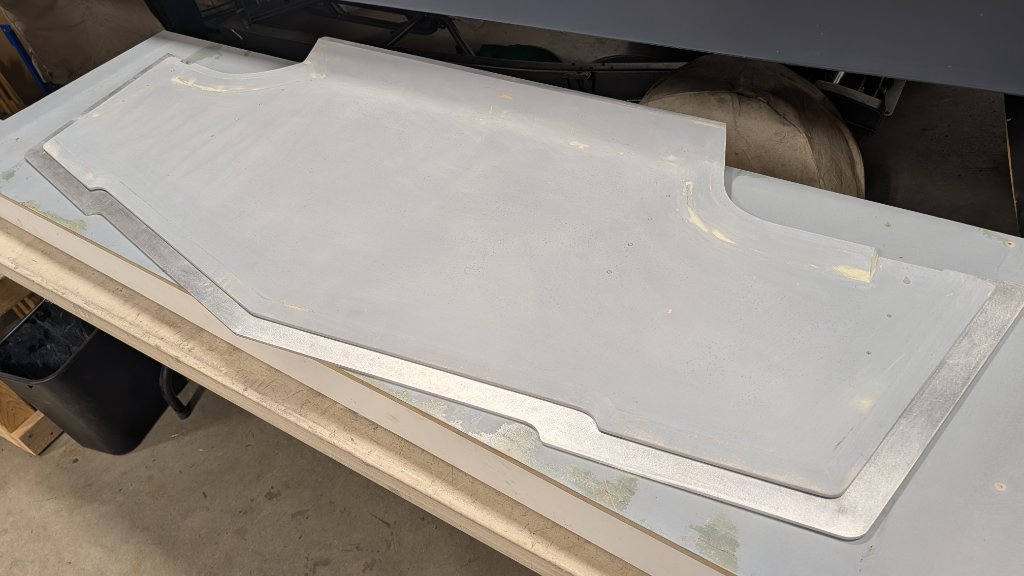 Mold release
 Gelcoat
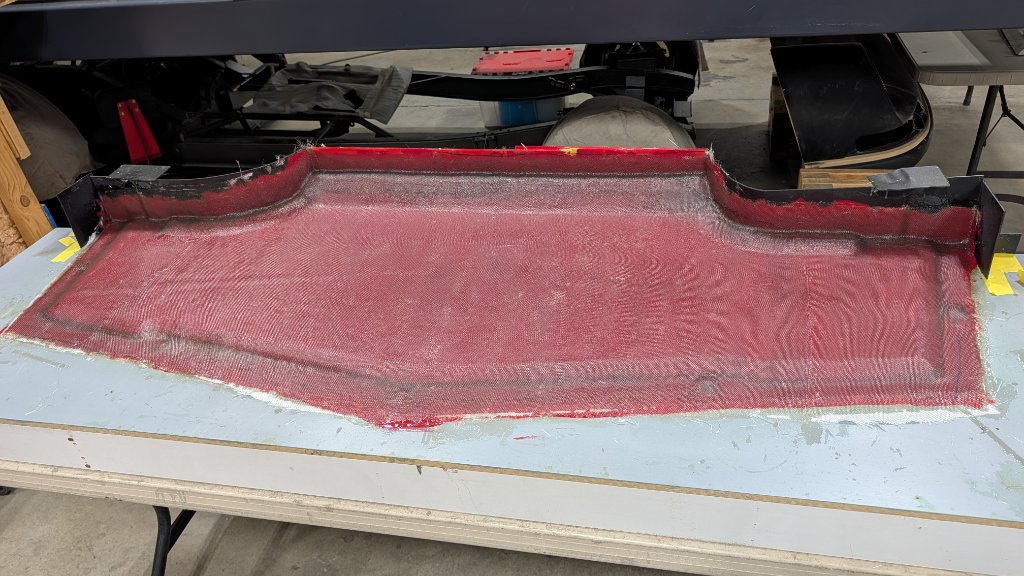
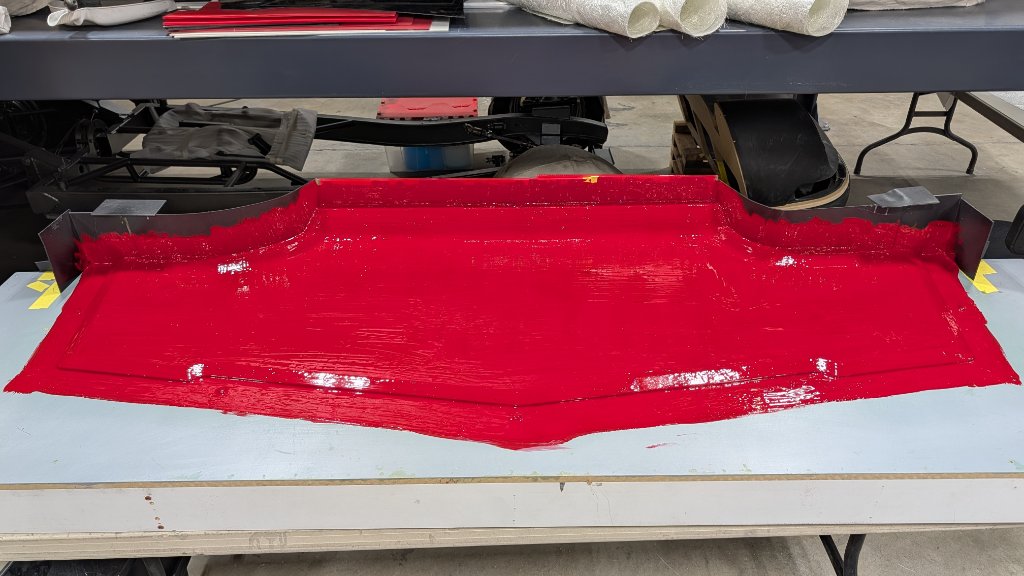 5 Layers of 'glass, first half of the mold complete.
|
|
The Following 4 Users Say Thank You to Goosesdad For This Useful Post:
|
|
02-09-2026, 07:49 PM
|
|
Lateral-g Supporting Member
|
|
Join Date: Apr 2015
Posts: 688
Thanks: 1,415
Thanked 864 Times in 350 Posts
|
|
Needed to get some clear on the carbon interior panels so I could put them away safely, at least for a while. 4 coats of matte clear.
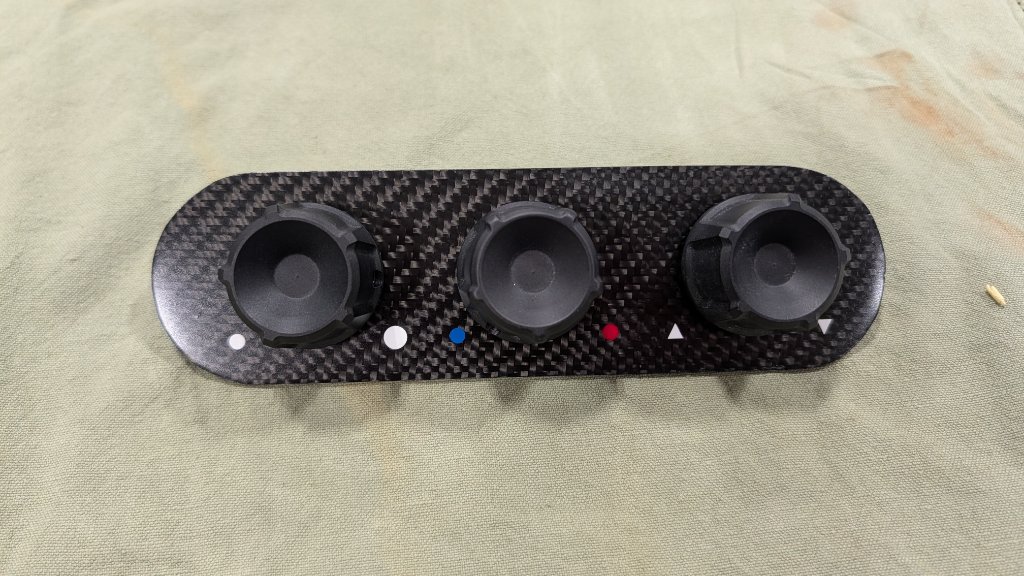
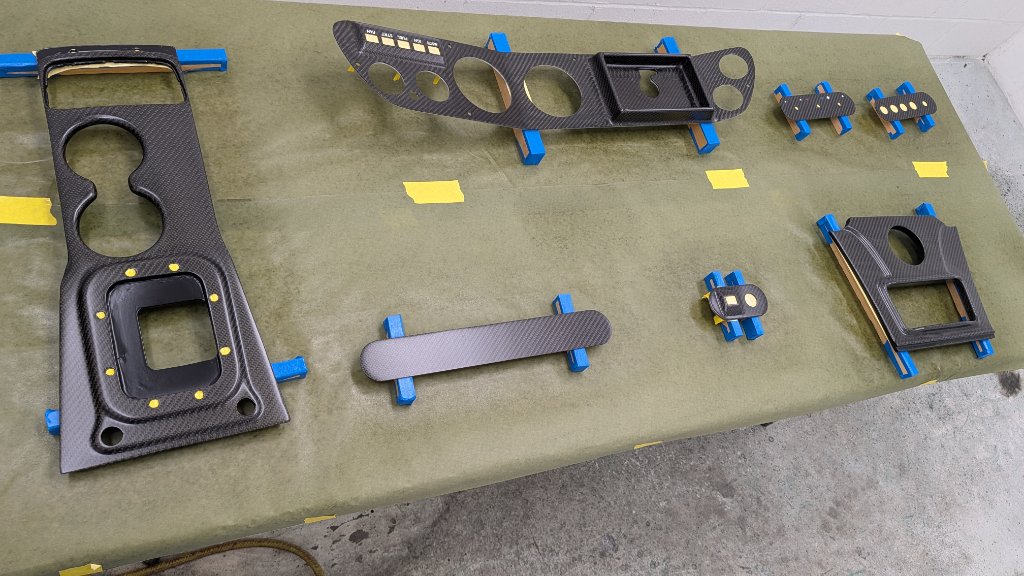 Need to have the AC knobs and the switches anodized so quicky fit up to pick the sheen.

|
|
The Following 7 Users Say Thank You to Goosesdad For This Useful Post:
|
|
02-10-2026, 12:17 PM
|
|
Lateral-g Supporting Member
|
|
Join Date: Apr 2015
Posts: 688
Thanks: 1,415
Thanked 864 Times in 350 Posts
|
|
Forgot to mention, the lettering for the switches and AC control notations were etched with a CO2 laser and then I swept in multiple coats of paint before final wet sanding and then the matte clear. The CO2 laser gave super crisp lines in the carbon fiber/epoxy. Tried a regular laser on a test piece but it burned the epoxy.
|
|
The Following 3 Users Say Thank You to Goosesdad For This Useful Post:
|
|
 Posting Rules
|
You may not post new threads
You may not post replies
You may not post attachments
You may not edit your posts
HTML code is Off
|
|
|
All times are GMT -7. The time now is 12:46 PM.
|


 Brian Hobaugh SCCA National Tour June 2014
 First Hemi 'Cuda Convertible Ever Built
 Short clips: Goodguys Pleasanton autocross and pit videos


 It's like a ball of yarn unwinding, that has no end... Author DKz Garage
 Linear Mode
