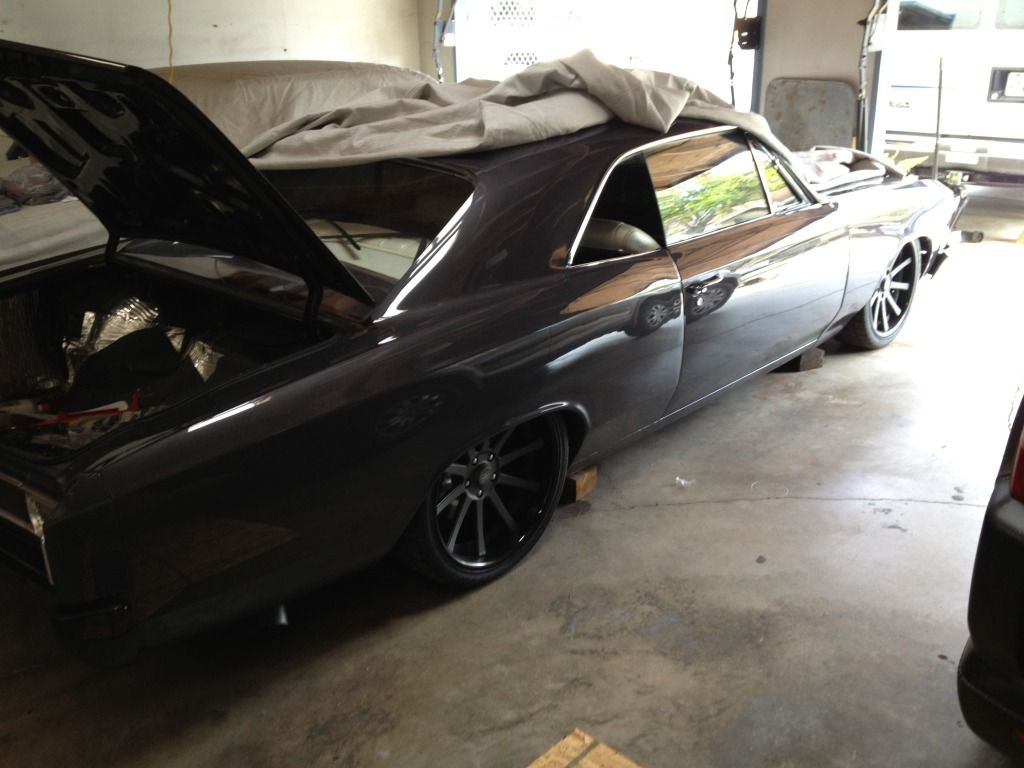
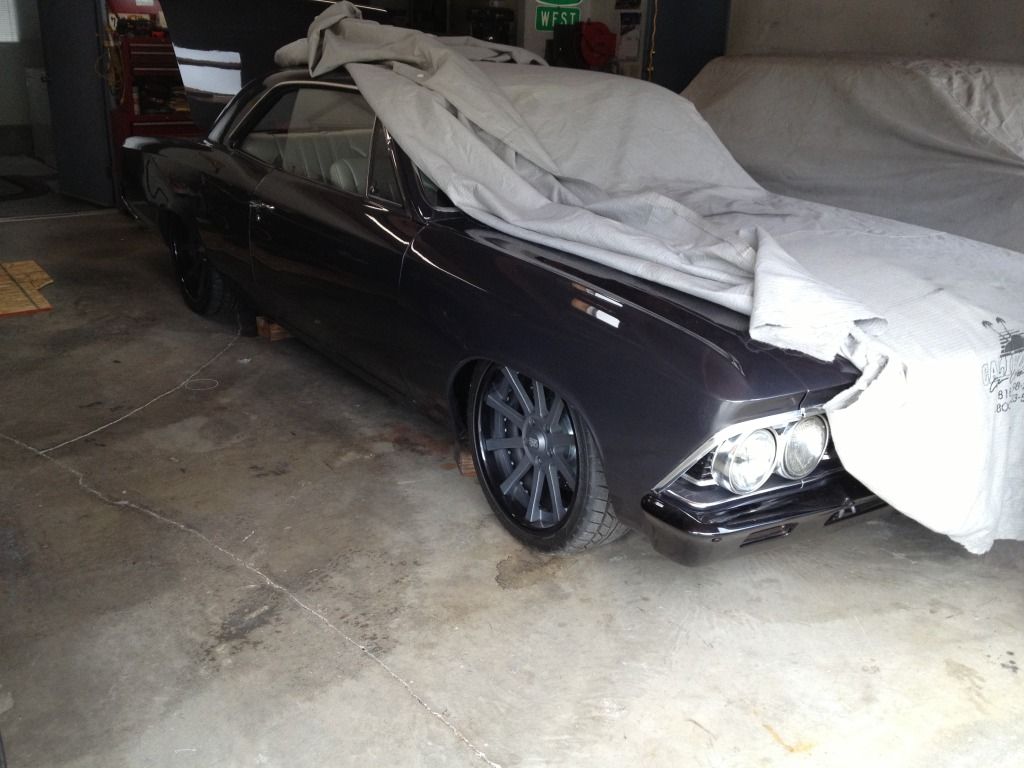
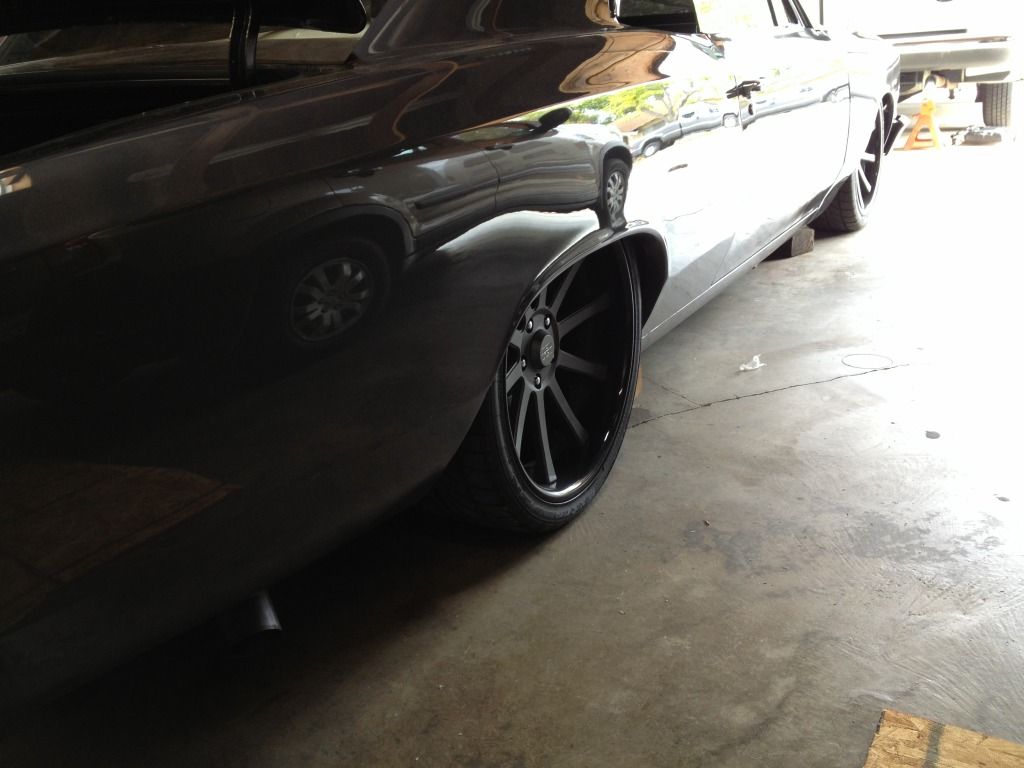
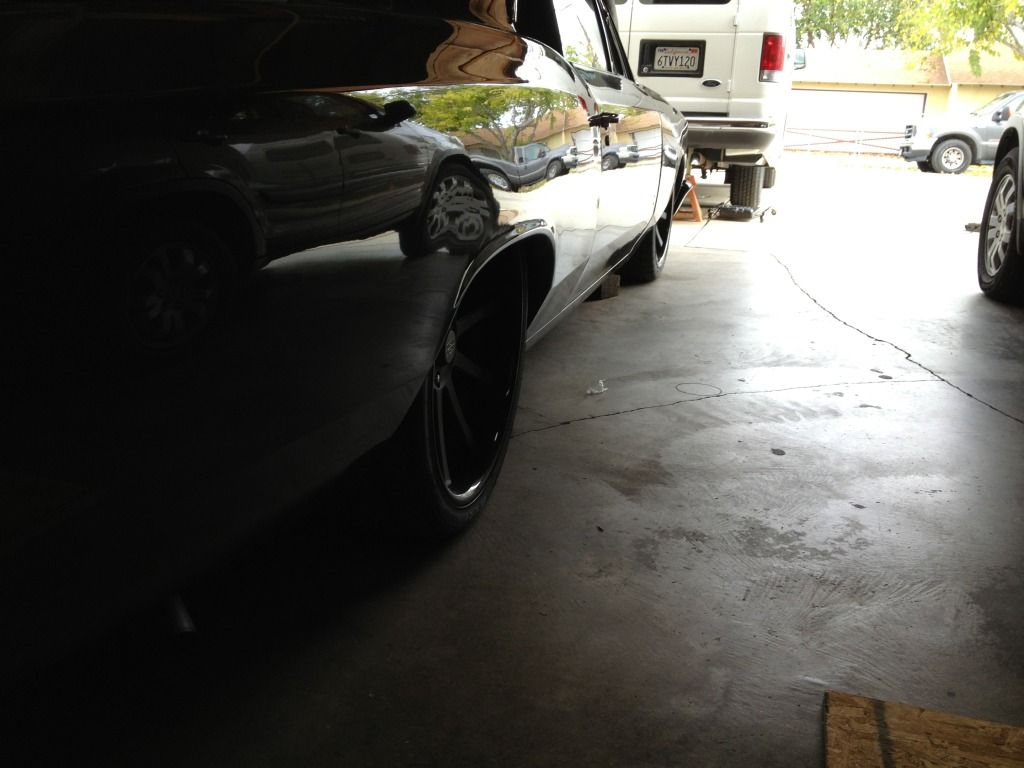
Yesterday I started working on the trunk of my Chevelle. I'm redoing the air tank/compressor for the bags. Pic's to come of this. However because I was removing the air tank, I went ahead and laid the car out. Before I did, I put some 4x6 blocks under the frame for it to rest on.
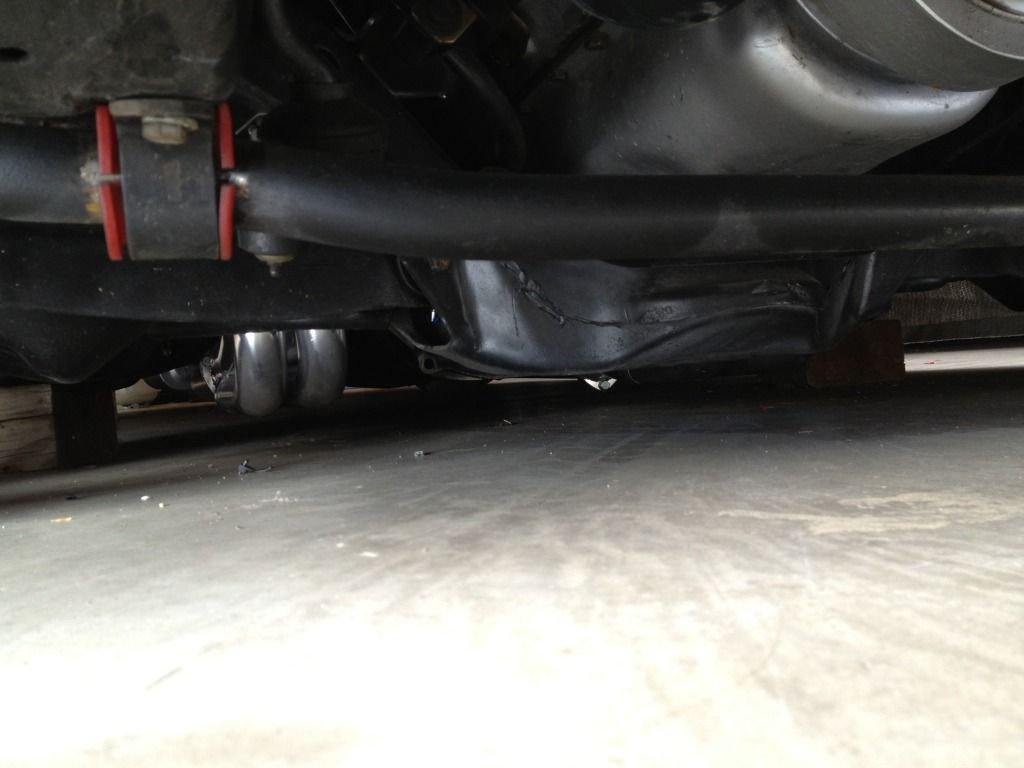
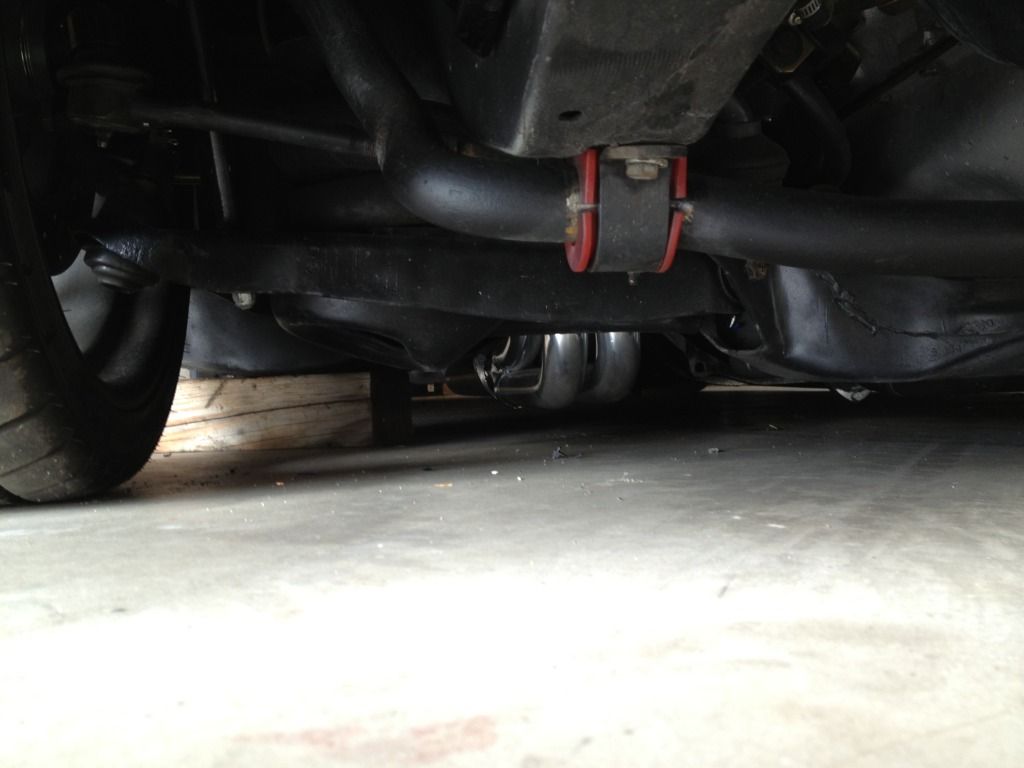
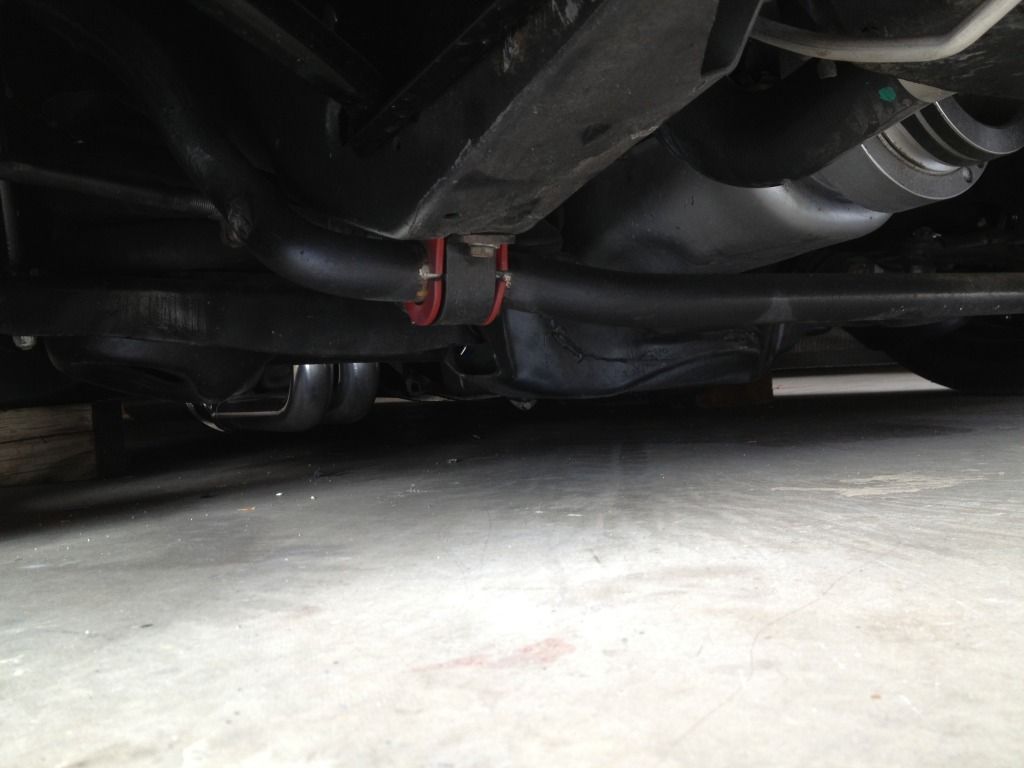
Then I thought, man, that's a sweet ride height....wonder why I couldn't drive this low? I looked under and the headers are about 1/2" from the ground. The other thing is the front cross member. Then I got to thinking....what if I cut out the front cross member and welded in a big thick steel plate to take its place? I could easily gain a few inches of clearance doing this. Different headers, raise the engine a bit, new front cross member, and bam....low low low.
Anybody ever thought anything crazy like that before? Or done something like that? I could be completely crazy, but the thought sounded good in my head. All of voices agreed.
ahhhhuhuhu hu hu I have no ieas what you mean..... I did but ended up going with a 1 1/2" Z frame rail idea. The frame has a crack in the spot where I plan on cutting it. Another thing I did was loose the frame bushings.
Say, tell me something....your pinch welds right in front of the rear tires are 6" off the ground aren't they.
Z'ing the frame isn't a bad idea either. Which frame bushings are you talking about?
I can measure those pinch weld moldings this weekend for yah and let yah know.
Aside from measuring your bump travel until you hit the bump stops to make sure it's safe to drive at that ride height, I'd look into modifying the angle of the sway bar ends so that they're not at such an extreme angle relative to the somewhat-vertical swaybar end studs. Or better yet, drastically reduce the length of the endlink studs to try and flatten the sway bars out. Other than that, the car looks sick!
Rather than cutting the entire crossmember out, how about just sectioning it? You can make a simple scribe tool by tack welding a center punch to something that will hold it the correct height relative to the crossmember (say, even with the bottom of the A-arm?). Then just slide it around the crossmember and scribe a line all the way around. Get out the cutoff tool and cut the bottom off, then template it and plate it back in.
IMO, that would be better than replacing the whole thing with a piece of heavy plate...
__________________
Ray Kaufman-Wyotech chassis fab instructor
Custom suspension design and consultation.
(Now 2) Big Block asphalt supermodified ('cause too much is never enough...)
Have you tried turning the wheels at that ride height? Also, from this starting point now move your wheel up as if the suspension is in compression and then turn the wheels and see how much steering angle you get. You might be making 22 point turns. Looks killer though. Good luck.
THANKS TO: A&M Machine and Fabrication, CCTek (http://www.candctek.com), Hermance Design(www.hermancedesign.com), Paradise Road Rod & Custom, Harry Opfer Welding, Wegner Automotive Research, Clayton Machine Works
Aside from measuring your bump travel until you hit the bump stops to make sure it's safe to drive at that ride height, I'd look into modifying the angle of the sway bar ends so that they're not at such an extreme angle relative to the somewhat-vertical swaybar end studs. Or better yet, drastically reduce the length of the endlink studs to try and flatten the sway bars out. Other than that, the car looks sick!
The sway bar is an area I need to fix. The stock bar with the stock end links would rub the air bags and cause them to pop. So I made extended ones and they work great. But I'd like to do something custom there to fix that problem.
Quote:
Originally Posted by exwestracer
Rather than cutting the entire crossmember out, how about just sectioning it? You can make a simple scribe tool by tack welding a center punch to something that will hold it the correct height relative to the crossmember (say, even with the bottom of the A-arm?). Then just slide it around the crossmember and scribe a line all the way around. Get out the cutoff tool and cut the bottom off, then template it and plate it back in.
IMO, that would be better than replacing the whole thing with a piece of heavy plate...
Oh I agree that would be easier/cleaner. I wouldn't really put a piece of thick plate in there. I would do some sort of 1.5" tubing or something similar. But I like your idea.
Quote:
Originally Posted by ccracin
Have you tried turning the wheels at that ride height? Also, from this starting point now move your wheel up as if the suspension is in compression and then turn the wheels and see how much steering angle you get. You might be making 22 point turns. Looks killer though. Good luck.
I have not...and I don't think I have the clearance either. I think this would ruin my plans. I have a 19" wheel stuffed in there.
Thanks for all the input! Give me more to think about.


 Brian Hobaugh SCCA National Tour June 2014
 First Hemi 'Cuda Convertible Ever Built
 Short clips: Goodguys Pleasanton autocross and pit videos


 I did but ended up going with a 1 1/2" Z frame rail idea. The frame has a crack in the spot where I plan on cutting it. Another thing I did was loose the frame bushings.


 Linear Mode

