and somethings don't!! Thought I'd share some parts that work as designed and some that didn't.
First the good, I ordered the DSE throttle plate for the C6 accelerator and it is a well designed piece and fit perfectly. Had to run a 1/4-20 tap through the Sheetmetal but no biggie!

Next was the not so good
been frustrated with finding a blank dash panel for my car and thought Anvil would be the solution (they said their panel followed the contours of the dash) but it didn't fit for sh!te. The angle for the roll off at the bottom was all wrong and there was not enough concave in the panel.


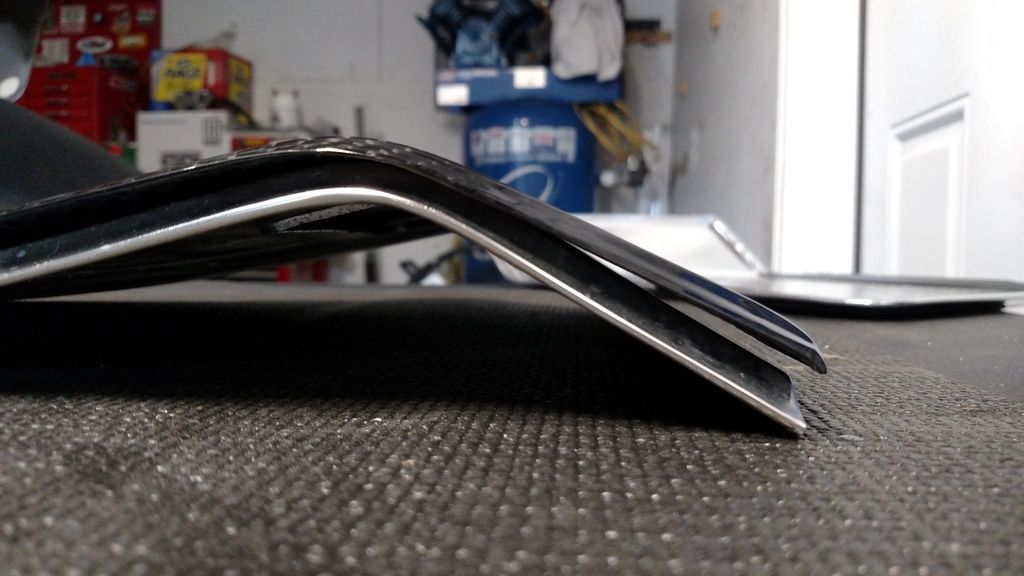 If anyone has any solutions to this dash dilemma I'd love to hear from you!!!!
 Thinking of making a wooden buck and re-contouring the Classic Ind Sheetmetal dash panel to fit OEM dash.
And to share some things that I found that might help someone else out
how to attach the upper and grille to the center piece. How about the attaching the turn signals through the grille? Ace Hardware to the rescue
 The course threads required a license plate nut!
 Bought plastic nuts and bolts to hold the center dash to upper and lower panels!

Anyone with any input into the dash dilemma I'd appreciate your input. Anvil said they would refund the panel but that doesn't help my vision of a blank panel.
I sent a bunch of stuff out for powder coating and well see if they come through, thanks for looking ...


 Brian Hobaugh SCCA National Tour June 2014
 First Hemi 'Cuda Convertible Ever Built
 Short clips: Goodguys Pleasanton autocross and pit videos


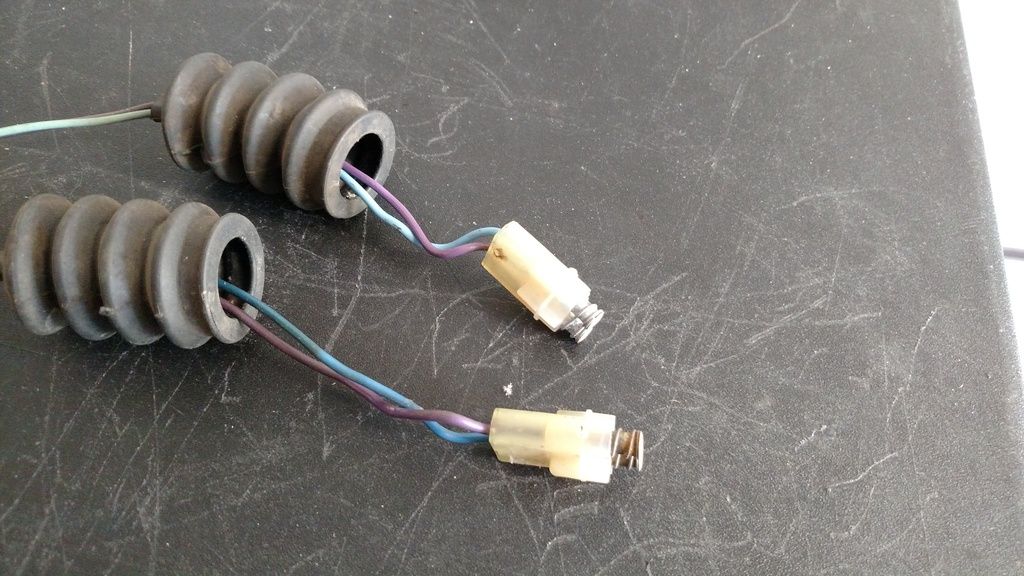
 Guess it's been wrapped since 2011 to protect it from the crud. Thinking I'll send it in and get a make over but not as bulky as GM made them in the 60's. I set it in place with the new turn signals to get the lengths and placement of the wiring harness. Next is to take the rivets out and get it powder coated and install my NOS grille insert
. can't wait!
Guess it's been wrapped since 2011 to protect it from the crud. Thinking I'll send it in and get a make over but not as bulky as GM made them in the 60's. I set it in place with the new turn signals to get the lengths and placement of the wiring harness. Next is to take the rivets out and get it powder coated and install my NOS grille insert
. can't wait!


 that's a WIN there!!!


 Linear Mode

