...

Go Back   Lateral-g Forums > Lateral-G Open Discussions > Project Updates
User Name
Password


Reply
 
Thread Tools Display Modes
  #31  
Old 01-11-2013, 05:00 AM
itsals1 itsals1 is offline
Senior Member
 
Join Date: Mar 2006
Posts: 237
Thanks: 0
Thanked 0 Times in 0 Posts
Default

Quote:
Originally Posted by GregWeld View Post
I gotta say it ---- I like the do it yourself attitude -- I like the engineering...

The welding -- not so much.

Before you go out and start stressing stuff -- I'd have those spindle additions ground out and welded by a professional.


I'm not trying to be critical -- But I'd like you to be safe, for yourself, as well as others that share a track with you.
I'm with Greg, those welds scare the hell out me!

Travis
Reply With Quote
  #32  
Old 01-11-2013, 09:07 AM
preston preston is offline
Senior Member
 
Join Date: Nov 2005
Posts: 655
Thanks: 0
Thanked 34 Times in 19 Posts
Default

Your concerns may be wider ranging and I will certainly take it under advisement, but I did want to point out that the brake bracket is connected by two 1.25" .375 wall square tube stanchions that are fully perimeter welded to the main body. That particularly ropey weld running the length of the upright body is just for a 16awg gusset. That doesn't excuse my lapse in quality on that and now that you've called it out I will have to go back and fix it up (it was a bit of an afterthought at the time as it should be plenty strong without it) but I can see how that particular part would look totally unacceptable if you were thinking that was the primary weld for the brake mounting.
Reply With Quote
  #33  
Old 12-22-2013, 09:36 PM
preston preston is offline
Senior Member
 
Join Date: Nov 2005
Posts: 655
Thanks: 0
Thanked 34 Times in 19 Posts
Default

I'm pretty lazy about updating my thread I spend all day on the computer and would rather spend my time building the car. Also this is a bit of a weird thread as most of the car is already built and I am only posting old pictures. But at some point I want to bring the thread up to date as I'm very excited about my current wide body project. So what I am posting up tonight is a bunch of "old" photos. however they are good fab photos of some homegrown work and I think some of you may find them interesting, and I wanted to post where I've been before I post where I'm going, so y'all can appreciate the journey a bit more. As you can see giant flares were the only way to encapsulate the monster tires and massive lowering that I wanted in the car, but after awhile the aesthetic compromise always bothered me. But before I reveal any of the wide bodywork I wanted to kind of purge the last of the old build photos. So a lot of these are kind of out of order, some are actually the older chassis and most are from before the brake setup I was posting earlier.

here is one featuer I really like - Undo some wiring and plumbing, and 4 bolts, and the whole front tray comes off. This tray supports the rad, the IC's, the oil cooler, the tow loops, the splitter/undertray and indexes the hood and front fenders, AND serves as a front crush structure. This is the old version with V'ed IC and Rad before moving to twin IC's flanking the rad.

Also, I'm no master TIG welder, but I like to think my alum welding has improved a little bit since these pictures were taken, but then again, none of the welds leak or have cracked.


One of about 5 versions of giant flares I've built - it really hurt one day when someone called them "dually truck fender flares"


air comes in the front end to feed the air filters and also the radiator, each one has its own exit duct. Note also I had teh "window into the engine" idea about 6 months before anyone saw the ZR1 and its hood window.


one iteration of the bodywork


rear diffuser/undertray a la Porsche GT2 RSR


Reply With Quote
  #34  
Old 12-22-2013, 09:43 PM
preston preston is offline
Senior Member
 
Join Date: Nov 2005
Posts: 655
Thanks: 0
Thanked 34 Times in 19 Posts
Default

Also one of the more innovative parts of my build IMO - You've seen side exhaust before but have you ever seen it carried all the way out to the tailpipes ? Yeah it costs 50 lbs and probably drives some heat into the tire, but I like it somewhat quiet. Note I now wrap those pipes in Aerogel and exhaust wrap and you can hold that assembly in your hand during a hot idle.
(these are very old photos)


Well, sometime later I will be motivated to post my wide bodywork photos. I really like the way it is coming out - I'm kind of following something I read from the Roadster Shop - one trend is going back away from the super smooth pro-touring modernize them look and re-captue some vintage appearance in these cars, like the "Boss 429 Falcon" they built. I also notice I used to love scoops, flares, wings, etc (as long as they were functional) but the older I get the more I appreciate the classic lines of these cars. After all if we like old cars why are we trying to make them look like new cars ? So I am building a wide body but trying to move back to a much more "vintage" appearance, at least as vintage as an old mustang that's 50" tall and 76" wide can be. And I will still have aero management too. It should be a pretty unique take on the genre.
Reply With Quote
  #35  
Old 12-23-2013, 01:05 AM
palmsprings palmsprings is offline
Junior Member
 
Join Date: Jan 2013
Posts: 1
Thanks: 0
Thanked 0 Times in 0 Posts
Default

Thats a staunch looking Mustang, great work
Reply With Quote
  #36  
Old 12-23-2013, 02:54 AM
WSSix WSSix is offline
Lateral-g Supporting Member
 
Join Date: Nov 2008
Location: Dunwoody, GA
Posts: 6,561
Thanks: 1,488
Thanked 836 Times in 631 Posts
Default

This car is so badass. Good job Preston!
__________________
Trey

Current rides: 2000 BMW 540i/6 and 86 C10.

Former ride: 1979 Trans Am WS6: LT1/T56, Kore 3 C5/6 brakes, BMW 18in rims
Reply With Quote
  #37  
Old 12-23-2013, 09:54 AM
MSTSFabbed MSTSFabbed is offline
Senior Member
 
Join Date: Jan 2009
Posts: 132
Thanks: 0
Thanked 6 Times in 5 Posts
Default

Well, sometime later TODAY I will be motivated to post my wide bodywork photos. I really like the way it is coming out - I'm kind of following something I read from the Roadster Shop - one trend is going back away from the super smooth pro-touring modernize them look and re-captue some vintage appearance in these cars, like the "Boss 429 Falcon" they built. I also notice I used to love scoops, flares, wings, etc (as long as they were functional) but the older I get the more I appreciate the classic lines of these cars. After all if we like old cars why are we trying to make them look like new cars ? So I am building a wide body but trying to move back to a much more "vintage" appearance, at least as vintage as an old mustang that's 50" tall and 76" wide can be. And I will still have aero management too. It should be a pretty unique take on the genre.

There I fixed it for you!
__________________
Stephen S.
Reply With Quote
  #38  
Old 12-23-2013, 03:30 PM
Jr's Avatar
Jr Jr is offline
Senior Member
 
Join Date: Sep 2005
Location: so cal
Posts: 1,772
Thanks: 0
Thanked 0 Times in 0 Posts
Default

[QUOTE=preston;524460]


QUOTE]

Looks pretty tough! Any more pics of the complete car?
Reply With Quote
  #39  
Old 03-30-2014, 09:35 PM
preston preston is offline
Senior Member
 
Join Date: Nov 2005
Posts: 655
Thanks: 0
Thanked 34 Times in 19 Posts
Default

First of all I apologize for being a poor photographer. I know when I look at the pro build threads
there is a massive impression of quality because the best shops put forward a totally clean work environment,
excellent fabrication - but also clear, well lit quality photography.
So while I've never been prouder of the fabrication work I'm doing, I admit it always looks a bit ghetto
after i take a picture of it.

I had an extra door, so the first thing I did was cut that in length, space it out 2", and mounted it on
the car to see what it would look like.
(doorsplit.jpg)


(doorsplitmounted.jpg)


Not bad I thought.

The next step was to figure out what the fenders would look like pushed out. The fit great, but I had to cut
out the windshield corner and move it in so it would still mate up with the windshield.
honestly there is enough "variation" in these $150 Tawain fenders that that kind of bodywork is halfway needed
anyway ha ha.

fendercorner1.jpg


After that I had the confidence to get going. I added metal to the door jamb

doorjamb.jpg


Then the next step was welding a 2" string all around the door. I had one good Ford door and I bought one replacement
door from NPD, which was of excellent quality btw, only flaw is maybe the window slot is about 3/16" too wide, but
it fit the car good. Note I also had to weld in a 2" strip of .120 on the front where the hings mount.
I also found out the hard way that I needed to space the front hinges out 2". Unfortunately I
don't have any pictures of that I will get some, but I just bolted and then welded on some sections of 2"*3".
it sounds "rough" but it actually looks really good (when the door is open and you are inspecting the hinges).
I don't know why I only have pictures of the end of the door instead of the important part (the top).
The way I approached teh welding is where I had excellent fit up, I TIG'ed it for superior cleanup and to
keep the metal soft for hammer and dolly, but where I had a gap I MIG'ed it for sanity sake. The combination
of the 2 techniques worked for me.

door.jpg


doorjamb2 .jpg

Last edited by preston; 12-06-2015 at 12:10 AM.
Reply With Quote
  #40  
Old 03-30-2014, 09:42 PM
preston preston is offline
Senior Member
 
Join Date: Nov 2005
Posts: 655
Thanks: 0
Thanked 34 Times in 19 Posts
Default

Next I had to cut the quarter panels off and space them out 2".
Even though my flares were being reduced tremndously, I still had to build new flares, for about the 8th time in
the history of this car.

rearflarebuild2.jpg


rearflarebuild1.jpg


The flares were a nightmare even with all that "experience" behind me. Now I know why the pros always build a wire
frame or equivalent. When you look at the wheel from the side, you want the "inner circle" of the flare to
follow the wheel radius ata fixed value until it drops below the hubline. You want the horizontal incline fo the
flare to stay even around its radius as well. Now, the "outer circle" of the flare where it hits the sheet metal
....The radius of this varies as the sheet metal bows in and out from the front/rear view. And one aspect of a '67
Mustang is that there is a LOT of roundness from this view. In addition to that, from the front and
rear view the flare is sweeping into the body. There is no math or "circle" template that can help you here,
its all obsesive-compulsive mad artist to get it done. Especially 4 times. But they are by far the best
flares I have ever built. I finished them off by using a 5/8*5/8 angle of 20 awg and using the shrinker/stretcher
to match it to the outer radius of the flare.

flarebuild1.jpg


rearflarebuild1.jpg

finishedflare1.jpg


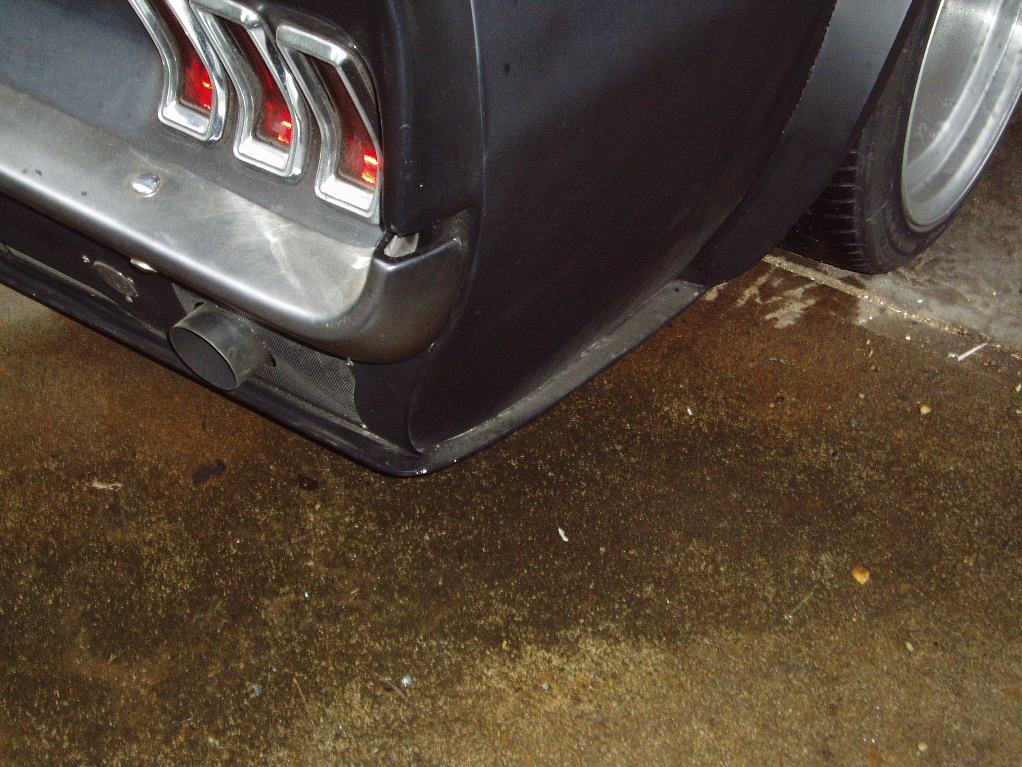
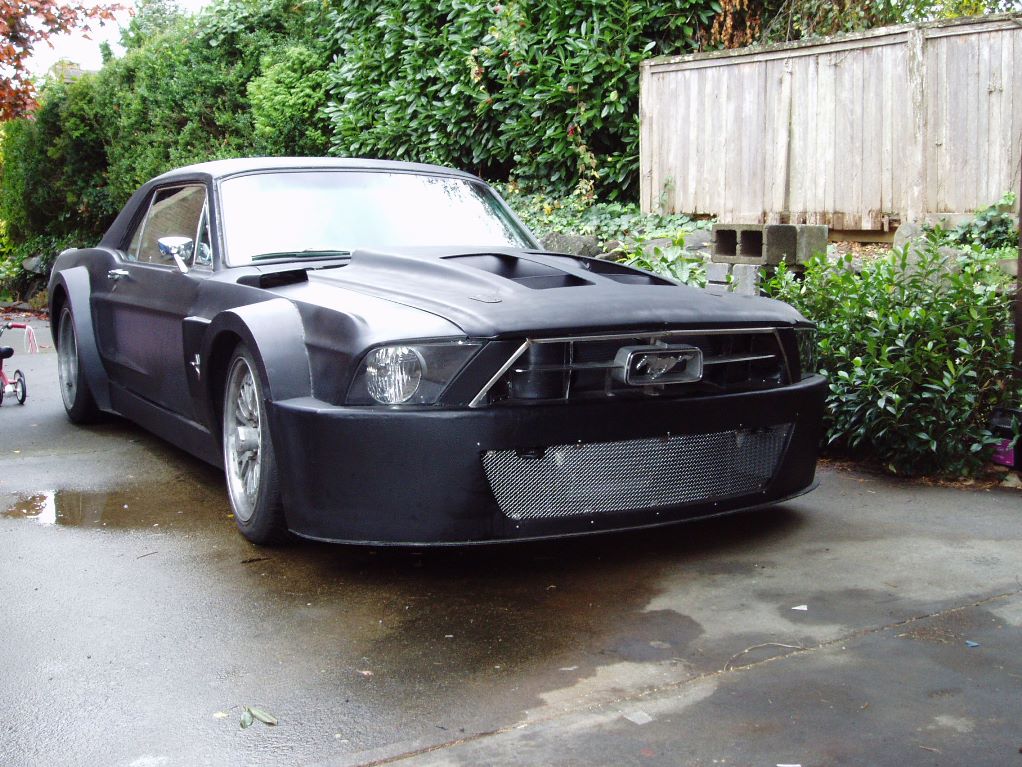
Obviously I had to build a custom wider rear valence, and cut a stock tailpanel in 2 places and widen it 2".
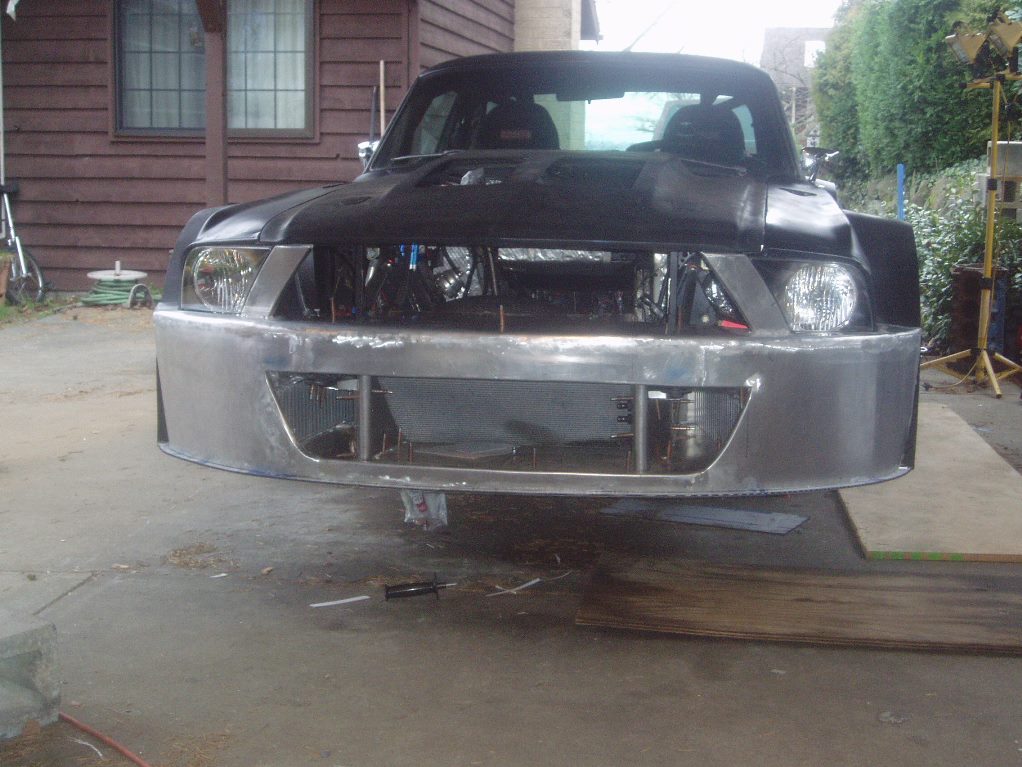
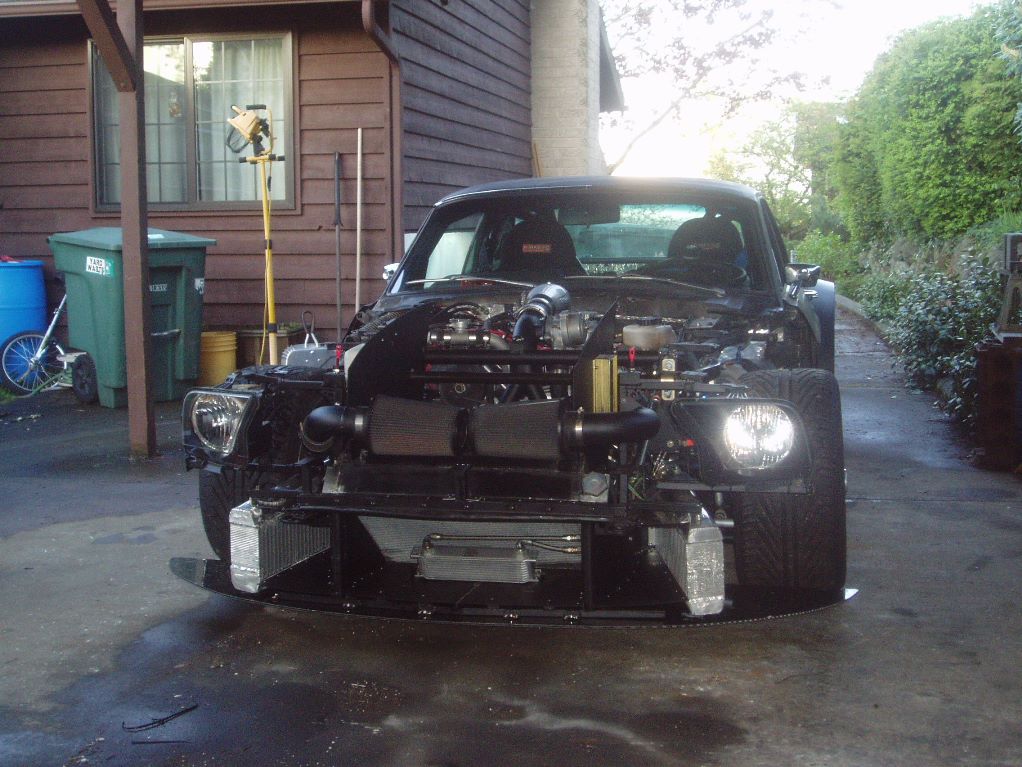
I split a fiberglass bumper (because its 6 lbs ligher and because chroming a new one would cost an arm and a leg
and I'm not sure my metal fab is good enough).

I don't have pictures but I also built some new quarter caps to match the Shelby style deck lid and they came
out awesome I will post them later.

unfinishedrear.jpg


I finished up the top of the quarter panels (note I had previously lowered the bottom rear of the quarter panels to match
a properly angled diffuser)

At this point I finished the top fo the quarters. I left a lot of bodywork raw and just primered it, but I did body work
the tops fo the quarters so they would look nice. I also sent the fincd $ished doors out to a local shop
Fenders and fins and they cambe back looking perfect. I swear they looked like doors you had just pulled out of
the box from the UPS truck excep they were 2" wider. I will continue to have them do parts for me. Price was
very reasonable as well. What is so amazing about this is how well it integrates intot he Mustang body line.
I swear a casual observer (ie not a MCA concours judge) will really not even be aware what was done.
I heard one of the Ring bros talking about their widened mustang and said something like "I think all Mustangs
out of our shop will now be widened. Its just the right look and gets us the tires we need".

I should also mention I put hours into getting all the gaps right. That's something that didn't even cross my mind a few years ago, but now they are 18-3/32 everywhere on the car. Pretty psyched about that too, that detail
makes a big difference.

finished1.jpg

finished2.jpg

finished3.jpg

finishedrearside.jpg


After that I build some rocker panels out of aluminum. Part of the gist of this build is even though its a wide
body and runs 285/335 tires and is only 4" off the ground, I want it to look as "stock" and vintage as possible.
SO i was done with race car style or "body kit" style rockers. I was super happy with how these came out, they roll under
the car just like stock (well, they are about 1" taller overall).

rocker1.jpg

rocker2.jpg

Last edited by preston; 12-06-2015 at 12:02 AM.
Reply With Quote
Reply


Posting Rules
You may not post new threads
You may not post replies
You may not post attachments
You may not edit your posts

BB code is On
Smilies are On
[IMG] code is On
HTML code is Off

Forum Jump


All times are GMT -7. The time now is 01:54 PM.


Powered by vBulletin® Version 3.8.11
Copyright ©2000 - 2025, vBulletin Solutions Inc.
Copyright Lateral-g.net