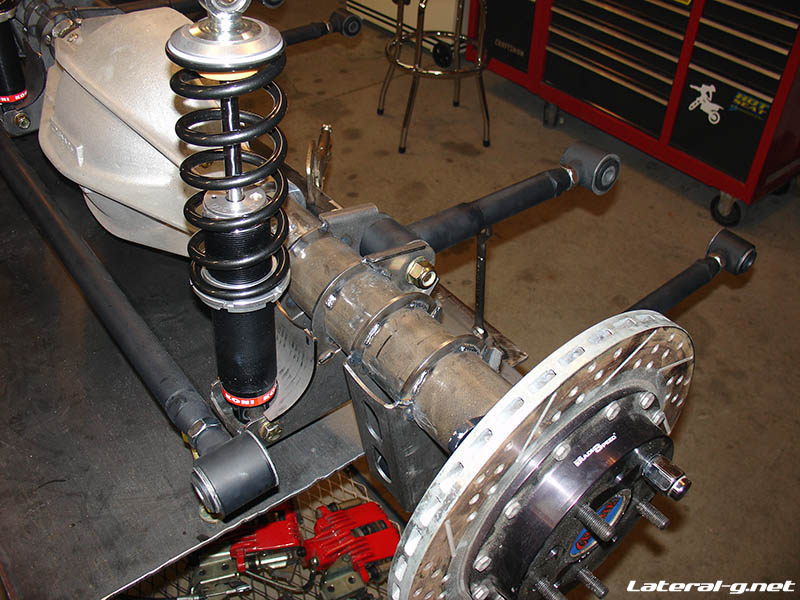
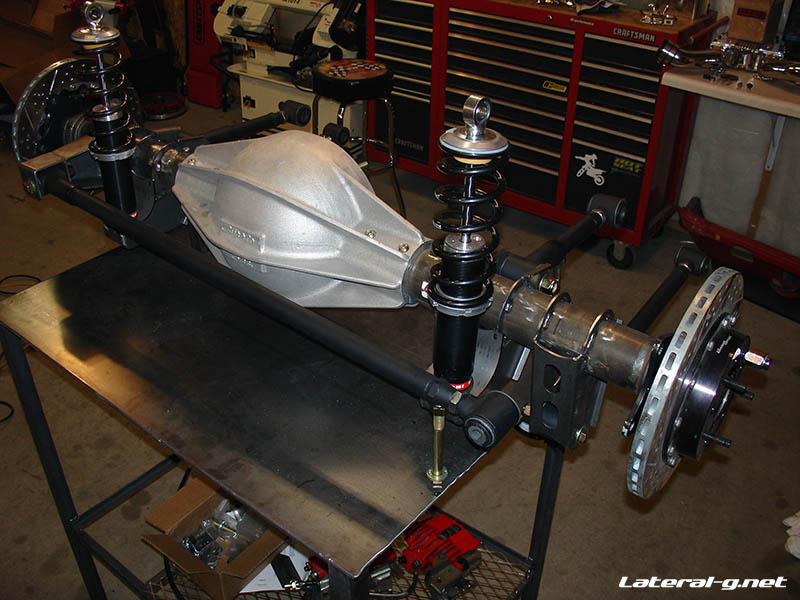
I got the brackets solidly tacked to the rear end housing and it's ready for mock up once I get the stuff done to the body. As you can see, for a jig, I just tacked it to my little welding bench. It worked great and it would be impossible to set the -2 degree pinion angle without a solid jig of some sort.
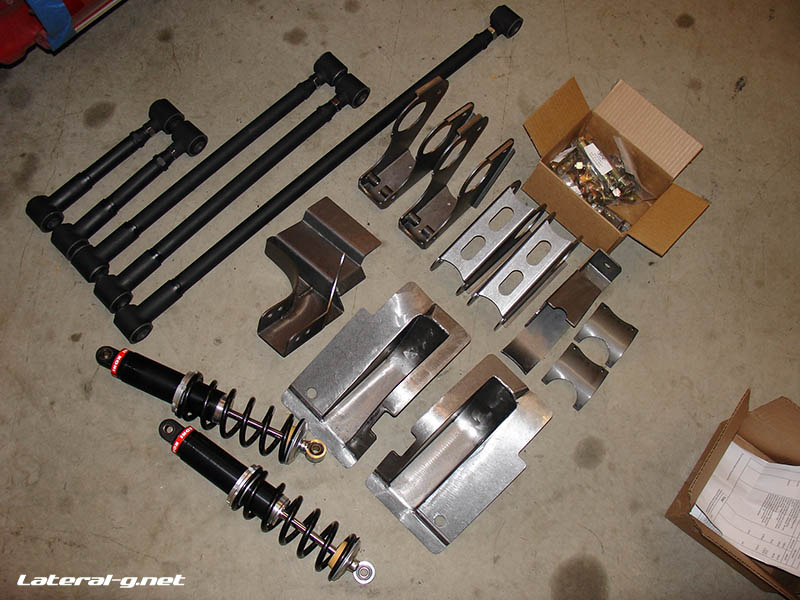
I'm extremely impressed by how well thought out this kit is. It really went together well. But then again, this is a DSE product, it's pretty much a given that the quality would be off the scale.
Oh yeah, and I should mention that the swivel links are trick. I have no idea how they work, but it's amazing how smooth and fluid their movement is.
Oh yeah, and I should mention that the swivel links are trick. I have no idea how they work, but it's amazing how smooth and fluid their movement is.
Yeah I played with one at the display at a car show. I bet its something not too crazy but I just settled on calling it magic since I will probly never know how they really work.
__________________
Andrew Petty
1969 Nova:Pics of my car
Scott, what are you running for a rear end? It looks like a Currie with the aluminum housing? Just curious, very close to what I had in mind on my car. By the way looks great . Travis
Scott, It is great to see the progress picts. I am running a different rear but I have some similar welding tasks to acomplish. I would love to see exactly what you tacked where for the jig.
W.
__________________
William Rouleau
Project PonySnake


 Brian Hobaugh SCCA National Tour June 2014
 First Hemi 'Cuda Convertible Ever Built
 Short clips: Goodguys Pleasanton autocross and pit videos


 Linear Mode

