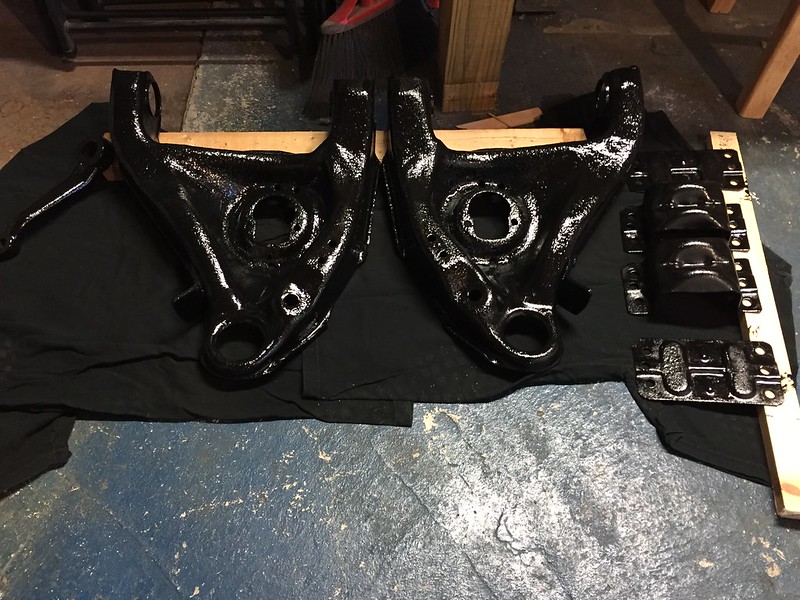
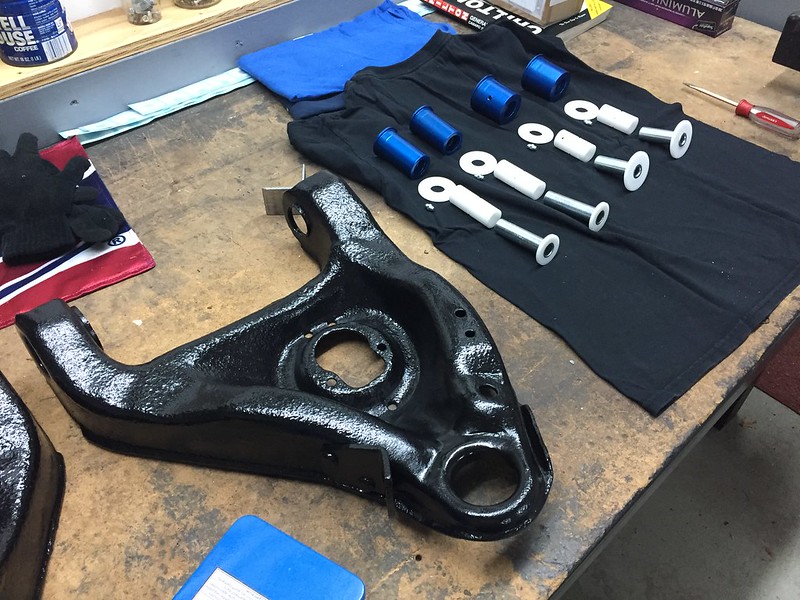
More progress! I have the final coat of paint on my K-member, the control arms and a few other pieces. I had to move everything into my basement as it's still pretty cold up here in the northeast. I'm using a Farm and Implement paint I got at Tractor Supply... it was super cheap and is apparently tough as nails. I'm not sure if I'm sold on the gloss finish though... I may switch over to a satin for the detail pieces in the engine bay.

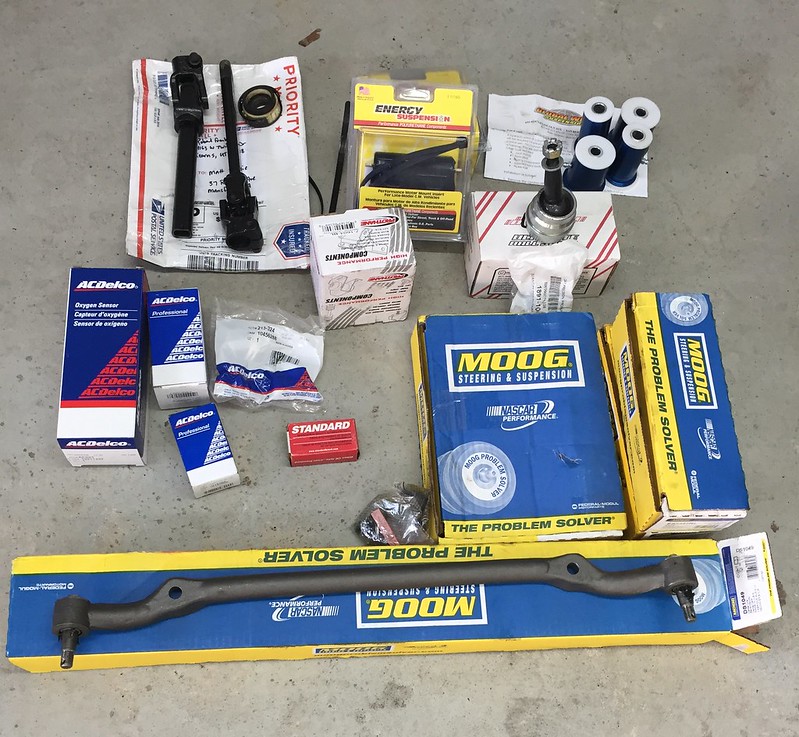
I've also been ordering a bunch or parts that have started to come in. Even though I'm on a budget, I've been trying to order quality parts for important things like steering/suspension components and for pieces that are hard to get to once the engine and trans are back in the car:
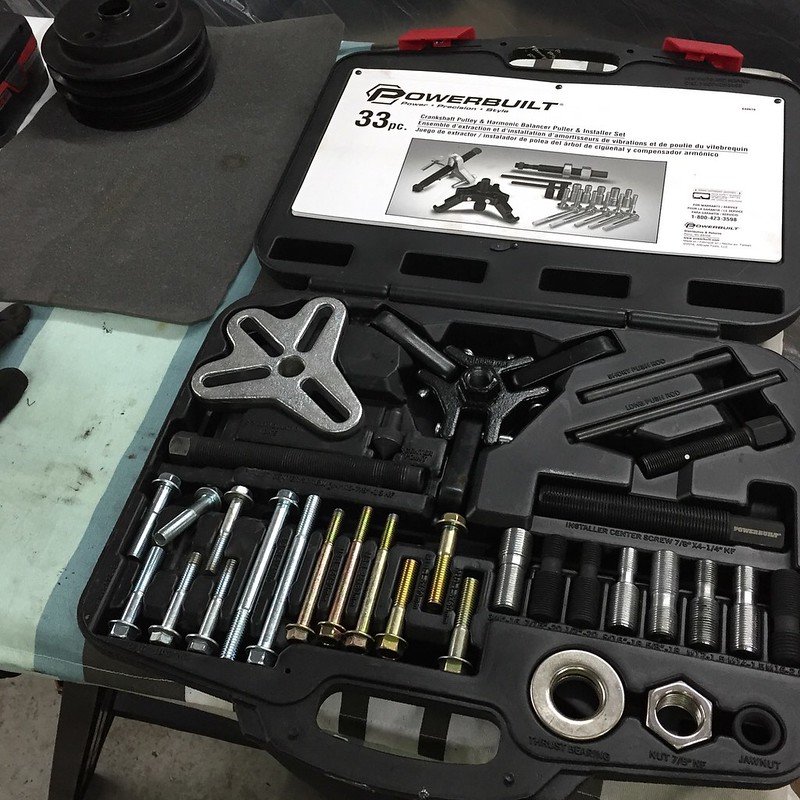
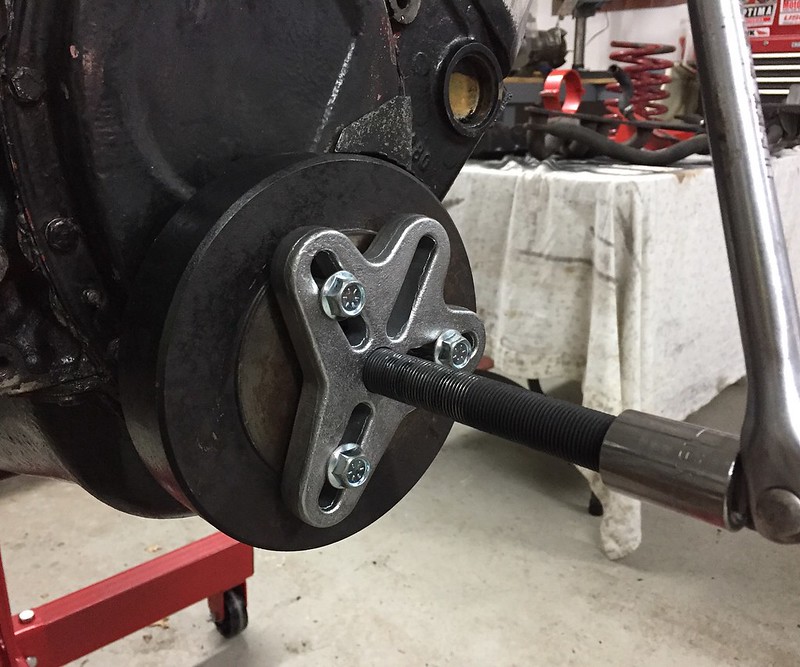
Next I started going through a few of my subsystems to see what I need to order next...
I was hoping someone on here could help me assess the health of my clutch. I tried to take some detailed pictures below. I have been contemplating switching over to an AL flywheel and perhaps swapping out my slave cylinder for something with a stiffer feel. I am going to call SPEC this week to see what I'm working with here but if anyone has any comments that'd be awesome:
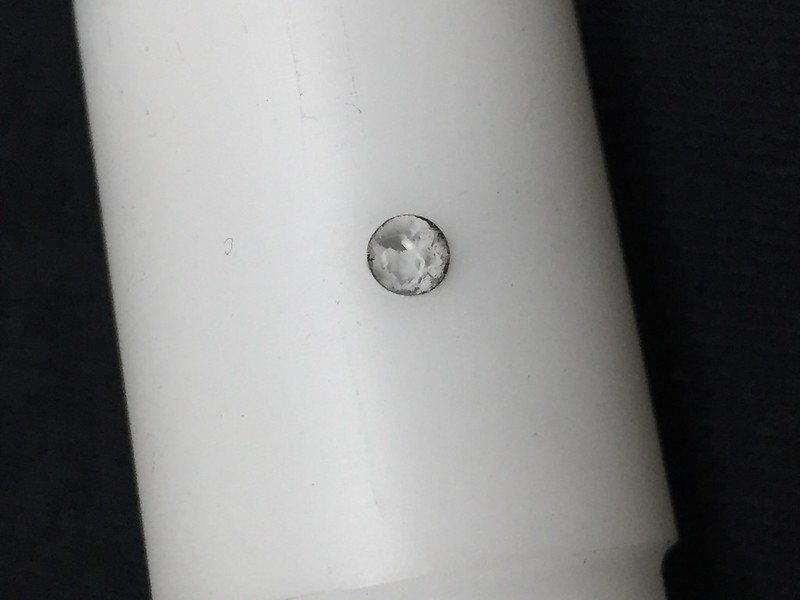
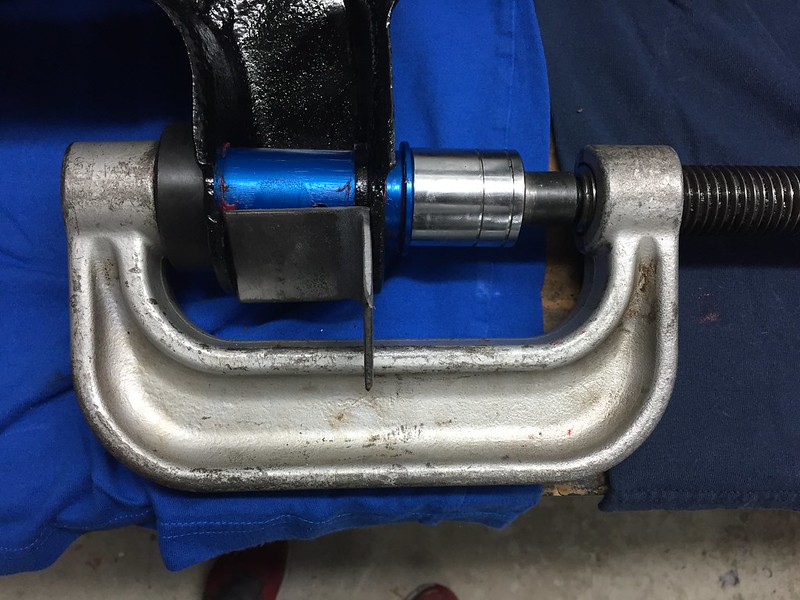
Clutch Disk:

Pressure Plate:
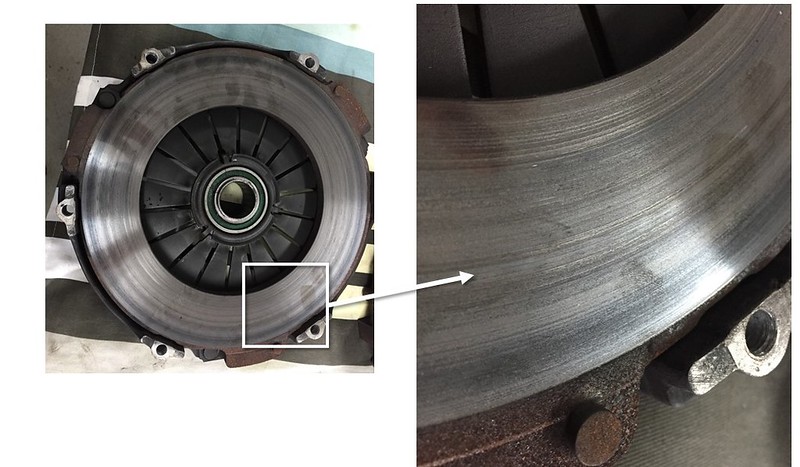
Flywheel Surface:

I also need to think about if I should repair my AC box or try to look for a replacement. I'm thinking I could maybe patch up these cracks with some epoxy and then paint it. Has anyone done something like this?
Here is a pic of the cracks:

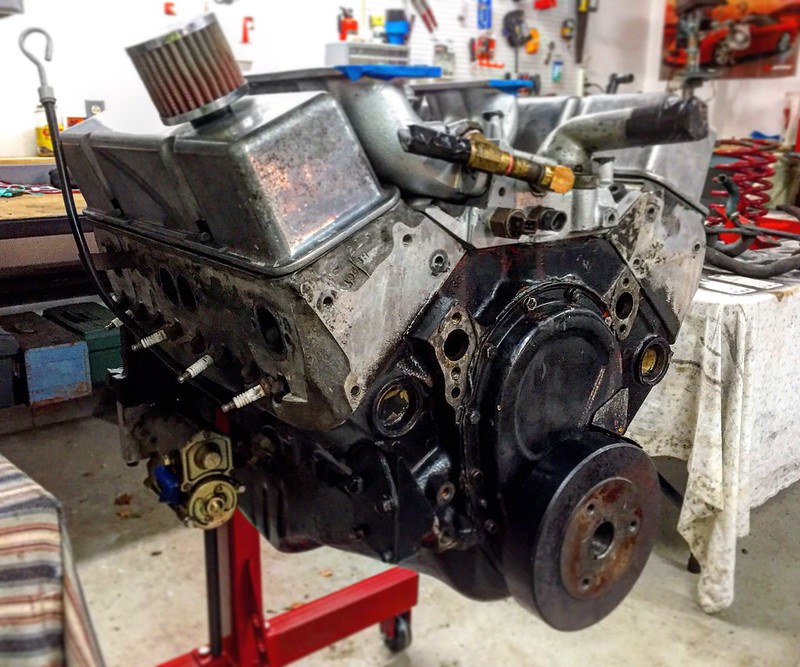
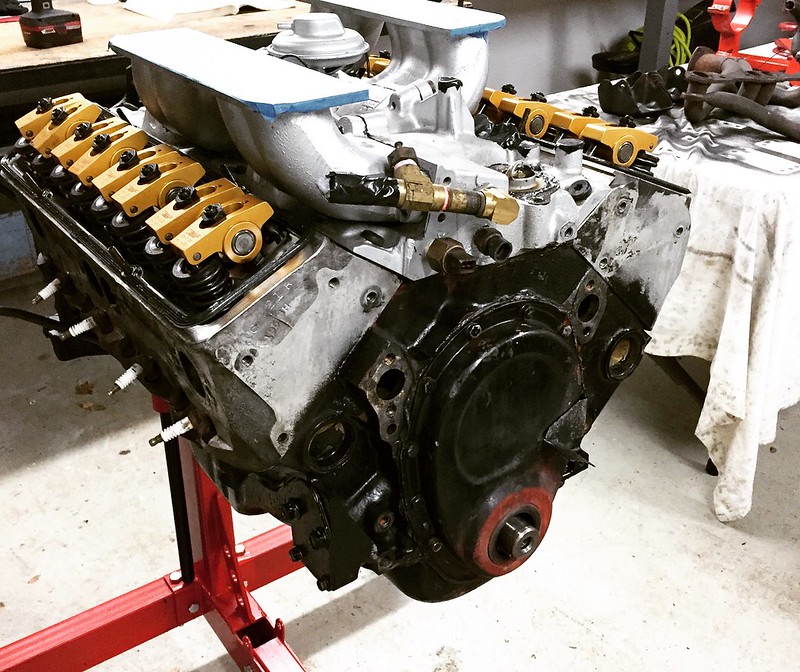
The last thing I'm struggling with is how to clean up my AL heads. They're covered in a bunch of grime and a bit of paint overspray. I'd like to be able clean them up and leave them bare but I've tried a bunch of things and nothing seems to get them clean enough. Any thoughts?

Thanks for keeping up with my progress! Trying to bust my way through this boring stuff so I can start putting the car back together!


 Brian Hobaugh SCCA National Tour June 2014
 First Hemi 'Cuda Convertible Ever Built
 Short clips: Goodguys Pleasanton autocross and pit videos


 Hybrid Mode
