Been a little while since my last update so I have lots of material to share!
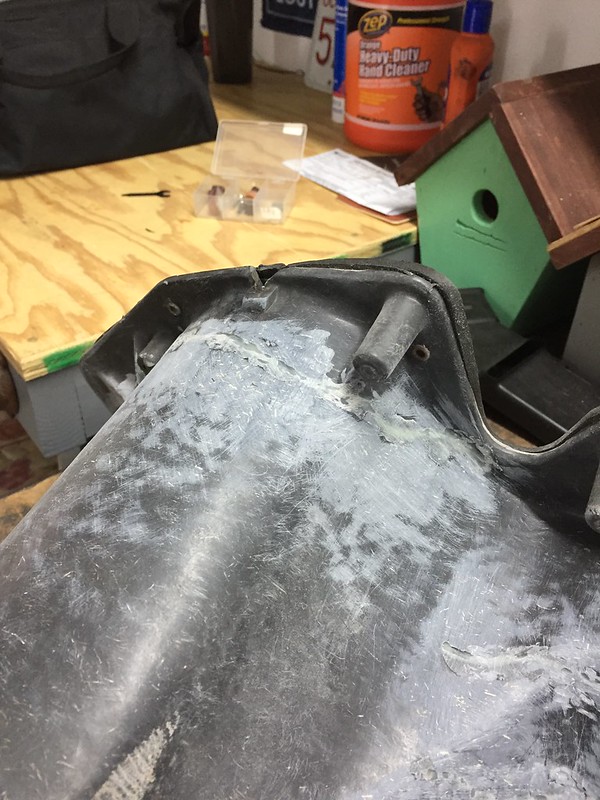
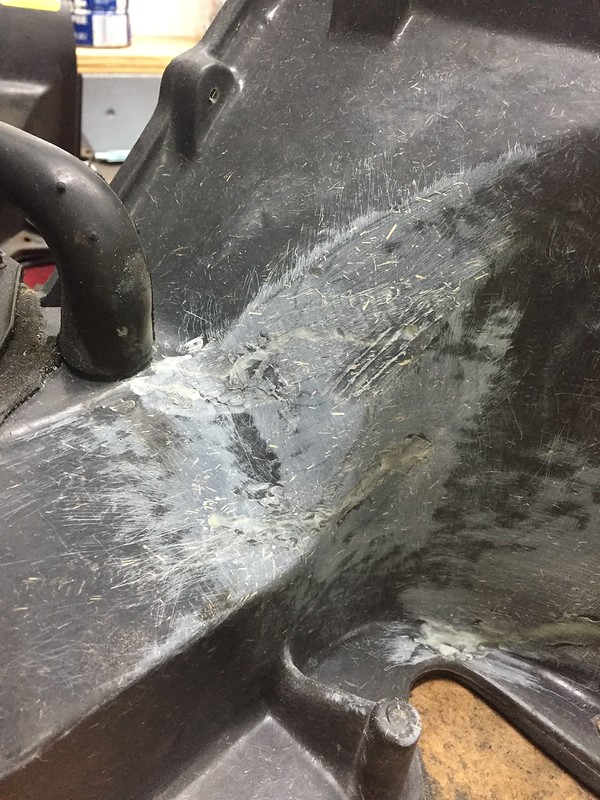
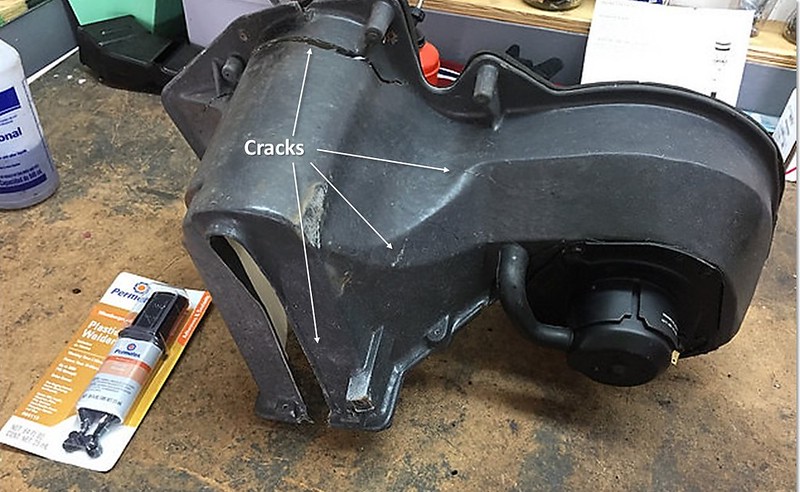
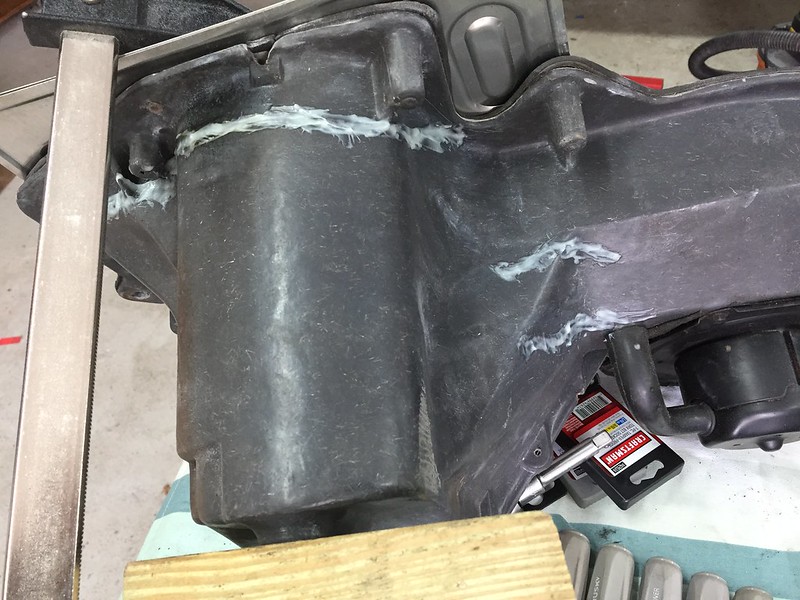
Repairs on my AC box are coming along nicely. I sanded the first coat of filler and applied a thin 2nd coat to fill in some pinholes and low spots. After one more round of sanding it should be ready for paint. It won't be perfect, but much better than it was.
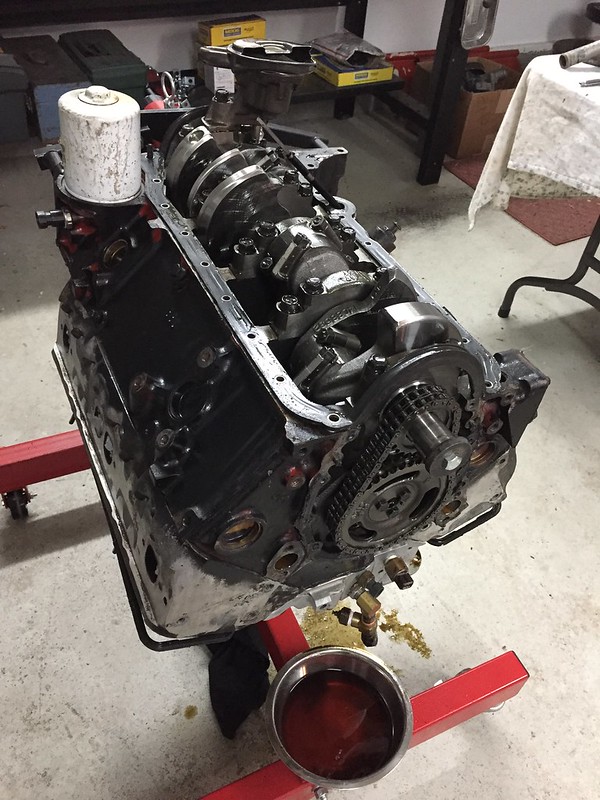
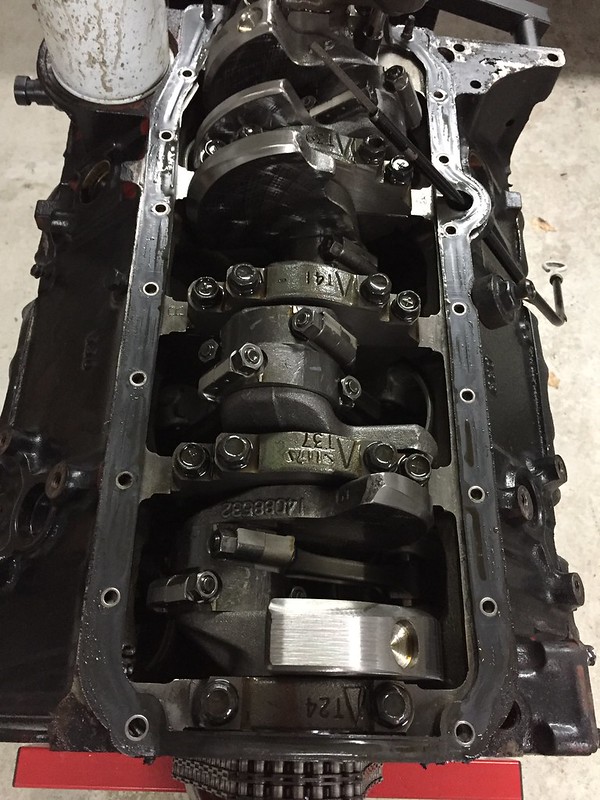
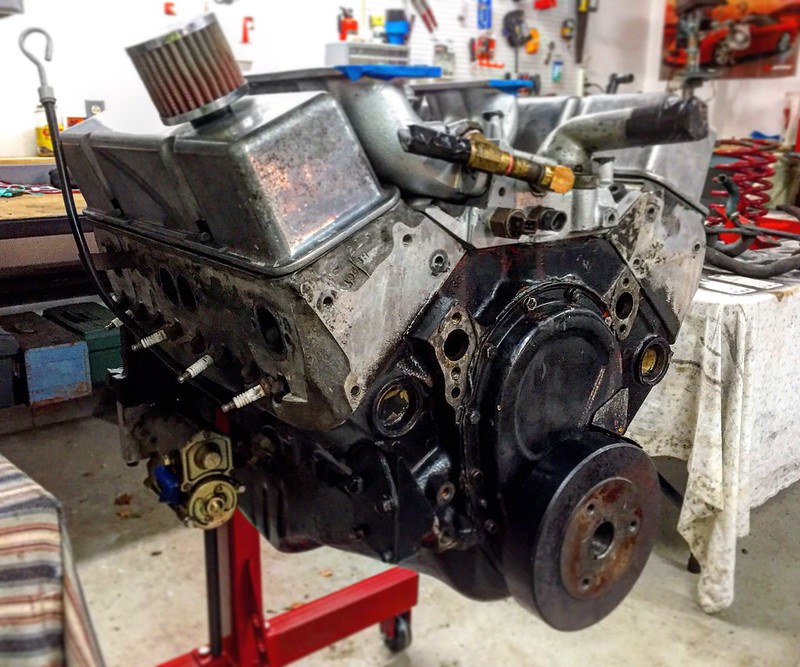
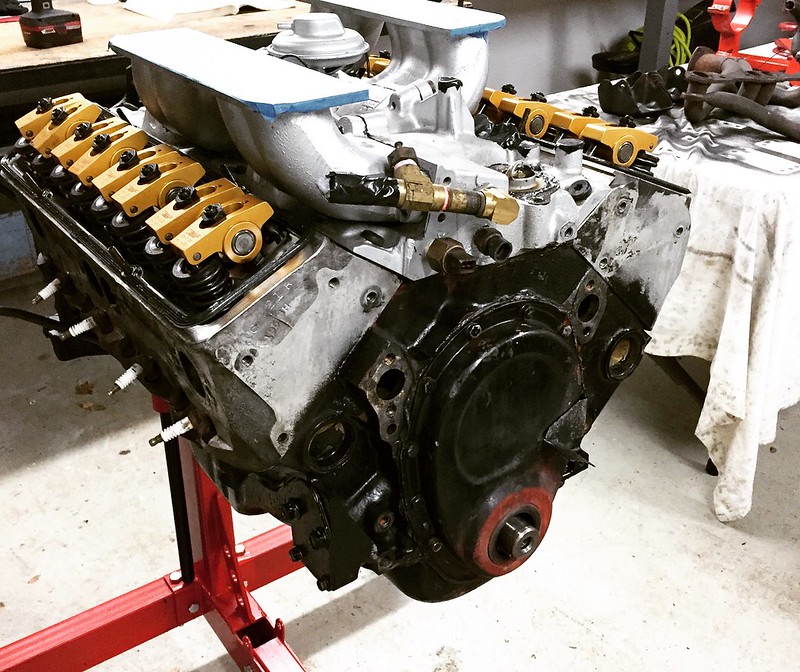
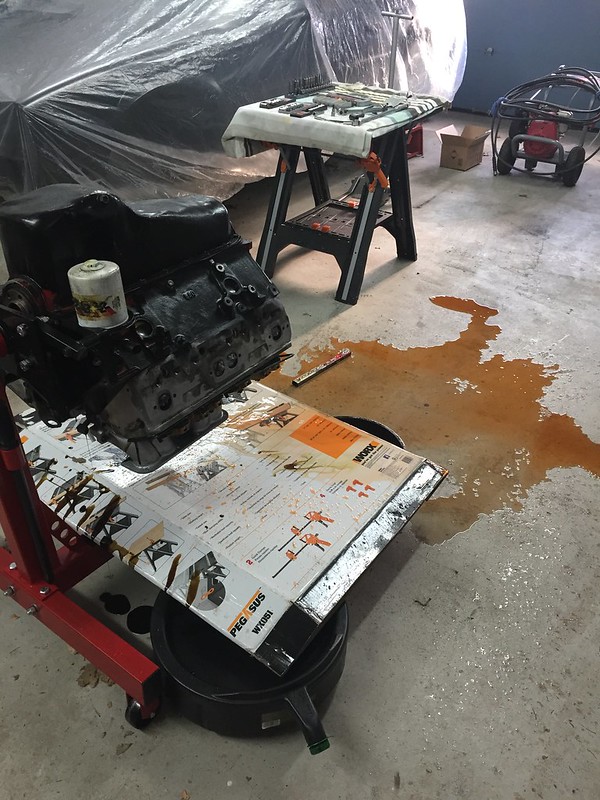
Next I got started on my engine teardown and resealing. I don't know much about this engine, other than the previous owner telling me it's a ZZ4 with AL heads. It looks pretty good from what I am finding so far:
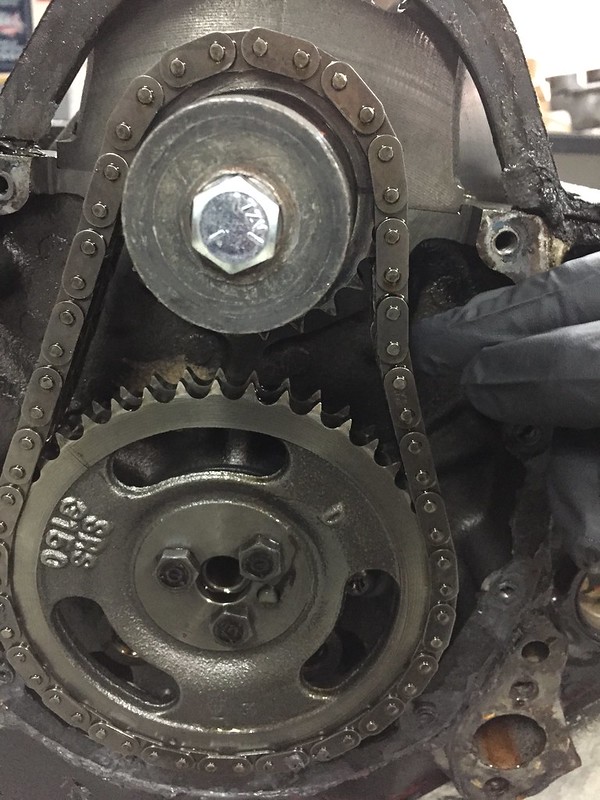
The engine has 4-bolt main bearings (which checks out for a ZZ4) and a nice double roller timing chain:
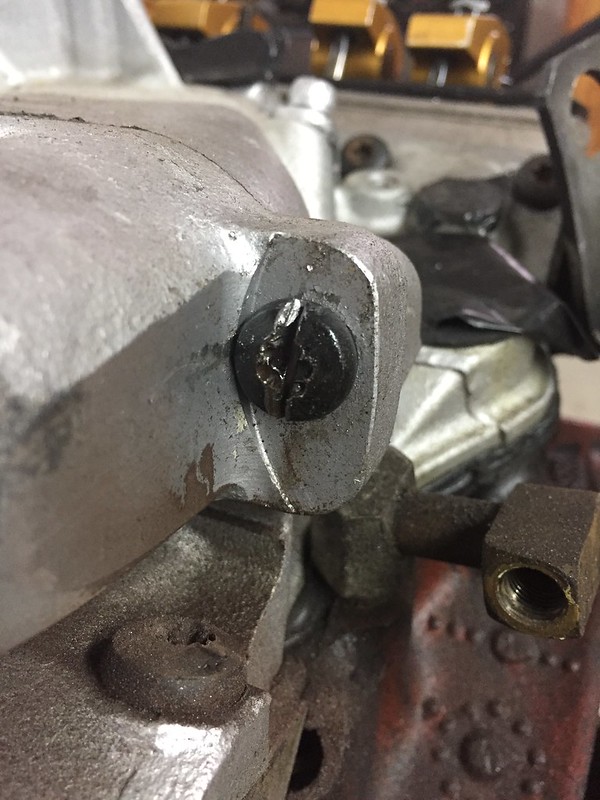
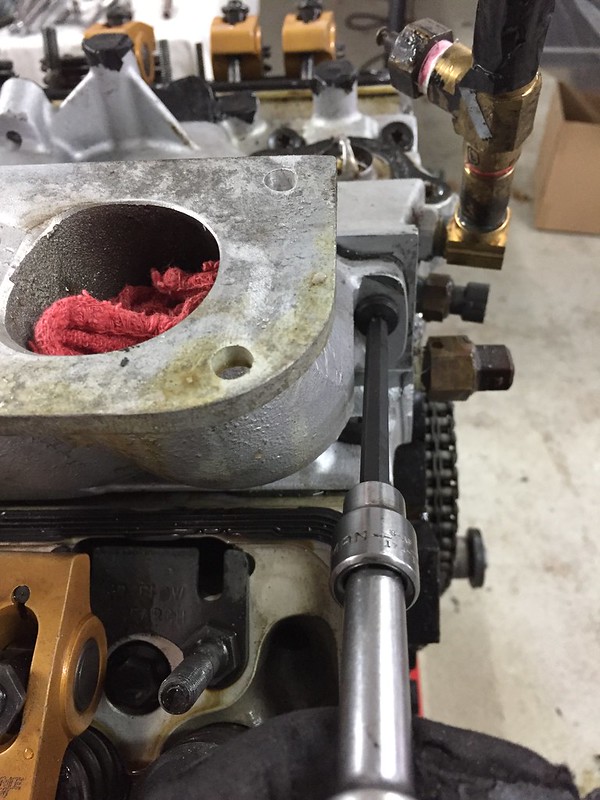
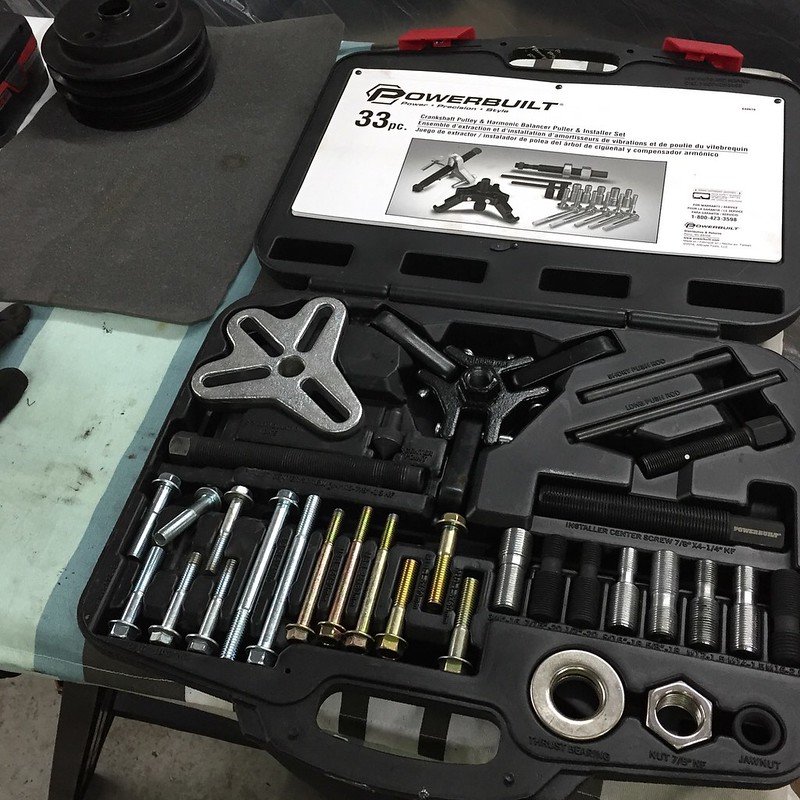
Taking the intake manifold off was a royal pain in the rear. If anyone here hasn't worked with a Super Ram intake, it's made up of 5 pieces that are all connected with Allan and Torx bolts. I stripped one of the Torx bolts trying to use a standard socket and had a bear of a time trying to get it out. Lesson learned, get the right tools the first time!
Standard-length sockets come in at a slight angle, not good for Torx!

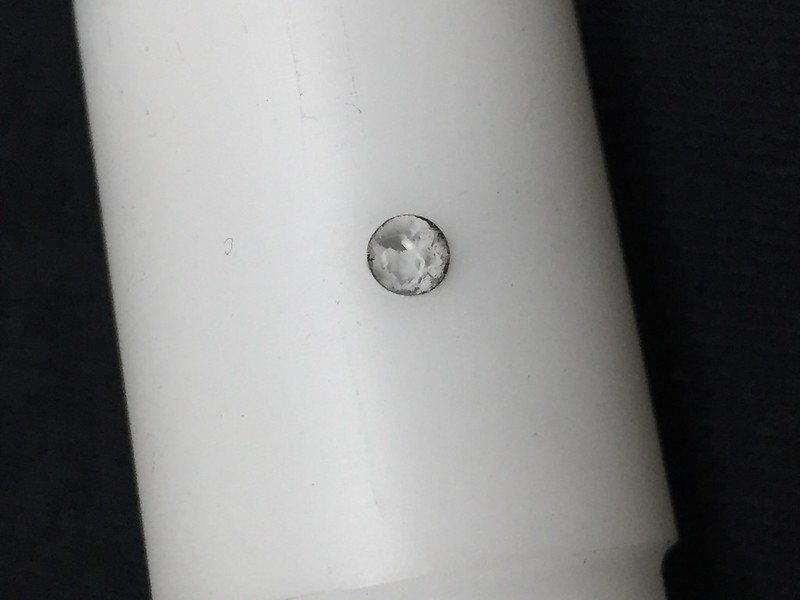
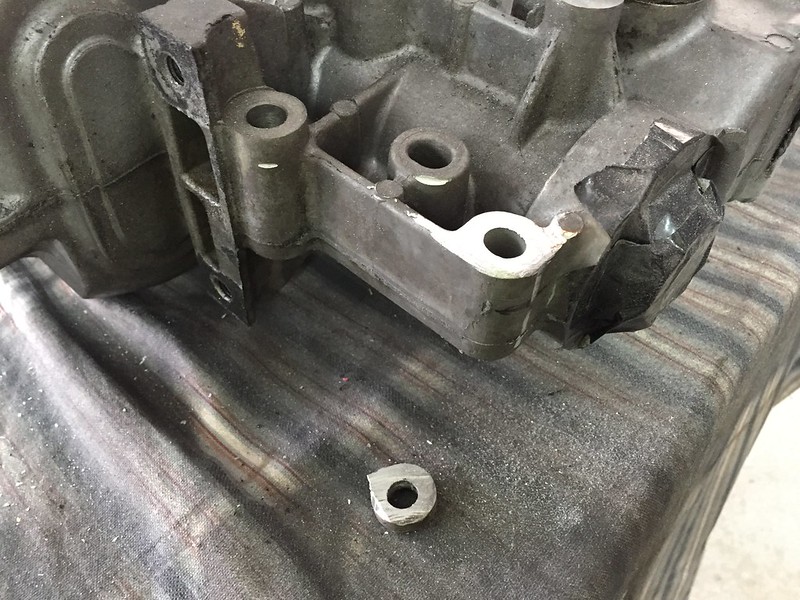
The resulting stripped bolt:
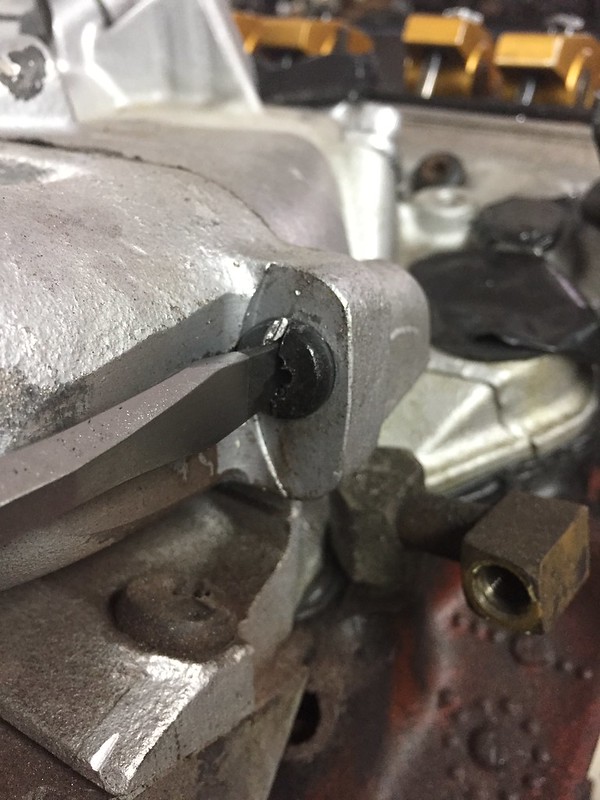
First I tried a flathead and then an EZ-out but neither worked:
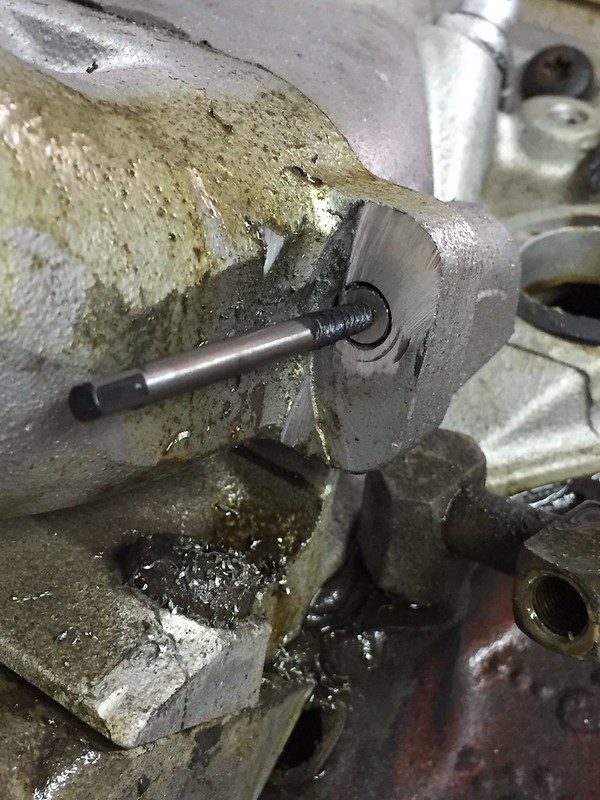
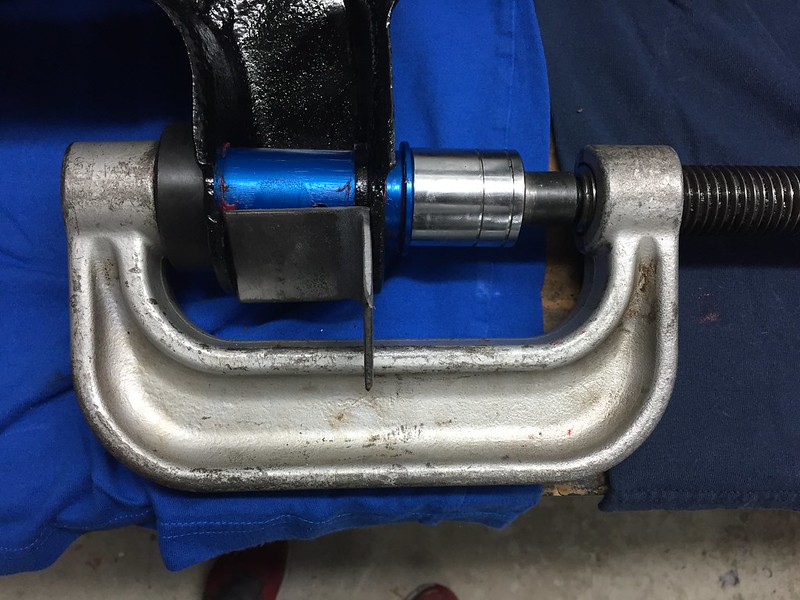
Finally, I ended up grinding the head off the bolt and removing that section of the intake which luckily left just the threaded portion of the bolt that I could get some Vice-Grips on:
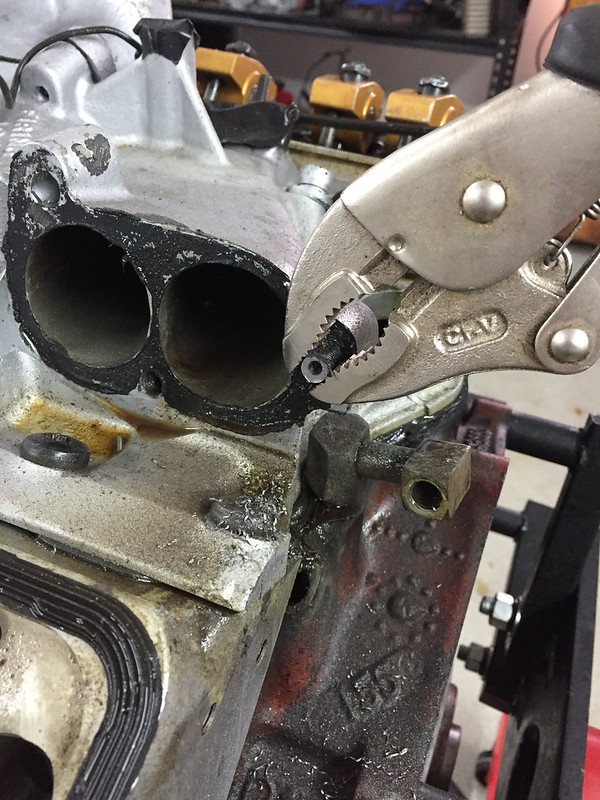
I smartened up and ordered the proper tools for the rest of the bolts!
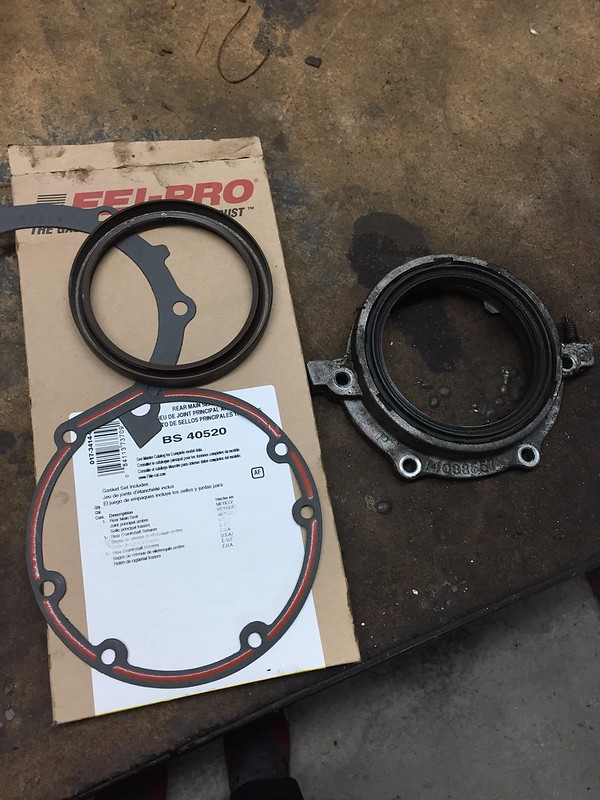
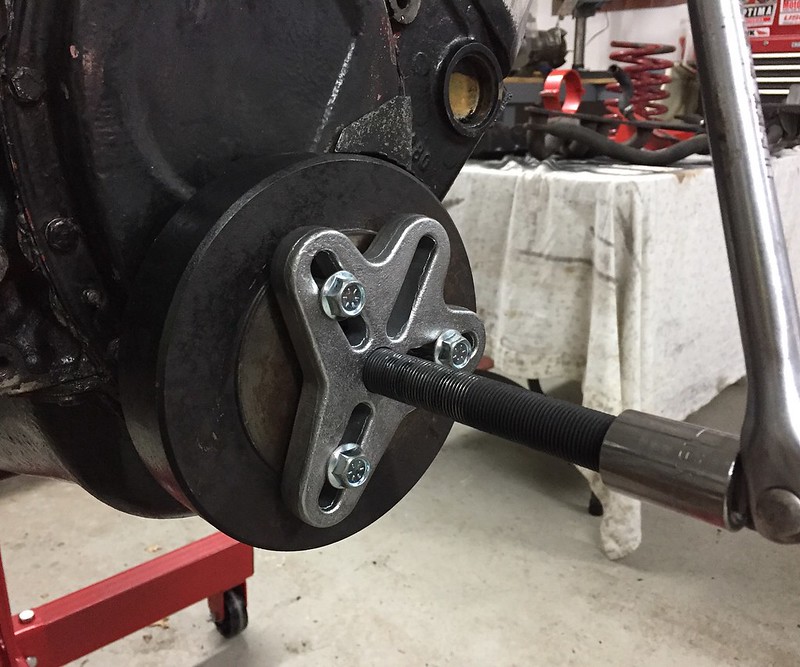
Next I moved on to replacing my rear main seal (which is 1-piece) with a new one. There was a ton of oil in my bellhousing and I'm hoping this was the cause.
Finally, I ran the numbers on my oil pump and figured out it is a Melling high-volume one. Nothing wrong with it, but from lot of research I have been doing this is not the right fit for this engine and my needs (mild small block with occasional road racing). A high volume pump is appropriate if you are running larger-stock-bearing clearances. If you are not, the extra volume is simply wasted and ends up in your oiling system being inefficient and pulling more horsepower and heating up the oil more than it needs to be. A stock Chevy oiling system is actually quite stout and should be adequate for my needs. That doesn't mean it can't benefit from a couple of well thought out upgrades however
That being said, I have ordered a standard-volume pump and have decided to upgrade my pan to one with a slightly larger volume and a crank scraper/windage tray. When I was on the track last season, I was noticing my oil pressure gauge start to bounce all over the place at higher revs... I'm hoping the crack scraper and windage tray can help with this.
I'll have that install in the next post!


 Brian Hobaugh SCCA National Tour June 2014
 First Hemi 'Cuda Convertible Ever Built
 Short clips: Goodguys Pleasanton autocross and pit videos


 Linear Mode

