...

Go Back   Lateral-g Forums > Lateral-G Open Discussions > Project Updates
User Name
Password


Reply
 
Thread Tools Display Modes
  #1  
Old 03-22-2018, 06:58 PM
garage_engineer's Avatar
garage_engineer garage_engineer is offline
Senior Member
 
Join Date: Jun 2015
Location: Mass
Posts: 145
Thanks: 10
Thanked 40 Times in 26 Posts
Default

Quick update for tonight:

Starting to strip down my motor to get it ready for paint. Borrowed a harmonic balancer removal tool from my local Advance Auto and it worked like a charm! Also got the starter off and a few other pieces. Working on getting the intake off now... I don't know if any of you have ever worked with a Super Ram intake, but they have a ton of fasteners and some are a b*itch to get to!

Starting Point:


Where she sits today:


I also got started on installing my Del-A-Lum bushings I got from Global West in my freshly painted control arms. Again I rented a ball joint press from my local Advance and it was just wide enough to work. I don't own a hydraulic press but I'm looking to pick one up for future jobs like this. I can't wait to see how the car feels with these new bushings installed!


Some of the delrin sleeves needed a little de-burring before they were installed but nothing a quick pass with a drill bit couldn't fix:


The bushings were supplied with a piece of angle iron to use a spacer between the control arm faces so they didn't collapse when pressing in the outer sleeves. I had to trim it just a bit but it worked great.


I only got 2 out of the 4 installed tonight and will post final picture if I can get to the others this weekend. Getting there, little by little!
Reply With Quote
  #2  
Old 03-22-2018, 07:23 PM
WSSix WSSix is offline
Lateral-g Supporting Member
 
Join Date: Nov 2008
Location: Dunwoody, GA
Posts: 6,559
Thanks: 1,471
Thanked 833 Times in 629 Posts
Default

To remove the intake tubes from an TPI engine, I suggest either getting sockets with long torx bits, or switching to allen head bolts and getting sockets with long allen keys. Also, a swivel extension even if just a short one. This will really help you get into the area the bolts are located at and be able to confidently remove and torque them.

Also, just as a general rule, if you're ever having to buy allen keys, always try to find the ball end ones.

Keep up the good work.
__________________
Trey

Current rides: 2000 BMW 540i/6 and 86 C10.

Former ride: 1979 Trans Am WS6: LT1/T56, Kore 3 C5/6 brakes, BMW 18in rims
Reply With Quote
  #3  
Old 03-23-2018, 04:34 AM
gofastwclass gofastwclass is offline
Senior Member
 
Join Date: Feb 2012
Location: Behind the wheel in KCMO
Posts: 363
Thanks: 118
Thanked 40 Times in 37 Posts
Default

Quote:
Originally Posted by WSSix View Post
Also, just as a general rule, if you're ever having to buy allen keys, always try to find the ball end ones.

Keep up the good work.
I second the ball end Allen keys. There is nothing worse than trying to work with an Allen fastener using a standard Allen tool and not being able to get at it straight on. I would also make sure to buy some from a quality vendor. I have a friend who uses the stuff sold at your local nautical themed "tool" store and 90% of it is... junk to be polite. However I will buy blue rubber gloves from them.

You're moving in the right direction.
__________________
I build my own junk...
Reply With Quote
  #4  
Old 03-24-2018, 01:21 PM
shelteredV's Avatar
shelteredV shelteredV is offline
Lateral-g Supporting Member
 
Join Date: Feb 2018
Location: Way East L.I.
Posts: 139
Thanks: 46
Thanked 44 Times in 33 Posts
Default

Great effort, another home build coming out nice!
Reply With Quote
  #5  
Old 03-25-2018, 05:12 PM
garage_engineer's Avatar
garage_engineer garage_engineer is offline
Senior Member
 
Join Date: Jun 2015
Location: Mass
Posts: 145
Thanks: 10
Thanked 40 Times in 26 Posts
Default

Quote:
Originally Posted by WSSix View Post
To remove the intake tubes from an TPI engine, I suggest either getting sockets with long torx bits, or switching to allen head bolts and getting sockets with long allen keys. Also, a swivel extension even if just a short one. This will really help you get into the area the bolts are located at and be able to confidently remove and torque them.

Also, just as a general rule, if you're ever having to buy allen keys, always try to find the ball end ones.

Keep up the good work.
Quote:
Originally Posted by gofastwclass View Post
I second the ball end Allen keys. There is nothing worse than trying to work with an Allen fastener using a standard Allen tool and not being able to get at it straight on. I would also make sure to buy some from a quality vendor. I have a friend who uses the stuff sold at your local nautical themed "tool" store and 90% of it is... junk to be polite. However I will buy blue rubber gloves from them.

You're moving in the right direction.
Thanks for the tips guys! I'm actually searching online for some long Torx and Allen extensions right now after stripping another Torx head this afternoon. The extra long extensions seem like the way to go... there's always the right tool for the job!

Quote:
Originally Posted by shelteredV View Post
Great effort, another home build coming out nice!
Thanks! I'm getting there slowly but surely.
Reply With Quote
  #6  
Old 03-25-2018, 05:42 PM
garage_engineer's Avatar
garage_engineer garage_engineer is offline
Senior Member
 
Join Date: Jun 2015
Location: Mass
Posts: 145
Thanks: 10
Thanked 40 Times in 26 Posts
Default

Spent a lot of time in the garage this weekend but unfortunately not a lot of the work was photo-worthy. I had a table full of parts that needed to be scraped, scuffed, cleaned and painted so I spent the majority of the time doing that.

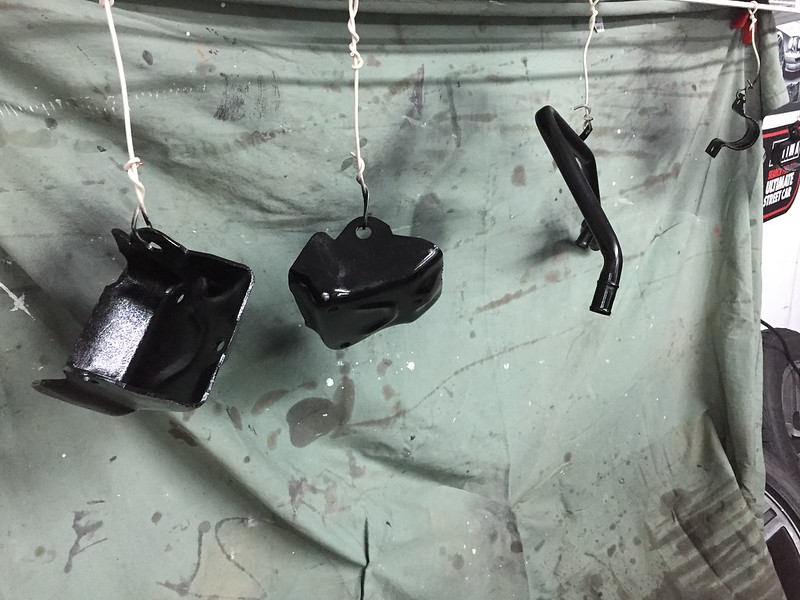
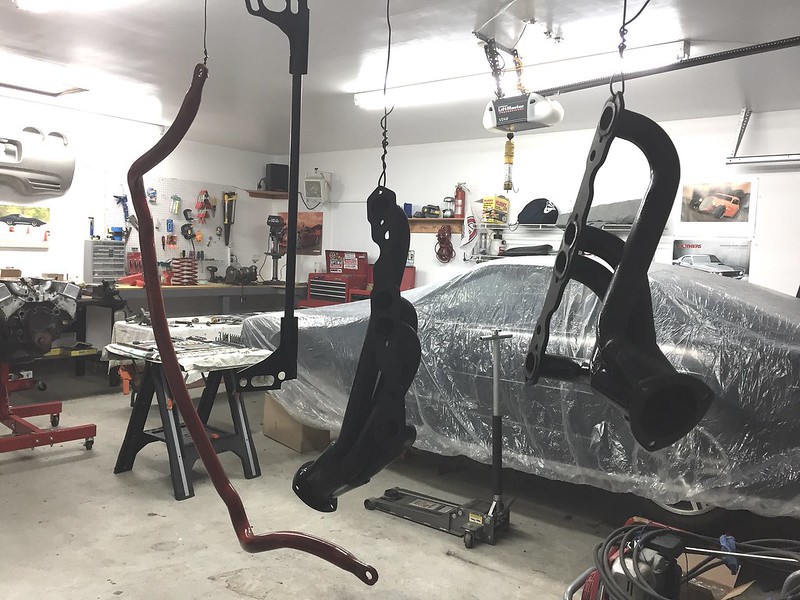
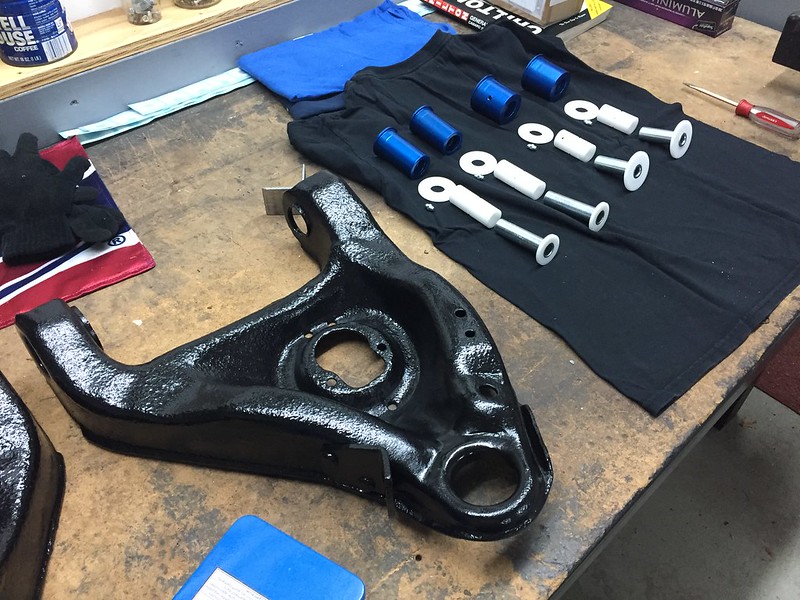
Just a couple crappy pics of the freshly painted pieces:


Next I tackled my cracked AC box. I ended up using some Permatex Plastic Welder I found at my local Advance Auto. It was only about $6 for the tube and seems to be working OK so far. Since it's still cold here, I'm going to give it a while to set before I sand and paint it.


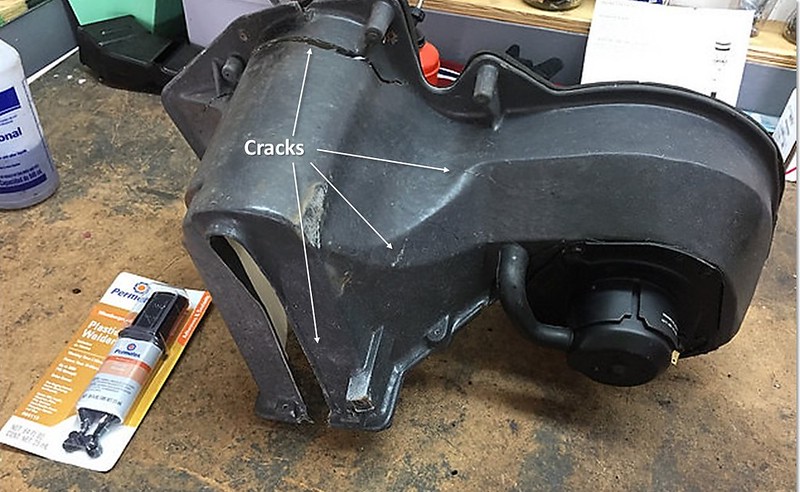
I did not get a picture of it, but I first drilled the ends of the cracks and then used my Dremel to create a little V-channel out of each crack to help it hold the plastic welder.

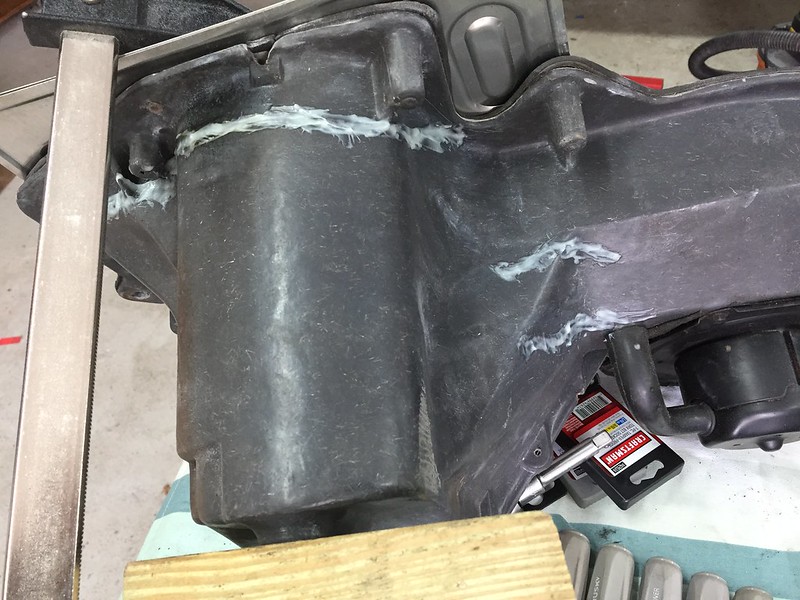
Plastic welder applied:


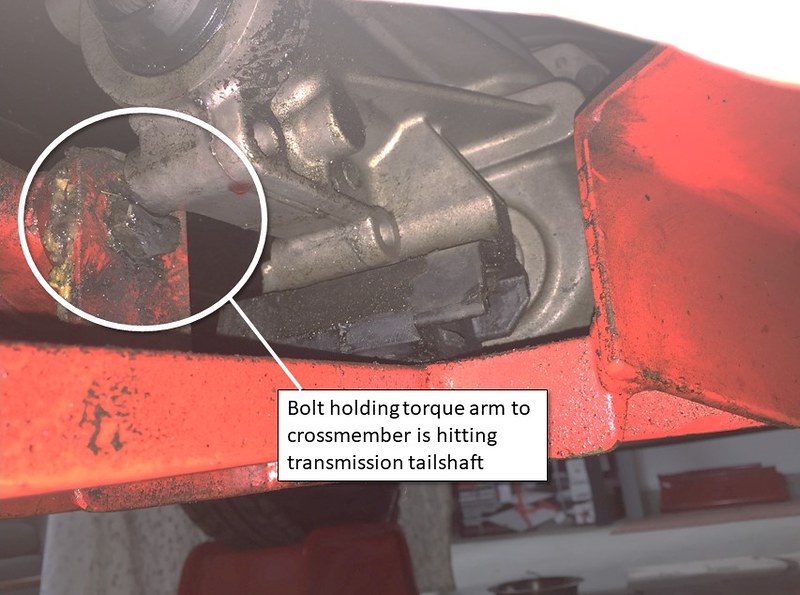
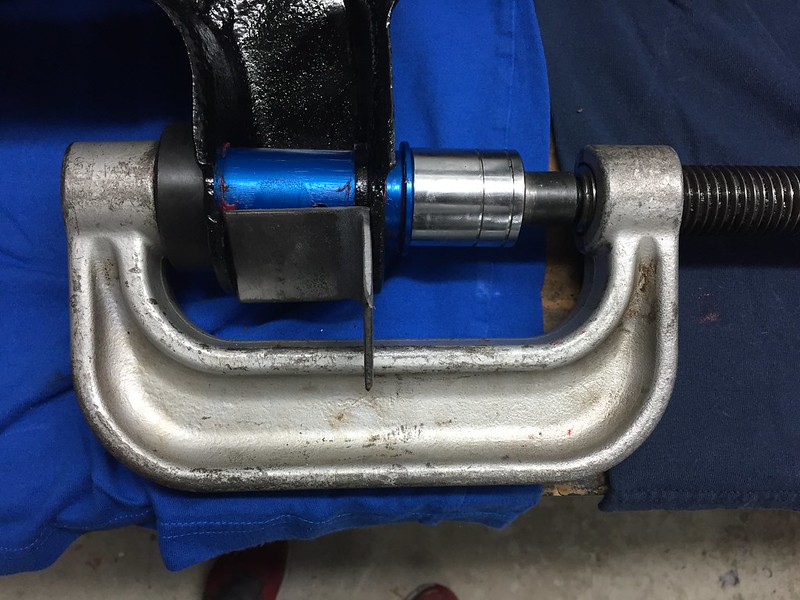
The next job was addressing the interference problem between my transmission tailshaft and the bolt that holds my torque arm to the crossmember. This is what it looked like before I took it all apart:


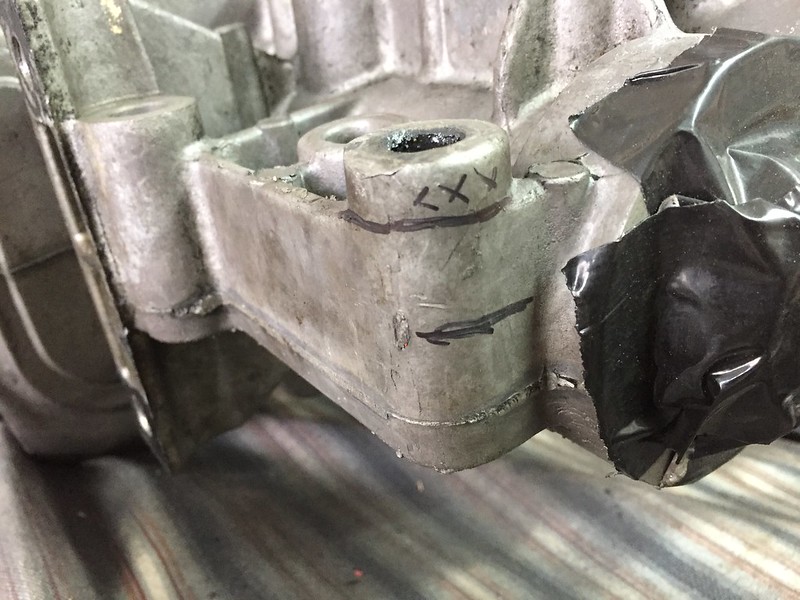
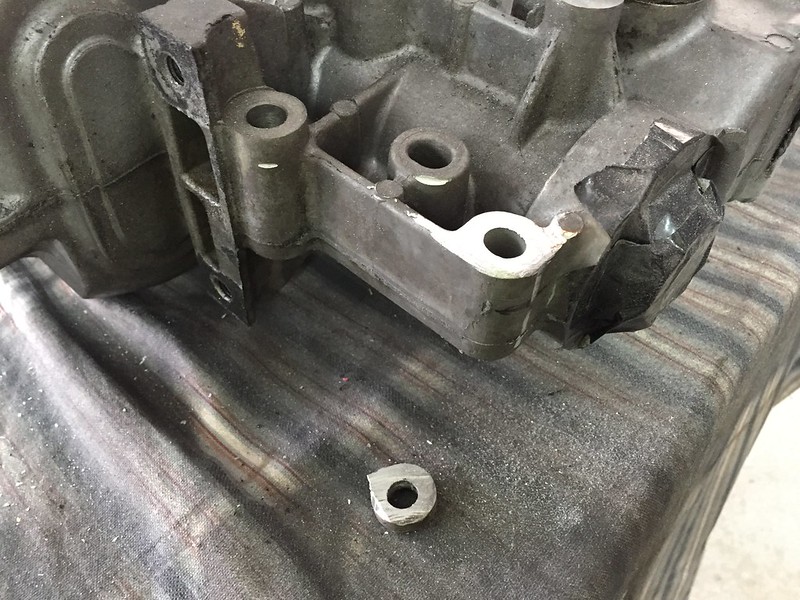
I trimmed a small piece from my tailshaft which I'm hoping will cure the issue. I took as little material as possible and then blended in any sharp edges to minimize the chances of creating a stress riser:


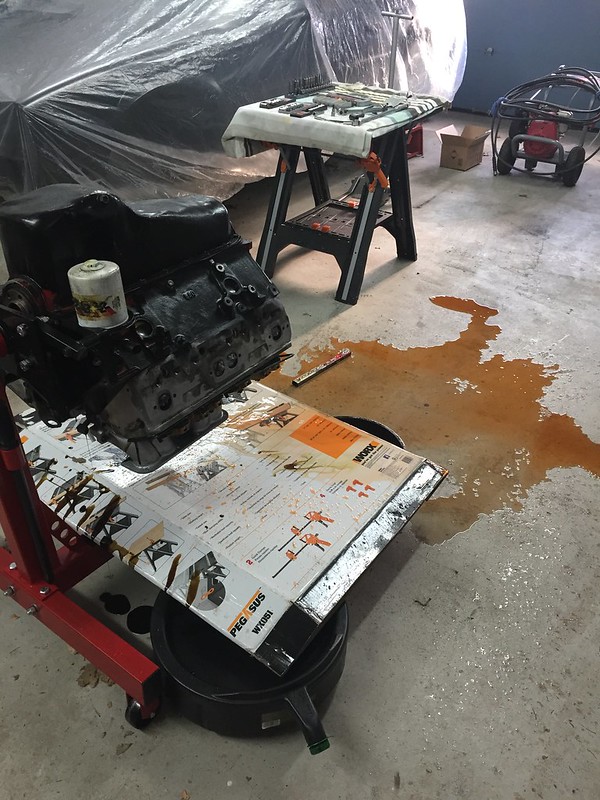
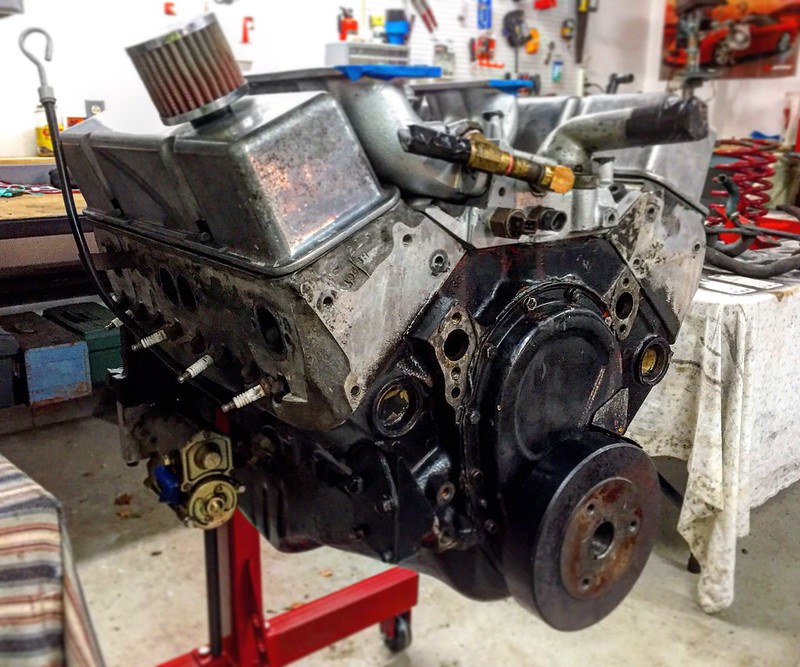
I ended my weekend by rotating my engine on its stand and spilling coolant and oil everywhere. Awesome! There was way more in there than I expected! I thought it was a good time to call it quits for the day after that...

Reply With Quote
  #7  
Old 03-26-2018, 04:44 AM
gofastwclass gofastwclass is offline
Senior Member
 
Join Date: Feb 2012
Location: Behind the wheel in KCMO
Posts: 363
Thanks: 118
Thanked 40 Times in 37 Posts
Default

An engine stand drip pan would be a nice addition to your engine stand.
__________________
I build my own junk...
Reply With Quote
Reply

Thread Tools
Display Modes

Posting Rules
You may not post new threads
You may not post replies
You may not post attachments
You may not edit your posts

BB code is On
Smilies are On
[IMG] code is On
HTML code is Off

Forum Jump


All times are GMT -7. The time now is 02:35 AM.


Powered by vBulletin® Version 3.8.11
Copyright ©2000 - 2025, vBulletin Solutions Inc.
Copyright Lateral-g.net