...

Go Back   Lateral-g Forums > Lateral-G Open Discussions > Project Updates
User Name
Password


Reply
 
Thread Tools Display Modes
  #1  
Old 11-07-2020, 07:37 AM
bkswede bkswede is offline
Senior Member
 
Join Date: Oct 2013
Posts: 165
Thanks: 6
Thanked 140 Times in 83 Posts
Default

Stopped by the shop yesterday and was able to check out recent progress... exhaust is mostly complete, though I don’t like the way the tailpipes are routed, so we need to re-do those, which shouldn’t be a big deal. Here are some pictures I took of exhaust - I’m using 3 1/2” oval pipes (equivalent in flow to 3” round pipe) from headers through X-pipe to Spintech mufflers. The mufflers have oval inlets and round outlets, so easy transition to 3” round pipe from the muffler on back, since the round pipe is much easier to snake above rear suspension and around fuel tank.

Name:  IMG_0747.jpg
Views: 376
Size:  135.4 KB
Name:  IMG_0748.jpg
Views: 372
Size:  169.2 KB
Name:  IMG_0751.jpg
Views: 384
Size:  174.1 KB

Kurt modified the transmission cross member slightly. The change kept the transmission mount height exactly where it was, but elevated the sides of the mount about an inch, which gave us another inch or so clearance to tuck the oval tubing closer to the floor.

Name:  IMG_0749.jpg
Views: 380
Size:  160.6 KB
Name:  IMG_0750.jpg
Views: 372
Size:  144.9 KB
Name:  IMG_0754.jpg
Views: 373
Size:  158.3 KB

Transition from muffler to tailpipes are made with V-band clamps right off the muffler.

Name:  IMG_0755.jpg
Views: 372
Size:  165.4 KB

From there, exhaust snakes up and over axle and QuadraLink, and around fuel tank.

Name:  IMG_0756.jpg
Views: 379
Size:  155.7 KB
Name:  IMG_0759.jpg
Views: 362
Size:  214.9 KB
Name:  IMG_0760.jpg
Views: 373
Size:  235.6 KB

As I mentioned above, the tail pipes are tacked together and currently turn to the side and dump behind each rear wheel. I really don’t like this look, so we’re going to re-do this portion.


There is plenty of space to turn the tailpipes up and run them inside the rear quarter panels, above the pinch weld, so they can’t be seen from the side of the car. Below are some photos of what I have in mind from a nice ‘67 Chevy II exhaust project detailed on Steve’s nova site forum. Pipes will turn down and exit toward the ground near corners of rear bumper with everything up above the bottom edge of the rear quarter panel.


Guys have most of the brake lines finished up in the rear and working on running them to the master cylinder.


Got a nice picture of the wiring and plumbing for the Vaporworx PWM fuel pump controller while I was crawling around under the car


For fuel line, I ordered some carbon lined PTFE hose from TechAFX, which is available in a cool, matte black finish. The finish is similar to regular black radiator hose and will match the hoses I’m using throughout the engine compartment (radiator hoses, push-lock hoses for catch can and PCV system, etc). Below shows the hose connected to fuel rail.


I have a fuel pressure gauge set up in my Holley digital dash, so I needed a sending unit plumbed into the system. Wanted to measure pressure as close to the fuel rail as possible, but keep it hidden. We were originally thinking we would plumb it under the car near firewall; however, we were able to plumb the port for the sensor right off of the fuel rail itself, and have the sending unit and related wiring all fit under the fuel rail cover so it is completely out of sight.


We’ll get the tailpipes redone this week and Kurt is also going to modify the hood latch for a remote hood release. We’re following a mod done by some others over on Steve’s nova site. The hood latch mechanism has two releases - first, it releases the hood lock and then as you pull the lever further, it releases the safety latch. You can modify the latch so the lever behind the grill only releases the safety latch. You then fab a bracket and have the hood lock operated by a cable mounted under the dash. That way, unless you’ve first released the hood lock via the cable in the car, the lever behind the grill doesn’t do anything when you pull on it. Take care,

Brian


Sent from my iPad using Tapatalk
__________________
63 Chevy II - Build in Progress
2017 Camaro ZL1
2010 Mercedes C63 AMG
Reply With Quote
The Following 5 Users Say Thank You to bkswede For This Useful Post:
572Camaro (11-07-2020), 64G-lark (11-07-2020), camcojb (11-07-2020), EVIL SS (11-09-2020), syborg tt (12-14-2020)
  #2  
Old 12-10-2020, 09:10 PM
bkswede bkswede is offline
Senior Member
 
Join Date: Oct 2013
Posts: 165
Thanks: 6
Thanked 140 Times in 83 Posts
Default ‘63 Chevy II Pro-Touring Build

Spent 1/2 a day with Kurt on Wednesday. Progress on the Chevy II continues... a lot of little things are being completed. Kurt got the exhaust completed, including revised location of tailpipe exits.


I had the exhaust ceramic coated black at Race Coatings in Forest Lake and brought back to Kurt Wednesday when I visited. We mounted the front section while I was there, but didn’t get a picture while the car was up on the lift. Tailpipes will be installed soon and I’ll have pics of it installed.

Kurt’s also installing stereo system as part of wiring project. The head unit, amp and sub are mounted in the trunk under the package shelf. Installing 5.25” speakers in the door and 6x9” speakers in the package shelf. Both sets of speakers are installed from behind to make it easier/cleaner when interior is installed.


Kurt finished the modification to the hood latch. Now, the lever behind the grill only controls the safety latch. The hood lock is controlled by cable remotely mounted under the dash. When that lever is pulled, it releases the hood lock and the hood catches on the safety latch. You can then pull the lever under the dash to release the safety latch and open the hood. Kurt fabricated a small pulley to route the cable through a 90 degree angle, all of which is hidden. The finished product is indistinguishable from stock, but provides additional security and piece of mind.


Kurt also got looms installed to hide wiring for power door locks and windows as well as speaker wires.


LED interior light installed. Received replacement headliner (originally ordered a dark gray (graphite) suede headliner, but color was way lighter than shown on website. New black color will look much better.


Alarm for the security system installed under driver’s side fender...

Ordered up new dash knobs from Dutch Boys, which look awesome and will compliment other metal items in the interior that are combination of black and machined aluminum edging (shift lever, turn signal lever, etc.)


Overflow tank for the radiator hidden behind grille but in front of core support...


Found some radiator hoses with correct angles and distances, the guys trimmed them up and now fit like they were custom made for the car.


Kurt is going to work on the headlight bezels so that they line up with the fenders a little better. After those adjustments, we’ll paint them black to match the rest of the front end parts. The rest of the front end is pretty much done - fender extensions are installed, as well as the grille and parking lights. I used ‘62 parking light lenses, which are clear rather than the amber colored lenses that were used on ‘63 models. The clear lenses look much better with the gray and black colors of the car.


Kurt and I also spent a couple of hours mocking up a custom center console that he’ll build. Sides of the console will be made from wood and covered in leather. Console will include A/C vents, Vintage air climate controls, custom switches for power windows and door locks and a couple of cup holders with white led lighting.

Other items the team will be working on: installation of black suede headliner, install windshield and rear windows, install tailpipes, install emergency brake cables and mount hand brake, and install fuel cap and filler tube to tank. Stay safe,

Brian


Sent from my iPad using Tapatalk
__________________
63 Chevy II - Build in Progress
2017 Camaro ZL1
2010 Mercedes C63 AMG

Last edited by bkswede; 12-12-2020 at 06:02 AM.
Reply With Quote
The Following User Says Thank You to bkswede For This Useful Post:
syborg tt (12-14-2020)
  #3  
Old 12-11-2020, 09:05 AM
Marcellus's Avatar
Marcellus Marcellus is offline
Junior Member
 
Join Date: Jan 2008
Posts: 5
Thanks: 1
Thanked 3 Times in 1 Post
Default

Man that thing is sweet. I tried to find a link to where you got the dash knobs as I think they would go well in my Chevy II. How did you order those I cant find them anywhere. Thanks.
Reply With Quote
  #4  
Old 12-11-2020, 10:26 AM
1965_SS's Avatar
1965_SS 1965_SS is offline
Senior Member
 
Join Date: Oct 2010
Location: Central Valley, CA
Posts: 258
Thanks: 30
Thanked 15 Times in 13 Posts
Default

Great build! Thanks for all the detailed pics and info.
__________________
_________
Todd
1965 Chevelle SS
Project Build
Reply With Quote
  #5  
Old 12-11-2020, 06:59 PM
64G-lark's Avatar
64G-lark 64G-lark is offline
Senior Member
 
Join Date: Jun 2005
Location: Mapleton, IL.
Posts: 106
Thanks: 9
Thanked 74 Times in 41 Posts
Default

Nice update Brian. I had been anxiously waiting. Ready for Christmas? Where did you source the interior light?
Reply With Quote
  #6  
Old 12-12-2020, 07:03 AM
bkswede bkswede is offline
Senior Member
 
Join Date: Oct 2013
Posts: 165
Thanks: 6
Thanked 140 Times in 83 Posts
Default ‘63 Chevy II Pro-Touring Build

Quote:
Originally Posted by 64G-lark View Post
Nice update Brian. I had been anxiously waiting. Ready for Christmas? Where did you source the interior light?

I wish it would be ready for Christmas! I’ll be happy if Kurt is done with his work by the end of January, and we can get it to the interior shop so they can complete their work, and then get it dyno tuned and ready for the road by the time spring rolls around here in MN (say May 1). We still need to get it running and trouble shoot any issues (there is a lot of wiring in this thing!), but definitely getting closer... when we mocked up the console on Wednesday, we put the front seats in it to test positioning of the console and hand brake - made me really anxious sitting in the driver’s seat!

I picked up the led interior light on eBay... was a little unsure when I ordered it, but Kurt raved about it when it showed up at the shop, and we ordered two more to mount one on each side of the center console as courtesy lights. It has a nice little billet aluminum housing. Here’s the link:

https://www.ebay.com/itm/LED-Billet-...-/253772095609

Sent from my iPad using Tapatalk
__________________
63 Chevy II - Build in Progress
2017 Camaro ZL1
2010 Mercedes C63 AMG

Last edited by bkswede; 12-12-2020 at 07:41 AM.
Reply With Quote
  #7  
Old 12-12-2020, 06:44 AM
bkswede bkswede is offline
Senior Member
 
Join Date: Oct 2013
Posts: 165
Thanks: 6
Thanked 140 Times in 83 Posts
Default

Quote:
Originally Posted by 1965_SS View Post
Great build! Thanks for all the detailed pics and info.

Thanks - appreciate the kind words!


Sent from my iPad using Tapatalk
__________________
63 Chevy II - Build in Progress
2017 Camaro ZL1
2010 Mercedes C63 AMG
Reply With Quote
  #8  
Old 12-12-2020, 06:33 AM
bkswede bkswede is offline
Senior Member
 
Join Date: Oct 2013
Posts: 165
Thanks: 6
Thanked 140 Times in 83 Posts
Default ‘63 Chevy II Pro-Touring Build

Quote:
Originally Posted by Marcellus View Post
Man that thing is sweet. I tried to find a link to where you got the dash knobs as I think they would go well in my Chevy II. How did you order those I cant find them anywhere. Thanks.

Thanks! I looked all over trying to find knobs that I liked. Ridetech used to make knobs that I really liked that looked similar to these from Dutchboys, but they discontinued them a few years ago and I’ve never been able to locate any. I stumbled upon these from Dutchboys a few weeks ago on one of the forums where someone recommended them for someone else’s build. Glad I saw the post, as I really like these and think they’ll compliment the rest of my interior. Here is the link to where to purchase. I just ordered mine a few weeks ago, but their webpage now shows them as being sold out - hopefully just temporary... I’d give them a call and find out when they’ll have more in stock. Best,

Brian

http://www.dutchboyshotrods.com/onli...Kit-p175736154


Sent from my iPad using Tapatalk
__________________
63 Chevy II - Build in Progress
2017 Camaro ZL1
2010 Mercedes C63 AMG
Reply With Quote
  #9  
Old 02-03-2021, 06:05 PM
bkswede bkswede is offline
Senior Member
 
Join Date: Oct 2013
Posts: 165
Thanks: 6
Thanked 140 Times in 83 Posts
Default ‘63 Chevy II Pro-Touring Build

I’m long over due for an update - been crazy at work and haven’t had a chance to focus on the car much over the last month. Kurt continues to make nice progress on many little details. I’m headed to Eau Claire on Friday for a visit and will have some additional photos. In the meantime, here are some updates:

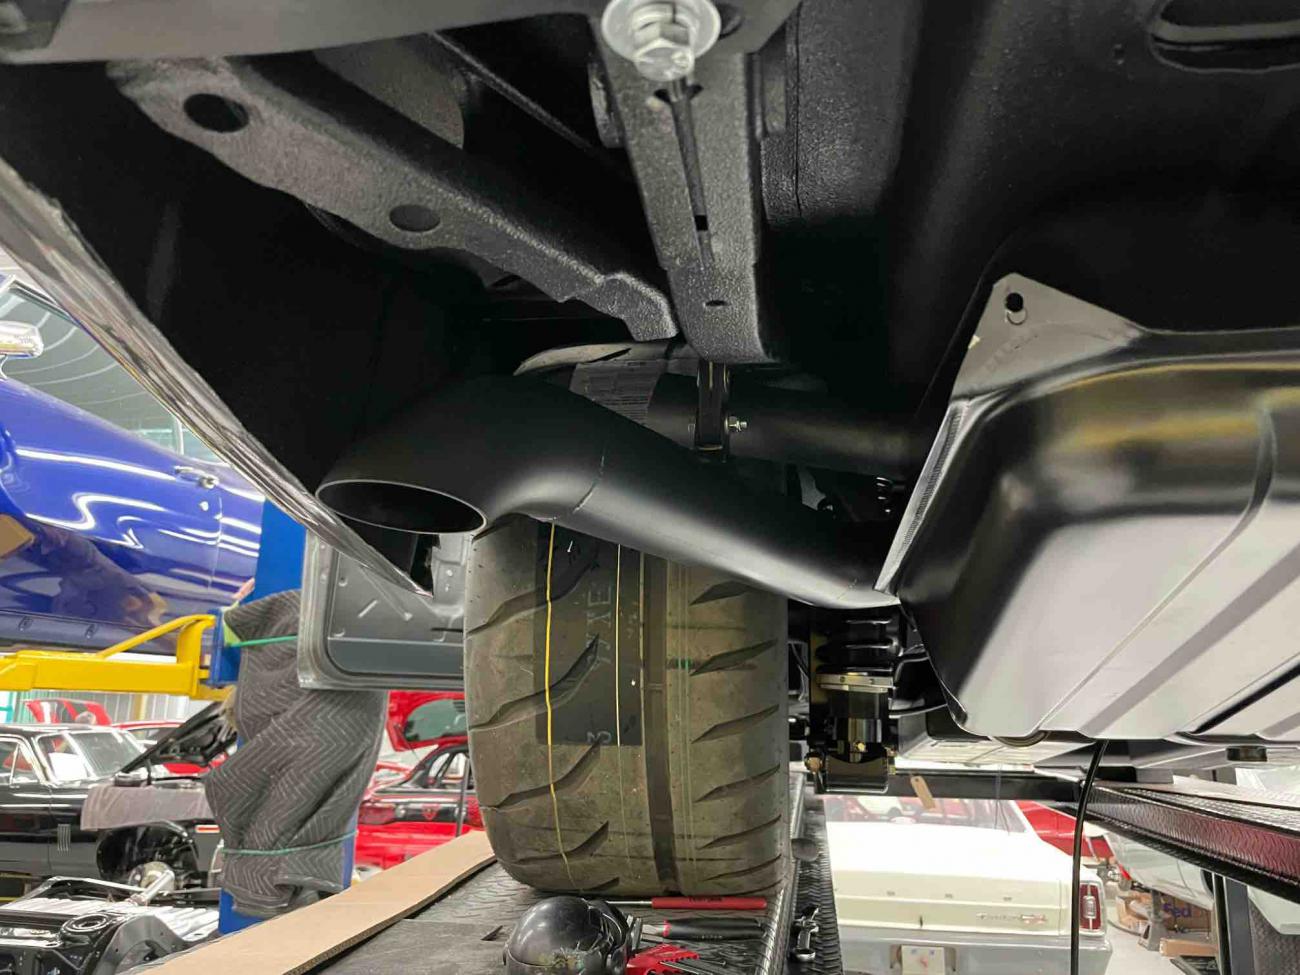
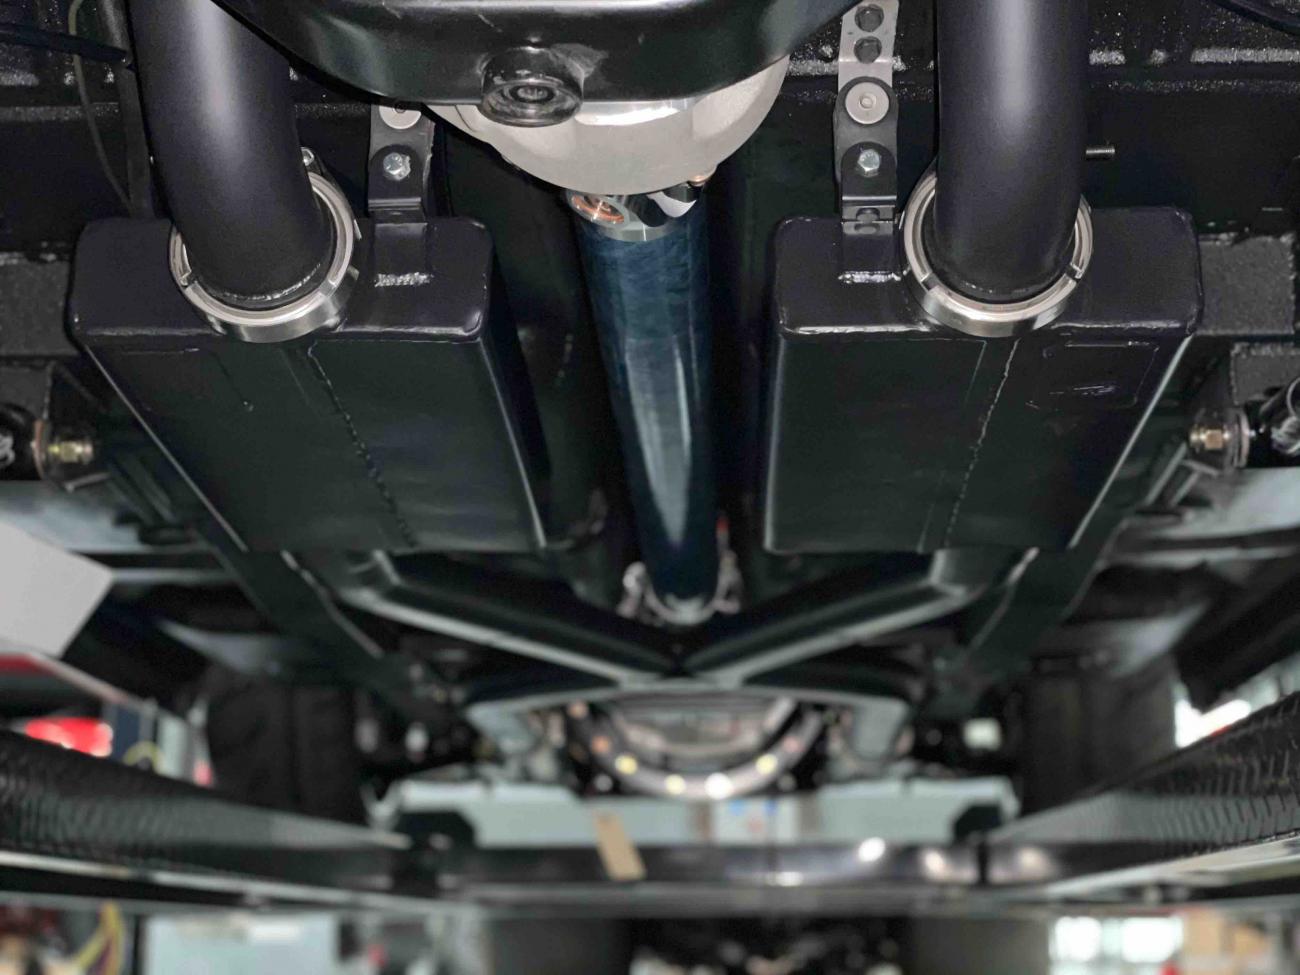
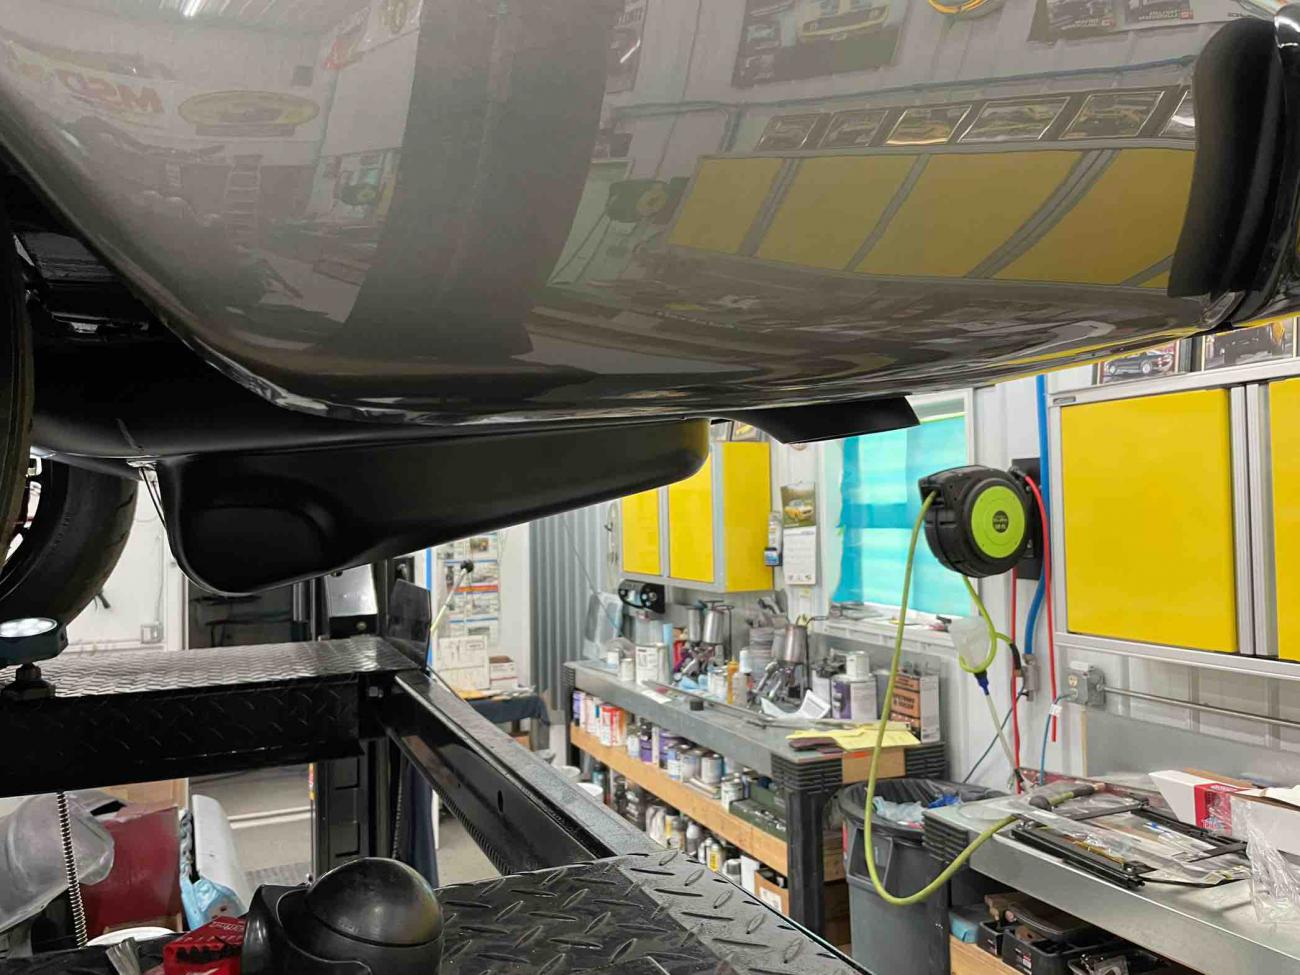
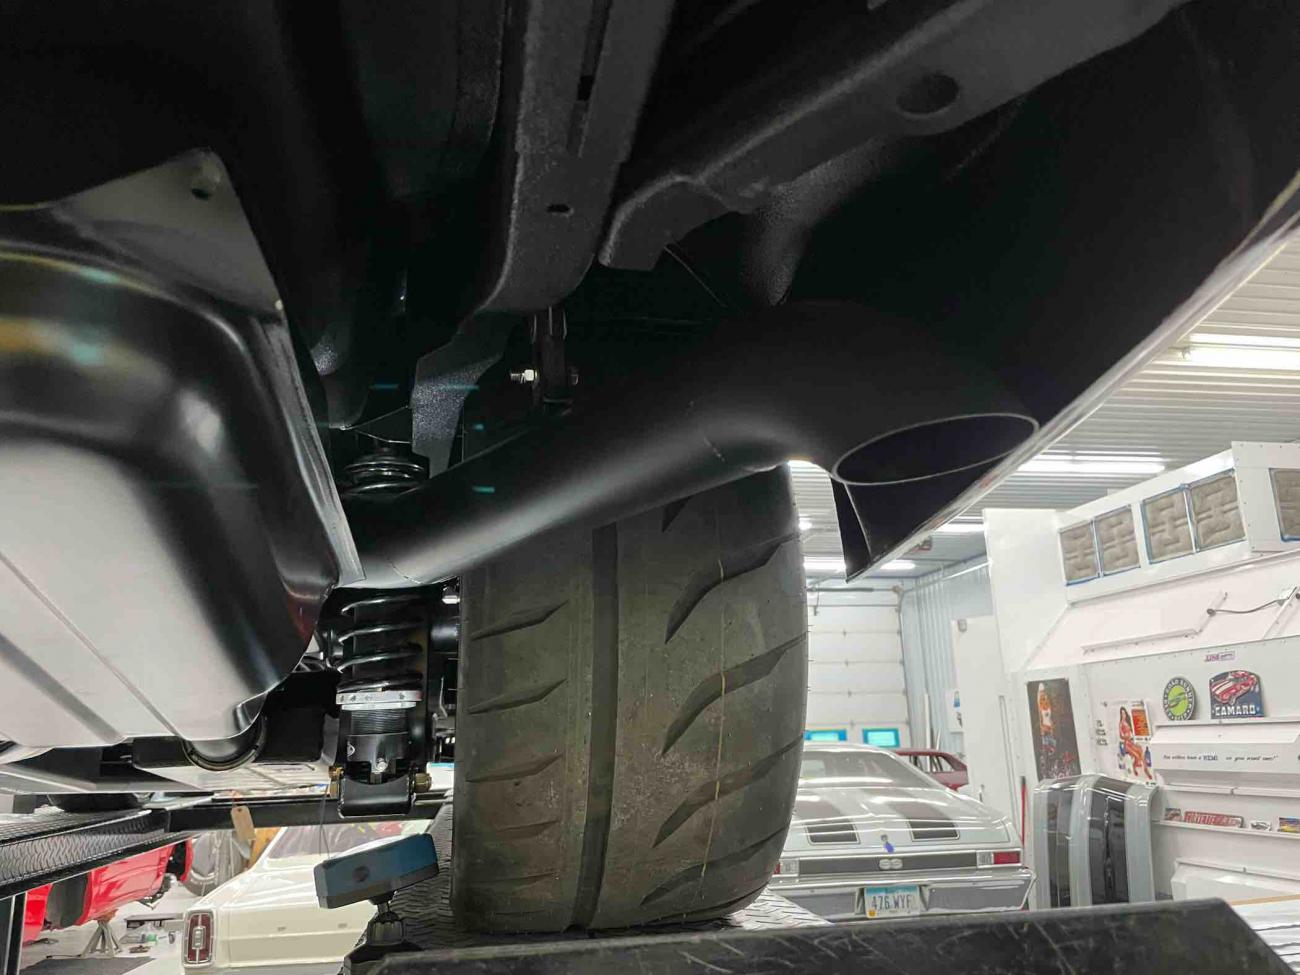
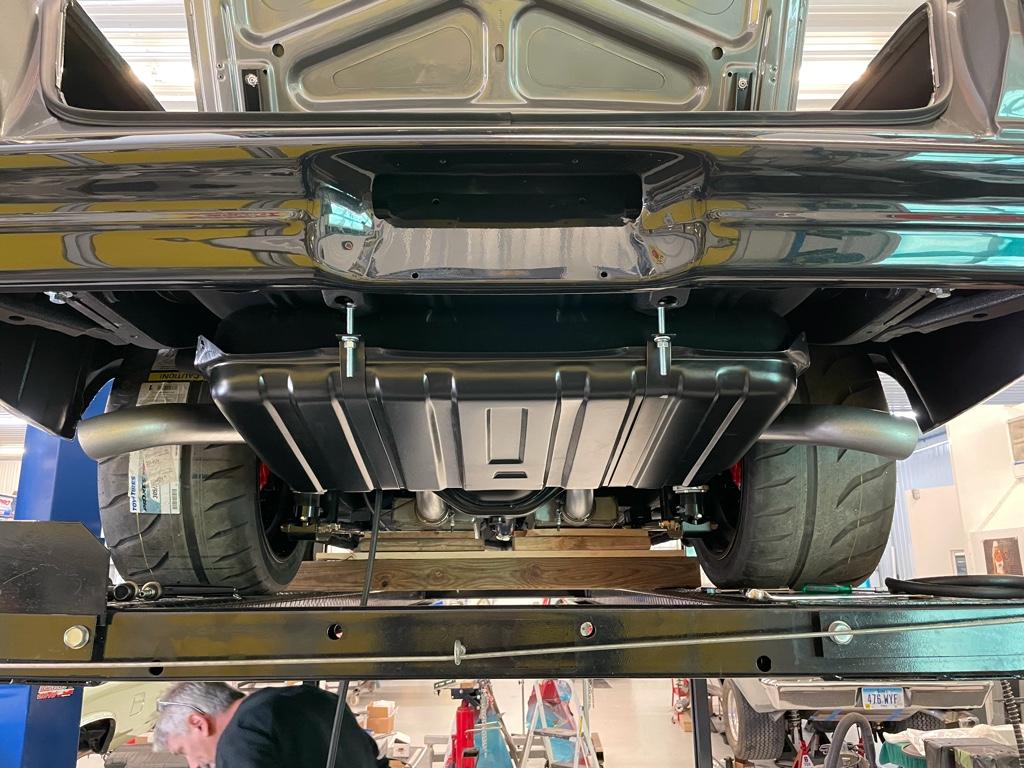
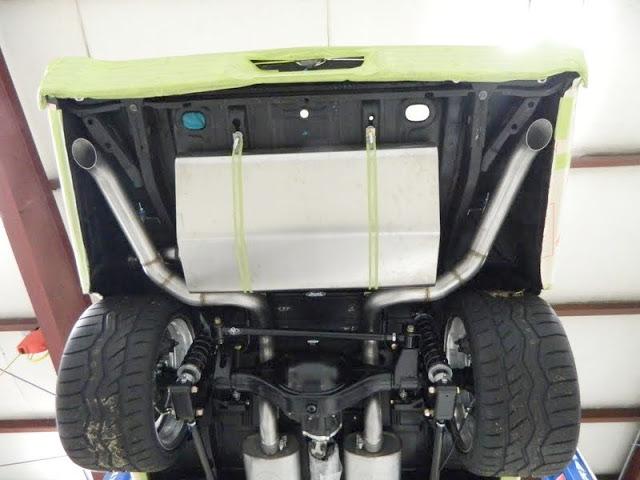
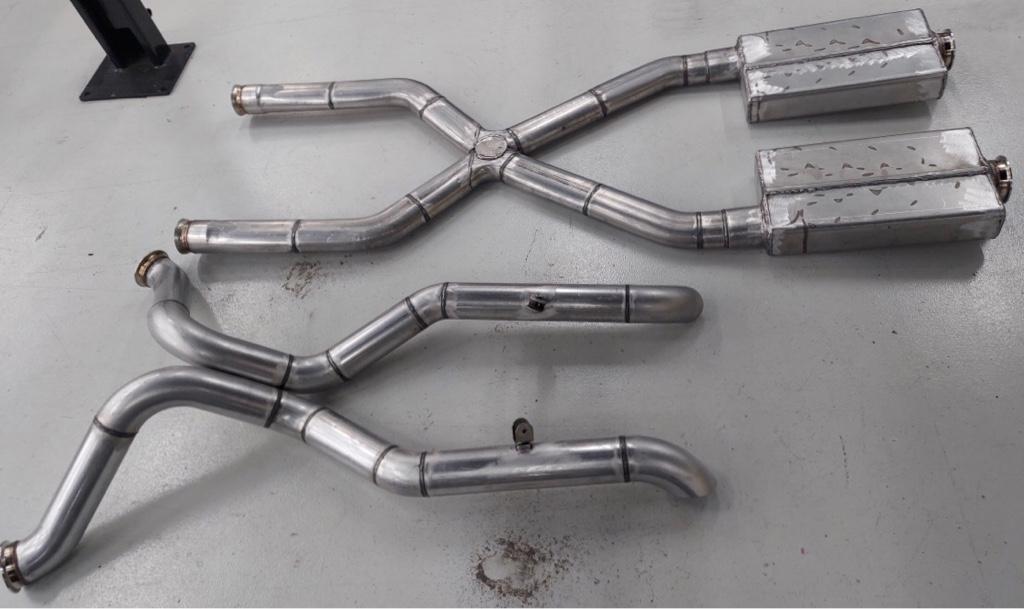
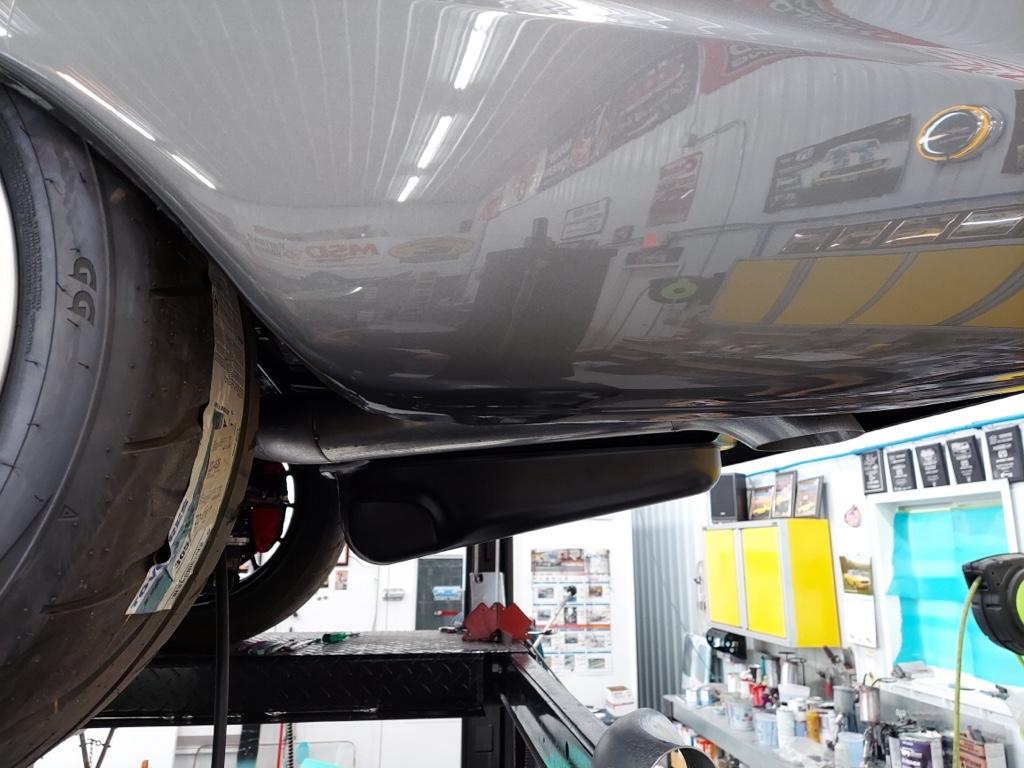
We got the exhaust back from ceramic coating and installed - turned out great and tailpipe locations are exactly what I was looking for.

Name:  IMG_0960.jpg
Views: 470
Size:  153.5 KB
Name:  IMG_1047.jpg
Views: 473
Size:  118.4 KB
Name:  IMG_0962.jpg
Views: 464
Size:  158.0 KB
Name:  IMG_0961.jpg
Views: 482
Size:  125.0 KB

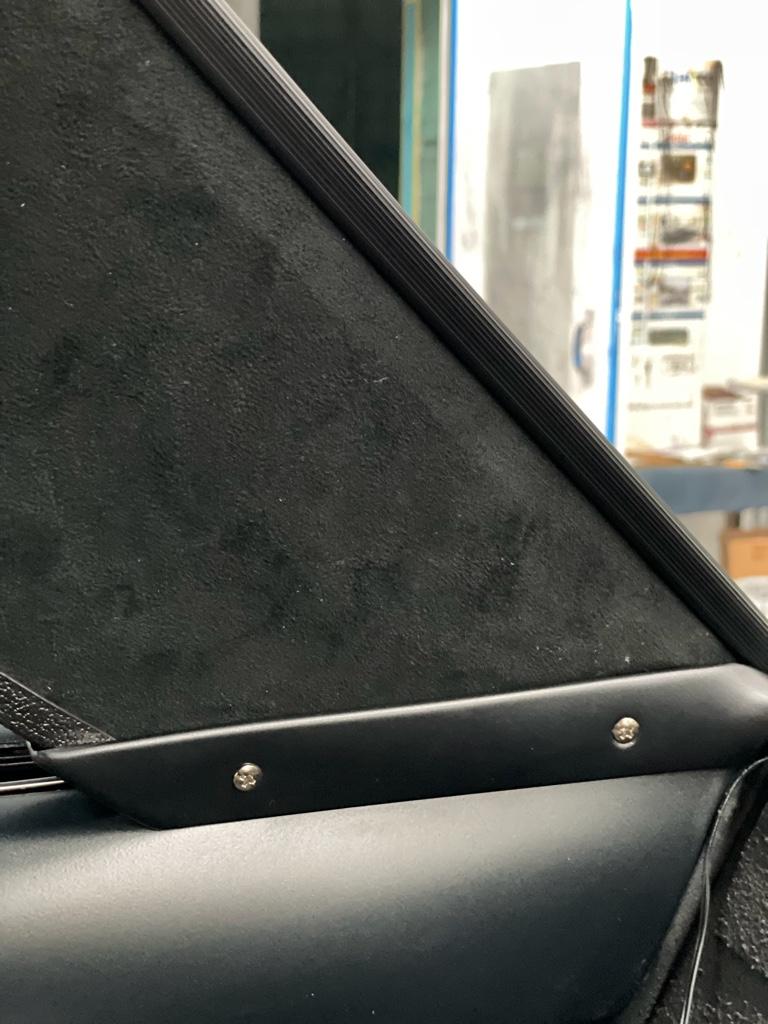
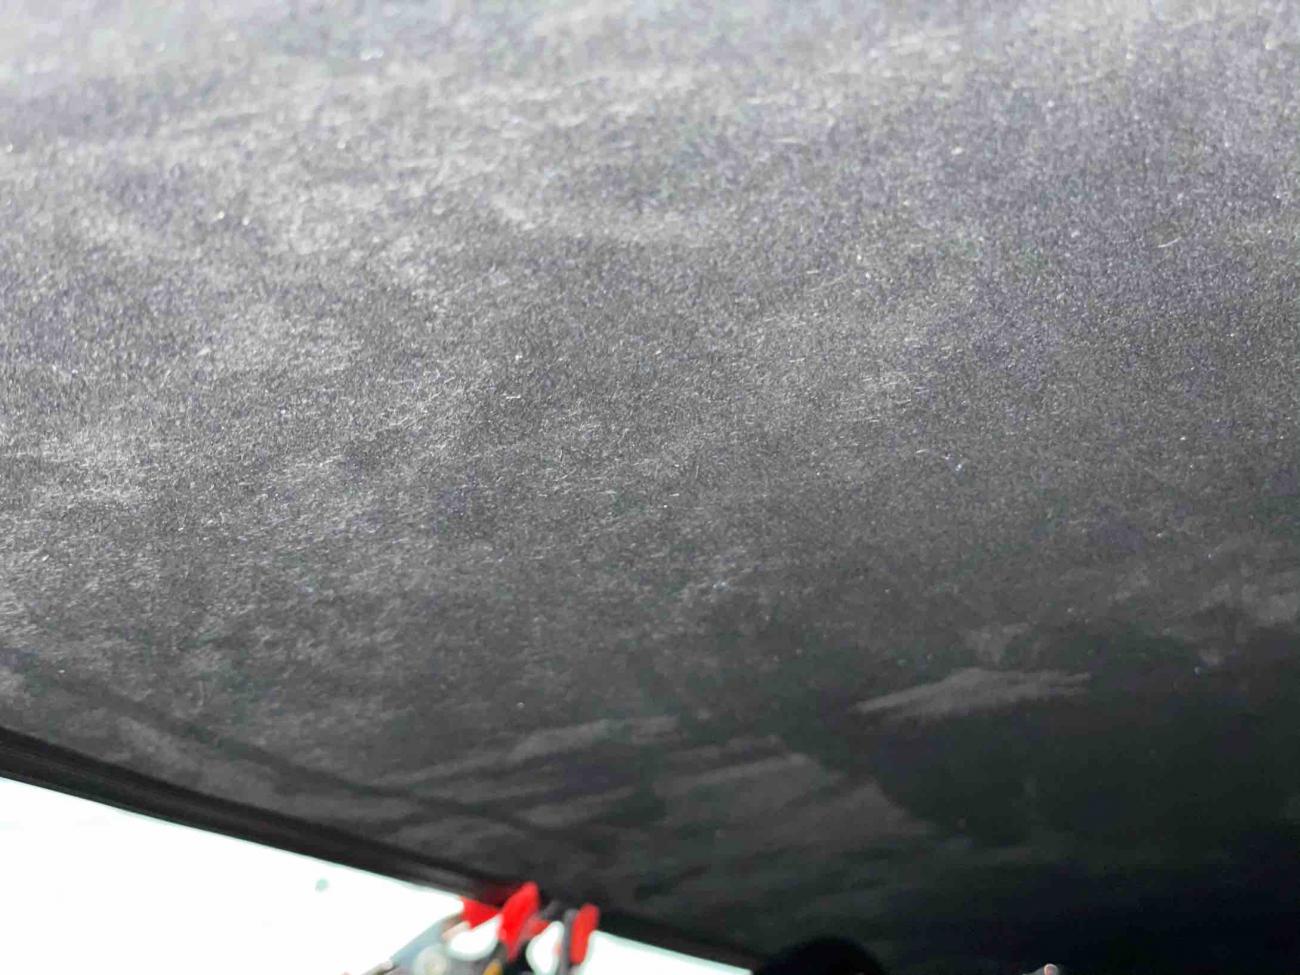
Kurt got the headliner installed as well - turned out awesome. It’s a charcoal suede and looks fantastic. You can see the color variation in the suede in a couple of the pictures. Kurt has great attention to detail and the install looks great - nice and tight. The polished screws in the sail panel trim piece have been replaced with black ones - just didn’t have any at the time the picture was taken.
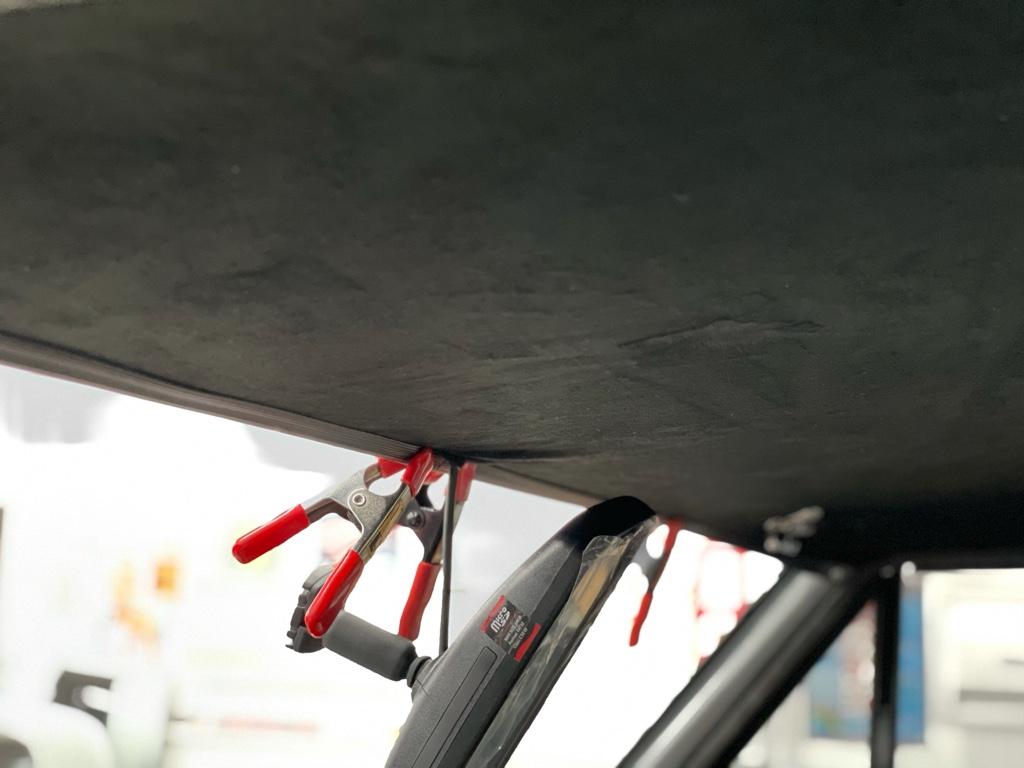
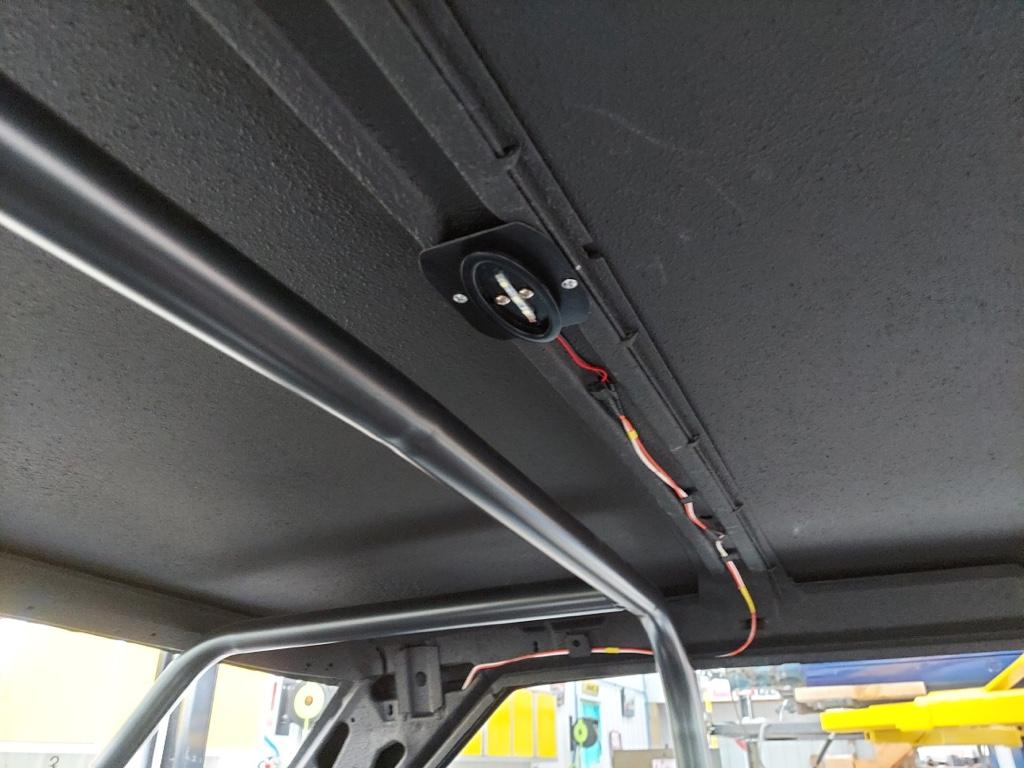
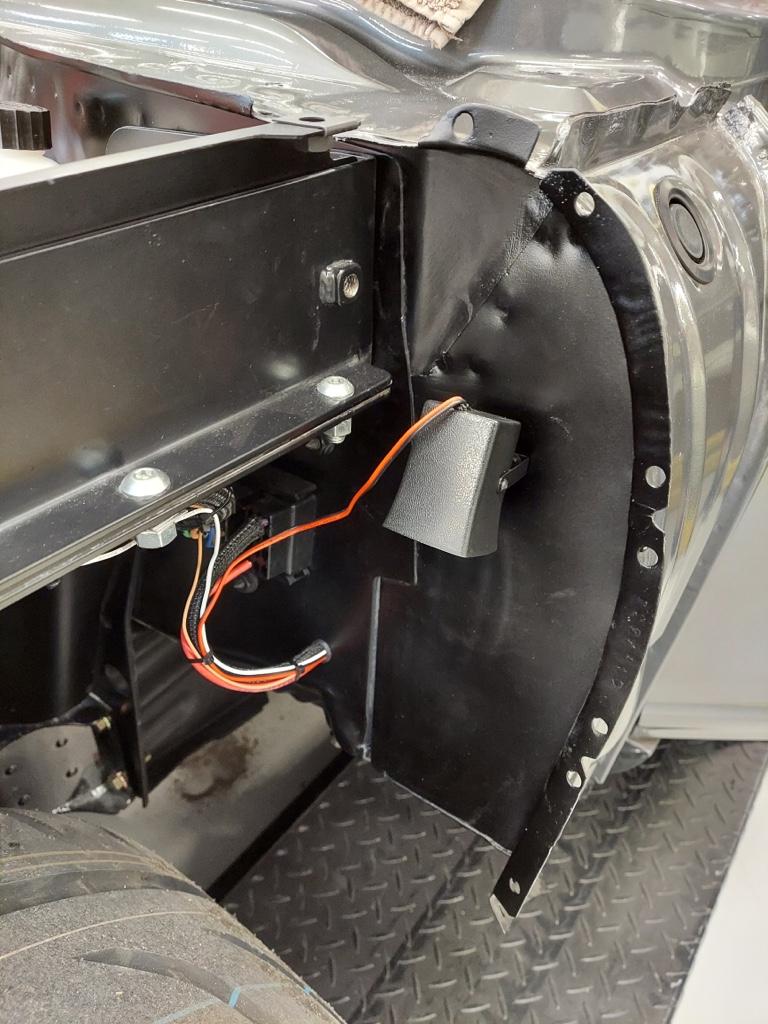


Name:  IMG_1029.jpg
Views: 477
Size:  145.1 KB


I’m installing a pretty cool rear view mirror - has a HD camera on the front of the mirror that can record out the windshield onto an SD card. Not as high tech as the performance data recorder on my ZL-1, but still pretty cool. Also, the mirror connects to a rear mounted camera that is mounted in the rear bumper just above the license plate that serves as a back up camera or as your rear view mirror, if desired. The camera is hooked to my reverse lights and turns on when the car is shifted into reverse. The mirror surface is the screen and the image from the rear camera then appears on the entire rear view mirror surface. When driving, if you would rather use the rear camera as the rear view mirror, you just press a button on the mirror itself and you can toggle back and forth between the mirror and the rear view camera. Pretty cool tech for a ‘63 Chevy II. This photo shows the mirror waiting to be mounted to the windshield once the windshield is installed. Clamps are to keep the headliner in place while the mirror dangles from the wires that are routed up above the headliner.


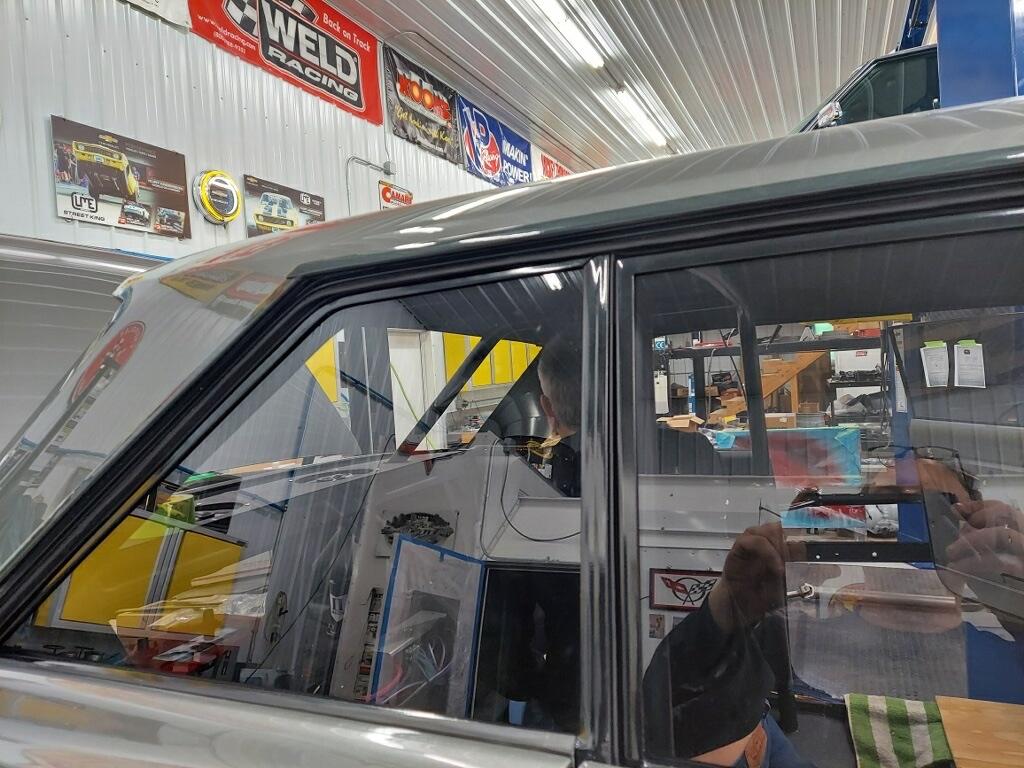
Speaking of windshield, they tried to install it on Monday, but we were sent the wrong trim. I purchased an excellent set of original trim for the windshield and rear windows since the reproduction trim never seems to fit correctly. We had the trim powder coated black to match as closely as possible the rest of the trim on the car (we didn’t want to paint this trim as we knew it would get marred during install). The glass shop got the windshield in and Kurt noticed that the trim was about an inch short. Turns out that sedan trim is about an inch shorter than hardtop trim on these cars and we obviously got sent the sedan trim by mistake. We worked it out and received a correct set of trim today, which immediately went to powder coater so the glass guys can install on Friday. Looks pretty good from 10 feet away...


Not so much from up close...


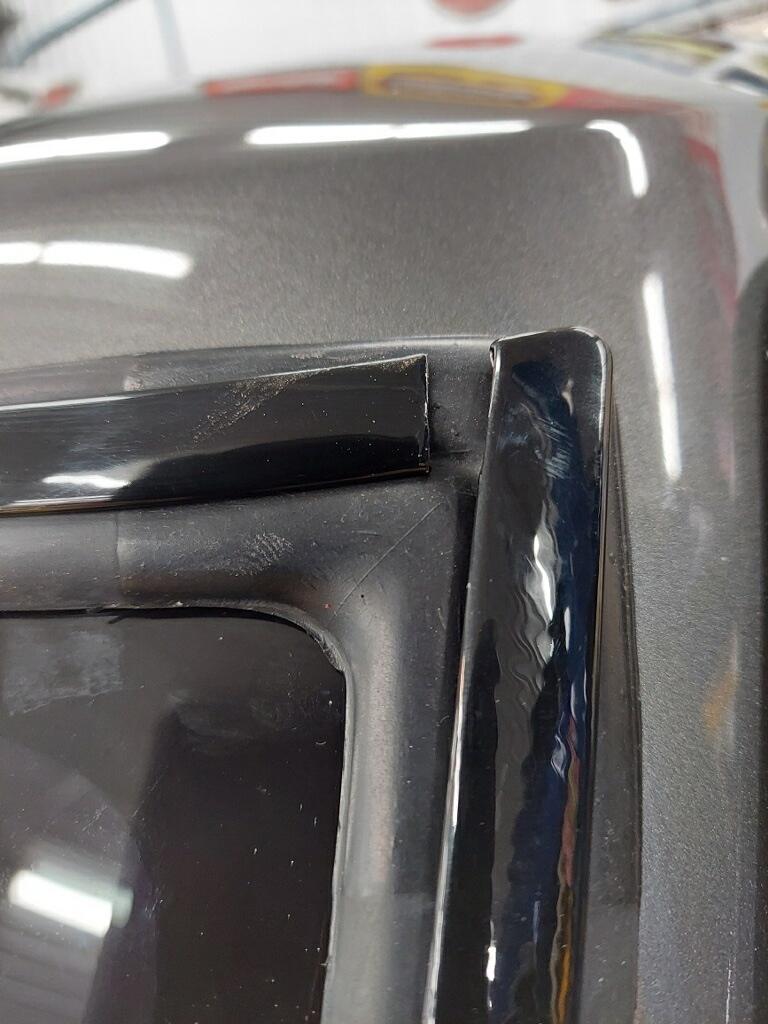
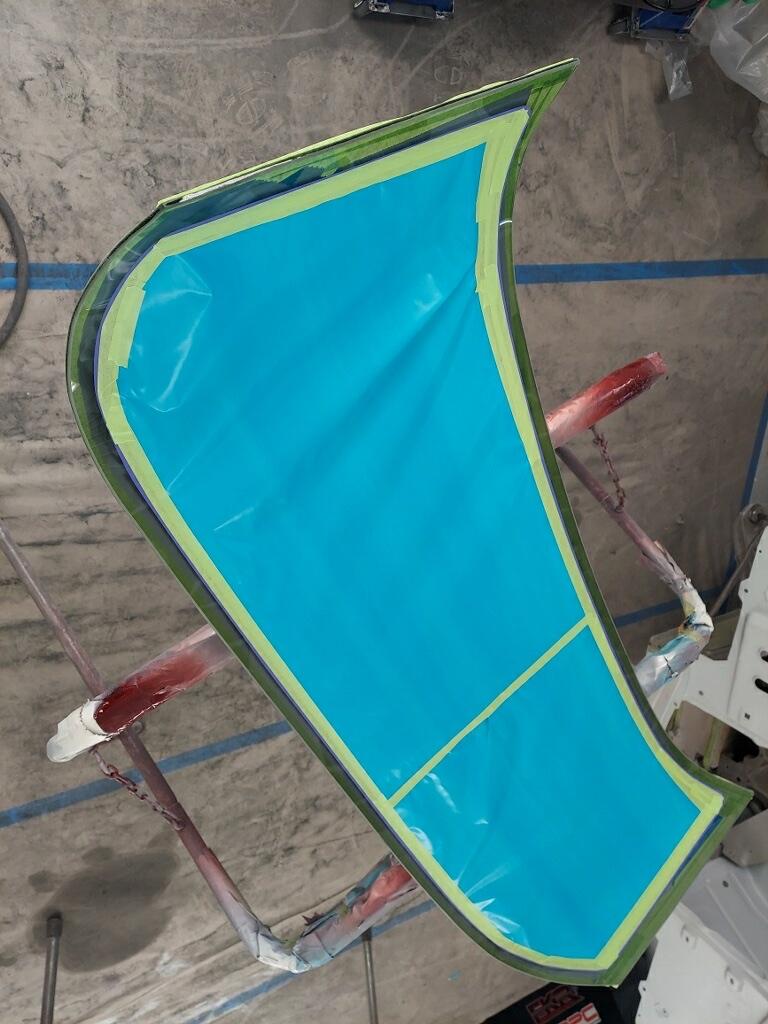
Kurt painted a black band around the interior side of the windshield and rear window. You can see it in the close up photo above. It’s a nice detail and will allow us to place RFID antennas for the keyless entry system on the underside of the glass without being seen from the outside of the car.


Side glass is now complete with all weatherstripping, sweepers, roof rails installed, etc. Turned out great, but we ended up having to make a bunch of calls to find the correct channels for holding weatherstripping in place for the roof rails. Nobody makes reproduction versions and originals were hard to find. Ultimately got some, but took way more time than expected, and just another example of why it always seems to take way longer than expected for a project like this.


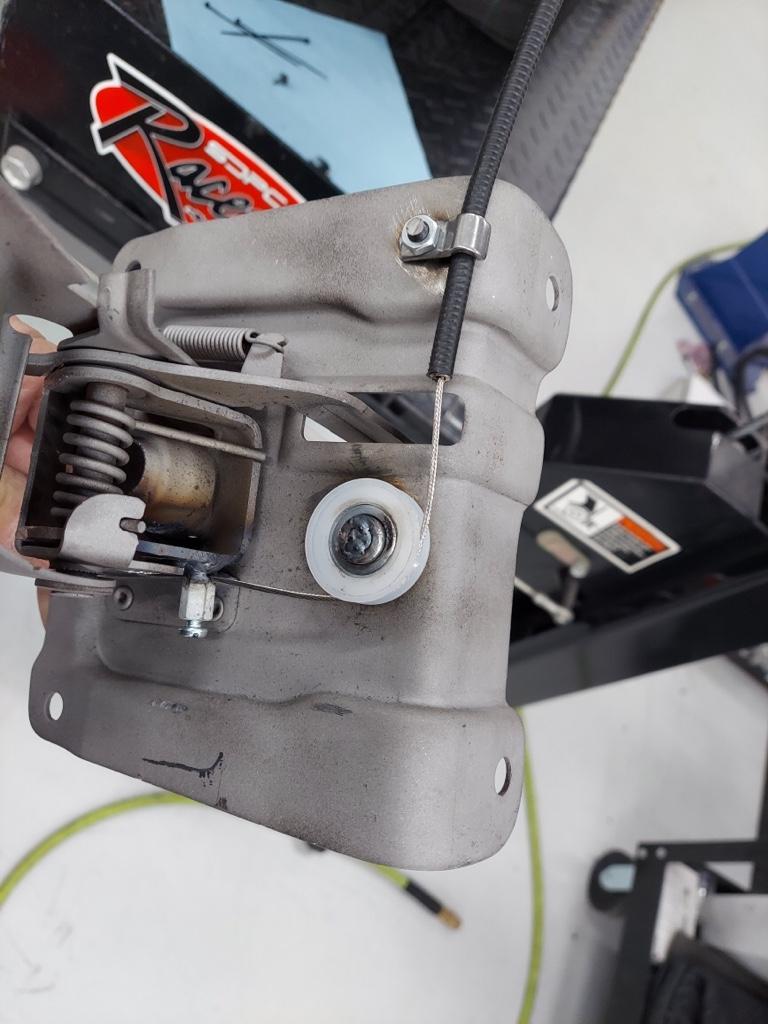
We got the emergency brake lever mounted up as well - works awesome and will tuck in nicely next to the seat bolster. Will have leather boot made to cover that will match my seats.


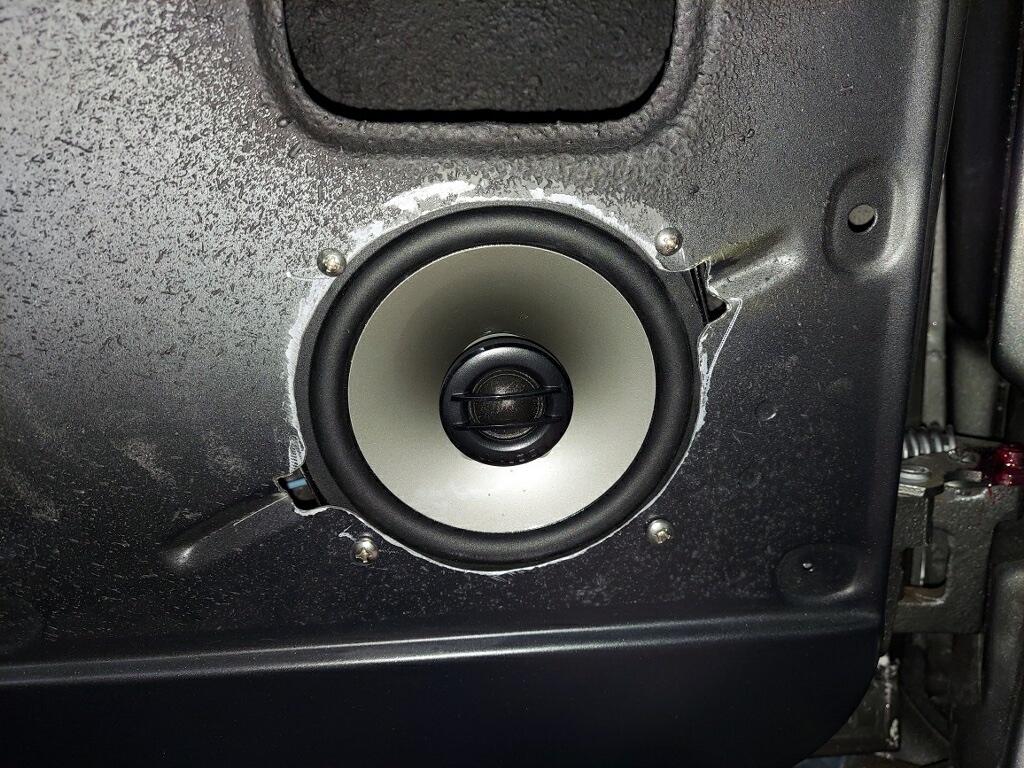
Stereo wiring all buttoned up as well...


Wiring all completed for power door locks and power windows, and all works beautifully. Switches will be mounted in center console - theee switch panel, the two outside switches are left and right windows and middle switch is power door lock. The power window switches have express up and down modules wired into them - Kurt laughed that there are twenty separate wires all fed together for the windows. Looks like a rats nest, but will all be covered by center console.


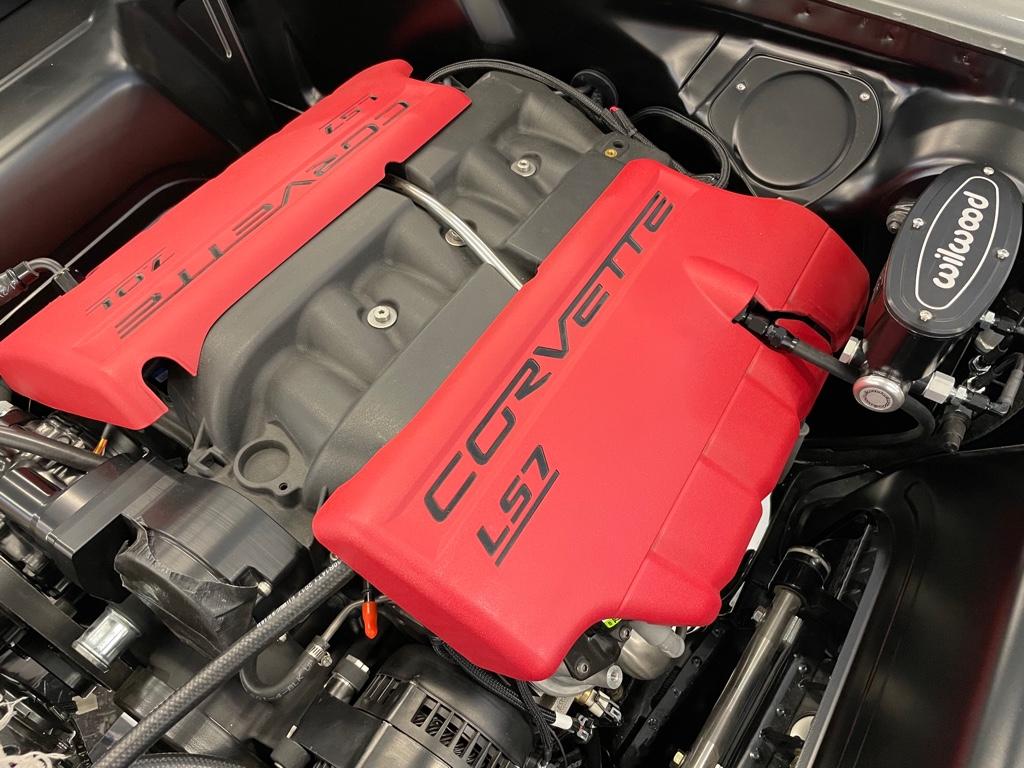
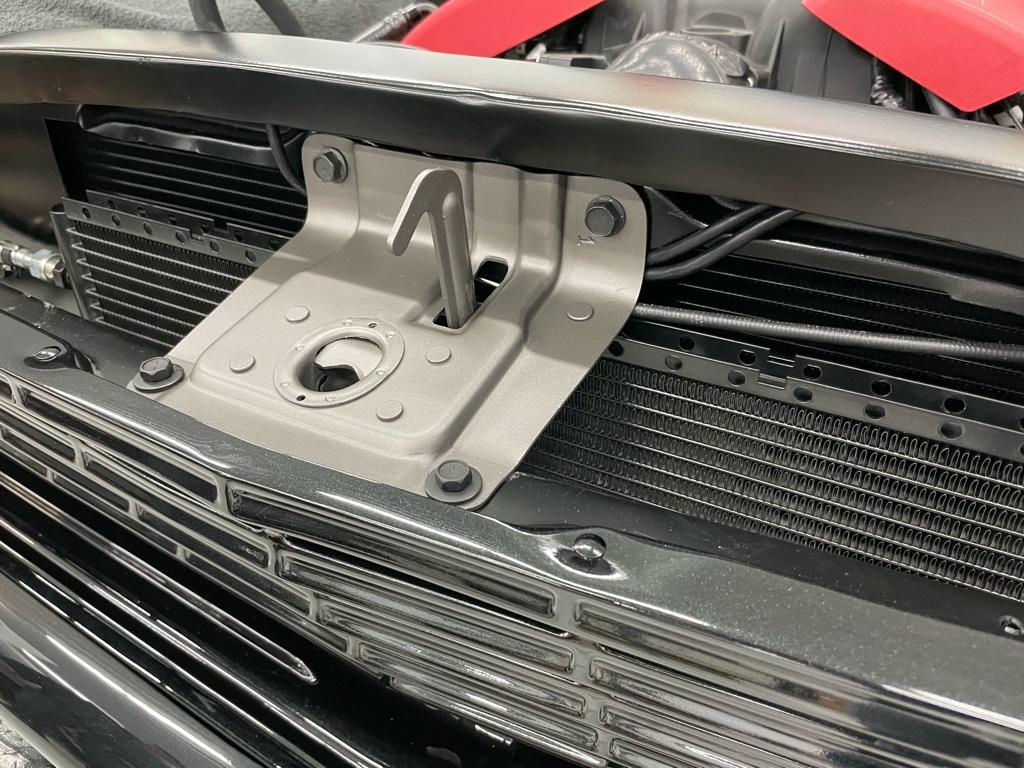
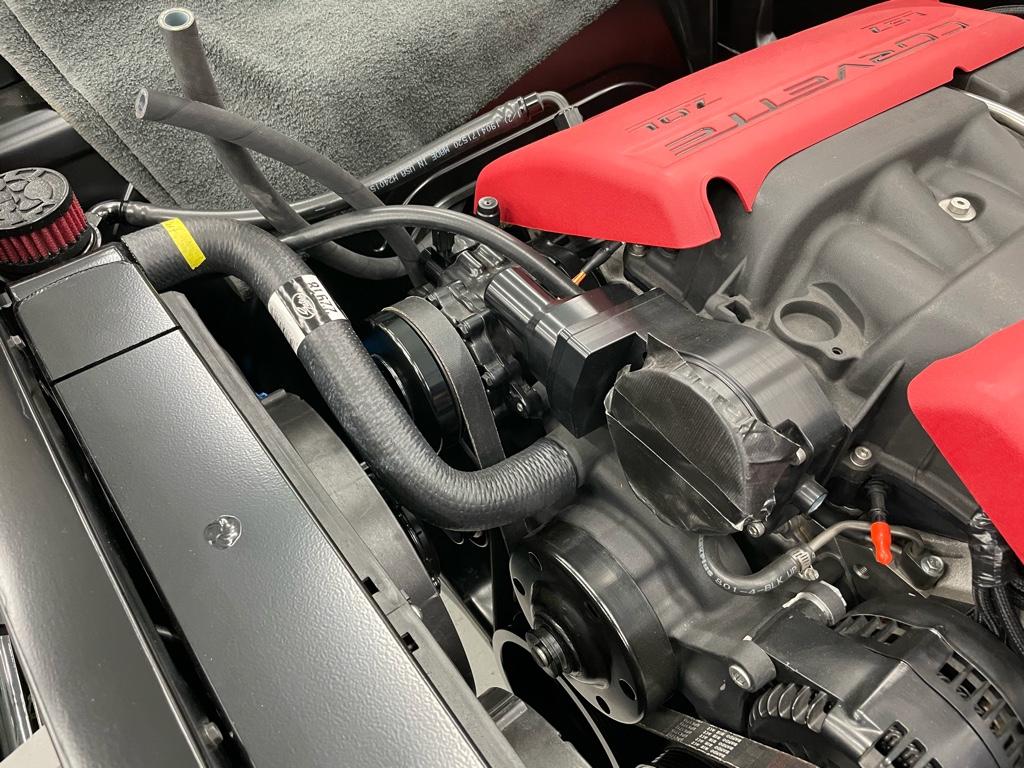
Cool little detail for A/C lines - black anodized and charge ports built in to the manifold making for cleaner look and much easier when charging A/C system.


Pedals and linkage in, along with Clayton pedal covers, as is stering wheel column with aluminum levers for turn signal and tilt.


Kurt was going to finish install of gas pedal, digital dash, headlight switch and wiper switch over the next couple of days. Hopefully, I’ll get some pics of those on Friday, as well as pics with front and rear glass installed. Have a great week.

Brian


Sent from my iPhone using Tapatalk
__________________
63 Chevy II - Build in Progress
2017 Camaro ZL1
2010 Mercedes C63 AMG

Last edited by bkswede; 02-03-2021 at 06:15 PM.
Reply With Quote
The Following 2 Users Say Thank You to bkswede For This Useful Post:
camcojb (02-03-2021), Goosesdad (02-04-2021)
  #10  
Old 02-03-2021, 06:22 PM
camcojb's Avatar
camcojb camcojb is online now
Administrator
 
Join Date: Jul 2004
Location: Wilton, CA.
Posts: 13,282
Thanks: 6,902
Thanked 2,118 Times in 973 Posts
Default

Looks fantastic Brian!
__________________
Jody

PAST CAR PROJECTS

Like Lateral-G on Facebook!

Follow Lateral-G on Instagram!

SPECIAL THANKS TO:
Jacob Ehlers and Amsoil for the lubricants and degreasers for my 70 Chevelle project
Shannon at Modo Innovations for the cool billet DBW bracket
Roadster Shop for their Chevelle SPEC Chassis
Dakota Digital for their Chevelle HDX Gauge Package
Painless Performance for their wiring harness

Ron Davis Radiators for their radiator and fan assembly.
Baer Brakes for their front and rear brakes

Texas Speed and Performance for their 427 LS Stroker
American Powertrain for their ProFit Magnum T56 kit
Currie Enterprises for their 9" Third Member
Forgeline for their GF3 Wheels
McLeod Racing for their RXT street twin clutch
Ididit for their steering column
Holley for their EFI and engine parts
Lokar and Clayton Machine for their pedals and door and window handles
Morris Classic Concepts for their 3 point belts and side mirrors
Thermotec for their heat sleeve and sound deadening products
Restomod Air for their Tru Mod A/C kit
Mightymouse Solutions for their catch can
Magnaflow for their 3" exhaust system
Aeromotive for their dual Phantom fuel system
Vintage Air for their new Mid Mount LS front drive
Hydratech Braking for their hydroboost system
Borgeson for their stainless steering shaft and u joints
Eddie Motorsports for their hood and trunk hinges and misc parts
TMI Products for their seats, door panels, and dash pad
Rock Valley Antique Auto Parts for their stainless fuel tank
Reply With Quote
Reply

Thread Tools
Display Modes

Posting Rules
You may not post new threads
You may not post replies
You may not post attachments
You may not edit your posts

BB code is On
Smilies are On
[IMG] code is On
HTML code is Off

Forum Jump


All times are GMT -7. The time now is 02:18 PM.


Powered by vBulletin® Version 3.8.11
Copyright ©2000 - 2025, vBulletin Solutions Inc.
Copyright Lateral-g.net