...

Go Back   Lateral-g Forums > Lateral-G Open Discussions > Project Updates
User Name
Password


Closed Thread
 
Thread Tools Display Modes
  #1101  
Old 06-30-2013, 05:48 PM
b757jetdr's Avatar
b757jetdr b757jetdr is offline
Senior Member
 
Join Date: Apr 2010
Location: Charlestown, Indiana
Posts: 183
Thanks: 0
Thanked 1 Time in 1 Post
Default

Cable ties would be the easy route that I know of. An Aircraft crimping tool Is my guess. I wonder what you are coming up with?

So I knocked out one of the rears. I think I'm going to grab a set of 6" pliers in both lefty and righty. It would make this process way faster. Between my sausage fingers and the old 9" safety wire pliers I have this rotor took me too long.


[/QUOTE]

Rob,

Pretty good guess and description. I have the 6" left and right pliers if you need them? I will dig up that tool tomorrow and see about some pics.
__________________
Thanks
Chris K
Aircraft Mechanics: So pilots can have heros too!
  #1102  
Old 06-30-2013, 06:04 PM
FETorino's Avatar
FETorino FETorino is offline
Lateral-g Supporting Member
 
Join Date: Aug 2007
Location: Southern CA
Posts: 2,723
Thanks: 59
Thanked 63 Times in 21 Posts
Default

So before I got around to safety wiring the rotors I had to build them up. It is a simple exercise but it took a bit of time to do. Part of this is me being anal about putting them together.

Why worry about assembling brake parts right.


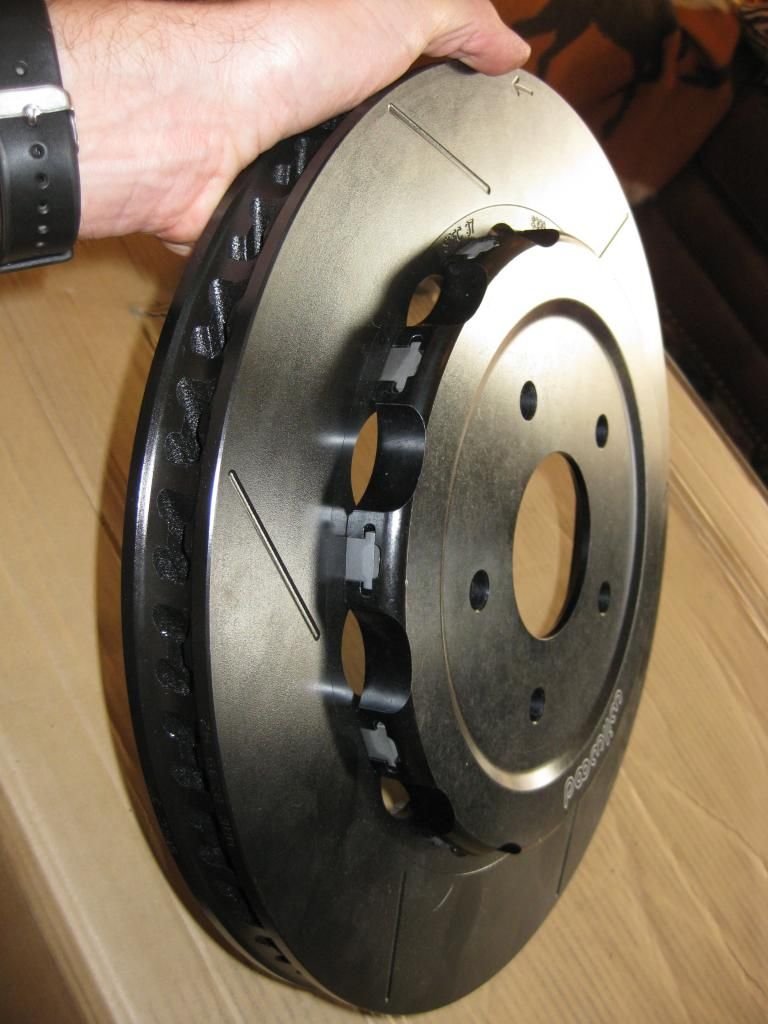
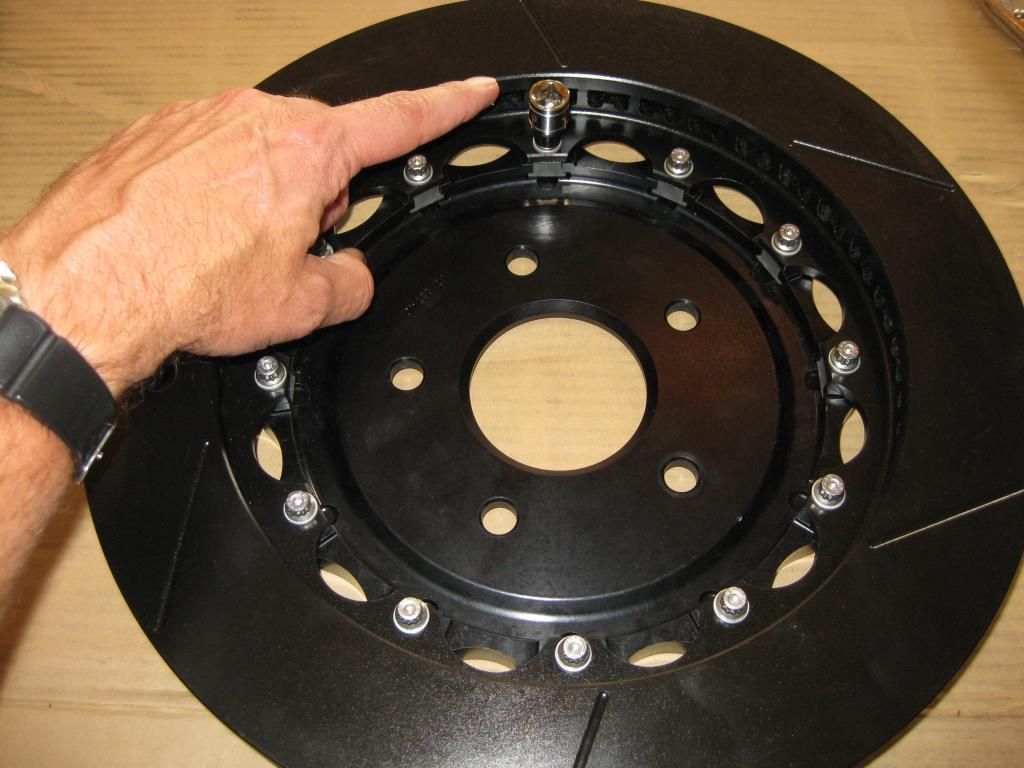
I'll run through this quick. It also gives me a chance to show off my Wilwood floating hats.

Here one is.


It's AL like most of the front hats but you'll notice the T slots in it instead of just threaded holes.

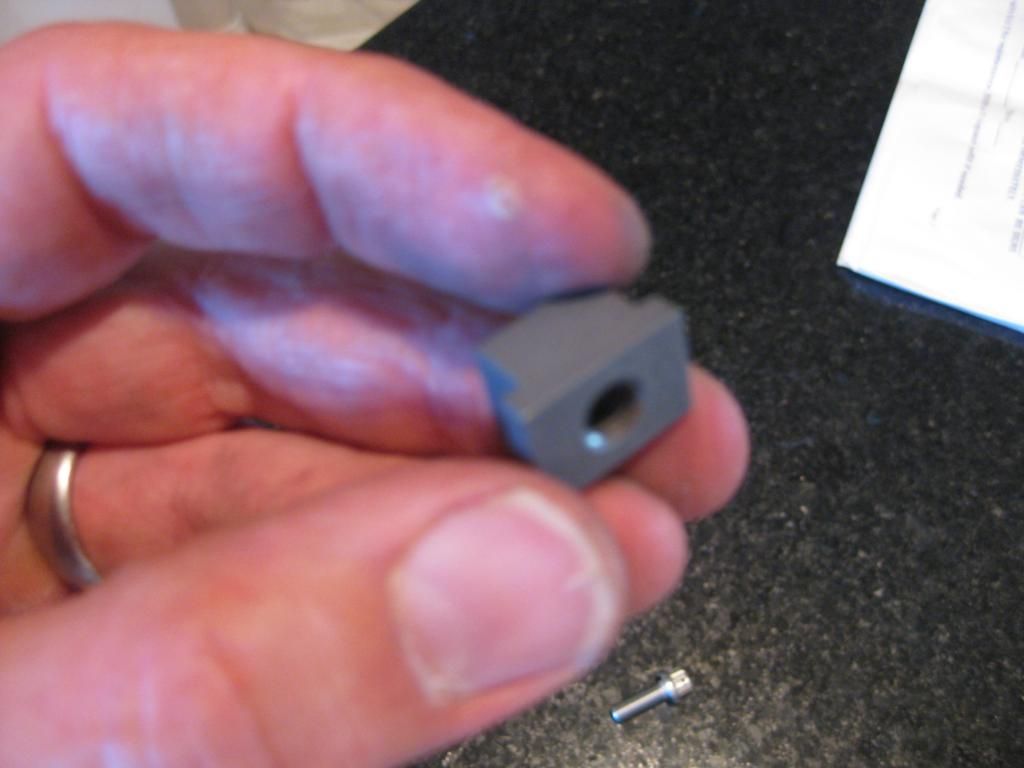
Into these you inset these little T nuts.


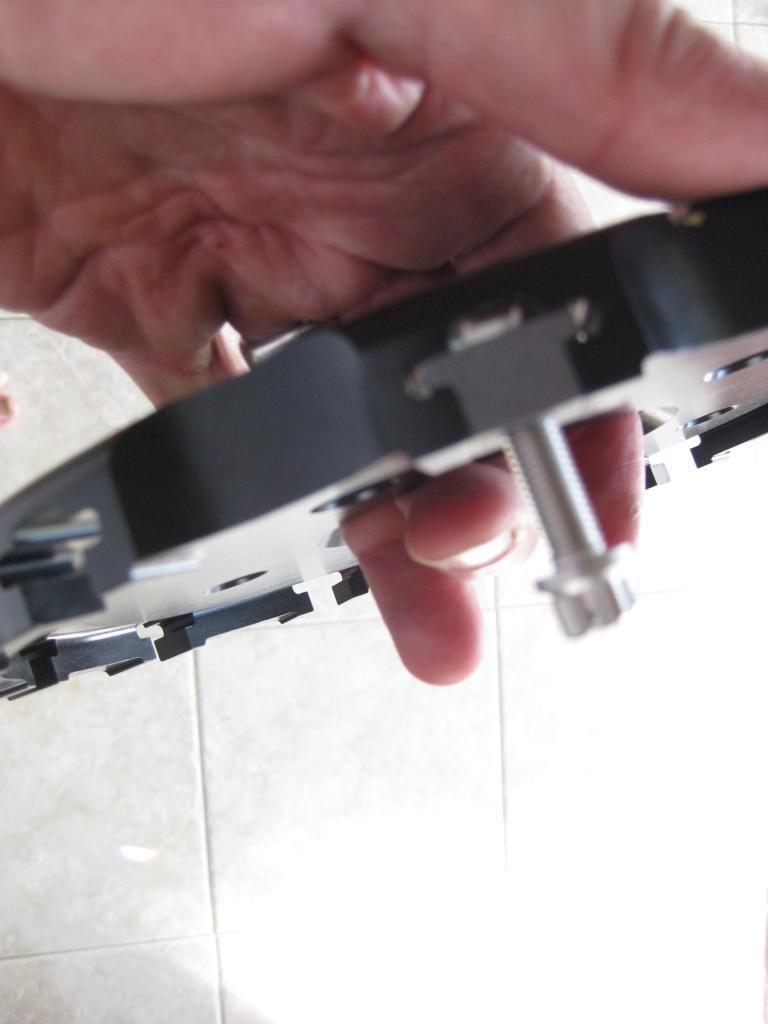
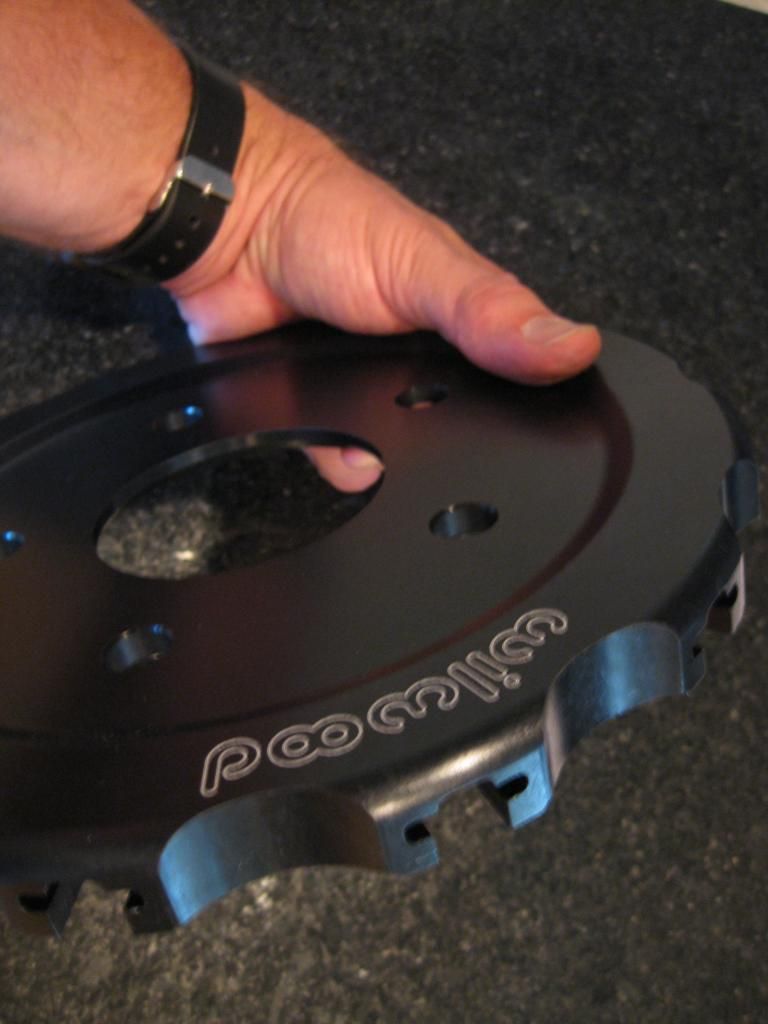
Man that is a crappy picture. I can't wait to hear GWs comment on that one.

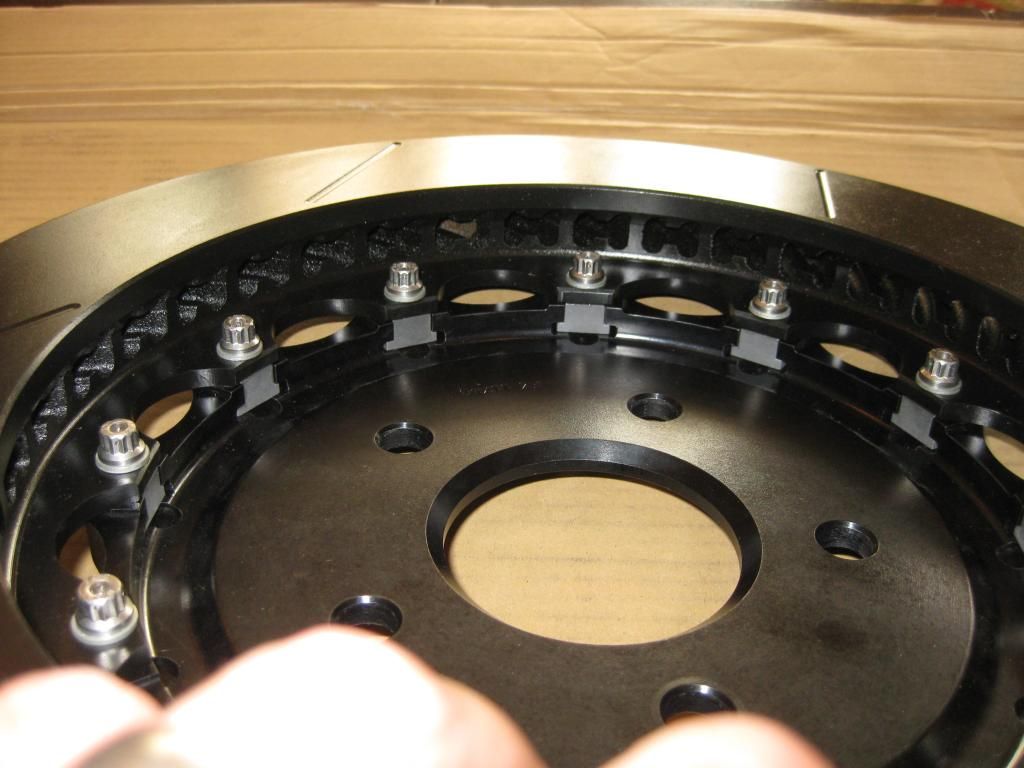
This allows the rotor to "float" on the hat. This really separates the hat and the rotor into two separate pieces. Having two separate sections of the rotor and hat helps to keep heat generated in the rotor off of the hat. By keeping the hat cool you are less likely to have any flex, giving you more feel and braking predictability under extreme braking conditions. A floating rotor also allows for much more contact surface between the rotor and brake pads since the rotor itself follows the path of the pads correcting any imperfection either may have as it floats.


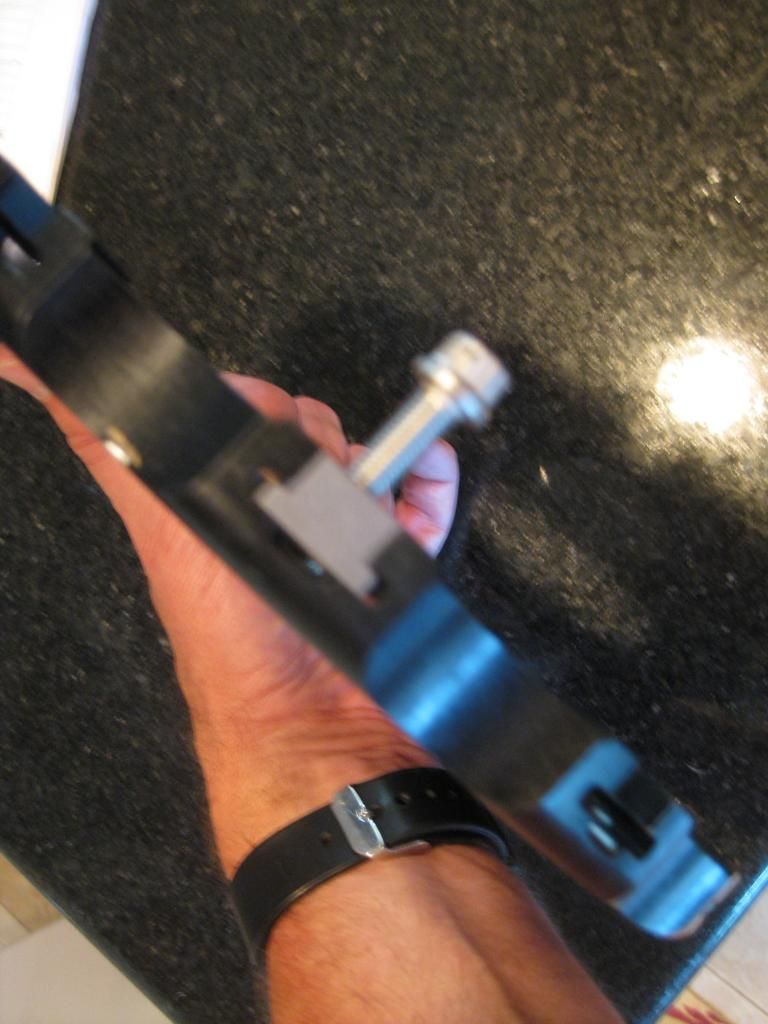
Now with anything that requires a definitive torque value I make sure the threads are clean and free of burrs. In most cases that means a quick run of a tap through the threads.

In this case the stainless bolts are nice and hard compared to the T nuts so I just dry fitted them. If any of the bolts had bound as I was assembling the rotors I would have got a tap out for that one.

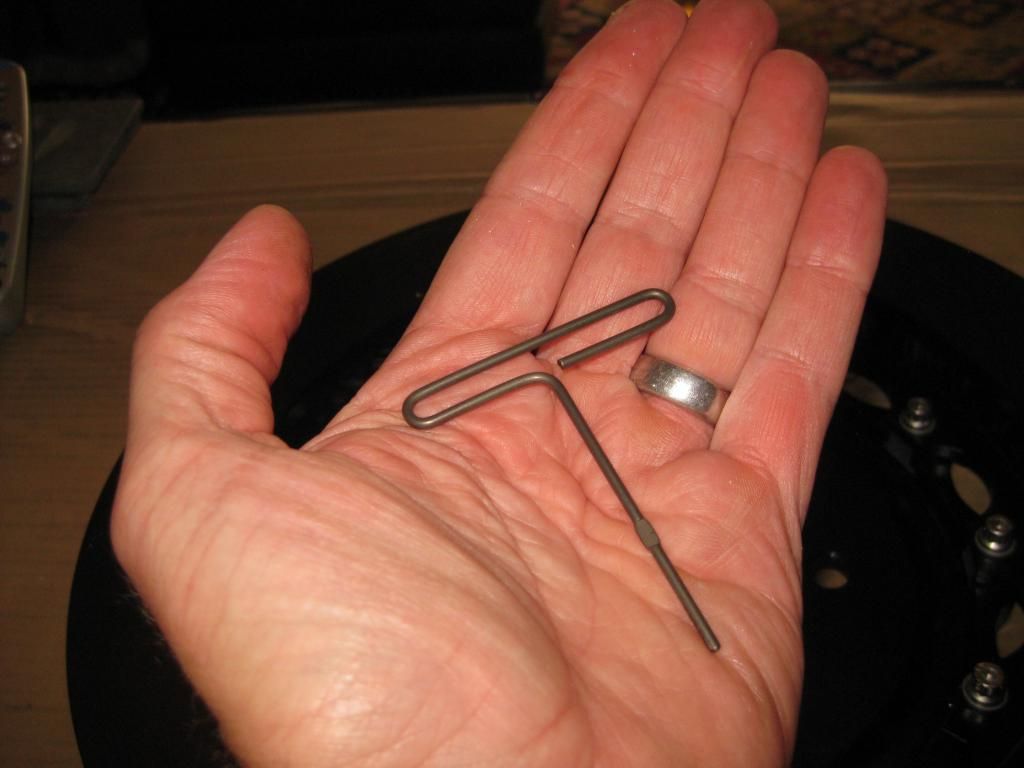
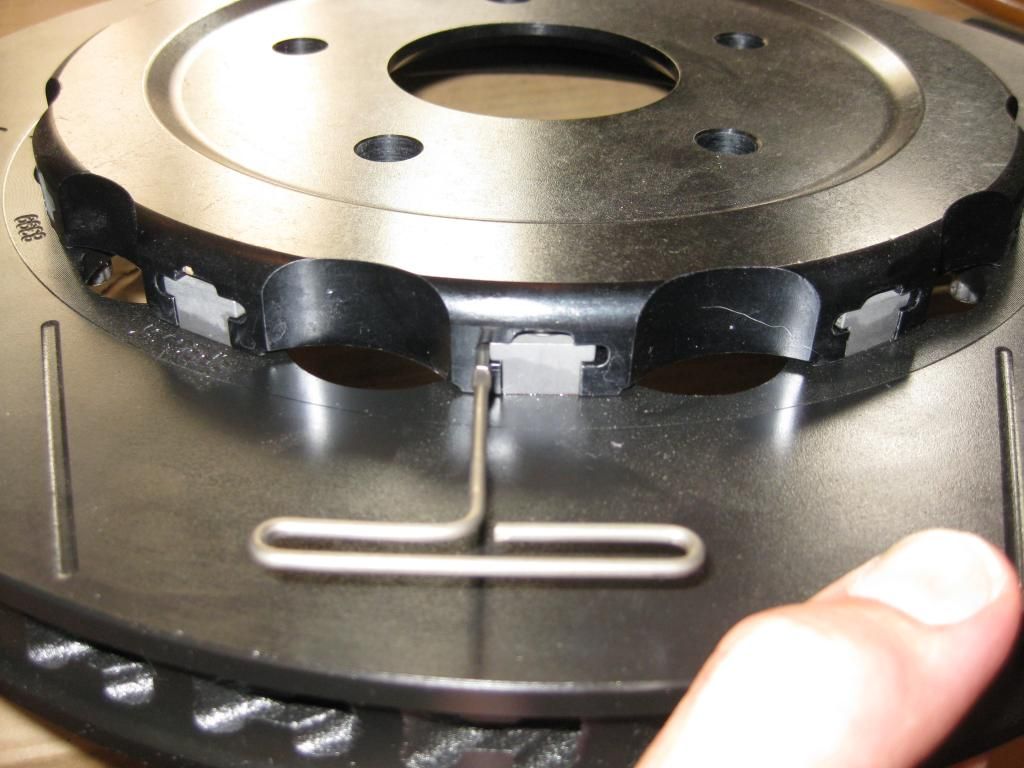
With these T nuts you use a small T wire to ensure the nuts don't rotate as you torque the bolts.


I didn't have any issues with this set. Once the rotors are completely assembled to hand tight it's time to loctite and torque them.

I use two sockets of the same size to make the next step easy. Once I torque a bolt I leave the socket on it and then go to the bolt directly across to torque in a criss cross pattern. the first socket serves as a marker to remind me where I just was.


Once you put a bit of loctite RED on all the bolts bolt and torque them to 125 in lbs (in this case) it's time to get out the safety wire pliers.

__________________
Rob in SoCal

https://lateral-g.net/forums/show...10645&page=171

  #1103  
Old 06-30-2013, 06:10 PM
Sieg's Avatar
Sieg Sieg is offline
Moderator
 
Join Date: Dec 2010
Location: Pacific Northwet
Posts: 8,034
Thanks: 33
Thanked 101 Times in 41 Posts
Default

If you really wanted to show them off you should have taken FIRST SET of pictures IN @*^#$ FOCUS!

The second set get's you a big pat on the back.........you're actually making an effort! Women like that in a man.

Quote:
Originally Posted by FETorino View Post
Man those are crappy pictures. I can't wait to hear GWs comment on that one.
Why are you worried about GW?
  #1104  
Old 06-30-2013, 11:18 PM
FETorino's Avatar
FETorino FETorino is offline
Lateral-g Supporting Member
 
Join Date: Aug 2007
Location: Southern CA
Posts: 2,723
Thanks: 59
Thanked 63 Times in 21 Posts
Default

Quote:
Originally Posted by b757jetdr View Post

Rob,

Pretty good guess and description. I have the 6" left and right pliers if you need them? I will dig up that tool tomorrow and see about some pics.
Maybe one of these

Quote:
Originally Posted by Sieg View Post
If you really wanted to show them off you should have taken FIRST SET of pictures IN @*^#$ FOCUS!

The second set get's you a big pat on the back.........you're actually making an effort! Women like that in a man.


Why are you worried about GW?
I figured he'd beat you to complaining about the photo quality. But you were first.
__________________
Rob in SoCal

https://lateral-g.net/forums/show...10645&page=171

  #1105  
Old 07-01-2013, 05:18 AM
GregWeld's Avatar
GregWeld GregWeld is offline
Lateral-g Supporting Member
 
Join Date: Jul 2005
Location: Scottsdale, AriDzona
Posts: 20,741
Thanks: 504
Thanked 1,080 Times in 388 Posts
Default

Nice parts -- nice write up -- I see that Cheryl took some of the photos and you did a couple of the others?
  #1106  
Old 07-01-2013, 05:28 AM
Sieg's Avatar
Sieg Sieg is offline
Moderator
 
Join Date: Dec 2010
Location: Pacific Northwet
Posts: 8,034
Thanks: 33
Thanked 101 Times in 41 Posts
Default


I've never seen that safety cable system, very cool and quick!
  #1107  
Old 07-01-2013, 06:24 AM
b757jetdr's Avatar
b757jetdr b757jetdr is offline
Senior Member
 
Join Date: Apr 2010
Location: Charlestown, Indiana
Posts: 183
Thanks: 0
Thanked 1 Time in 1 Post
Default

Rob,

That is the gem! We use it when access is limited. I will try and round mine up here at work and if your interested in trying it let me know.
__________________
Thanks
Chris K
Aircraft Mechanics: So pilots can have heros too!
  #1108  
Old 07-01-2013, 12:55 PM
intocarss's Avatar
intocarss intocarss is offline
Senior Member
 
Join Date: Aug 2011
Location: So Cal in the Sfv
Posts: 4,257
Thanks: 0
Thanked 0 Times in 0 Posts
Default

Quote:
Originally Posted by GregWeld View Post
Nice parts -- nice write up -- I see that Cheryl took some of the photos and you did a couple of the others?
How do we all know that..... with all your you just don't have a professional photographer on your payroll. Has anyone here ever seen a pic of GW with a camera in his hand??
__________________
If it ain't buckin, chirpin & makin all kinds of bad noises, then I ain't happy

Accelerating is optional...........stopping is mandatory. Your car WILL stop one way or another.
  #1109  
Old 07-01-2013, 01:34 PM
Sieg's Avatar
Sieg Sieg is offline
Moderator
 
Join Date: Dec 2010
Location: Pacific Northwet
Posts: 8,034
Thanks: 33
Thanked 101 Times in 41 Posts
Default


  #1110  
Old 07-01-2013, 03:14 PM
GregWeld's Avatar
GregWeld GregWeld is offline
Lateral-g Supporting Member
 
Join Date: Jul 2005
Location: Scottsdale, AriDzona
Posts: 20,741
Thanks: 504
Thanked 1,080 Times in 388 Posts
Default

Just when we need a GRAINY picture.....


Closed Thread

Thread Tools
Display Modes

Posting Rules
You may not post new threads
You may not post replies
You may not post attachments
You may not edit your posts

BB code is On
Smilies are On
[IMG] code is On
HTML code is Off

Forum Jump


All times are GMT -7. The time now is 08:25 PM.


Powered by vBulletin® Version 3.8.11
Copyright ©2000 - 2025, vBulletin Solutions Inc.
Copyright Lateral-g.net