Welcome to my build!
The wife and I decided to consolidate a bit, and so I will be selling my '93 M5. Consequently, the ratty old 360, with its lack of overdrive had to go.
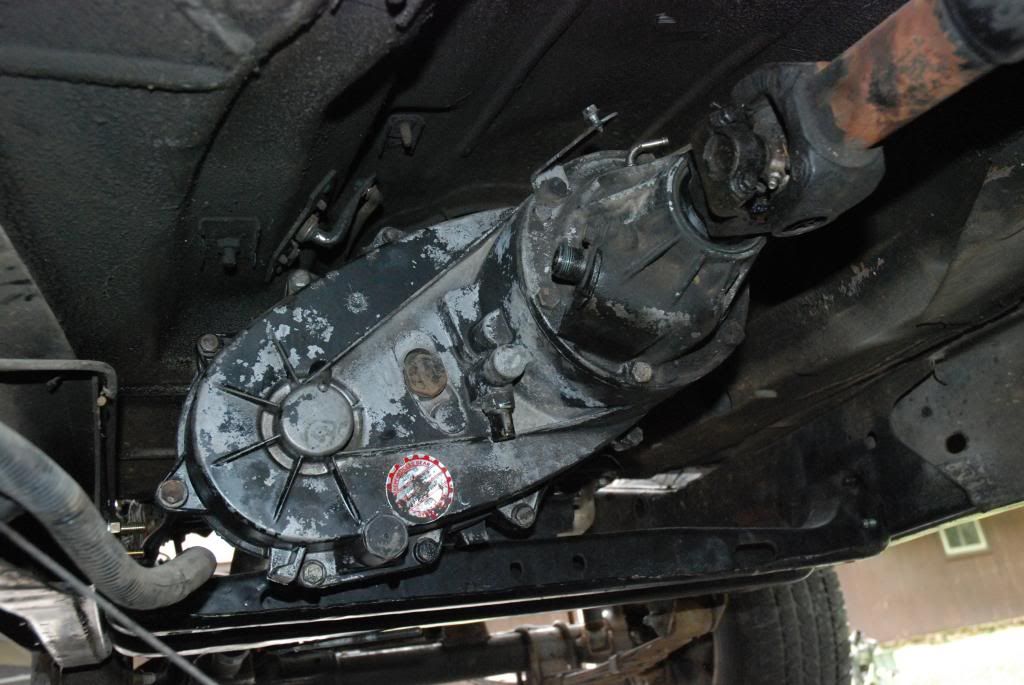
I'll be starting with my 1989 Jeep Grand Wagoneer. It currently has its stock 360 and 727 transmission, backed by the NP229 transfer case.
Exhibit A:

It's pretty much rust-free, with a few hail induced dings and a rather tweaked hood (it came open at some 35mph :shock: )
My plans:
Drivetrain
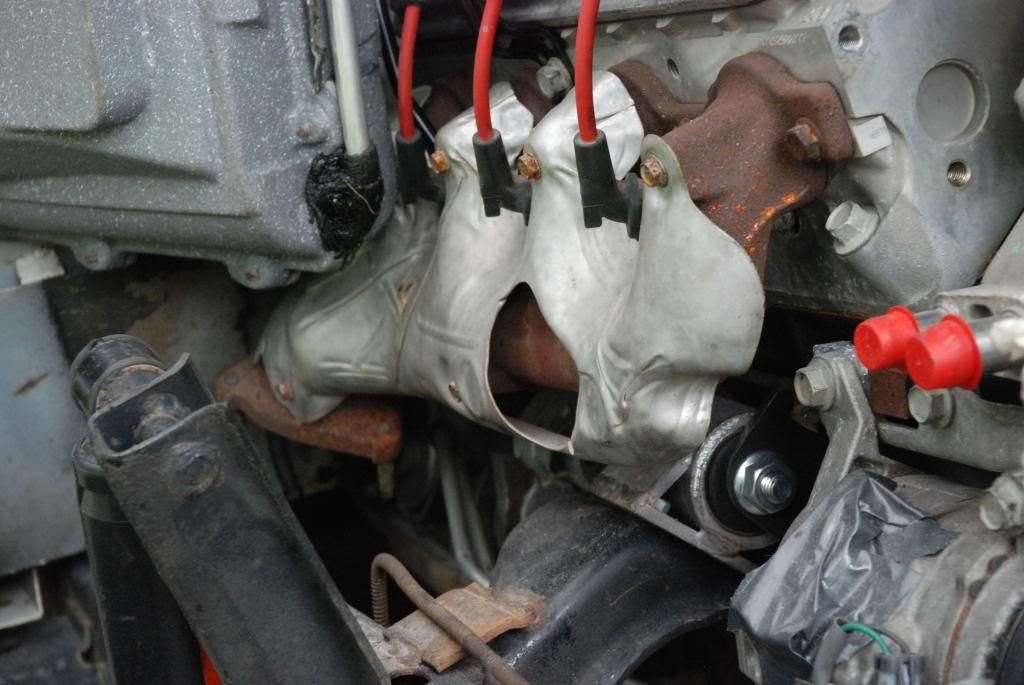
-LY5 5.3 (from a 2008 Silverado)
-4L60E (2008 Silverado)
-NP229
Interior
-Thunderbird Turbo Coupe front seats
-Custom console
-Custom dash
-A/C from a 70's Chevy truck
Body
-Cherokee Wide Trac flares
-Maroon paint
-Custom woodgrain
-Suburban 42 gallon tank
-Raised rear floor (2"-3") to accommodate tank.
Wheels/Tires/Suspension
-31" or 32" tires?
-15" wheels? 17"? 18"?
-Stock height? 2" lift?
Build list:
LY5/4L60E............................................. Received..........2008 Chevy Silverado
Modify Harness.......................................TBD. ...............Wayne Hartwig/Diff Wizard (suggestions?)
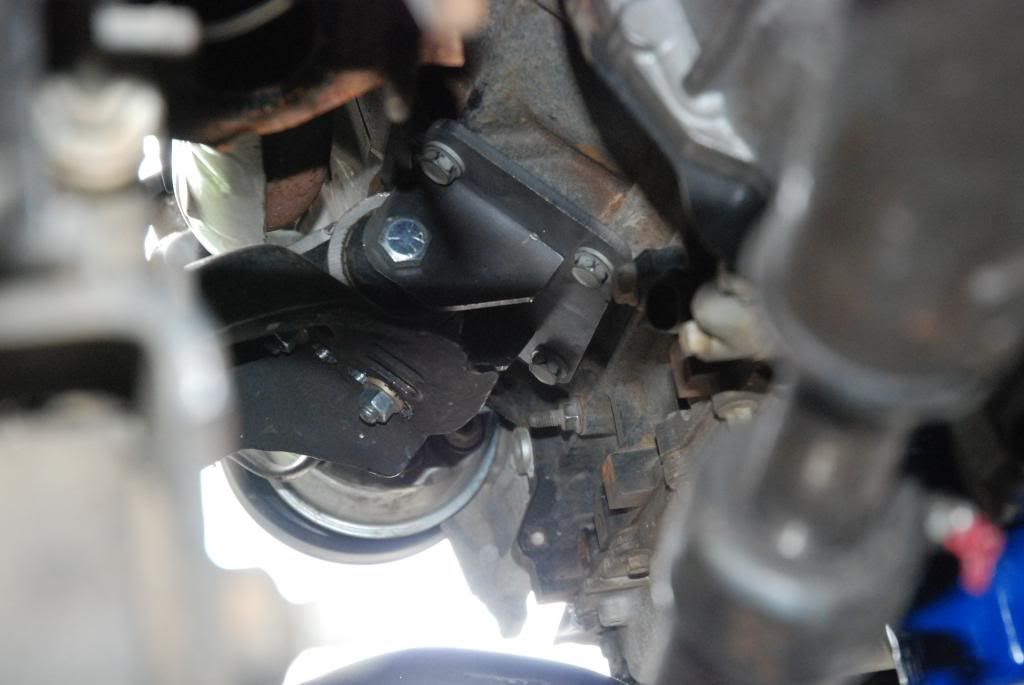
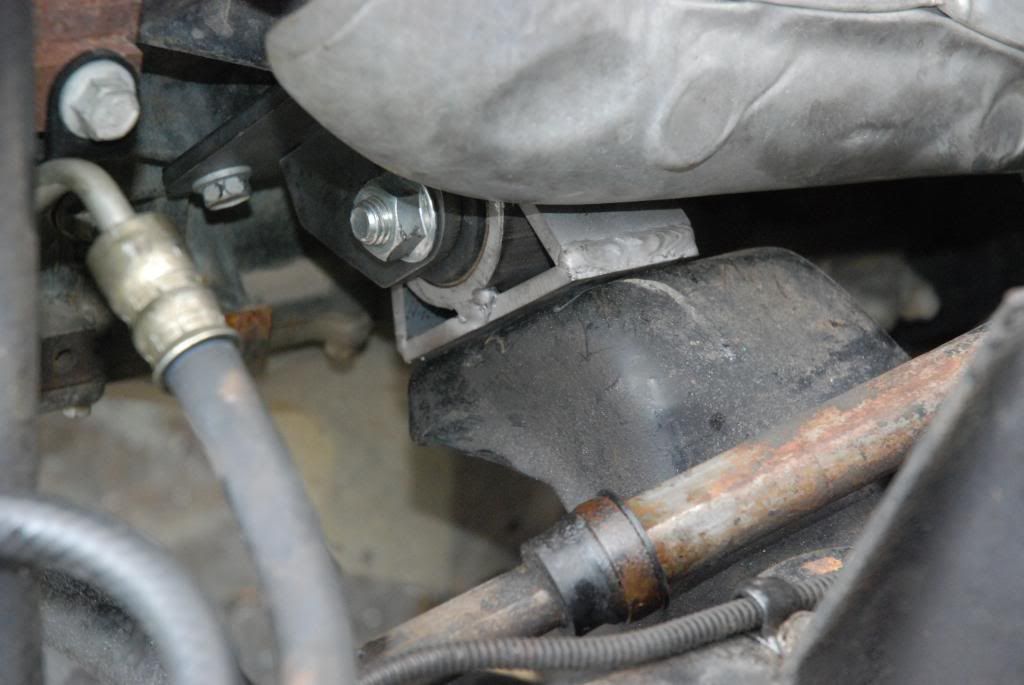
Engine Mounts.......................................Recei ved..........JeepinPete
Transmission Mounts...............................Received..... ......Ebay Vendor
Transmission Rebuild Kit..........................Received...........Tr anstech
Transmission/Transfer Case Adapter..........Received...........Novak/BJ's
Transfer Case Seal Kit.............................Received.......... Ebay Vendor
Radiator.......................................... ......Received..........Griffin '67-'69 Camaro LS Swap (Summit)
Radiator Fan..........................................Recei ved..........Lincoln Mark VIII (Ebay Vendor)
Radiator Hoses......................................TBD
Fuel Tank.............................................. Received..........'98 Chevy Suburban-42 Gallon (Ebay Vendor)
Fuel Pump/Sending Unit..........................Received..........'9 8 Chevy Suburban (Ebay Vendor)
Fuel Lines............................................. TBD.................PTFE Lined Braided Line
Fuel Filter/Regulator(?)...........................TBD
Shifter Linkage......................................Recei ved...........FSJ Turbo 400 (ScottsMojo)
A/C-Heat Unit........................................Receiv ed..........'70s Chevy Truck (Integrated Heat-A/C)
A/C Evaporator......................................Or dered............'79 Firebird
Heater Core..........................................Rece ived...........'70s Chevy Truck
A/C Condenser......................................Rec eived...........Polar Bear Inc
Transmission Oil Cooler...........................TBD
Transmission Cooler Lines.......................TBD
Power Steering Lines/Adapters................Stock Jeep
Driveshafts....................................... ....TBD
Gauges............................................ ....Received...........Speedhut
Transmission Rebuild Tools.....................Received............Ebay Vendor
Wheels............................................ ....Received............Jeg's (Ultra Wheel Type 50/51)
We have progress!!
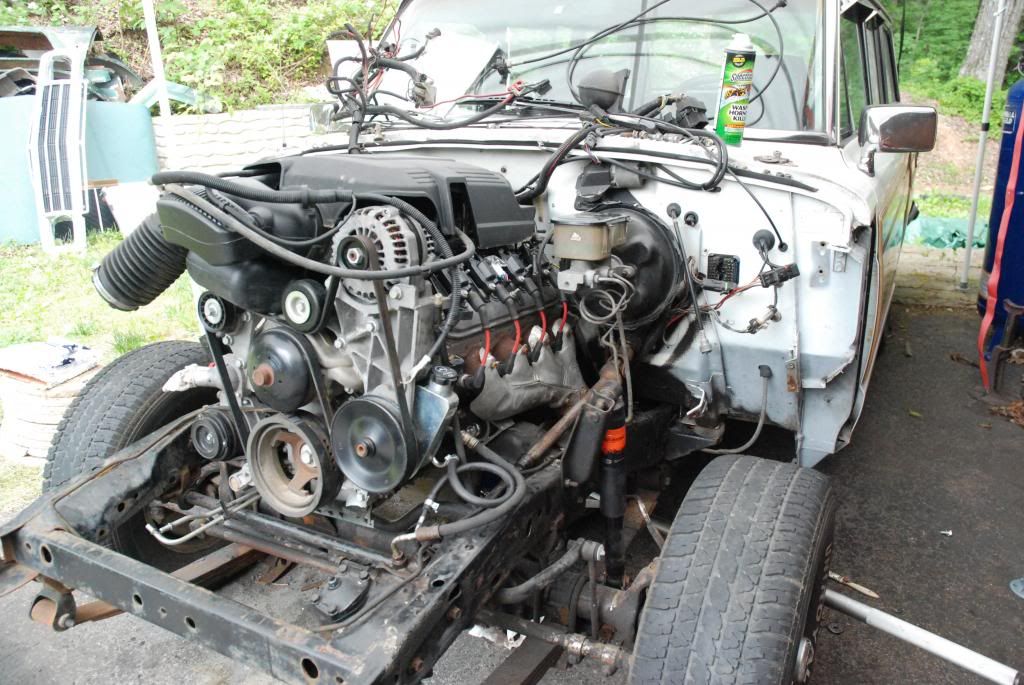
The engine arrives!

Out with the old... (oh, it's for sale too!)

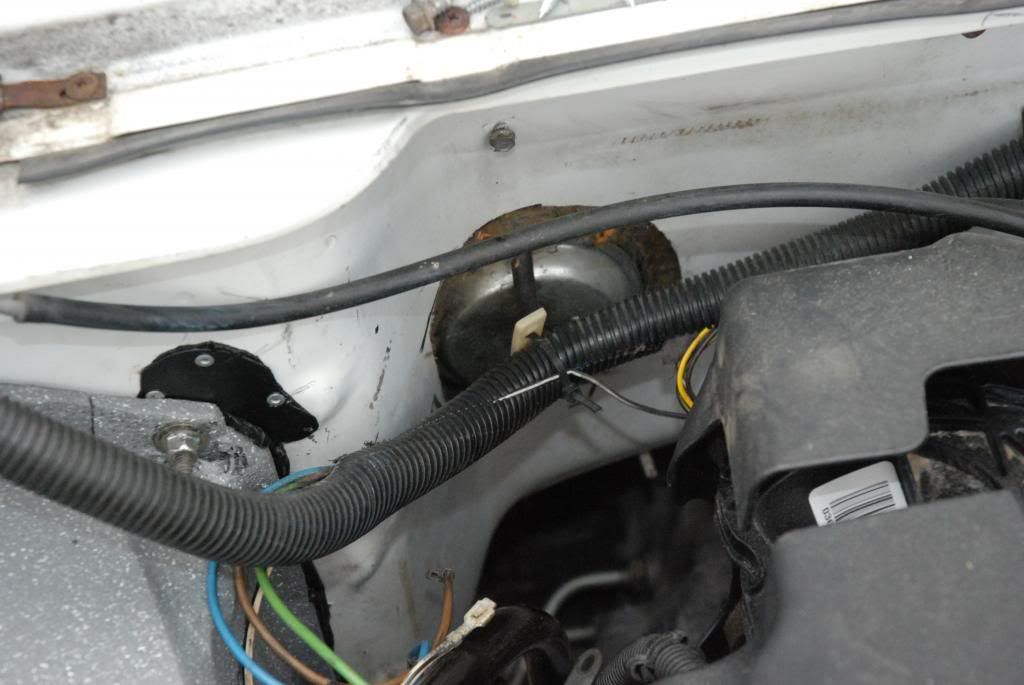
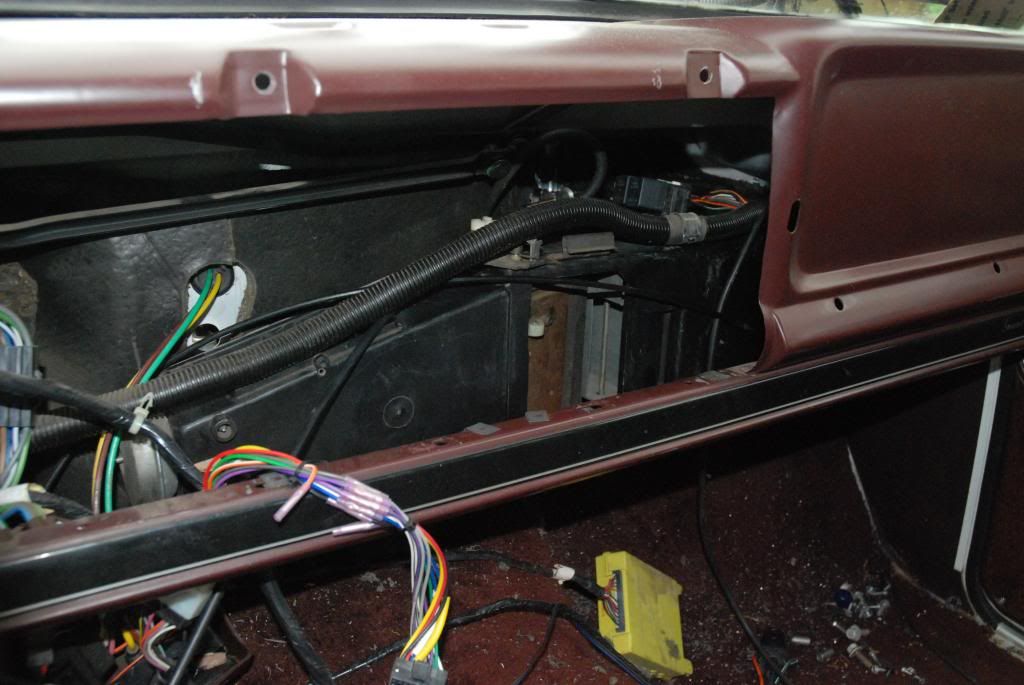
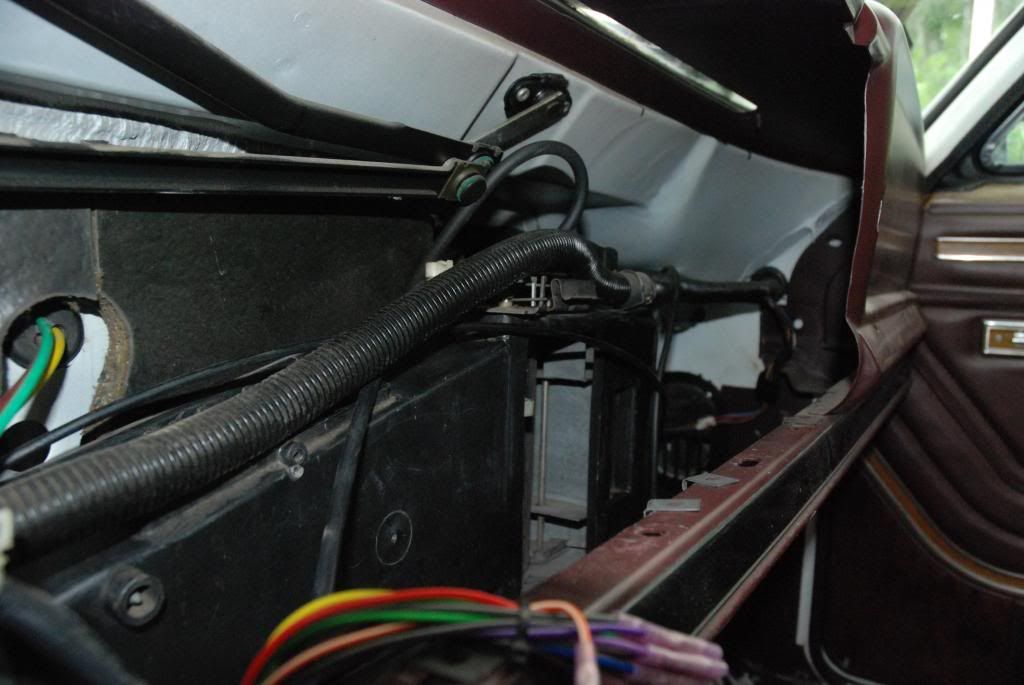
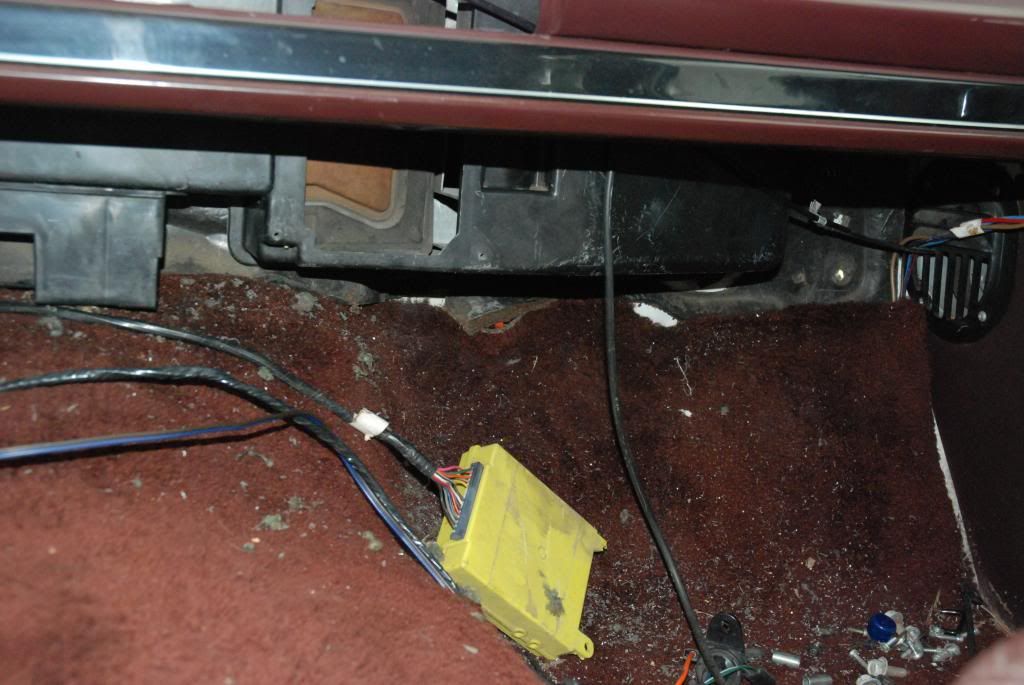
Air Conditioning mock up...

Behind the dash...

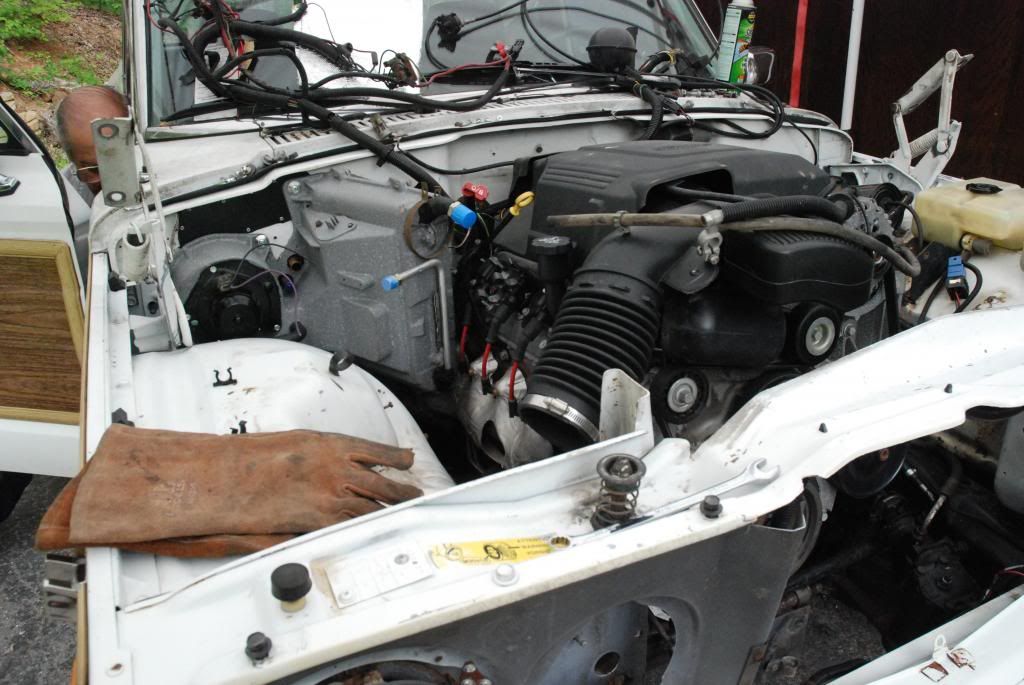
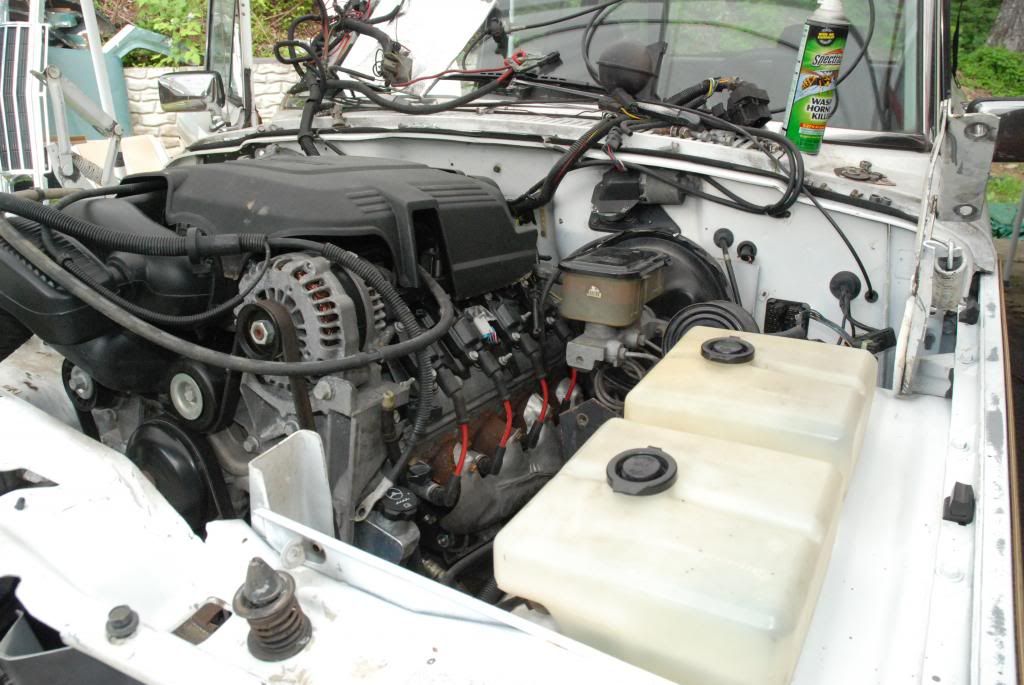
In with the new...

Clears the firewall nicely!

Notes: The JeepinPete (from the Full Size Jeep Forum) mounts were PERFECT! I mounted the engine 1" forward of the original forward holes. By doing this, the transfer case is within an inch of its original mounting, and thus the linkage fits with no issues. Also, no driveshaft work is needed!

The Turbo 400 shifter linkage was spot on.
Stay tuned!


 Brian Hobaugh SCCA National Tour June 2014
 First Hemi 'Cuda Convertible Ever Built
 Short clips: Goodguys Pleasanton autocross and pit videos


 Linear Mode

