...

Go Back   Lateral-g Forums > Lateral-G Open Discussions > Project Updates
User Name
Password


Reply
 
Thread Tools Display Modes
  #1041  
Old 10-02-2015, 10:40 PM
Sonar Chief's Avatar
Sonar Chief Sonar Chief is offline
Senior Member
 
Join Date: Dec 2011
Location: Greater Denver area
Posts: 1,366
Thanks: 245
Thanked 163 Times in 72 Posts
Cool

Weather didn't look to good for the weekend so I sprayed SPI epoxy ... take a look! Getting the underside of the speaker tray was APITA and some of the roll bar has some dry spots I'll have to recoat, spraying a roll bar is tougher than it looks ..... but overall came out nice!


Just checked the temp in the garage and it's 73 degrees and holding, guess my insulation is working

Thanks for looking ... more tomorrow!
__________________
JUST PICTUREShttps://imageshack.com/user/mcavery


Let the house go .... NEVER give up your car!!!!
Reply With Quote
  #1042  
Old 10-03-2015, 12:40 AM
sleepertime's Avatar
sleepertime sleepertime is offline
Lateral-g Supporting Member
 
Join Date: Apr 2011
Location: Texas
Posts: 247
Thanks: 2
Thanked 29 Times in 17 Posts
Thumbs up looking really good

Sweet it's looking great.
Yeah the bars are very hard to get great coverage.
After I sprayed the color and clear I was ready for a long break.
Between the lighting and not accidentally touching the fresh color or clear with body parts, gun parts or the hose.
That got old really quick.
__________________
My build BRNAGN 1969 camaro SS
Reply With Quote
  #1043  
Old 10-03-2015, 08:43 AM
Che70velle's Avatar
Che70velle Che70velle is offline
Senior Member
 
Join Date: Aug 2012
Location: Dawsonville Georgia
Posts: 2,249
Thanks: 646
Thanked 177 Times in 120 Posts
Default

I truly enjoy following your build SC. I say to myself every time that I'm about to see work done the right way, and you never disappoint.
Agree with the roll bar comments. They are tough to get right.
Car is looking great!
__________________
Scott
---------------------------------------------------------------
70 velle' on custom chassis w/custom RideTech coilovers, RED sleeved 434” with Mamo 265’s, F-body Magnum, 12 bolt 3:73, wilwood 6/4's, bla, bla, bla...build. thread https://lateral-g.net/forums/showthread.php4?t=39631
New 434” engine build here https://ls1tech.com/forums/generatio...ved-block.html

Thanks Dad!!

My Chevelle is old school... It has a belt driven power steering pump.
They're 17's, but I keep em clean!
Reply With Quote
  #1044  
Old 10-04-2015, 08:33 AM
Sonar Chief's Avatar
Sonar Chief Sonar Chief is offline
Senior Member
 
Join Date: Dec 2011
Location: Greater Denver area
Posts: 1,366
Thanks: 245
Thanked 163 Times in 72 Posts
Cool

Quote:
Originally Posted by sleepertime View Post
Sweet it's looking great.
Yeah the bars are very hard to get great coverage.
After I sprayed the color and clear I was ready for a long break.
Between the lighting and not accidentally touching the fresh color or clear with body parts, gun parts or the hose.
That got old really quick.

Yeah prep took the longest time and then crawling under the roll bar was APITA ... the outcome was worth it thou!


Quote:
Originally Posted by Che70velle View Post
I truly enjoy following your build SC. I say to myself every time that I'm about to see work done the right way, and you never disappoint.
Agree with the roll bar comments. They are tough to get right.
Car is looking great!

I appreciate the comments and I hope others can learn and get inspired from my work ... I have some more pics from this weekend to upload! Had to get out the heater already, what? Yeah, cold and rainy for early October, did get some work done in the garage thou .... a good garage day!

Thanks for looking ...
__________________
JUST PICTUREShttps://imageshack.com/user/mcavery


Let the house go .... NEVER give up your car!!!!
Reply With Quote
  #1045  
Old 10-04-2015, 11:13 AM
Spiffav8's Avatar
Spiffav8 Spiffav8 is offline
Lateral-g Moderator
 
Join Date: Apr 2007
Location: Las Vegas, NV
Posts: 4,740
Thanks: 583
Thanked 462 Times in 220 Posts
Default

This is my favorite stage of any build. So awesome.

Keep at it! :Captain:
__________________
Curtis
Pilots: We're not better than you, just way cooler.

NO ONE IS COMING. IT'S UP TO US.

http://www.navysealfoundation.org/
Reply With Quote
  #1046  
Old 10-04-2015, 02:53 PM
trevor572 trevor572 is offline
Member
 
Join Date: Oct 2015
Posts: 87
Thanks: 0
Thanked 2 Times in 2 Posts
Default Hi

Hi, I'm new to this forum and just stumbled onto your build. I couldn't help but notice it's been on the go for a few years now. I'm taken with your dedication, and the quality of your work. Keep it up mate !!!! Cheers Trevor
Reply With Quote
  #1047  
Old 10-04-2015, 03:46 PM
XLexusTech XLexusTech is offline
Senior Member
 
Join Date: Jun 2007
Posts: 1,338
Thanks: 86
Thanked 120 Times in 69 Posts
Default

Looking good... Keep up the good work
Reply With Quote
  #1048  
Old 10-04-2015, 07:41 PM
Sonar Chief's Avatar
Sonar Chief Sonar Chief is offline
Senior Member
 
Join Date: Dec 2011
Location: Greater Denver area
Posts: 1,366
Thanks: 245
Thanked 163 Times in 72 Posts
Smile

Quote:
Originally Posted by Spiffav8 View Post
This is my favorite stage of any build. So awesome.

Keep at it! :Captain:
Quote:
Originally Posted by trevor572 View Post
Hi, I'm new to this forum and just stumbled onto your build. I couldn't help but notice it's been on the go for a few years now. I'm taken with your dedication, and the quality of your work. Keep it up mate !!!! Cheers Trevor
Quote:
Originally Posted by XLexusTech View Post
Looking good... Keep up the good work
Thanks guys! It's been a long road but she's coming together just like I see in my head. I want to do everything correctly and once!!!


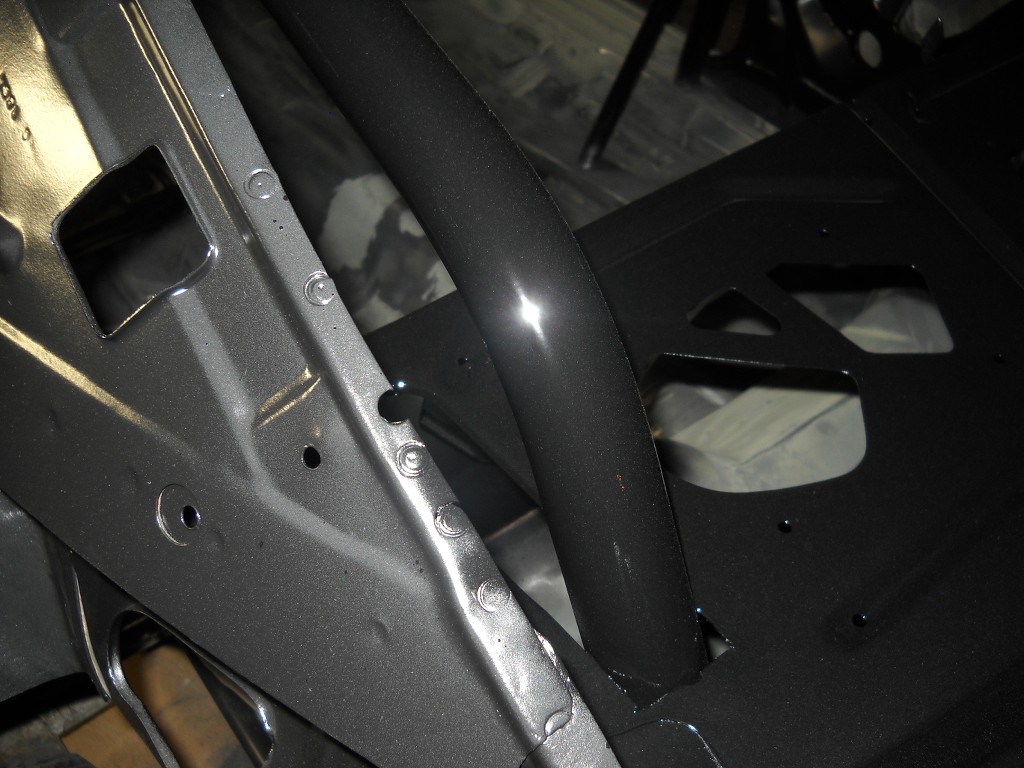
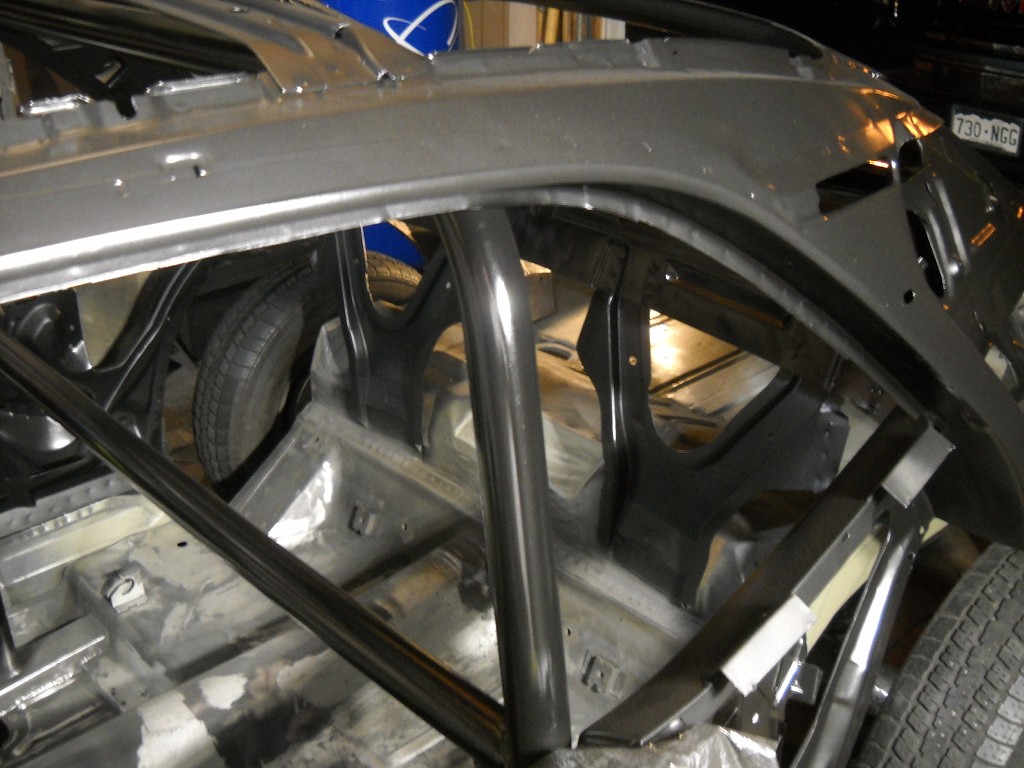
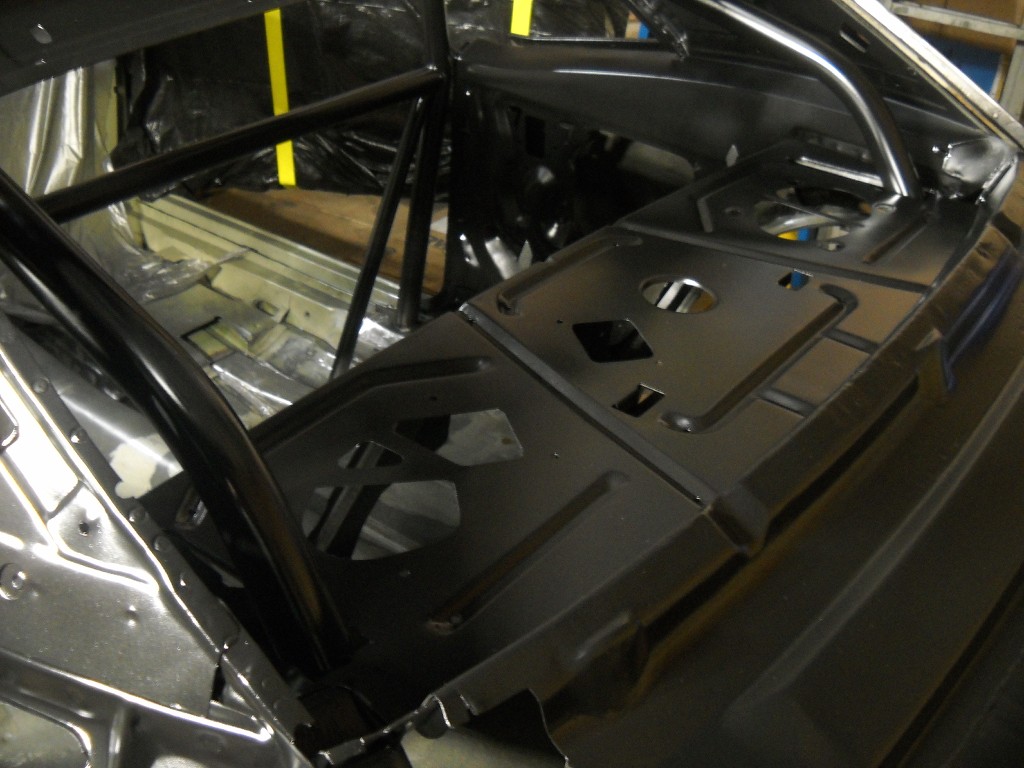
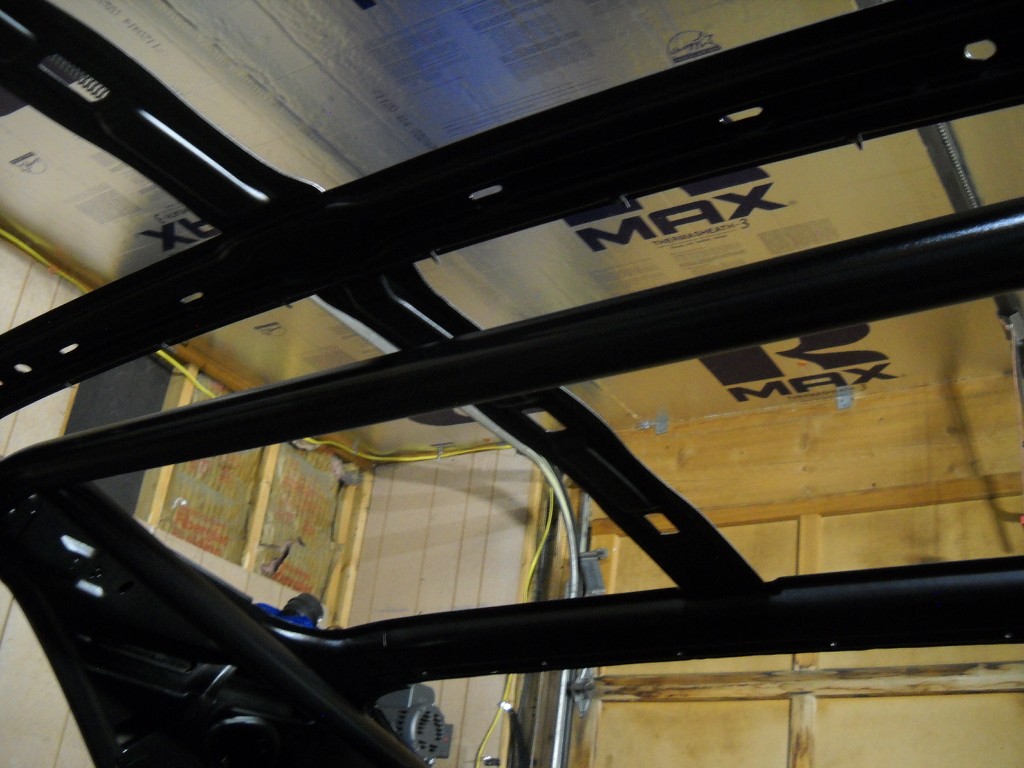
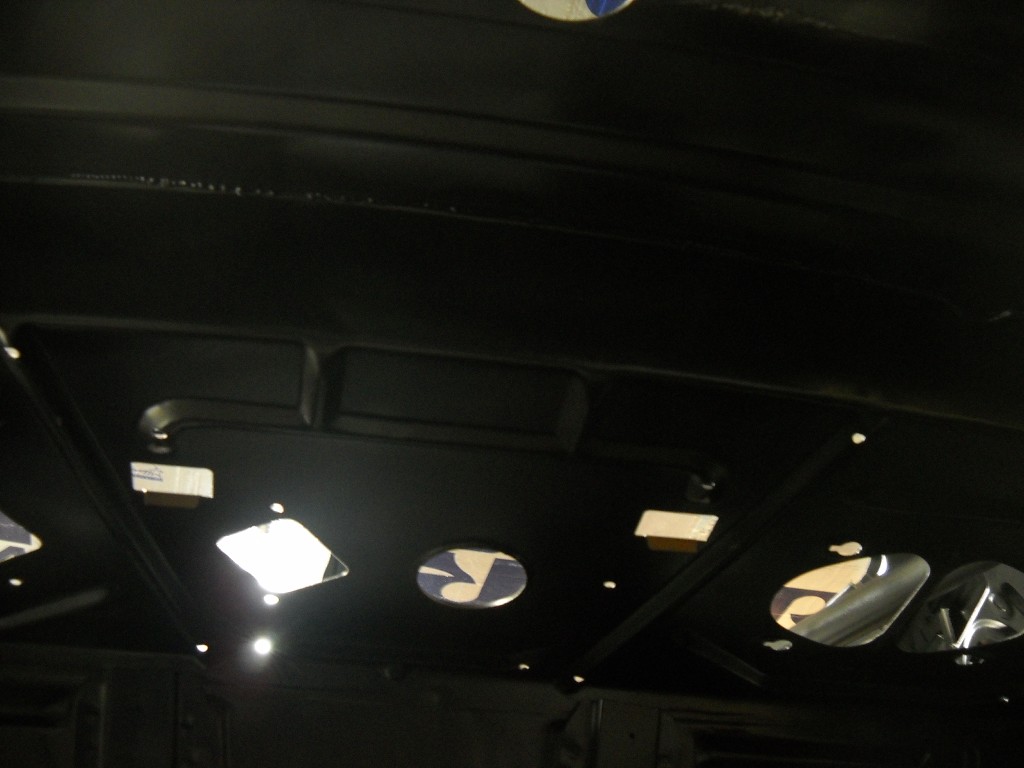
Did some research and read some forums about roll bar paints and seems one of the favorites is Rustoleum appliance epoxy, durable is what I'm looking for ... so I sprayed the roll bar and the speaker tray. Went on really nice, couple spots I'll have to re-coat.

You have to wait a week before you can re-coat, ooops .... tried to touch up a dry spot on the tray and lifted the epoxy. I'll wait and sand it down and re-coat later.

You can see the difference in the sheen between the SPI epoxy and the appliance paint. Take a look ....


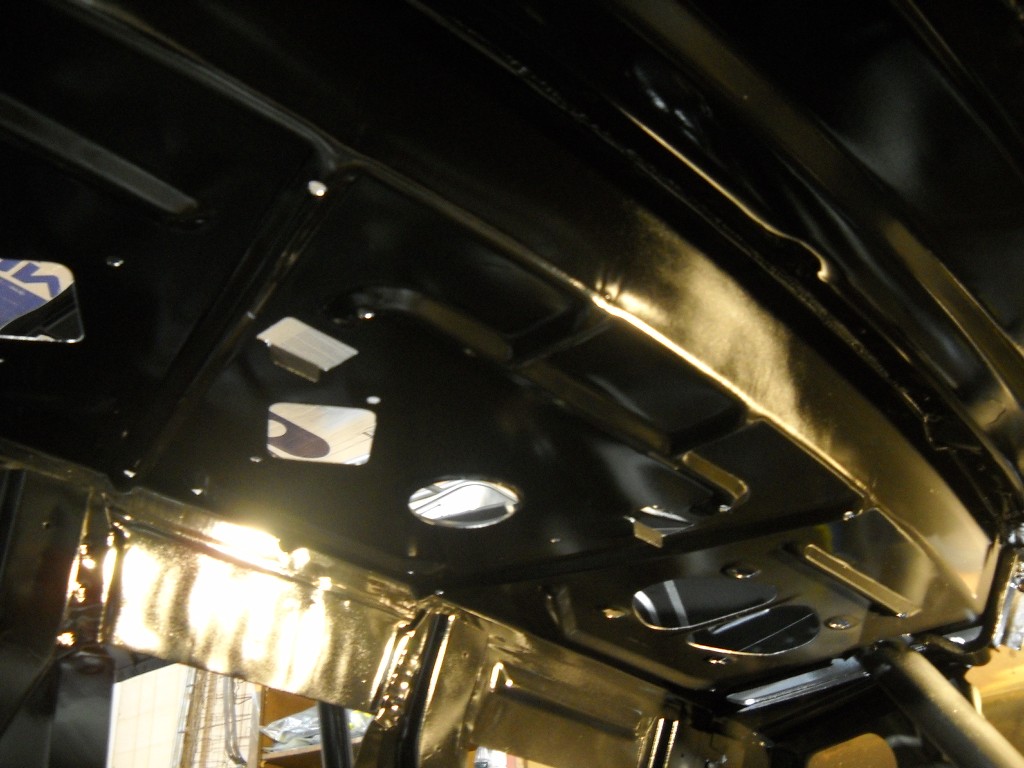
Since everything was dry I took my flexible sanding blocks and sanded the trunk and floor to get the overspray off ... that epoxy outa the spray can made a mess!!

Thanks for looking ...
__________________
JUST PICTUREShttps://imageshack.com/user/mcavery


Let the house go .... NEVER give up your car!!!!
Reply With Quote
  #1049  
Old 10-05-2015, 11:11 AM
syborg tt's Avatar
syborg tt syborg tt is offline
Lateral-g Supporting Member
 
Join Date: Jun 2005
Posts: 8,406
Thanks: 5,547
Thanked 1,961 Times in 1,060 Posts
Default

love this thread.
__________________
marty-mj
Is a car ever really done???? 
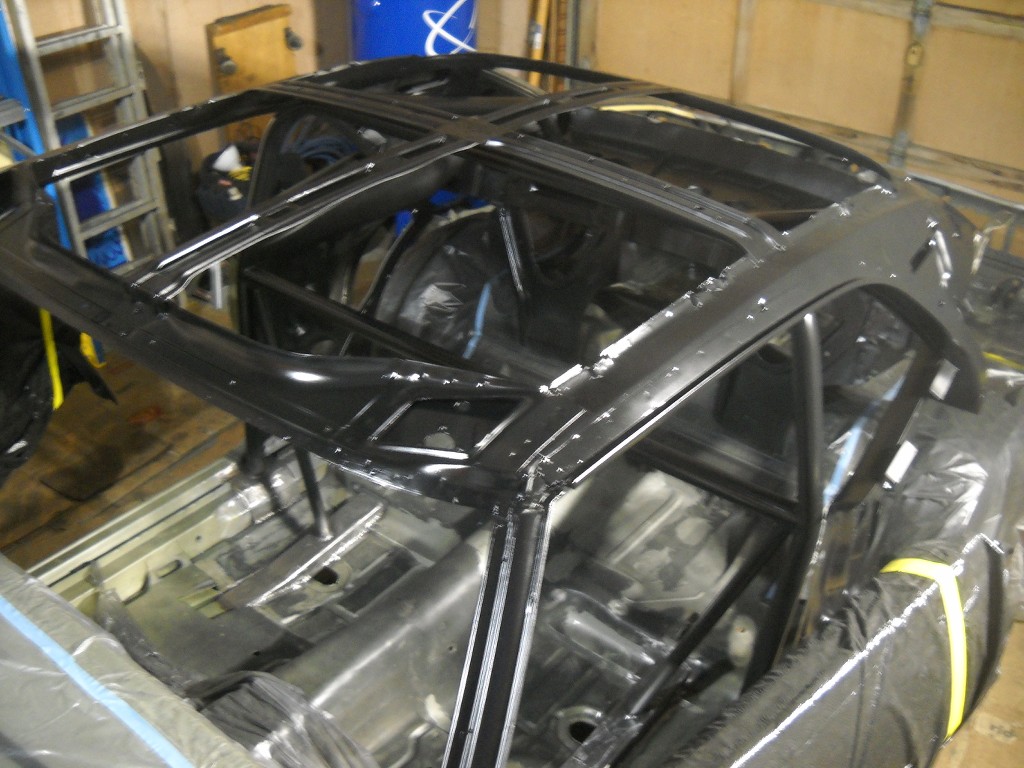
It's like a ball of yarn unwinding, that has no end... Author DKz Garage

Projects - Syborg TT 4.3l v6 Mini-Truck, 2nd Chance Camaro & SLP575 Bumble Bee - 4Sale
Reply With Quote
  #1050  
Old 10-05-2015, 05:51 PM
XLexusTech XLexusTech is offline
Senior Member
 
Join Date: Jun 2007
Posts: 1,338
Thanks: 86
Thanked 120 Times in 69 Posts
Default

So, you just saved me some research.. appliance paint? where does one source such a paint? I am I am going to be painting mine soon.... Did you Epoxy prime to etch into the metal?

A note one thig I was thinking.. was the belt bar, wrapping that after painting it... this way the belts banging off them won't scratch the crap out of them..
Reply With Quote
Reply


Posting Rules
You may not post new threads
You may not post replies
You may not post attachments
You may not edit your posts

BB code is On
Smilies are On
[IMG] code is On
HTML code is Off

Forum Jump


All times are GMT -7. The time now is 11:00 PM.


Powered by vBulletin® Version 3.8.11
Copyright ©2000 - 2025, vBulletin Solutions Inc.
Copyright Lateral-g.net