...

Go Back   Lateral-g Forums > Lateral-G Open Discussions > Project Updates
User Name
Password


Reply
 
Thread Tools Display Modes
  #1  
Old 04-11-2016, 02:06 AM
cjsgarage cjsgarage is offline
Senior Member
 
Join Date: Aug 2013
Location: Livermore, CA
Posts: 195
Thanks: 0
Thanked 3 Times in 3 Posts
Default

Back to where we left on on the build part of the build thread:

Mike installed the front accessories and I got to working on the wiring harness. Mike had installed the dash harness and the lighting harnesses front and rear. It got everything measured up so I could cut out what we weren't going to use and plan out the additions like the fuel injection system, computer, vintage air and stereo head unit/amplifier.

Dash harness initial


Replacing the old with new


Adding relays for the electric fan and the fuel pump


and a completed piece
__________________
I like wiring. No joke.
Reply With Quote
  #2  
Old 04-11-2016, 02:13 AM
cjsgarage cjsgarage is offline
Senior Member
 
Join Date: Aug 2013
Location: Livermore, CA
Posts: 195
Thanks: 0
Thanked 3 Times in 3 Posts
Default

Those stringy bits in the middle are how the VHX by Dakota Digital wants to be plugged in. If I were to do it again, I think I would make a connector and make it disconnectable.


So the dash harness gets me to about here:


Then I took off the radiator support and started on the front lighting harness


and I'll skip to the good part. Here's the lighting harness done and laid on the engine:
__________________
I like wiring. No joke.
Reply With Quote
  #3  
Old 04-11-2016, 02:23 AM
cjsgarage cjsgarage is offline
Senior Member
 
Join Date: Aug 2013
Location: Livermore, CA
Posts: 195
Thanks: 0
Thanked 3 Times in 3 Posts
Default

I prefer the ultra cleanest install I can get. and I've never liked how the wipers came out of the engine side of the bulkhead. I always thought it would be a whole lot easier to disconnect the engine as a whole from the bulkhead. Besides that, Mike is considering doing a remote mount wiper since the firewall smooth sheet he made required a wiper delete. So I moved the wipers over to the lighting side.


Speaking of ultra clean.. Here's what I did with the rear lighting harness. I included the fuel pump wiring and the stereo amplifier wiring and the gas gauge wiring right into the same harness. One harness disconnects the entire rear of the car. Nice.
The former fuel sending unit ground was ran through the roof of the car.


So here's the leg bone being connected to the hip bone again.. the entire interior had to come out (less carpet) for the new lines to be run and the old to be removed. There were powers and ground running down the passenger side for the vintage air and speaker wires.
__________________
I like wiring. No joke.
Reply With Quote
  #4  
Old 04-11-2016, 02:27 AM
cjsgarage cjsgarage is offline
Senior Member
 
Join Date: Aug 2013
Location: Livermore, CA
Posts: 195
Thanks: 0
Thanked 3 Times in 3 Posts
Default

Engine harness pre assembly:


And here's partially through assembly:
__________________
I like wiring. No joke.
Reply With Quote
  #5  
Old 04-11-2016, 02:32 AM
cjsgarage cjsgarage is offline
Senior Member
 
Join Date: Aug 2013
Location: Livermore, CA
Posts: 195
Thanks: 0
Thanked 3 Times in 3 Posts
Default

Here's a little section I had to redo because the sheathing wasn't long enough and pulled out the shrink:


Here's what it looked like before it was finished:


Lastly, I had to wait for a special tool to come in so I could finish the MilSpec connector that makes the engine truly disconnectable in a few seconds.


Here's the mating side of the connector and where it plugs into the ECM and the dash harness
__________________
I like wiring. No joke.
Reply With Quote
  #6  
Old 04-11-2016, 02:50 AM
cjsgarage cjsgarage is offline
Senior Member
 
Join Date: Aug 2013
Location: Livermore, CA
Posts: 195
Thanks: 0
Thanked 3 Times in 3 Posts
Default

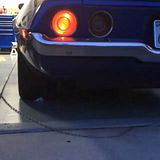
This got us to startup.

we fired it with no issues. Ran pretty darn good, but super rich.. as stated before. All the lights, dummy lights, stereo and heater controls worked. Nice.


We did have an issue with the electric fan not turning on.. but that's because the internet lied to me. Go figure. 
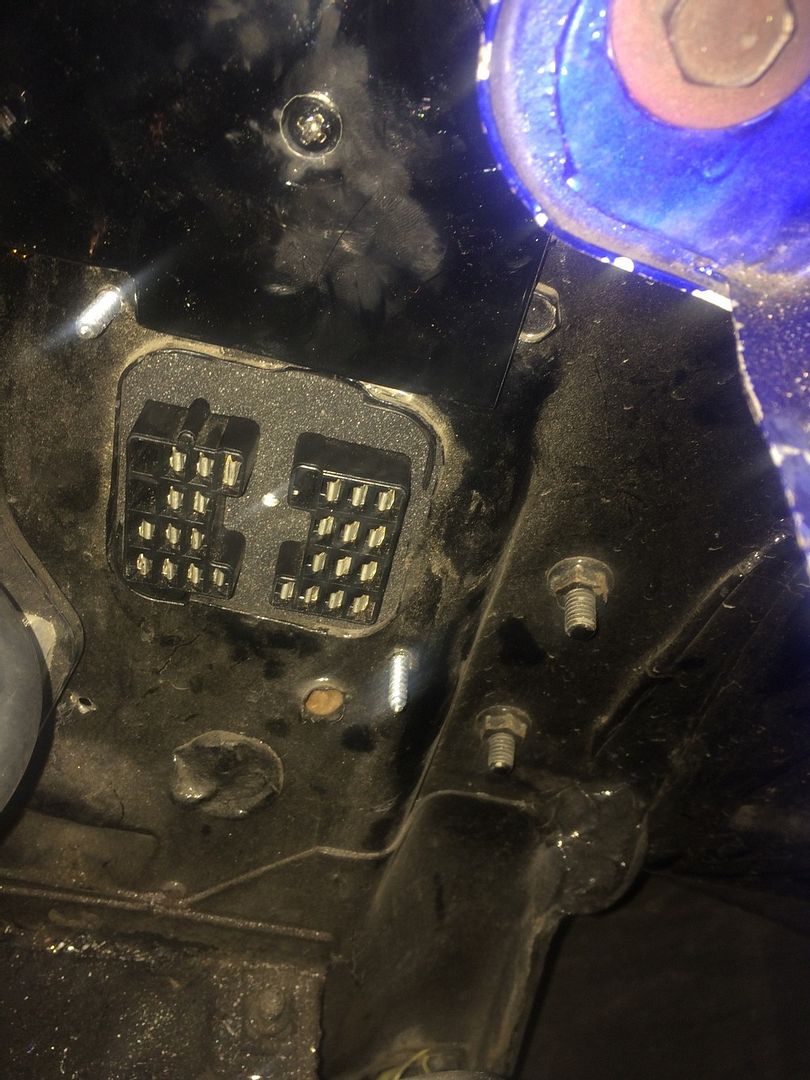
I saw a GM ignition switch diagram that showed one more battery power slot than Mike's ignition switch actually had. So the previous modification I made to the brand new harness had to be done over. That's okay. I found a battery power terminal on the ignition switch and I had some terminals left over from modifying the harness.. so it was a quick fix. Also, I missed plugging in injector 7. Oops. No one has to know about that except you guys.


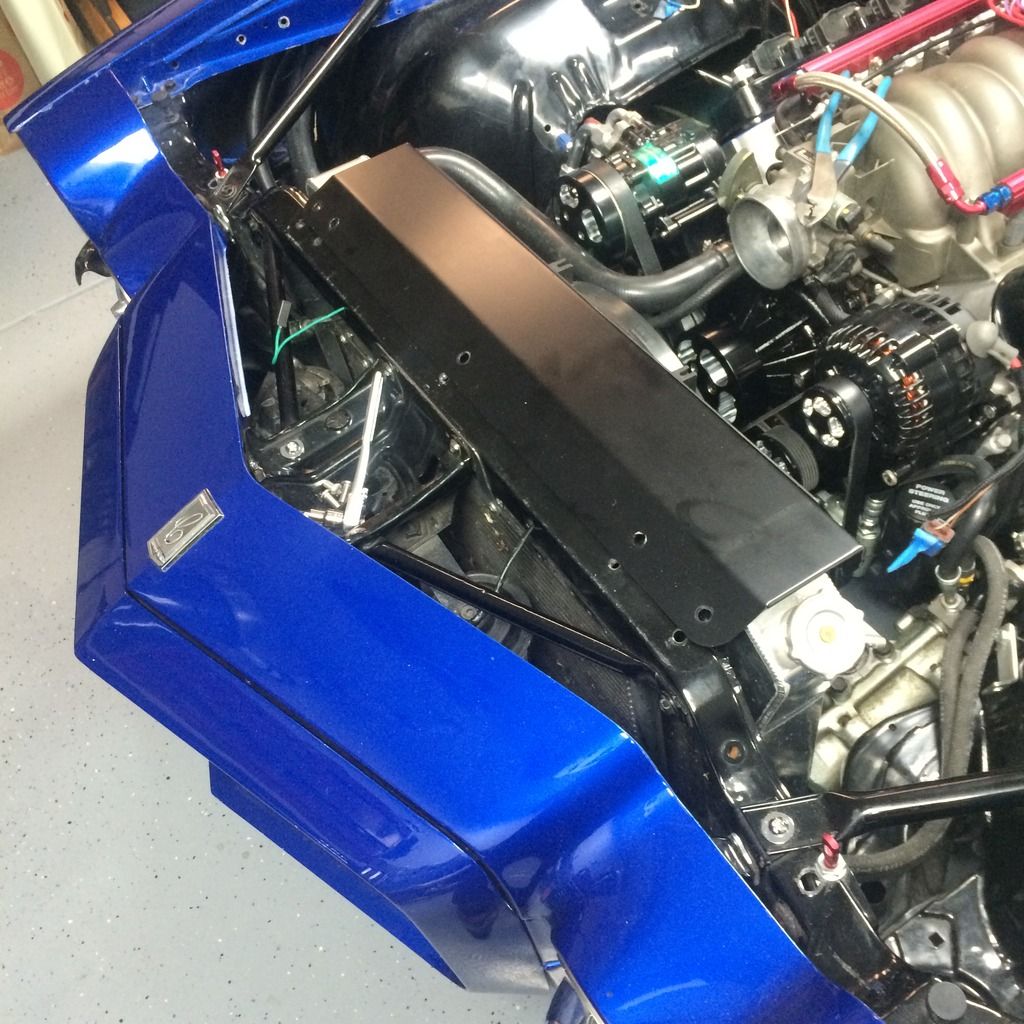
It was running fine, but not building oil pressure.. and my wideband was dropping out anyway. Mike and I both decided to call it a night and formulate a plan. Mike was sure it was the double roller timing chain rubbing on the oil pump. It definitely did not sound like metal on metal.. and there were no shavings in the pan. So I took off the valve covers to have a quick look see.


Nothing to see here. So I dropped the pan and confirmed my suspicion..


I had a bad oil pump pickup tube o-ring.


Fixed that bad boy right quick and buttoned her back up. Ran and drove nicely. Spent a couple days a couple hours a day on the tune and DIStraction is good to go.
__________________
I like wiring. No joke.

Last edited by cjsgarage; 04-11-2016 at 02:55 AM.
Reply With Quote
  #7  
Old 04-11-2016, 02:51 AM
cjsgarage cjsgarage is offline
Senior Member
 
Join Date: Aug 2013
Location: Livermore, CA
Posts: 195
Thanks: 0
Thanked 3 Times in 3 Posts
Default

I do think we ought to check the water level though. And possibly revisit the timing tables.
__________________
I like wiring. No joke.
Reply With Quote
  #8  
Old 04-12-2016, 11:11 AM
Dr G's Avatar
Dr G Dr G is offline
Member
 
Join Date: Mar 2011
Posts: 53
Thanks: 0
Thanked 0 Times in 0 Posts
Default

Quote:
Originally Posted by cjsgarage View Post
Lastly, I had to wait for a special tool to come in so I could finish the MilSpec connector that makes the engine truly disconnectable in a few seconds.
Hey, I love wiring too! We're a rare group. You know, every time I've stuffed regular "automotive" wire into a Mil Spec connector I've regretted it down the road. Because the jacket is larger than on teflon coated mil spec wire, so the standard pin extraction tools won't work. I've had to throw away perfectly good mil spec connectors because I could not get the wires out. This is when making changes down the road, which always seems to happen for me.

Of course the alliterative, if you're stuck with the automotive wire on some other part of the loom, is to do a butt splice for each and every wire leading to the connector, transitioning it to mil spec wire. That can be a lot of splices, each one a potential failure point, and it also gets bulky. So despite my better instincts I still stick automotive wire into mil spec connectors, I just figure I'm permanently dedicating the connector to that use, with no changes possible.

It's all so much easier with compact and slippery mil spec wire though!

Reply With Quote
  #9  
Old 04-15-2016, 03:56 AM
cjsgarage cjsgarage is offline
Senior Member
 
Join Date: Aug 2013
Location: Livermore, CA
Posts: 195
Thanks: 0
Thanked 3 Times in 3 Posts
Default

I've had extremely good luck using Amphenol connectors and getting gxl and txl wires back out. Amphenol gives you a new plastic tool with every connector. I plan fairly meticulously, so as not to have to remove the wires at all.. But it happens. I had the VSS wires out a couple times on this connector because I needed to move them. Then move them again.
__________________
I like wiring. No joke.
Reply With Quote
Reply


Posting Rules
You may not post new threads
You may not post replies
You may not post attachments
You may not edit your posts

BB code is On
Smilies are On
[IMG] code is On
HTML code is Off

Forum Jump


All times are GMT -7. The time now is 03:59 AM.


Powered by vBulletin® Version 3.8.11
Copyright ©2000 - 2025, vBulletin Solutions Inc.
Copyright Lateral-g.net