April 2018
Update time!

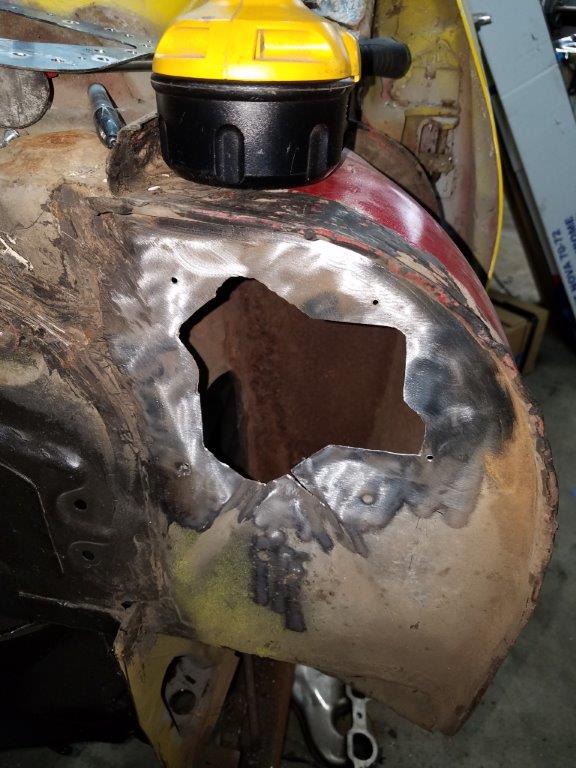
Once the wheel well openings were both raised 2.25 inches, it was time to patch the inner fender together. The photo above shows the clearance I have a 1" of suspension compression.... which is to say, not much. My goal is to have zero rubbing for any wheel position at 1.5" of suspension compression, and have 75% of my steering range at full bump.


In order to make that happen, I had to cut off the two tabs that held the clip nuts that are at the 10 and 1 positions on the wheel. To replace that, I drilled and tapped some flat stock, and spot welded it to the fender. I then cut the portion of the inner fender off that bolted to the fender opening, and attached it. Then, it was a matter of filling in the gap.

With the inner fenders done, I removed the front fenders and found this rust happening under the window trim. I'm not sure how best to repair this... but I'm going to deal with it later.


Maybe I should just omit the fenders... looks pretty cool!
On to the windsheld wiper motor relocation!
Given how far the motor is recessed into the firewall, the stock wiper motor mount was obliterated. So I read through
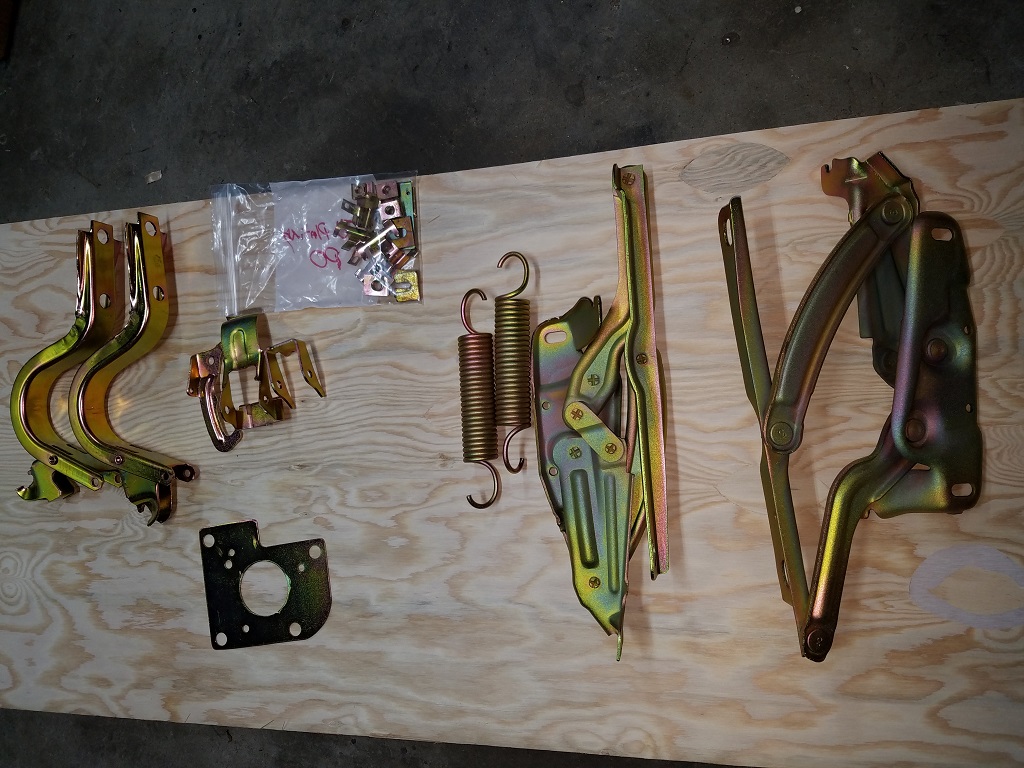
SevenZeroNova's guide on a relocated wiper motor and purchased a wiper motor and transmission out of a 2001 Pontiac Bonneville.
Motor With Mount plate:

Plate that will weld to the firewall:

And the hole in the firewall:

Now, with the motor mounted I ran into a couple of issues. First among these is that there was not a way to run the linkage directly from the motor arm to the middle wiper pivot.
the other issue was that the linkage is worn out.
To solve the first issue, I built a pivot arm that bolts to the firewall about where the trim tag goes. The second of the pics below shows about where it installs, but it goes inside the cowl and will barely be visible.


To solve the other issue, I borrowed some more of the Bonneville wiper system. It turns out that if you grind of the riveted in ball studs, the shank is about the same size and offset from the wiper pivot plate. I simply moved the boneville's larger ball stud to the Nova's middle wiper stud's plate... and tacked it in! This works for the linkage that goes from the middle wiper stud to the driver side stud, but you have to cut off the ends of the linkage and weld the Bonneville's in place.

I am waiting on the special bolts that hold the wiper pivots in place. I broke most of mine!


 Brian Hobaugh SCCA National Tour June 2014
 First Hemi 'Cuda Convertible Ever Built
 Short clips: Goodguys Pleasanton autocross and pit videos


 Linear Mode

