Hi everyone. It's been a long time coming, and I've been through many ups and downs to achieve the moment that happened this past Sunday. Trackday finally stretched its legs on public roads for the first time:
There are still many items on the to do list, but this moment was truly monumental. After so many setbacks, I am still in shock that it happened.
I am still working out a clutch release/shift issue that unfolded here in the emergency room. For quick reference, my hydraulic throwout bearing was leaking into my bellhousing. After much consideration, I decided to remove the weights from my centerforce dual friction clutch, as they were likely interfering with the larger-than-usual diameter of the Mcleod 1400 bearing, causing the bearing to tilt, compromising the o-ring seal.
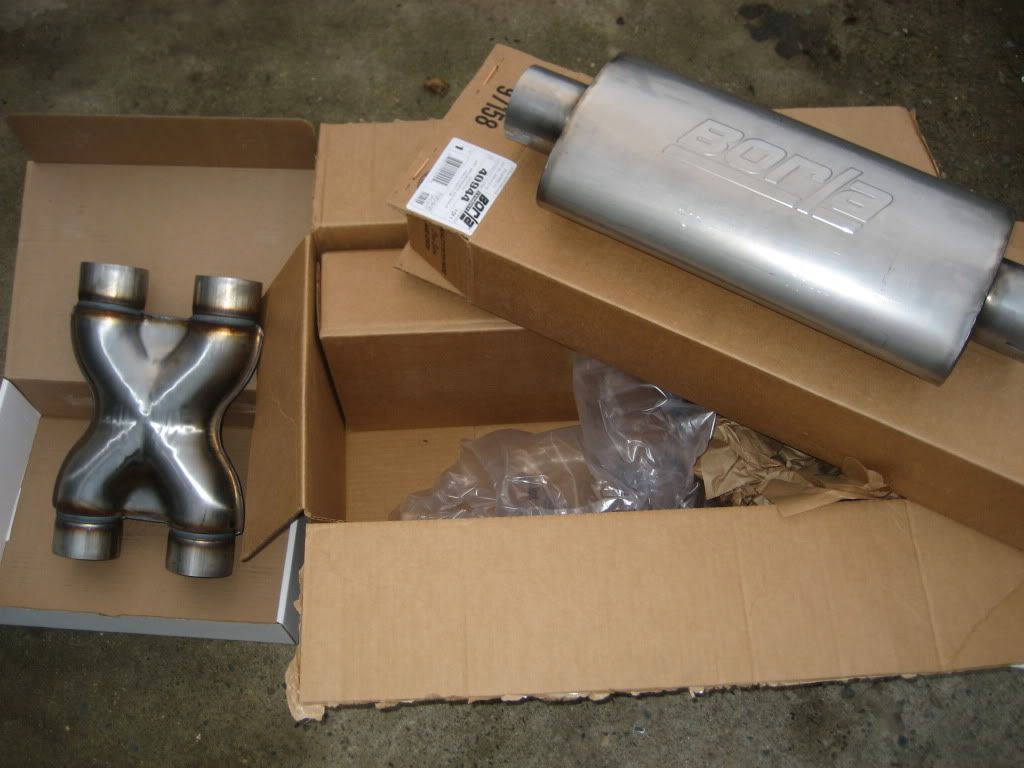
As much as I love the open headers...the "loud pipes saves lives" mantra apparently only works when you're on a hog. So I am going with an aggressive exhaust setup: 3" tube, Magnaflow X pipe, and Borla XR1 (Summit 40944) mufflers, dumped before the axle. Should sound pretty good...of course you'll get the scoop when they're installed.
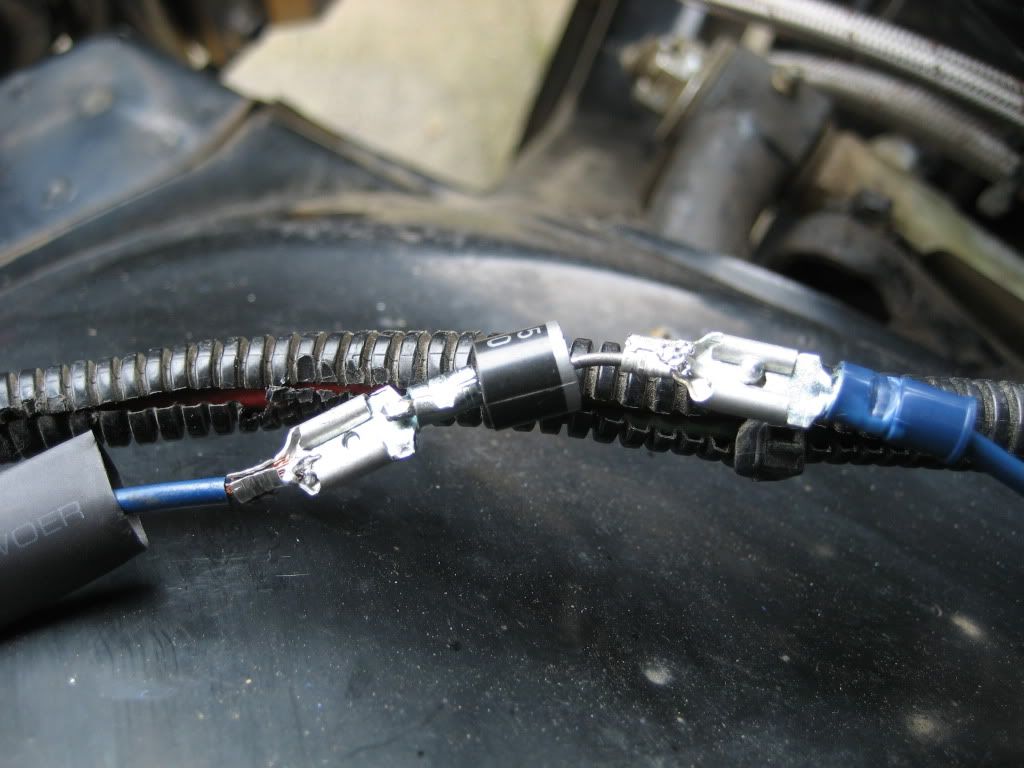
Lastly, I was experiencing engine run-on. It's really weird when you key-off the car and the beast keeps running. After much research on forums and MSD site, the simple fix was to install a diode in line with the wire that runs from the alternator to the idiot light. Picked up a 4 pack from Radioshack (part 276-1661). I know the install looks a bit janky, but it actually holds together real well plus I shrinkwrapped it:
Thanks for hanging with me after all these years and posts, and advising me along the way. I plan to post an article soon detailing my first impressions of the car.
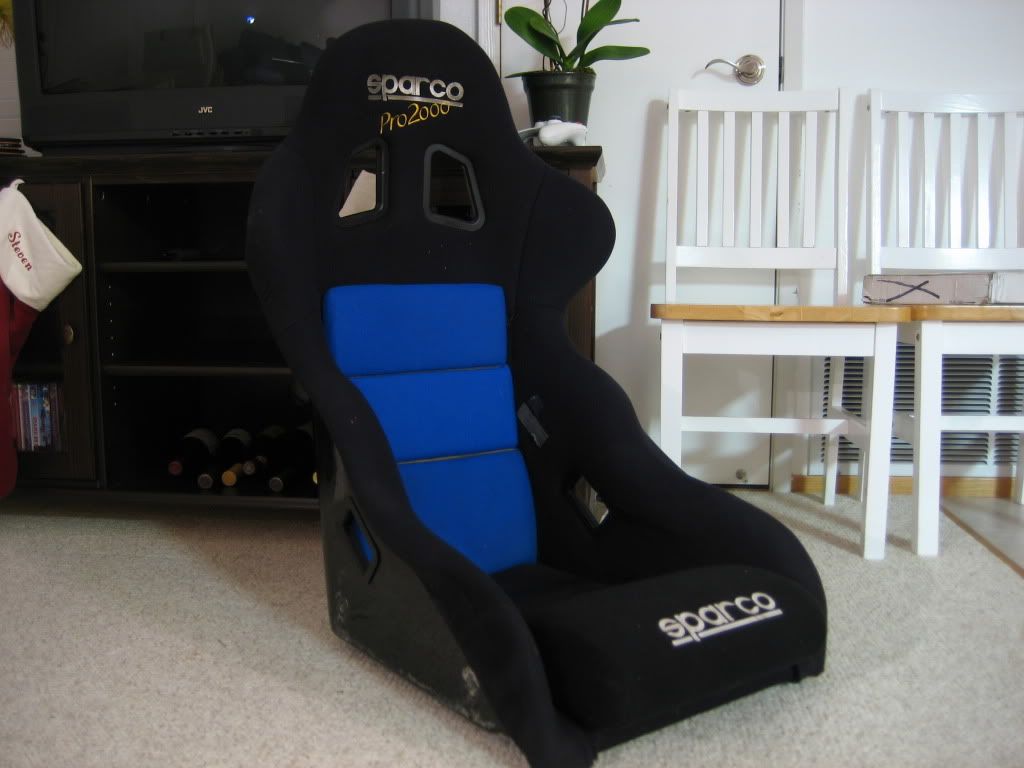
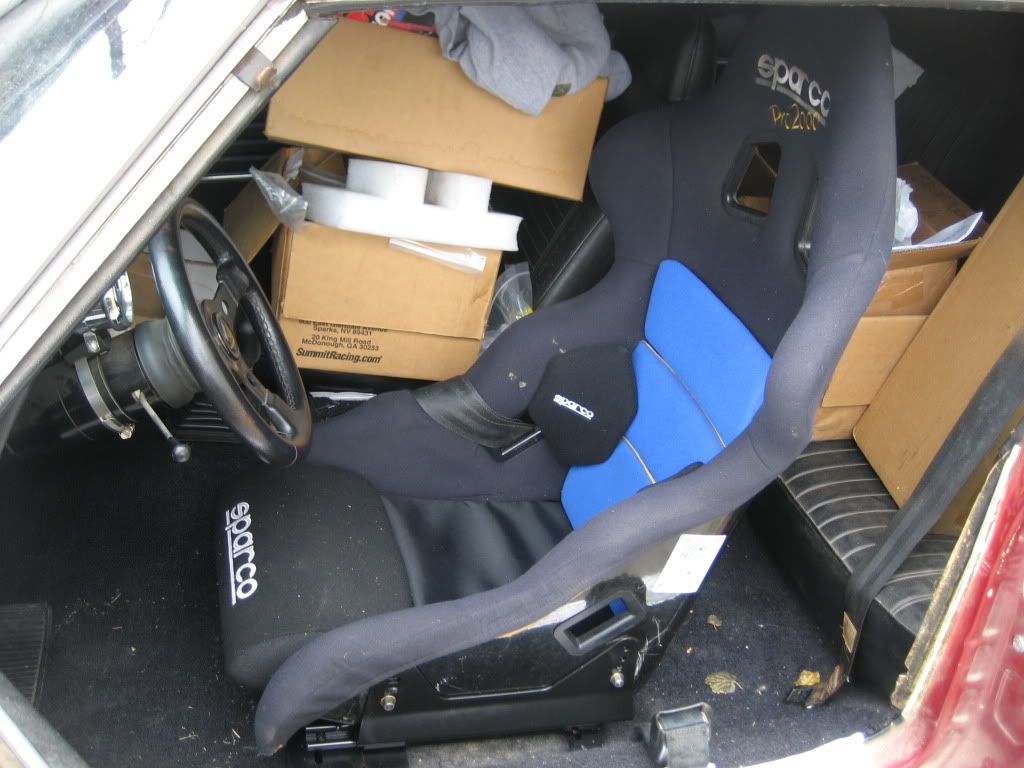
Everyone knows the stock Camaro seats have about as much support as the back of a rodeo bull. I've been searching for fixed-back seats ever since. Swooped up this Sparco Pro2000 seat on Craigslist. It's FIA legal AND it was in a Corvette transam race car so it's got some battlescars. Badass.
It's 19lbs (+weight of brackets)...If I get 2 of these things, that's got to save me at least 60lbs over the stockers. Will have a full weight comparison when I install it.
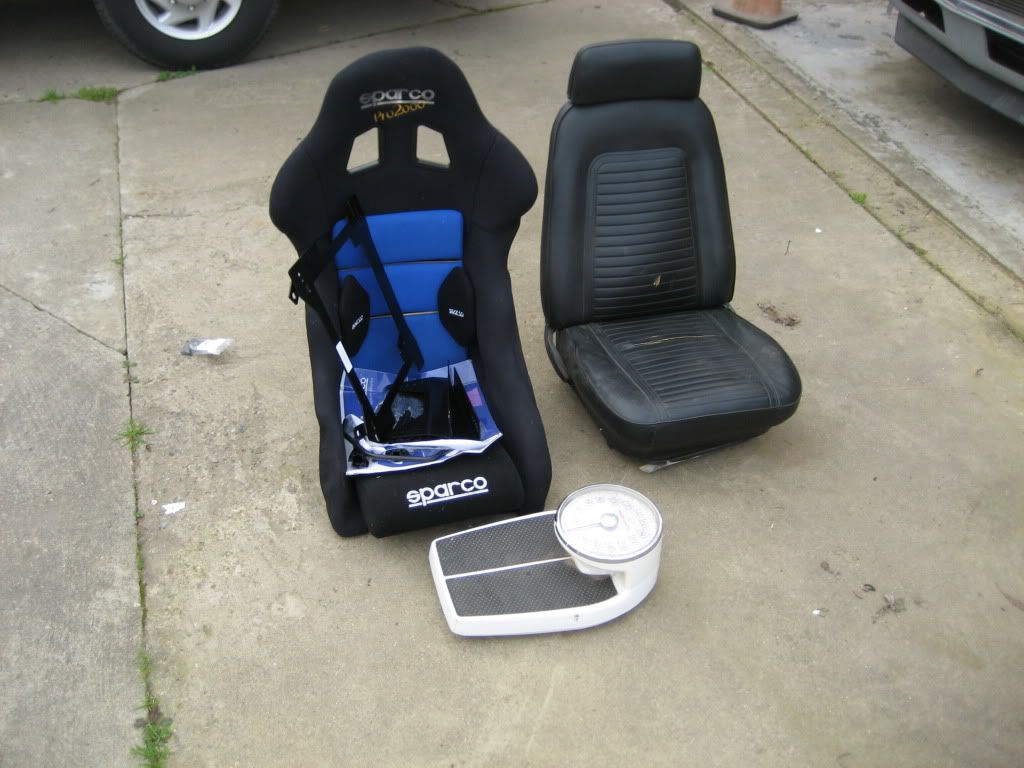
Hi everyone! I finally have an update for you! I installed that Pro2000 seat I picked up a while back. Nothing says "I mean business" better than a fixed back seat that requires acrobatics to get in and out of. Just sitting in this thing is an adrenalin rush. Here's the weight comparison I promised:
Seat from a '69 Camaro (yes my car is a 68) Weight: 48lbs
Pro2000 Seat
Sparco Side Mounts
Sparco Sliders
Sparco Adapter Base Total Weight: 30lbs
Weight Savings: 18lbs
If I do a fixed back seat on the the pasenger side as well, and remove the rear seat entirely, I'm estimating a weight loss total of
18+18+50 = 86lbs! Boo Ya, free speed and handling. Now to get rid of all those boxes in my car, haha.
Instead of using bolts to fasten the seat base to the floor, I followed what TitoJones did and used studs to the floor...no more poking around the carpet to locate the seat. I used 2" studs and loctite-d them in place...now removing/installing the seat takes about 2 minutes.
Next time I have a chance to work on the car, I will hopefully be getting the exhaust installed and then sifting through the clutch release issue. Getting there!
Woah, i'm lovin this build. First drives are always the best.
Its cool to see more young guys with old cars (i'm 21 here and i've had my '69 'Bird for the past 5 years. Not exactly a corner carver yet. thats coming soon.) showing up in the hobby.
__________________
Matt
1969 Firebird Convertible
1971 Buick Skylark
Hi everyone! I finally have an update for you! I installed that Pro2000 seat I picked up a while back. Nothing says "I mean business" better than a fixed back seat that requires acrobatics to get in and out of. Just sitting in this thing is an adrenalin rush. Here's the weight comparison I promised:
Seat from a '69 Camaro (yes my car is a 68) Weight: 48lbs
Pro2000 Seat
Sparco Side Mounts
Sparco Sliders
Sparco Adapter Base Total Weight: 30lbs
Weight Savings: 18lbs
If I do a fixed back seat on the the pasenger side as well, and remove the rear seat entirely, I'm estimating a weight loss total of
18+18+50 = 86lbs! Boo Ya, free speed and handling. Now to get rid of all those boxes in my car, haha.
Instead of using bolts to fasten the seat base to the floor, I followed what TitoJones did and used studs to the floor...no more poking around the carpet to locate the seat. I used 2" studs and loctite-d them in place...now removing/installing the seat takes about 2 minutes.
Next time I have a chance to work on the car, I will hopefully be getting the exhaust installed and then sifting through the clutch release issue. Getting there!
Thanks!
Steven
Steven- What sliders are those? Universal or ? I looked on the spaco site and the don't show one specifically for a first gen....Thanks, Jason
Steven- What sliders are those? Universal or ? I looked on the spaco site and the don't show one specifically for a first gen....Thanks, Jason
Hey Jason, the sliders are a universal Sparco part. First you gotta determine whether the seat you want is side mount or bottom mount. If it's side, then you need to buy the sparco side mounts (which are cool because you can adjust how high you want the seat mounted, and also it's tilt). If the seat is bottom mount, you bolt it directly to the slider tracks. Then to adapt it to the car, you gotta buy the Sparco adapter base. All the bracketry adds up to almost 300 bucks, a big chunk of change that you don't necessarily think about at first. Thanks for checking in!
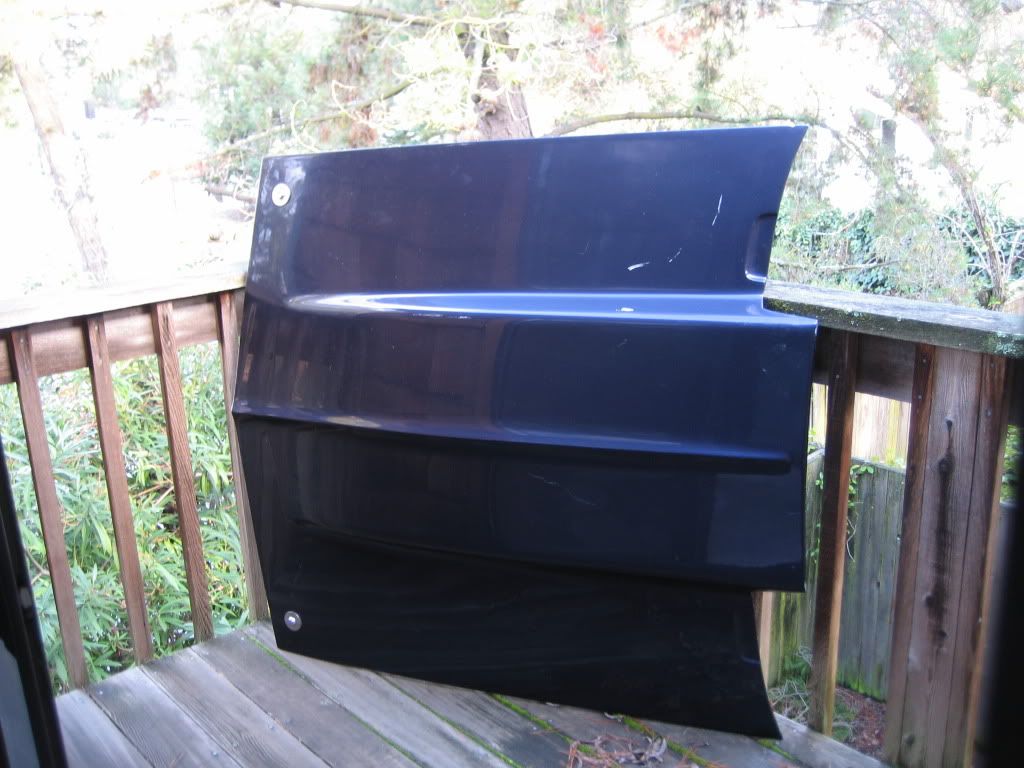
Maybe you can tell that with my last couple purchases, that lately I have been on a crusade to save weight on my car. Today I picked up a used fiberglass hood that came with hood locks as shown in the picture...me likey the weight savings, and now I can ditch the latch as well with something more secure. It's a gamble if it will fit my car well; I will install the pins and test fit it soon. Yes it's purple; I hope it doesn't clash with my rattle can primered car .
Fiberglass hood weight: 25.8 lbs
Does anyone know the weight of a steel cowl hood? I hope the weights savings is worth it!


 Brian Hobaugh SCCA National Tour June 2014
 First Hemi 'Cuda Convertible Ever Built
 Short clips: Goodguys Pleasanton autocross and pit videos


 I've really enjoyed watching this build. Keep the updates coming.
 Congratulations


 .
.

 Linear Mode

