...

Go Back   Lateral-g Forums > Lateral-G Open Discussions > Project Updates
User Name
Password


Reply
 
Thread Tools Display Modes
  #1311  
Old 02-06-2017, 05:50 AM
Beach Cruiser's Avatar
Beach Cruiser Beach Cruiser is offline
Senior Member
 
Join Date: Mar 2006
Location: Virginia Beach, Va
Posts: 603
Thanks: 0
Thanked 1 Time in 1 Post
Default

Looking good! I'm a master Redneckery tech! I've spent more time rigging up stuff than building!
__________________
No Shop, No Money, No Time.... No problem!
Reply With Quote
  #1312  
Old 02-06-2017, 03:34 PM
Mikael A Mikael A is offline
Senior Member
 
Join Date: Jul 2005
Location: long Island NY
Posts: 502
Thanks: 113
Thanked 101 Times in 49 Posts
Default

Quote:
Originally Posted by Spiffav8 View Post
Bro....that was like three days ago.
well that explains a lot...hope there is nothing new on page 132 be a few days until i get there.
__________________
Mike a
Reply With Quote
  #1313  
Old 02-12-2017, 05:17 PM
Sonar Chief's Avatar
Sonar Chief Sonar Chief is offline
Senior Member
 
Join Date: Dec 2011
Location: Greater Denver area
Posts: 1,366
Thanks: 245
Thanked 163 Times in 72 Posts
Default Update 2/12

Quote:
Originally Posted by gofastwclass View Post
Redneckery translation: using any creative method available to get things accomplished while working alone. Hahaha!

I like your definition I would add "Safely" though!


Quote:
Originally Posted by Beach Cruiser View Post
Looking good! I'm a master Redneckery tech! I've spent more time rigging up stuff than building!

I hear ya!


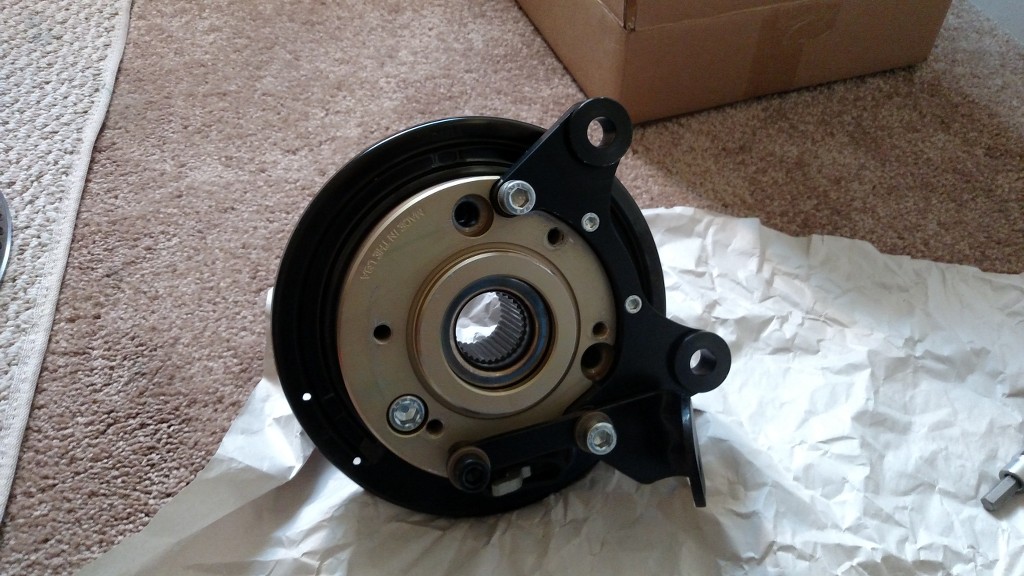
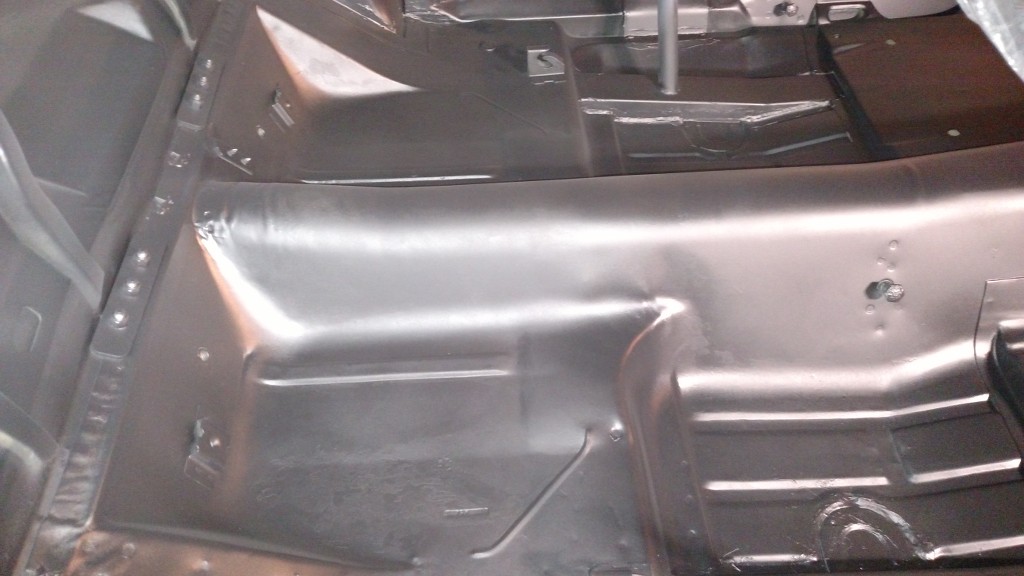
Been doing a little of this and that ... after the rear was installed I test fitted the brakes with Jay Miller's hybrid floater kit and wanted to run calipers in the front and Jay suggested I could swap sides and that should work ... yep! Got some epoxy and paint on the hubs while I had them out, I have to do the fronts still, I hate to see rust start here!

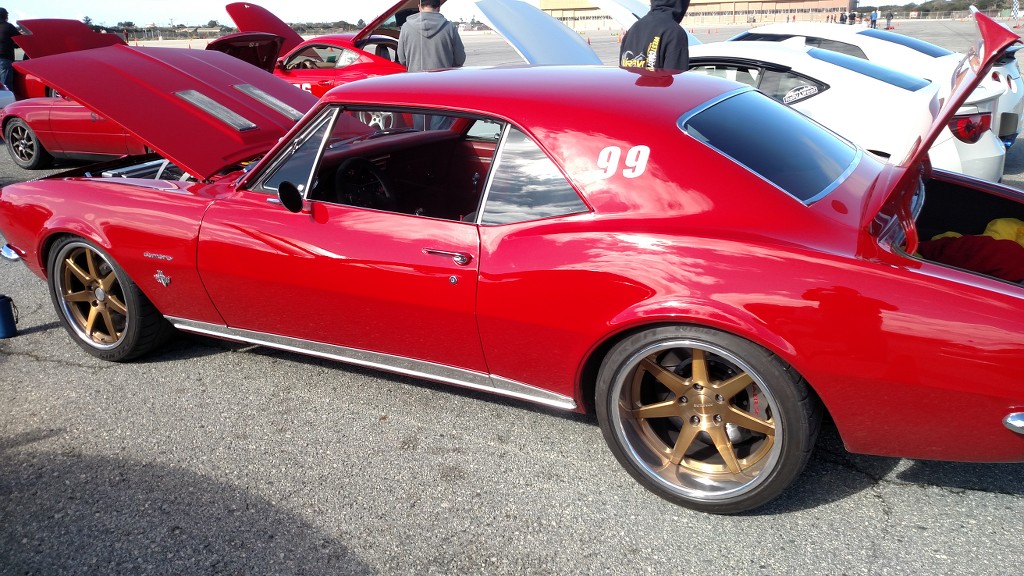
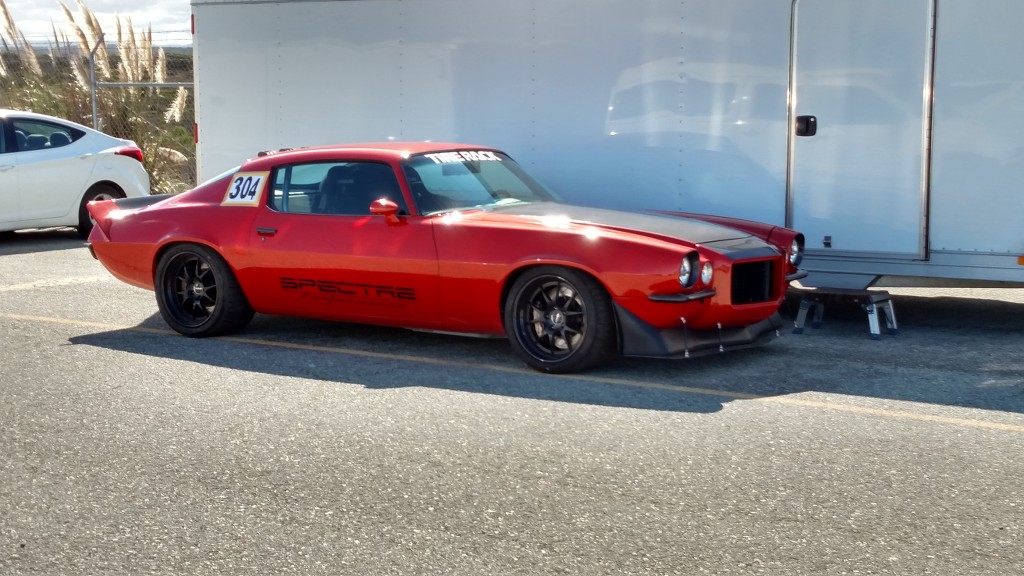
Been raining for so long [again] but Sat was nice so I went over to Marina for the American AutoX series opener with Art, he brought his SS/RS and got 4 runs in. Mary was there with her Camaro, man she is fast and smooth!!!

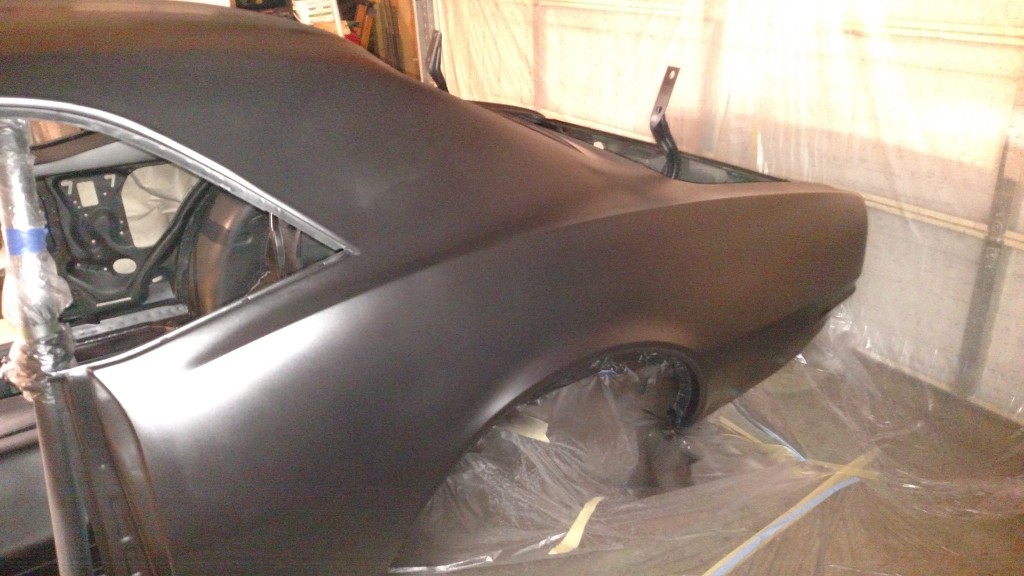
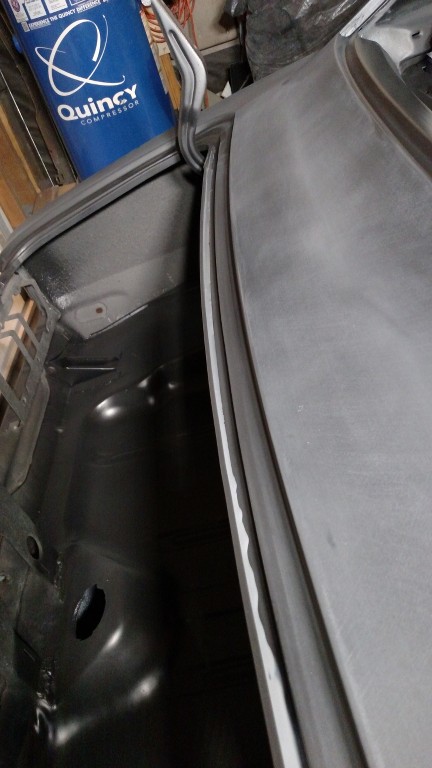
So got the hood as straight as I could, OCD is a b***ch and the vents have a home now! You won't see the defects under a wrap anyhow!
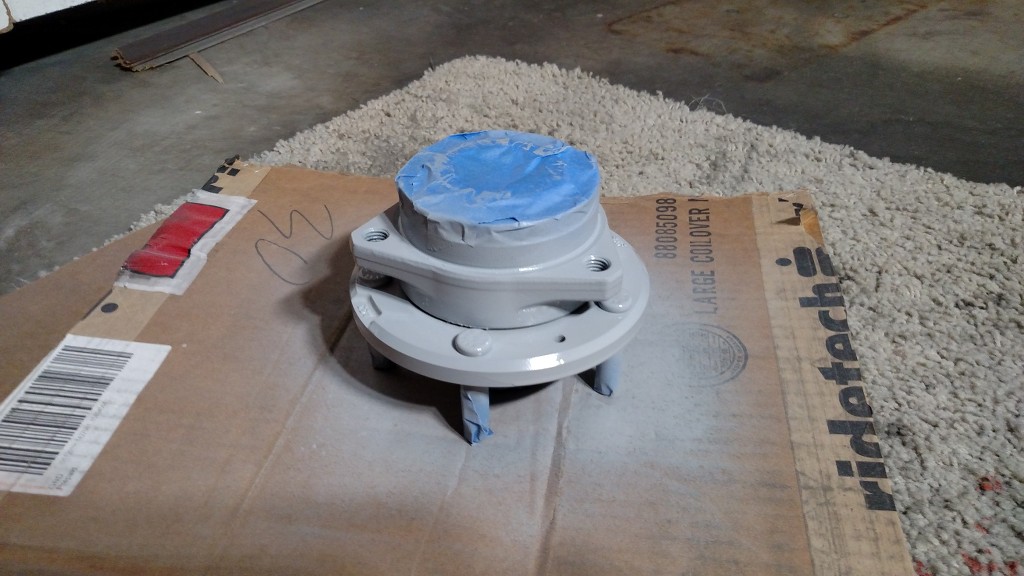


Detailing the hubs!

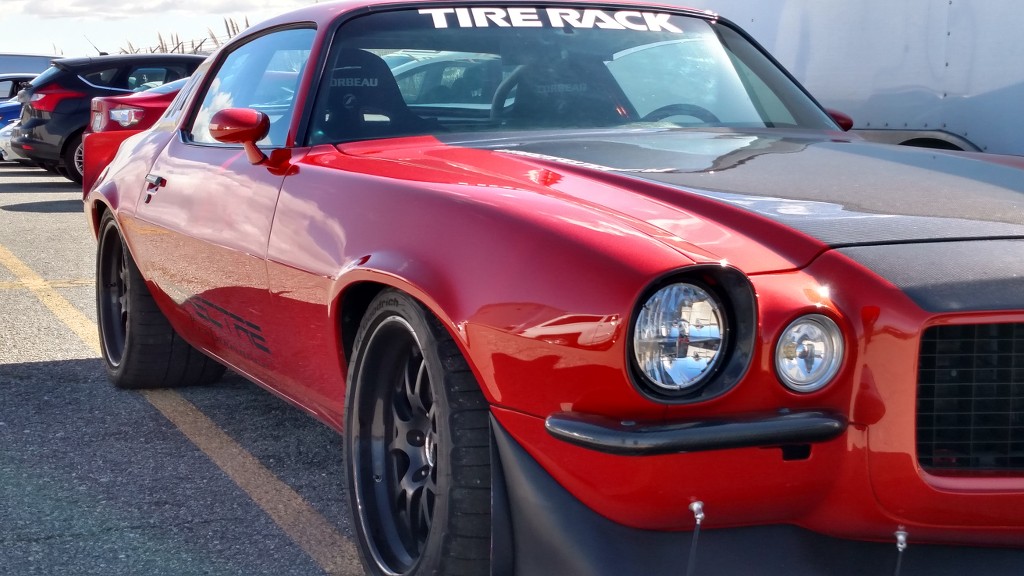
Art's Camaro looking good!

Everyone knows this rocket ...

Pretty sure there is some negative camber in those rear tires!!!

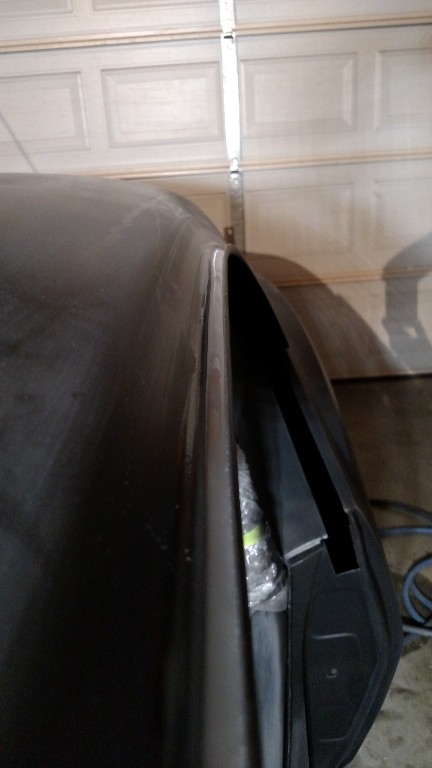
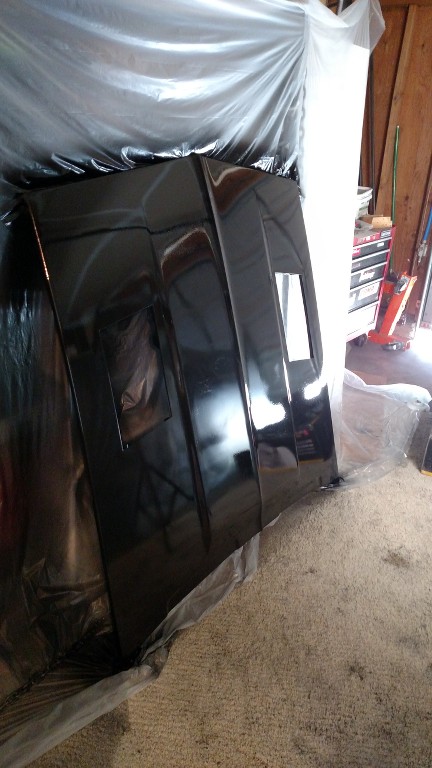
I'm calling this good enough!

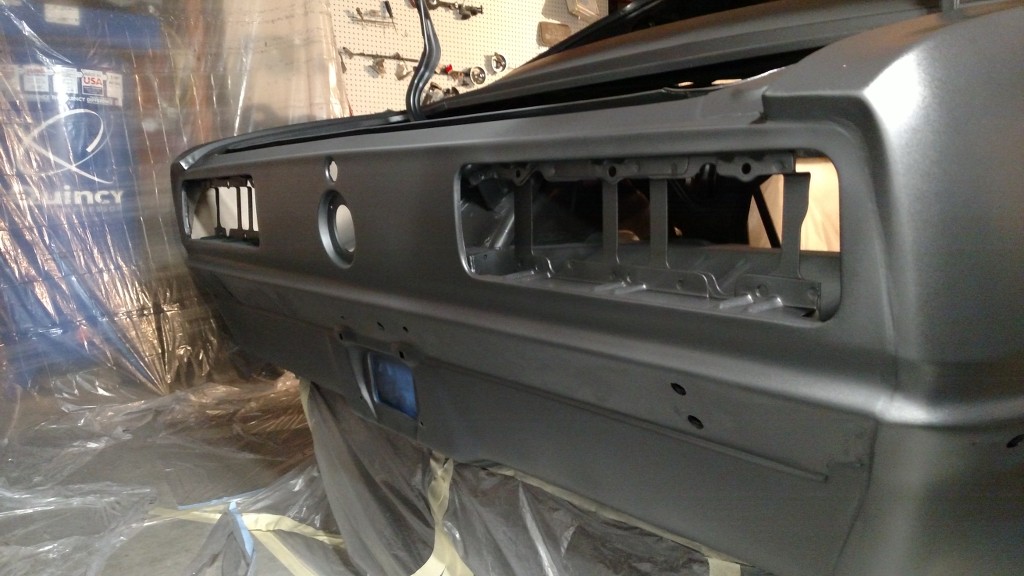
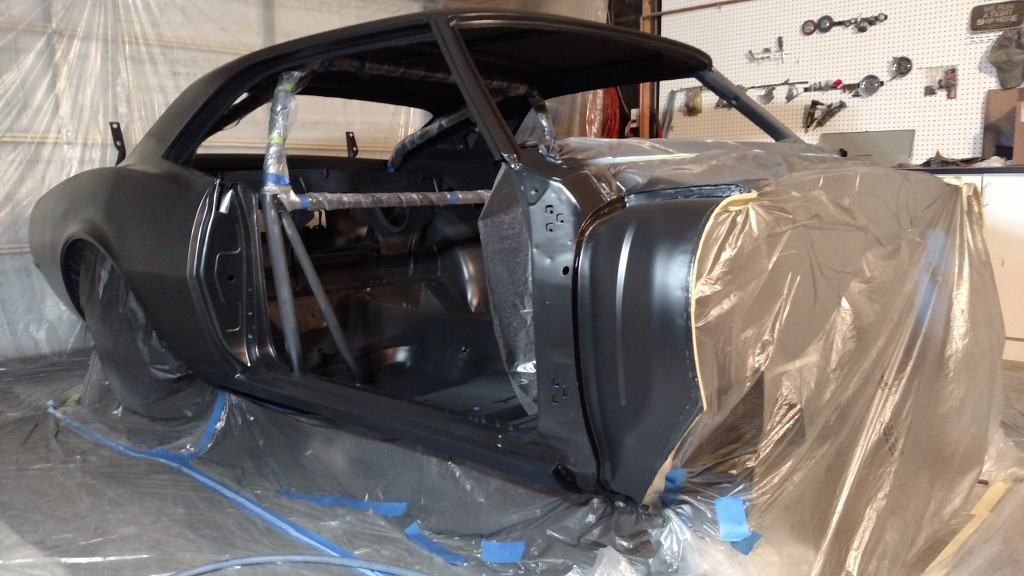
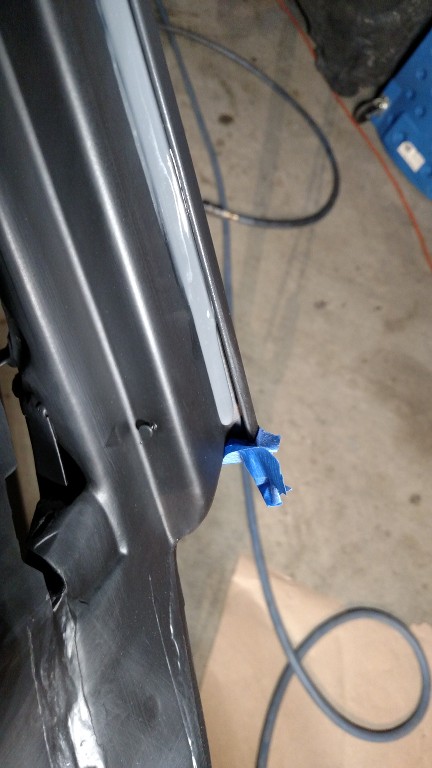
Passenger side ... gonna look like this!

The brake thing was bugging me cuz I know it's been done on all Mark's cars, granted he makes his own floater adapter, but I stared at pics of Mayhem and noticed the difference and off I went!!

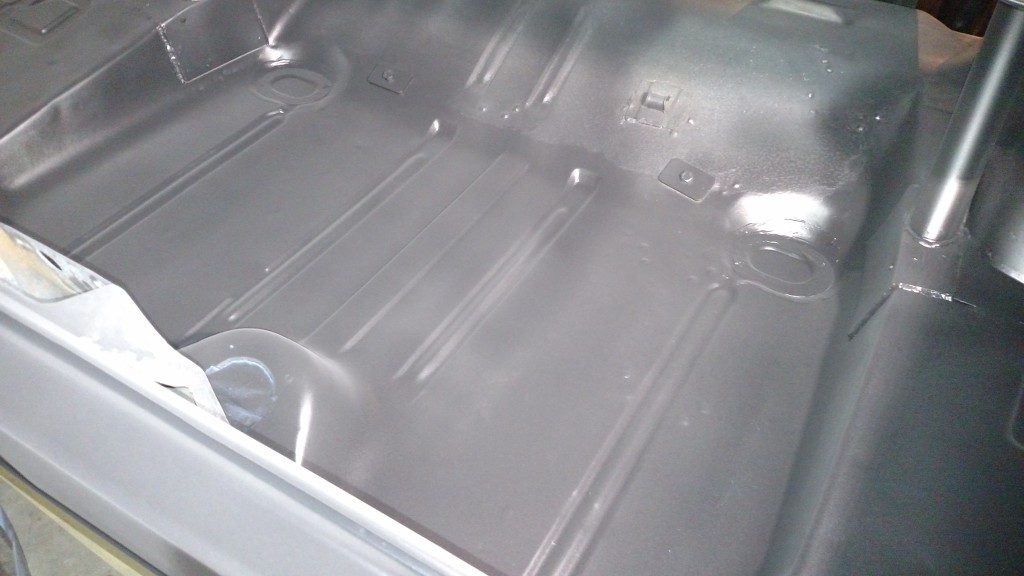
Anyway, weather is good for now so I'm gonna finish some painting stuff and hopefully get the subframe under the car real soon!

Thanks for looking ...
__________________
JUST PICTUREShttps://imageshack.com/user/mcavery


Let the house go .... NEVER give up your car!!!!
Reply With Quote
  #1314  
Old 02-14-2017, 07:41 PM
Sonar Chief's Avatar
Sonar Chief Sonar Chief is offline
Senior Member
 
Join Date: Dec 2011
Location: Greater Denver area
Posts: 1,366
Thanks: 245
Thanked 163 Times in 72 Posts
Cool Time w my sweetheart!

Happy Valentine's Day ... hope you spent some time with your sweetheart as I did! Been a long day taping and cleaning, and I'm so tired of masking of this Camaro and spraying epoxy, last round before wrapping!

Take a look ...


Thanks for looking ...
__________________
JUST PICTUREShttps://imageshack.com/user/mcavery


Let the house go .... NEVER give up your car!!!!
Reply With Quote
  #1315  
Old 02-15-2017, 06:35 AM
syborg tt's Avatar
syborg tt syborg tt is offline
Lateral-g Supporting Member
 
Join Date: Jun 2005
Posts: 8,449
Thanks: 5,660
Thanked 2,043 Times in 1,100 Posts
Default

Looks so cool !!!
__________________
marty-mj
Is a car ever really done???? It's like a ball of yarn unwinding, that has no end... Author DKz Garage

Projects - Syborg TT 4.3l v6 Mini-Truck, 2nd Chance Camaro & SLP575 Bumble Bee - 4Sale
Reply With Quote
  #1316  
Old 02-15-2017, 07:23 AM
JohnJ@RideTech's Avatar
JohnJ@RideTech JohnJ@RideTech is offline
Lateral-g Supporting Vendor
 
Join Date: Jan 2017
Posts: 27
Thanks: 0
Thanked 0 Times in 0 Posts
Default

Quote:
Originally Posted by Sonar Chief View Post
Finished the bracket mock up on the 9" and then did a little of this and that, you know the stuff you have been putting off for awhile .... sprayed some epoxy and cut and re-weld the rear quarter corner that didn't fit follow the OEM tail panel!


I am waiting on my sway bar axle brackets from RT, seems I misplaced the originals,huh? And my rear axle alignment tools should be here soon so I can get the brackets welded in place for good.

Not much of an update but it's progress .... thanks for looking!
Looks great man! I like your choice of suspension!
Reply With Quote
  #1317  
Old 02-16-2017, 07:05 PM
Sonar Chief's Avatar
Sonar Chief Sonar Chief is offline
Senior Member
 
Join Date: Dec 2011
Location: Greater Denver area
Posts: 1,366
Thanks: 245
Thanked 163 Times in 72 Posts
Cool Zinc Wash on rotors!

Quote:
Originally Posted by syborg tt View Post
Looks so cool !!!
Thanks! I was out of SPI epoxy so I bought local PPG brand ... should have used a reducer cuz I had some dry spots where it didn't blend too well, oh well!

Quote:
Originally Posted by JohnJ@RideTech View Post
Looks great man! I like your choice of suspension!
Thanks John!


Thought I'd share some pics of my rotor wash ... with zinc phosphate. I used POR15's Marine Clean first and then their Metal Prep with water rinse in between, and then a light scuff with a red scotch brite!


A good scrubbing with Marine Clean!

Submerged in Metal Prep and working ...

Comes out kinda dark after the rinse ...

light scuff w scotch bright pad all better!

These vanes where filthy and were sure to rust ... not no more!

Figured I'd better get this done now before I bolt it together and then they start to rust, thanks for looking ....
__________________
JUST PICTUREShttps://imageshack.com/user/mcavery


Let the house go .... NEVER give up your car!!!!
Reply With Quote
  #1318  
Old 02-17-2017, 05:58 AM
WSSix WSSix is offline
Lateral-g Supporting Member
 
Join Date: Nov 2008
Location: Dunwoody, GA
Posts: 6,617
Thanks: 1,748
Thanked 919 Times in 684 Posts
Default

So the POR15 metal prep leaves a zinc coating on the rotors that won't rust or resists rust?

Coming along great with the car.
__________________
Trey

Current ride: 2001 BMW 540iT soon to be manual swapped.

Former rides: 1979 Trans Am WS6: LT1/T56, Kore 3 C5/6 brakes, BMW 18in rims

00 BMW 540i/6: Suspension, wheels, and ACS bits.
Reply With Quote
  #1319  
Old 02-17-2017, 09:20 AM
Sonar Chief's Avatar
Sonar Chief Sonar Chief is offline
Senior Member
 
Join Date: Dec 2011
Location: Greater Denver area
Posts: 1,366
Thanks: 245
Thanked 163 Times in 72 Posts
Cool

Quote:
Originally Posted by WSSix View Post
So the POR15 metal prep leaves a zinc coating on the rotors that won't rust or resists rust?

Coming along great with the car.

Thanks, yes the POR15 Metal Prep leaves a zinc phosphate coating on the rotor. I've used it for bolts before with great results so why not the rotors? Let them sit in the tub for 25 minutes to get the results I had ... no rusty rotors for this girl!

Michael
__________________
JUST PICTUREShttps://imageshack.com/user/mcavery


Let the house go .... NEVER give up your car!!!!
Reply With Quote
  #1320  
Old 02-17-2017, 03:50 PM
Sonar Chief's Avatar
Sonar Chief Sonar Chief is offline
Senior Member
 
Join Date: Dec 2011
Location: Greater Denver area
Posts: 1,366
Thanks: 245
Thanked 163 Times in 72 Posts
Smile

Flashback Friday ...


I hate rust!

Second side always comes out better!

Looks like a drunk did this one ... the trunk was sacrificial first!

Didn't quite make it to the end there!


Messing with self-leveling seam sealer on the drip rails and trunk ... lessons learned 1. FILL the void and the stuff will level bank to bank and 2. 10 minutes drying time is short and stop messing with it before you make it worse, lol.

So I'll have to sand some and re-apply to fill voids, and the driver's side A-pillar didn't flow all the way to the end ... passenger side DID, too much in the channel so I cut it with a razor and will conform with sand paper.

That's all for today, thanks for looking ...
__________________
JUST PICTUREShttps://imageshack.com/user/mcavery


Let the house go .... NEVER give up your car!!!!
Reply With Quote
Reply


Posting Rules
You may not post new threads
You may not post replies
You may not post attachments
You may not edit your posts

BB code is On
Smilies are On
[IMG] code is On
HTML code is Off

Forum Jump


All times are GMT -7. The time now is 12:15 PM.


Powered by vBulletin® Version 3.8.11
Copyright ©2000 - 2026, vBulletin Solutions Inc.
Copyright Lateral-g.net