Quote:
Originally Posted by onelapduster

Sean. Something you might consider. Id post the link, but my phone isnt cooperating. Search Big brakes on a not so big budget. Its a thread on the Mercury Marauder site. Basicly, its a 14 inch GT500 rotors, C5 Vette dual piston calipers, and brakes hoses from Jegs. There is a guy on that site who sells caliper brackets to make it work. Total, depending on how cheap you can get the calipers w/abuntments is under $6-700.
|
That is some great advice!! I spent a couple hours last night reading up on the kit they put together looks like it would be a really budget way to get some bigger brakes under the front. Ill likely order some brackets next week when I am back from California. Thank you for sharing, I would have never found that.
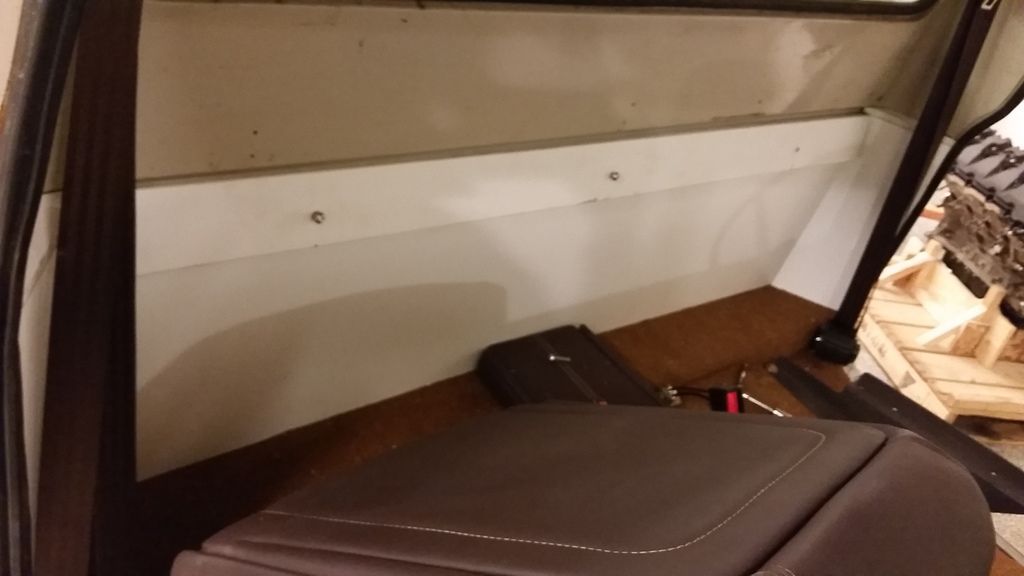
I was going to just live with the unfinished parts behind the seat but the other night when I was painting the seat brackets and getting the seats installed, I just could not stand it any longer and got to work.
I started by building some panels to cover up the unsightly back part of the cab where the fuel tank used to reside. They are super light, made of plastic and pretty easy to work with.

A little sanding on the pieces and they were ready to get covered.

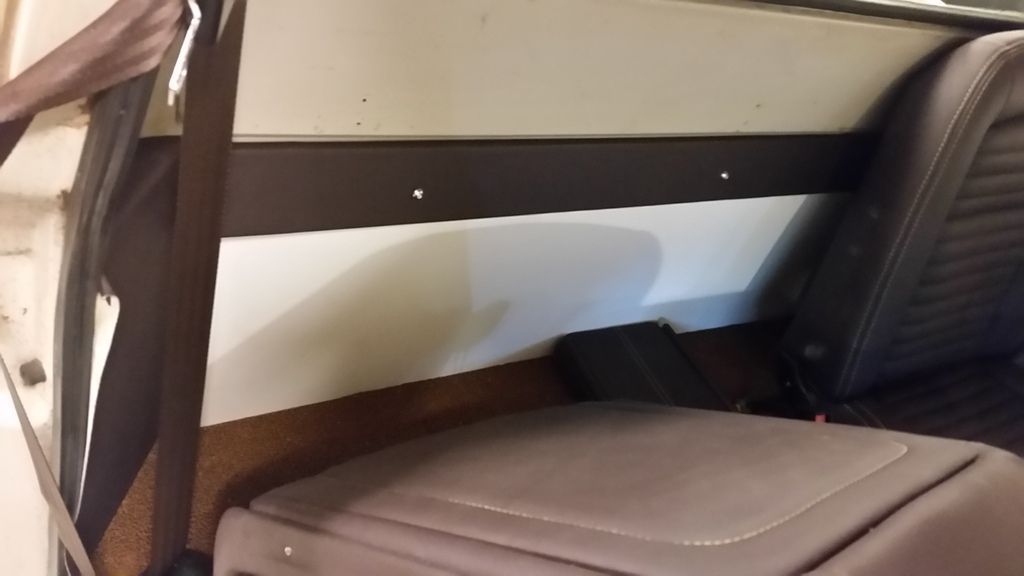
I still was having some trouble with what to do about the back wall flat area, but I knew that I needed to continue the stitch.
I cut some 1/2" x 3/4" pieces and rounded over one side and glued it to the flat PVC Foamboard, it glues together nicely. I got that stuff covered and also cut out the center panel to get the stitch done on.

A quick trip up to the upholsterer and Voila.
Its not perfect, but its about 100x better than before. I would like to make it have some curve like the front, maybe on the next one.


I also made a trip to the alignment shop as well. I heard about some people locally that could do a more performance oriented alignment and they certainly did not dissapoint.
We got the truck right up on the rack and they threw their fancy stuff on it and got a baseline.
All of my measuring, remeasuring and OCd of placement of the links, suspension points and front end paid off as they were pretty suprised to see how close I had everything. Chassis is square and suspension is all within 1/16th of an inch of where it should be, wheelbase was about perfect side to side as well. We started with 5.66 degrees of caster, .10 degree of toe and 1.56 and 1.55 degree of negative camber. I was shocked.
They straightened out the steering wheel, dialed in the camber right at 2 degrees and left the caster alone. I seriously encourage anyone who does this swap to keep the lower rear suspension mounts at a 45 degree angle and if you are going to lower it, install the SPC Camber adjustment bolts. Both allowed me to have a very functional front suspension and a pretty low ride height.

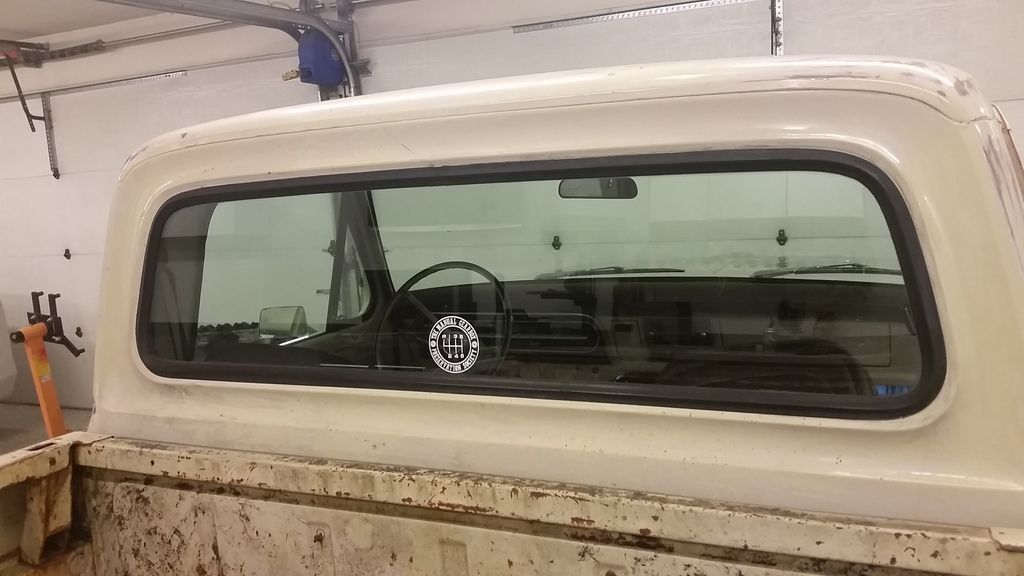
I also put on my new sticker....Manual Gearbox Preservation society =)

Still chasing the vibration, but I adjusted the lower rear links to the next hole up and went in 5 clicks on the adjusters of the coilovers and it made a huge difference.
Wheel travel is much more controlled and ride is greatly improved. Hope to mess with it some more tomorrow.
Sean


