...

Go Back   Lateral-g Forums > Lateral-G Open Discussions > Project Updates
User Name
Password


Reply
 
Thread Tools Display Modes
  #21  
Old 06-12-2008, 03:01 PM
sik68's Avatar
sik68 sik68 is offline
Senior Member
 
Join Date: Jul 2006
Location: San Francisco
Posts: 505
Thanks: 0
Thanked 0 Times in 0 Posts
Default

Thanks for the ongoing support!

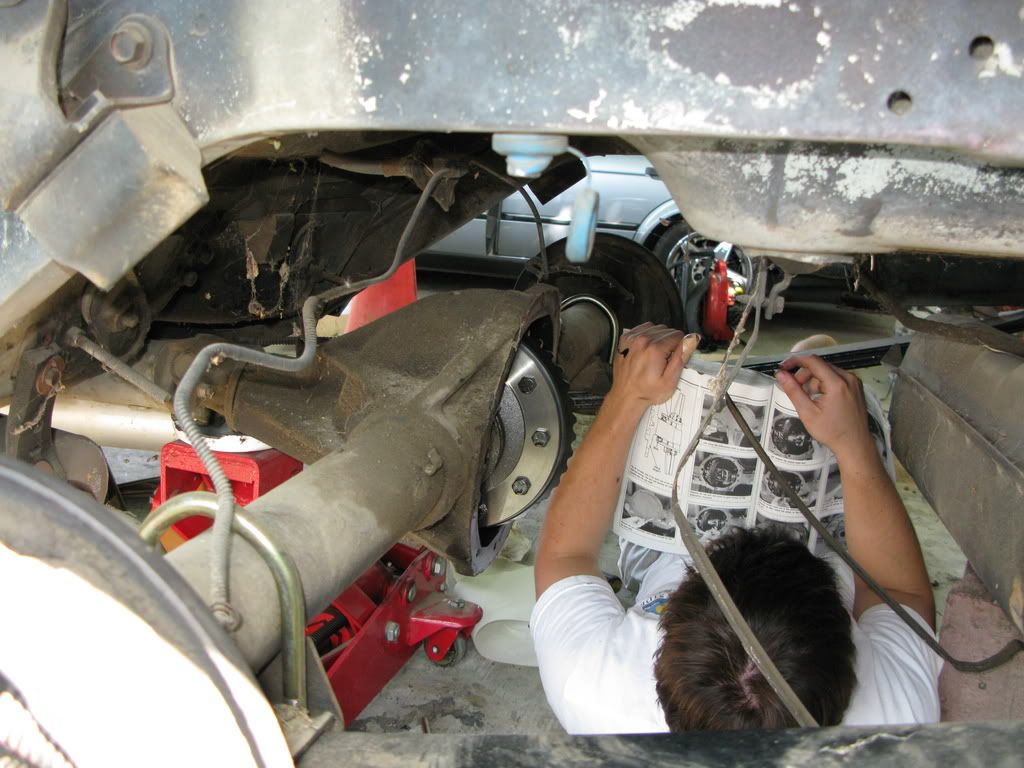
As promised earlier, here's my write-up of my axle replacement. For 99% of you, swapping axles is a "been there, done that" excercise; but I'm writing it up to share my experiences for those that don't know what's up (like me when I unbolted the diff cover). I didn't get pictures of every step because I didn't feel like washing my hands so often to touch the camera. Luckily, my dad was standing by once in a while to get some shots.

First thing, get a Chilton's nice and greasy:


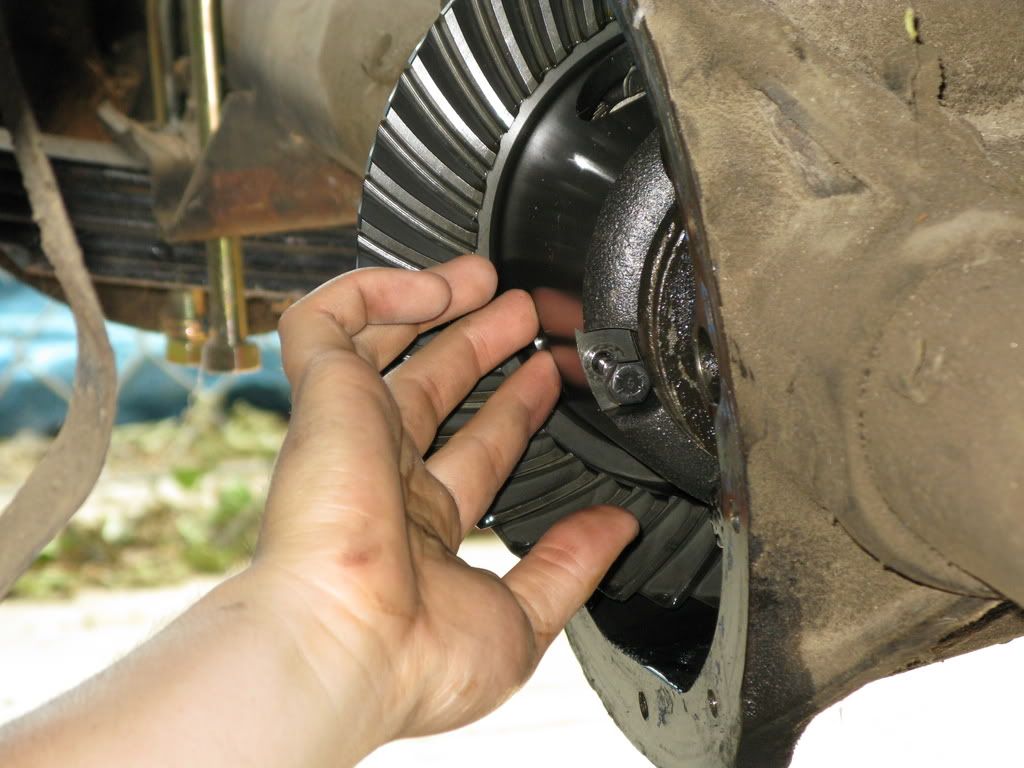
Next, grab a hold of the driveshaft and spin it until you see a bolt head such as this. This is the set pin which you will need to remove. Shown here:


Just 1 more step before the axles can be removed. Now that the pin is out, there is a steel "dowel" directly in the center of the differential that keeps the axles separate. Rotate the axle to a convienent position and then simply reach in there and push it in either direction. No need to remove it entirely...just far enough so the axles can slide inboard. Here's a pic:


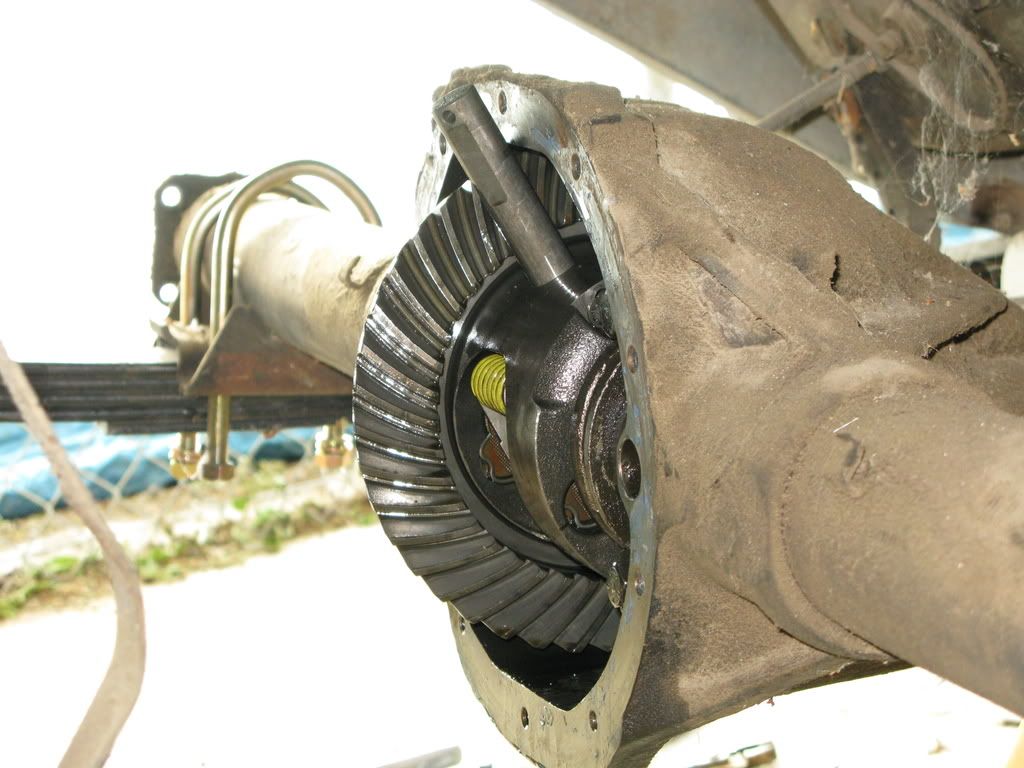
After that, simply push the axles inboard to release the c-clips.

Ta-da!


Use a slide hammer (I rented from autozone) and the bearing puller attachment to get the seal and bearing out. Pay attention to which way the seal was facing, so that you install the new seal the same way (just in case).

It has been recommended to me over and over that you should always change out the bearings and seals whenever the axle is replaced. To install the new ones, you're going to have to get used to the painful feeling of beating on your car. My tension level skyrocketed during this part of the project, as I am a believer that a hammer is a substitution for using the correct tool. Anyways, I used a hammer and a socket to slowly tap around the outer race of the bearing until it "felt" seated against the lip of the axle housing. Then I did the same for the seal. I don't even like to talk about it that much, because the whole process just gave me the chills. "Just hammer until it feels right;" that's no way to build a car.

Anyways, it worked. NOTE: many have said that after you push the dowel out of position, don't rotate the assembly, as the differential components can fall out. If you need to change positions, push the pin back first.

To reinstall the axles, just do everything in reverse.

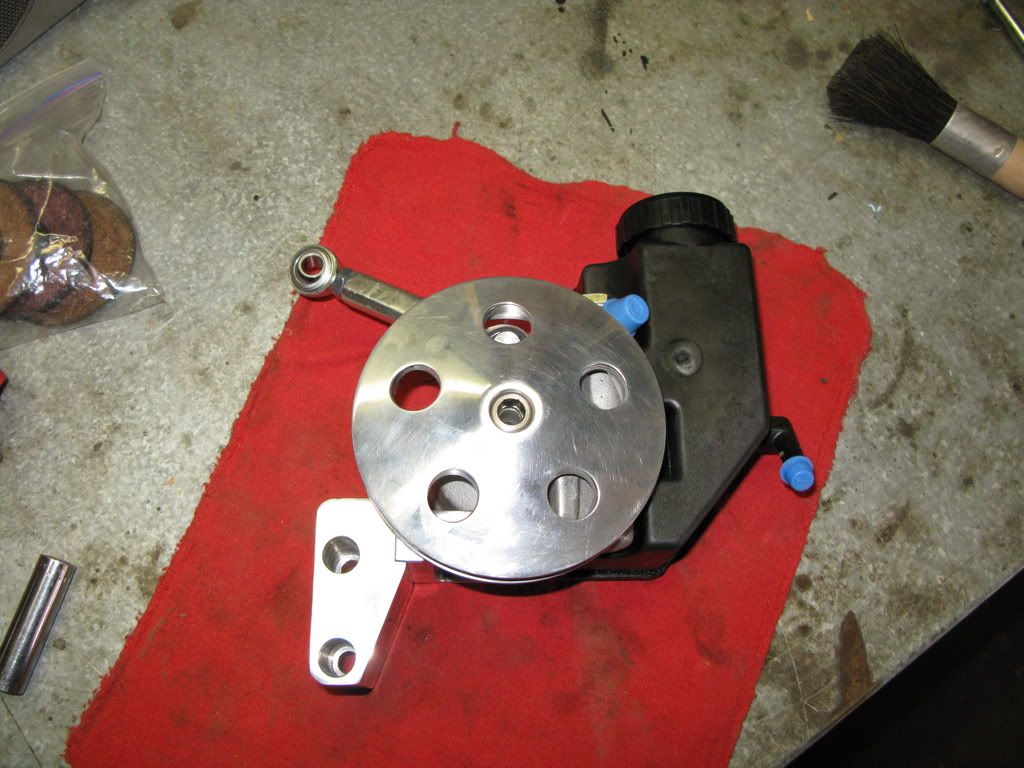
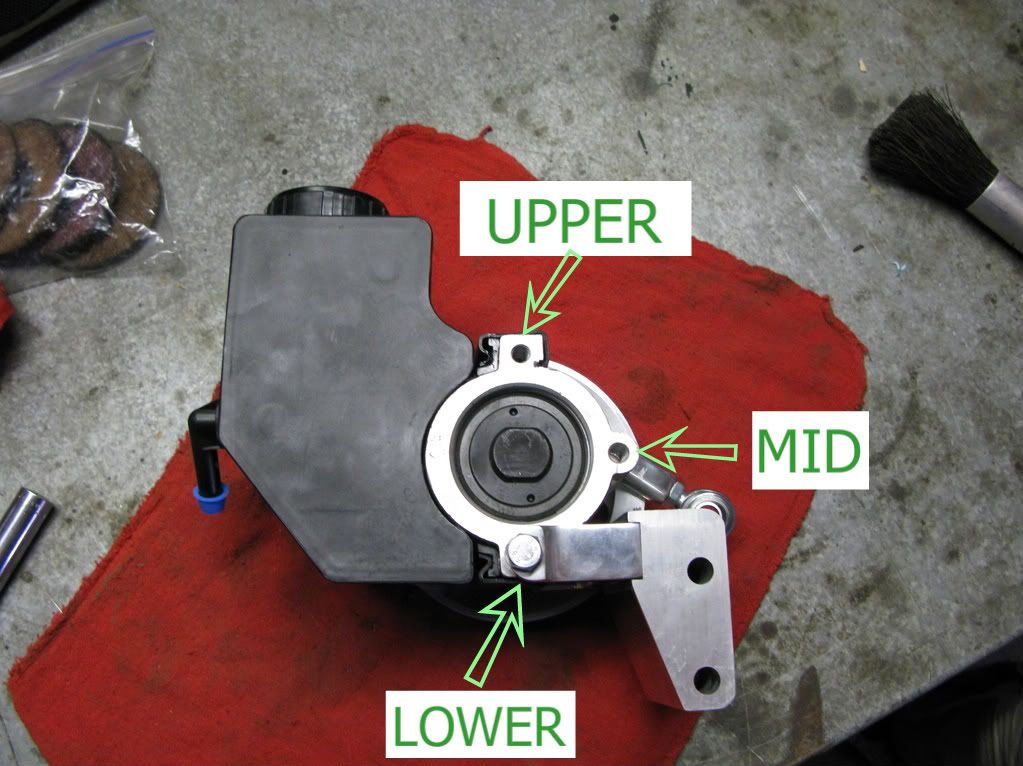
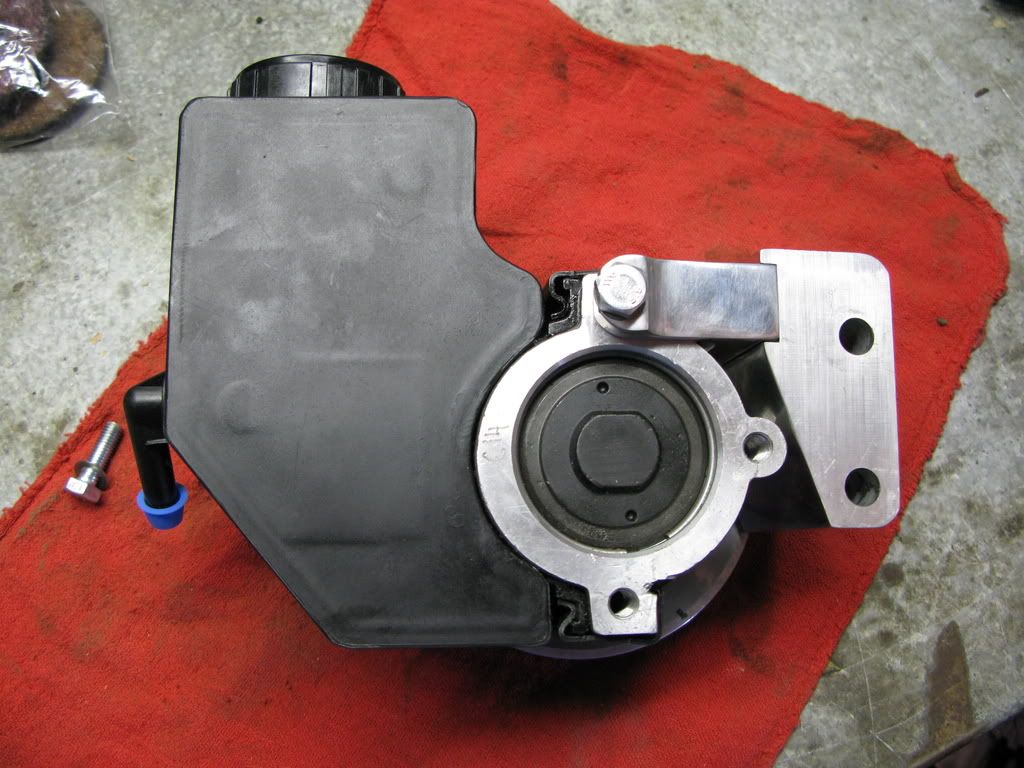
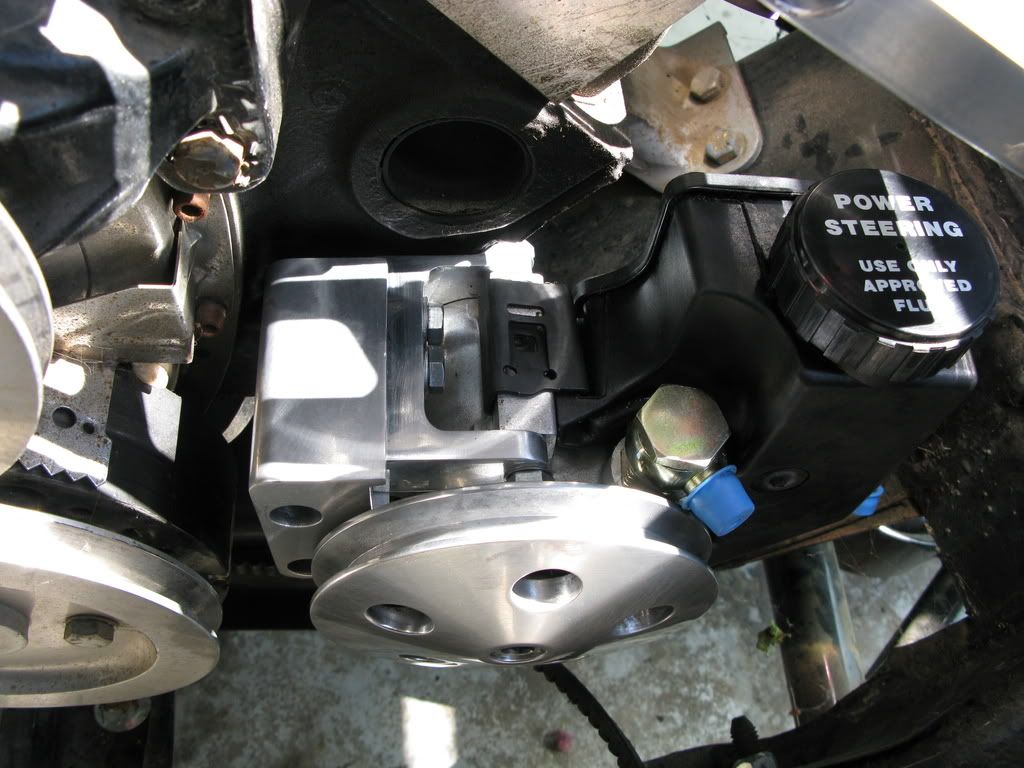
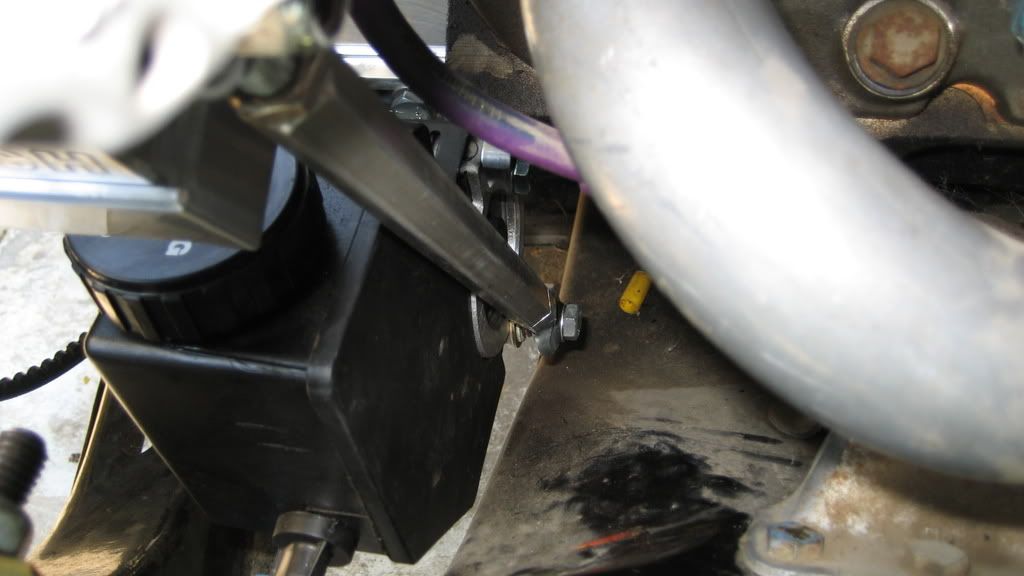
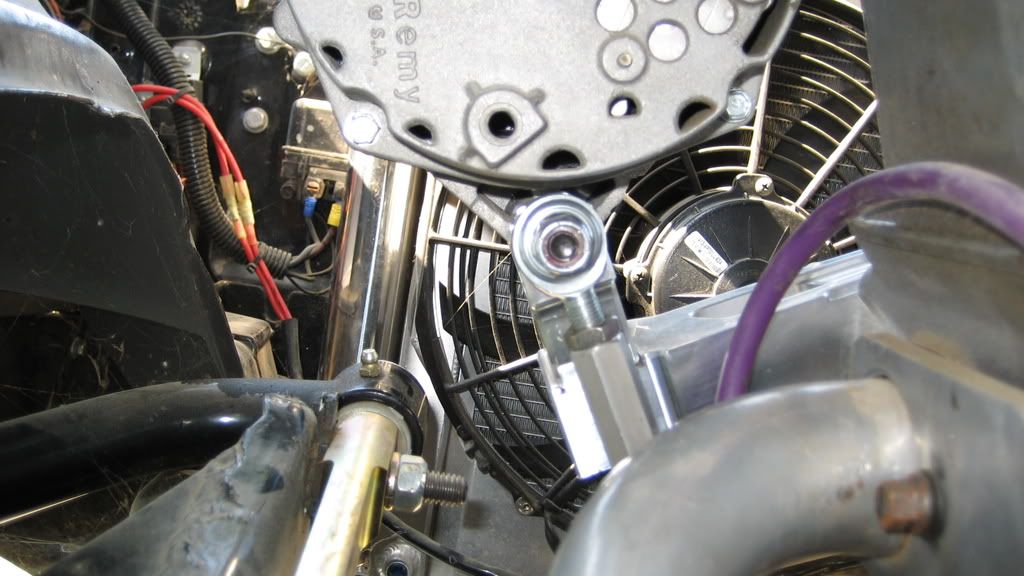
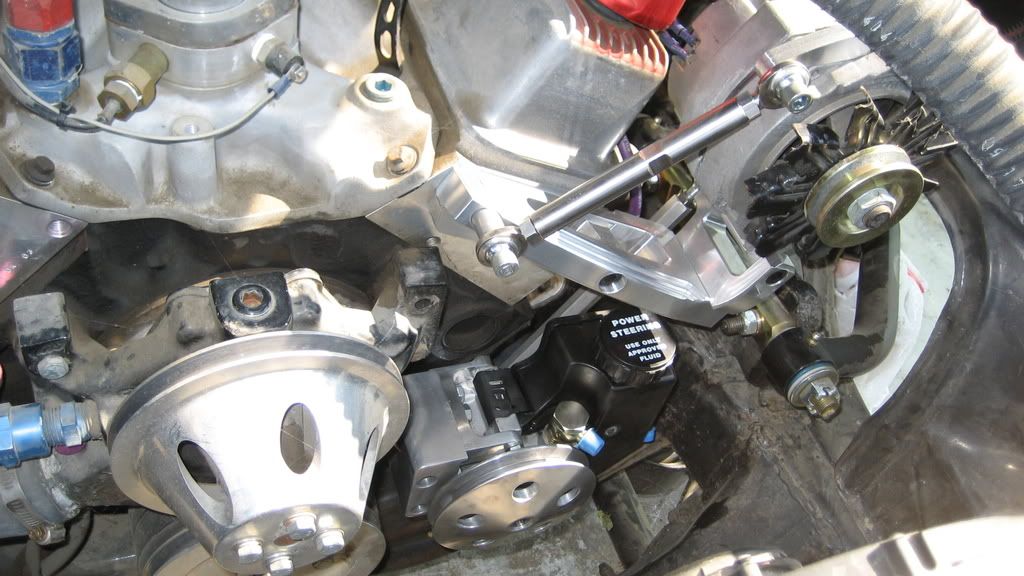
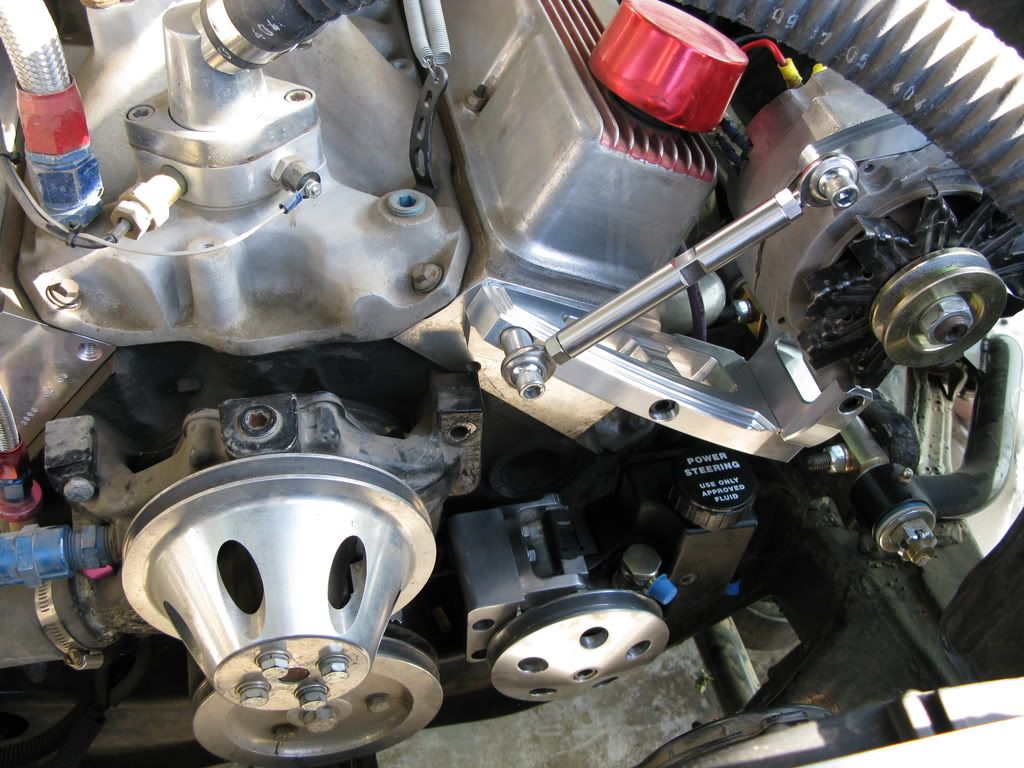
Update soon on the installation of the Gen 2 power steering pump from Unisteer.
__________________
Steven

1968 Camaro: "TRACKDAY"

Build In Progress: https://lateral-g.net/forums/showthread.php4?t=10706

Last edited by sik68; 06-12-2008 at 03:38 PM.
Reply With Quote
  #22  
Old 06-22-2008, 07:02 AM
will69camaro will69camaro is offline
Lateral-g Supporting Member
 
Join Date: Dec 2004
Location: Houston
Posts: 1,479
Thanks: 269
Thanked 185 Times in 101 Posts
Default

Congrats on the work so far man. I like you am another young guy but I have yet to take the plunge into the pro-touring build and I've had my car for 11 years on 7/10. It has a fuel injected motor but I feel yours is MUCH further along than mine.

Congrats on the build and I will be following it. Glad to have another "young" enthusiast so we can try and help keep this hobby alive!

William
__________________
Texas A&M BSME 2008
1969 Camaro - Hugger Orange
1969 C10 SWB - Hugger Orange
1992 Corvette ZR-1
2021 Ford F250 Tremor
Reply With Quote
  #23  
Old 06-22-2008, 08:12 PM
sik68's Avatar
sik68 sik68 is offline
Senior Member
 
Join Date: Jul 2006
Location: San Francisco
Posts: 505
Thanks: 0
Thanked 0 Times in 0 Posts
Default

Quote:
Originally Posted by will69camaro View Post
Congrats on the work so far man. I like you am another young guy but I have yet to take the plunge into the pro-touring build and I've had my car for 11 years on 7/10. It has a fuel injected motor but I feel yours is MUCH further along than mine.

Congrats on the build and I will be following it. Glad to have another "young" enthusiast so we can try and help keep this hobby alive!

William
Thanks William, good to hear from someone else in our generation who has picked up the hobby as well. BSME from Cal in '05 here. Keep up the good work!

Steven
__________________
Steven

1968 Camaro: "TRACKDAY"

Build In Progress: https://lateral-g.net/forums/showthread.php4?t=10706
Reply With Quote
  #24  
Old 06-22-2008, 08:13 PM
sik68's Avatar
sik68 sik68 is offline
Senior Member
 
Join Date: Jul 2006
Location: San Francisco
Posts: 505
Thanks: 0
Thanked 0 Times in 0 Posts
Default Unisteer Power Steering Install

This past weekend I finally finished the installation of the Unisteer Power Steering Pump from Summit (UIS-8060190). I actually believe my installation is the 1st of its kind...you'll see why if you follow along.

First, here is the picture of the pump and reservoir right out of the box (after I used the green side of a sponge to dull the pulley and bracket surfaces, haha):


Here is the backside. I have labeled the tapped holes of the pump to more easily explain my "custom" installation.

Note that the mounting bracket was originally bolted to in the lower position, while the turnbuckle was bolted in the upper position (turnbuckle more evident in 1st picture). This configuration DOES NOT FIT my setup due to the March alternator bracket interfering with the reservoir. When I realized this, I spent about 2 hours trying to figure out what to do. Then it dawned on me that I could move the pump bracket to the other positions on the pump.

"MID" doesn't work because the reservoir moves out too wide and interferes with the A-Arm bolt. However, Moving the bracket to UPPER fits the bill. Here is what I mean:


So this is the packaging result on the car:

I actually think this configuration looks better than the original intended configuration by Unisteer. The setup is more compact, and it it sits lower, which makes the pump pulley almost the same height as the crank pulley. This provides a better wrap angle around the pulley than if the bracket was attached to LOWER.

The problem was not solved yet though, as I still needed a way to hold the pump rigid. My solution was to run a turnbuckle on the backside of the pump, from LOWER all the way up to the bolt that runs between my alternator and the alternator bracket. Here is what I mean:
__________________
Steven

1968 Camaro: "TRACKDAY"

Build In Progress: https://lateral-g.net/forums/showthread.php4?t=10706
Reply With Quote
  #25  
Old 06-22-2008, 08:14 PM
sik68's Avatar
sik68 sik68 is offline
Senior Member
 
Join Date: Jul 2006
Location: San Francisco
Posts: 505
Thanks: 0
Thanked 0 Times in 0 Posts
Default

I used the existing turnbuckle eyelet ends that came with the pump. However, I ordered the center section from www.midwestcontrol.com It is a 9" long aluminum hex bar with the correct tapping 3/8-24 (PN AHT6-9.00) Here is the upper end of the turnbuckle on the backside of the alternator bracket:


That center section was a $5 part with $15 dollars shipping, haha. But when it is all said and done, I think my accessory drive system looks pretty awesome (note the turnbuckle behind the pump and alternator):


A better view of the setup, although the pic was taken before I installed the pump turnbuckle:


Hope that gives you some insight into another drive solution for a short water pump setup!

Next update will either be brake system plumbing of my C5 kit, or installation of the ATS670 steering box that I just ordered from Prodigy Customs / GP Superstore.
__________________
Steven

1968 Camaro: "TRACKDAY"

Build In Progress: https://lateral-g.net/forums/showthread.php4?t=10706
Reply With Quote
  #26  
Old 06-22-2008, 09:14 PM
will69camaro will69camaro is offline
Lateral-g Supporting Member
 
Join Date: Dec 2004
Location: Houston
Posts: 1,479
Thanks: 269
Thanked 185 Times in 101 Posts
Default

Thanks for reminding me to update my info. I graduated BSME from Texas A&M in May and now working full time in Houston. Car should hopefully get some attention soon!

Keep us updated! And ETA on this project? What is your goal?

William
__________________
Texas A&M BSME 2008
1969 Camaro - Hugger Orange
1969 C10 SWB - Hugger Orange
1992 Corvette ZR-1
2021 Ford F250 Tremor
Reply With Quote
  #27  
Old 06-23-2008, 01:48 PM
GMracer's Avatar
GMracer GMracer is offline
Senior Member
 
Join Date: Feb 2008
Location: Massachusettes
Posts: 392
Thanks: 0
Thanked 0 Times in 0 Posts
Default

awesome project, love the detail and the amount of pictures along the way
__________________
Nick Schiffer

2001 Silverado Regular Cab Short Bed
Currently Under the Knife

Special Thanks to:
Air Ride Technologies - Wilwood Engineering
Reply With Quote
  #28  
Old 06-23-2008, 02:03 PM
tony byram's Avatar
tony byram tony byram is offline
Senior Member
 
Join Date: Apr 2008
Location: Mo.
Posts: 205
Thanks: 0
Thanked 0 Times in 0 Posts
Default Good idea

Great job, and an excellent idea! Its good to see the young men and women take an interest in G-machines,musclecars and hotrods. Theres probably still a few old timers that havent been in a 10-12 bolt rear end! The pictures are good and the explanation is clear and accurate. Kudos and if it helps even one person... good for you! You just helped someone out. Tony
Reply With Quote
  #29  
Old 06-25-2008, 06:58 AM
mdprovee's Avatar
mdprovee mdprovee is offline
Senior Member
 
Join Date: Jul 2004
Location: Suisun City
Posts: 1,155
Thanks: 0
Thanked 4 Times in 3 Posts
Default

Nice thinking and problem solving. Keep it up.
__________________
Mike
Reply With Quote
  #30  
Old 06-25-2008, 09:00 AM
sik68's Avatar
sik68 sik68 is offline
Senior Member
 
Join Date: Jul 2006
Location: San Francisco
Posts: 505
Thanks: 0
Thanked 0 Times in 0 Posts
Default

Quote:
Originally Posted by will69camaro View Post
Thanks for reminding me to update my info. I graduated BSME from Texas A&M in May and now working full time in Houston. Car should hopefully get some attention soon!

Keep us updated! And ETA on this project? What is your goal?

William
Oh man, I don't know if my project will ever be "done"...but I can give you a pretty good idea from a copy/paste of the spreadsheet I have:

Phase 1 Items
Category
Suspension
Brakes
Steering
Wheels/Tires
Rear Axle


Phase 2 Items
Category
Seats
Transmission
EFI
Fuel System

Phase 3 Items
Category
Body/Paint
Roll Cage
Engine

Phase 1 is almost complete (August is my goal), and will finally be drivable after a year and a half in "hovercraft" mode.

Phase 2 will probably be drawn out throughout '09

Phase 3 is TBD
__________________
Steven

1968 Camaro: "TRACKDAY"

Build In Progress: https://lateral-g.net/forums/showthread.php4?t=10706
Reply With Quote
Reply


Posting Rules
You may not post new threads
You may not post replies
You may not post attachments
You may not edit your posts

BB code is On
Smilies are On
[IMG] code is On
HTML code is Off

Forum Jump


All times are GMT -7. The time now is 04:32 PM.


Powered by vBulletin® Version 3.8.11
Copyright ©2000 - 2025, vBulletin Solutions Inc.
Copyright Lateral-g.net