...

Go Back   Lateral-g Forums > Lateral-G Open Discussions > Project Updates
User Name
Password


Reply
 
Thread Tools Display Modes
  #21  
Old 01-03-2013, 07:17 PM
NOT A TA's Avatar
NOT A TA NOT A TA is offline
Senior Member
 
Join Date: Mar 2007
Location: South Florida
Posts: 671
Thanks: 6
Thanked 25 Times in 23 Posts
Default

Living close to the Atlantic we get an ocean breeze most days. Since it was calm today I took the opportunity to spray some primer on pieces that were ready for some paint.

My high tech mixing station.


My fabulous tropical spray booth. Yes, I need to mow the lawn (weeds) but it's bodywork season!


Some neighborhood quacks stopped by to offer assistance (beg for food). While some guys have a shop dog or cat the ducks have decided it's fun to stop by my house get a bread snack and check out whatever I'm working on. They'll stand in front of the garage if the doors open but not come in, however if I'm outside they get underfoot and sometimes get banished like they did today ahahaha.


All primed inside and out with high build sandable primer. Ya ya I know "Whats that Fox body notch trunklid doing in the mix?" It snuck in and will be painted white.


__________________
John Paige

70 Firebird Esprit, 400 TA clone type "The 14 car"
lab-14.com
Reply With Quote
  #22  
Old 10-07-2013, 09:19 AM
NOT A TA's Avatar
NOT A TA NOT A TA is offline
Senior Member
 
Join Date: Mar 2007
Location: South Florida
Posts: 671
Thanks: 6
Thanked 25 Times in 23 Posts
Default

I decided to modify a rear spoiler with the hope of increasing downforce. I will be making a front spoiler extension & splitter so hopefully this will balance it out a bit. I'm adding fiberglass to a stock rear 3 piece spoiler to make it about 1" - 1 1/4" taller.

So far I've got about 80 bucks in materials and it looks like it'll work. I used some roofing flashing to make a sort of mold on one side of the spoiler to support the fiberglass & resin.


After building up one side with several layers of fiberglass I removed the flashing and added several layers to the other side.


Then sanded with an air tool with rough twist lock 3" pads to create the curves and zip off the excess.


After another coat of fiberglass resin and another rough sanding *I'll smooth out the surface with a skim coat of bondo and prep for paint.
__________________
John Paige

70 Firebird Esprit, 400 TA clone type "The 14 car"
lab-14.com
Reply With Quote
  #23  
Old 10-07-2013, 09:21 AM
NOT A TA's Avatar
NOT A TA NOT A TA is offline
Senior Member
 
Join Date: Mar 2007
Location: South Florida
Posts: 671
Thanks: 6
Thanked 25 Times in 23 Posts
Default

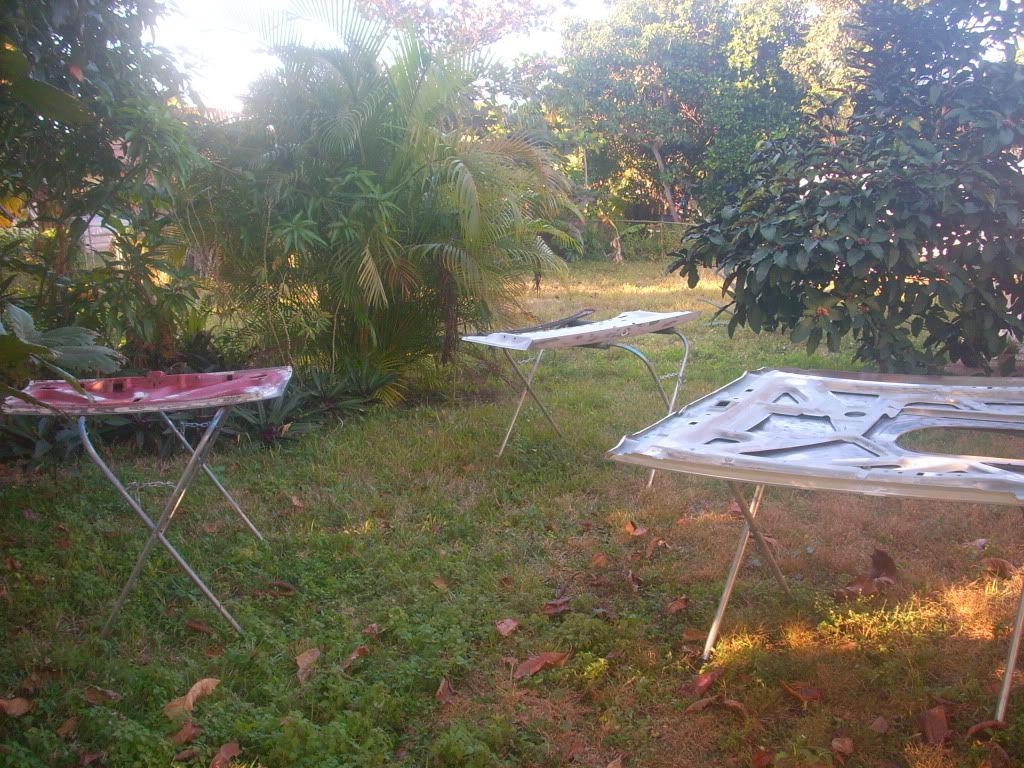
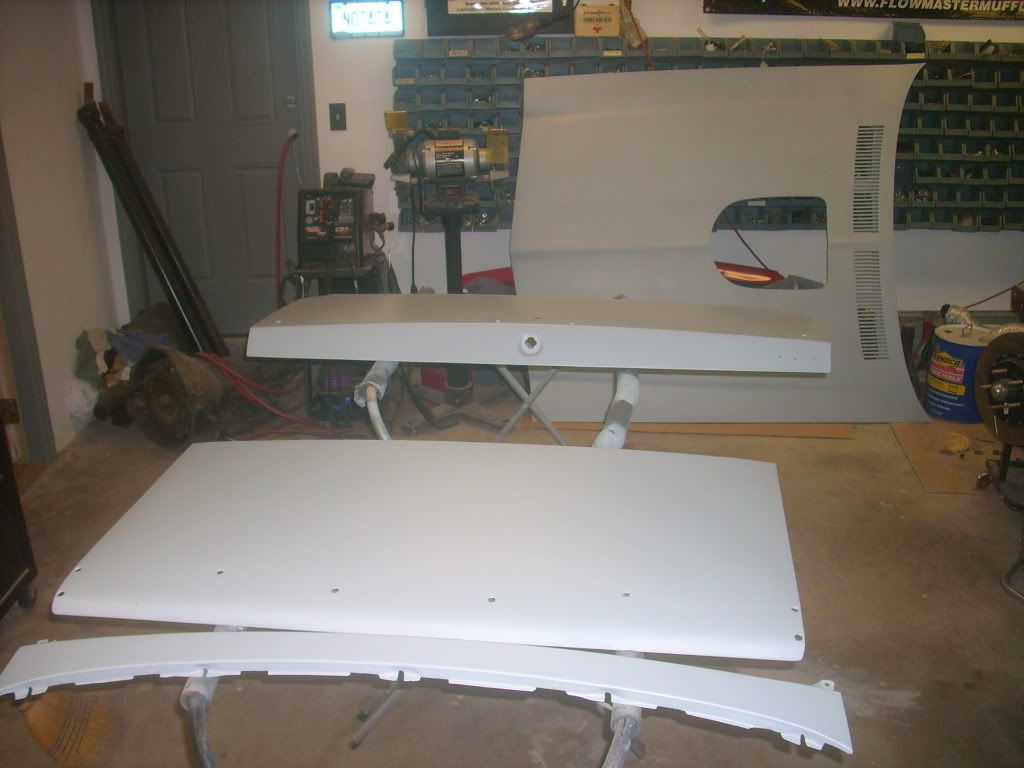
Got sidetracked from the bird project for a few months but I'm working on it again. The rear spoiler is roughed in and will get finish work done later while mounted to the car. I started working on the front bumper I'll be using. I want a bumper without the jack hole slots for a cleaner look.

Starting with a core I bought many years ago I soda blasted it to get off most of the old primer & paint that someone put on it. Then mounted it to my "whatdayacallit" body/paint contraption while bolted to a board to make it easy to work on. This way I can spin the bumper to work on top/bottom and the part doesn't keep flexing like they do when trying to work on regular bodywork stands.

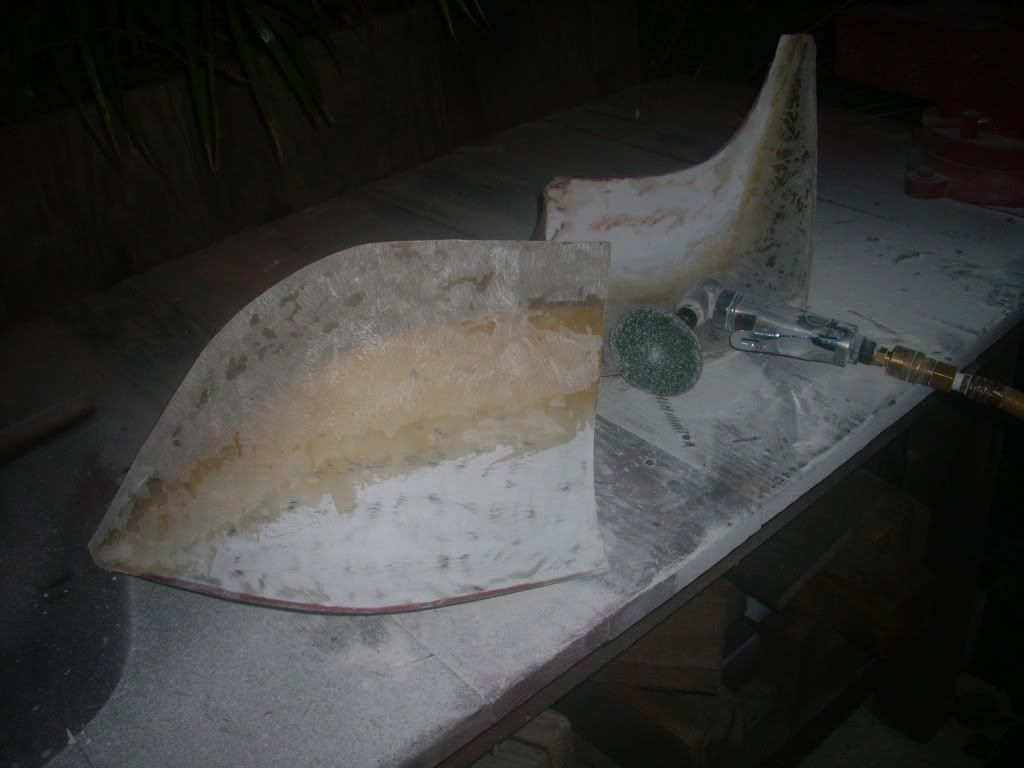
There was a section that had lifted from the metal core which happens to many of the 70-73 bumpers. So I drilled holes in the affected area, scraped inside to loosen rust/dirt etc. and then blew out the junk with an air hose. Then pumped panel bond into the void through the holes and clamped overnight.

After the panel bond was dry I ground off the paint sticks and excess panel bond and used 3M flexible parts repair material to fill the voids and other bumps cuts etc. on the bumper.


__________________
John Paige

70 Firebird Esprit, 400 TA clone type "The 14 car"
lab-14.com
Reply With Quote
  #24  
Old 10-07-2013, 09:22 AM
NOT A TA's Avatar
NOT A TA NOT A TA is offline
Senior Member
 
Join Date: Mar 2007
Location: South Florida
Posts: 671
Thanks: 6
Thanked 25 Times in 23 Posts
Default

Jack hole slot removal. Prep slots by roughing up and chamfering the rubber around the slots with dremel tool. Panel bonded a thin piece of aluminum to inside of bumper, let dry. Filled slots 1/2 way with panel bond , let dry. rough up panel bond and use #M flexible part repair material, let dry. Sand & fill with 3M till smooth.


__________________
John Paige

70 Firebird Esprit, 400 TA clone type "The 14 car"
lab-14.com
Reply With Quote
  #25  
Old 10-07-2013, 09:22 AM
NOT A TA's Avatar
NOT A TA NOT A TA is offline
Senior Member
 
Join Date: Mar 2007
Location: South Florida
Posts: 671
Thanks: 6
Thanked 25 Times in 23 Posts
Default

Another thing that annoys me about the early 2nd gen front bumpers is the strip across the bottom where the grill supports attach. It's ugly and is seen from the front so I painted that section of my other bumper flat black in an attempt to make it disappear in the shadow. For this bumper I've cut it off and will make new lower supports for the grills.

I've got 2 front splash pans and am currently working on the one that was on the car before stripping, doing some metal work, and prepping for paint as it was stock. The other one will be modified later to see if an idea I have will work.

I Also stripped the center section of the front spoiler for paint prep. Over the past 20 years it had gotten a few bumps & bruises and seen a lot of flexing at high speed events from air pressure. The angle of the spoiler would be straight down over about 125 MPH and the repeated flexing caused paint cracking/peeling problems. I will be adding reinforcements to prevent the flexing in the future..


__________________
John Paige

70 Firebird Esprit, 400 TA clone type "The 14 car"
lab-14.com
Reply With Quote
  #26  
Old 10-07-2013, 09:23 AM
NOT A TA's Avatar
NOT A TA NOT A TA is offline
Senior Member
 
Join Date: Mar 2007
Location: South Florida
Posts: 671
Thanks: 6
Thanked 25 Times in 23 Posts
Default

I'd installed 1/2" wheel studs in the rear axles a while back so while working on body panels I also got everything together to install the Baer discs on the rear. I had Moser tapered axles with Moser Ford style housing ends for drum brake application welded to a 8.5" GM housing so switching to disc brakes with an internal drum parking brake in the rotor hats is an unusual swap.

It turned out to be a bit of a puzzle to figure out how to actually assemble and required some minor fabrication to make it all work. Rather than explain I'll just post pics since it's unlikely very many people will be in the same situation since most people do the disc upgrade at the time they install axles etc. and wouldn't be in my situation since they'd get housing ends welded on for disc brake applications.


__________________
John Paige

70 Firebird Esprit, 400 TA clone type "The 14 car"
lab-14.com
Reply With Quote
  #27  
Old 10-07-2013, 11:14 AM
carbuff's Avatar
carbuff carbuff is offline
Senior Member
 
Join Date: Dec 2004
Location: Austin, Tx
Posts: 1,321
Thanks: 18
Thanked 24 Times in 17 Posts
Default

Like the progress John! Looking forward to seeing this one back on the track!
Reply With Quote
  #28  
Old 10-07-2013, 03:41 PM
Ron in SoCal's Avatar
Ron in SoCal Ron in SoCal is offline
Senior Member
 
Join Date: Dec 2009
Posts: 5,044
Thanks: 6
Thanked 9 Times in 6 Posts
Default

John are you going to run one caliper facing forward and one rearward?

Love your work, as usual
__________________
Ron in SoCal
69 Camaro in progress
https://lateral-g.net/forums/showthread.php4?t=31246

Reply With Quote
  #29  
Old 10-08-2013, 07:31 PM
OOCustoms's Avatar
OOCustoms OOCustoms is offline
Member
 
Join Date: Sep 2007
Location: Benicia CA
Posts: 70
Thanks: 0
Thanked 0 Times in 0 Posts
Default

Awesome to see that your sticking with the side pipes. Years ago when I started building my 74 nova and I bought a set of full header side pipes like the ones your converting to. Although that project never went much farther and life got in the way, I cant wait to finish it one day and still incorporate the side pipes I have for it. Its the only 70-80s muscle car style I still love. I do want to possibly recess them into the rockers and raise them to adapt to the pro touring style. I cant wait to see yours complete with those pipes. Its gonna sound wicked! are you gonna run slip in mufflers? how bout some spark plugs in the tips to shoot flames???? LOL
Reply With Quote
  #30  
Old 10-08-2013, 08:12 PM
GregWeld's Avatar
GregWeld GregWeld is offline
Lateral-g Supporting Member
 
Join Date: Jul 2005
Location: Scottsdale, AriDzona
Posts: 20,741
Thanks: 504
Thanked 1,080 Times in 388 Posts
Default

Nice to see you back at it John!


You're doing some good stuff there buddy!
Reply With Quote
Reply


Posting Rules
You may not post new threads
You may not post replies
You may not post attachments
You may not edit your posts

BB code is On
Smilies are On
[IMG] code is On
HTML code is Off

Forum Jump


All times are GMT -7. The time now is 06:44 AM.


Powered by vBulletin® Version 3.8.11
Copyright ©2000 - 2026, vBulletin Solutions Inc.
Copyright Lateral-g.net