...

Go Back   Lateral-g Forums > Lateral-G Open Discussions > Project Updates
User Name
Password


Reply
 
Thread Tools Display Modes
  #41  
Old 11-15-2013, 10:05 AM
ahawks9er ahawks9er is offline
Junior Member
 
Join Date: Nov 2013
Location: PDX
Posts: 3
Thanks: 0
Thanked 0 Times in 0 Posts
Default Single 60mm

Lifted this image of a single 60mm wastegate placement a guy did on his turbo Mustang. "Worked great," he said. I was thinking you might have room to do something similar outboard of your merge-collector?

Granted the pics without fenders etc make it hard to see what kind of space you're really working with, but it might even make it easy to route the dump back into your downpipe.


Last edited by ahawks9er; 11-15-2013 at 10:27 AM. Reason: Looked @ photos, no room inboard of collector
Reply With Quote
  #42  
Old 11-19-2013, 08:19 AM
hackster's Avatar
hackster hackster is offline
Senior Member
 
Join Date: Oct 2013
Posts: 342
Thanks: 55
Thanked 81 Times in 47 Posts
Default

Yeah, there just was no room to do that. I stumbled on that image when I was trying to make heads or tails. I think I came up with a reasonable solution to the wastegate.

Been busy trying to get stuff done the last few days, running a little low on motivation as my other two cars need work. Steering rack and all new joints on the ls Volvo and rear disc brake conversion on the 79 cummins were done this weekend as well.

Figured out a routing for the wastegate, probably not ideal, but this way was the cleanest I could figure it out without a ton more exhaust under the hood.


Fits god with the inner fender still.


Once that was done I got to business wit the welder and die grinder.


You can see in this picture a pretty direct path from both banks to the wastegate. Piping to and from the wastegate is 2 1/4"


Went over to my neighbor Geno's house who is always a huge help on these projects and he let me loose with his tig machine. To those of you who are killed with a tig torch, you have my respect, its hard to make it look perfect. These are far from perfect, but should hold just fine.

Did the downpipe with the TIG as well as the v bands onto the manifolds. The rest of the hot side piping got treated to a date with the old wire feed, turned out alright.

Last night I finished up with a little dimple died bracket for the turbo brace and added in two o2 bungs and a wideband bung.


Here it is all pulled off and ready to head over to the ceramic coater.


Now I get to get back to other stuff, fuel door in the bed floor, plumbing the fuel system and probably getting started on some wiring, radiator and intercooler.

Sean
Reply With Quote
  #43  
Old 12-02-2013, 01:59 PM
ahawks9er ahawks9er is offline
Junior Member
 
Join Date: Nov 2013
Location: PDX
Posts: 3
Thanks: 0
Thanked 0 Times in 0 Posts
Default

What's the latest, Hackster? Your long-weekend progress has been legendary in years/projects past... Any news on this one?
Reply With Quote
  #44  
Old 02-24-2014, 09:56 AM
hackster's Avatar
hackster hackster is offline
Senior Member
 
Join Date: Oct 2013
Posts: 342
Thanks: 55
Thanked 81 Times in 47 Posts
Default

Been pretty busy with other projects but got back onto this the last week or so. Here is an update with some pics of where I am at now and a few leading up to it.

Inner fenders, all welded up, smoothed, shaved battery box and painted.


Exhaust got coated by RM coatings here locally. Turned out amazing. Mocking up the radiator, intercooler, and radiator hoses.


Most of the plumbing and fuel system is installed, gas filler door is in the bed, oil feed and drain are in and tight. Have just small things to button up there.


Coil packs are relocated onto the framerails, plug wires are ordered and should be here in a day or two. Wiring is all laid out and ready to be loomed. everything got shortened and lengthened to be just the right length so its very tidy. I am trying to make the wire harness almost disappear in the truck. Hard to hide it in something that is so simple though. There is not a lot of dash area to hide things in.


Should make some more progress in the next few days, might even be able to try to start it up next weekend if all goes well.

Sean
Reply With Quote
  #45  
Old 02-24-2014, 12:50 PM
ChuckDriver's Avatar
ChuckDriver ChuckDriver is offline
Senior Member
 
Join Date: Jun 2012
Location: Charleston, SC
Posts: 109
Thanks: 0
Thanked 0 Times in 0 Posts
Default

Glad to see you back on it! I've been hoping you would post some progress pic's.
__________________
JJ

My 1957 project:

http://67-72chevytrucks.com/vboard/s...d.php?t=334552
Reply With Quote
  #46  
Old 03-02-2014, 09:22 PM
hackster's Avatar
hackster hackster is offline
Senior Member
 
Join Date: Oct 2013
Posts: 342
Thanks: 55
Thanked 81 Times in 47 Posts
Default

I guess its probably pretty obvious by now that I am not a big billet/ polished aluminum fan.

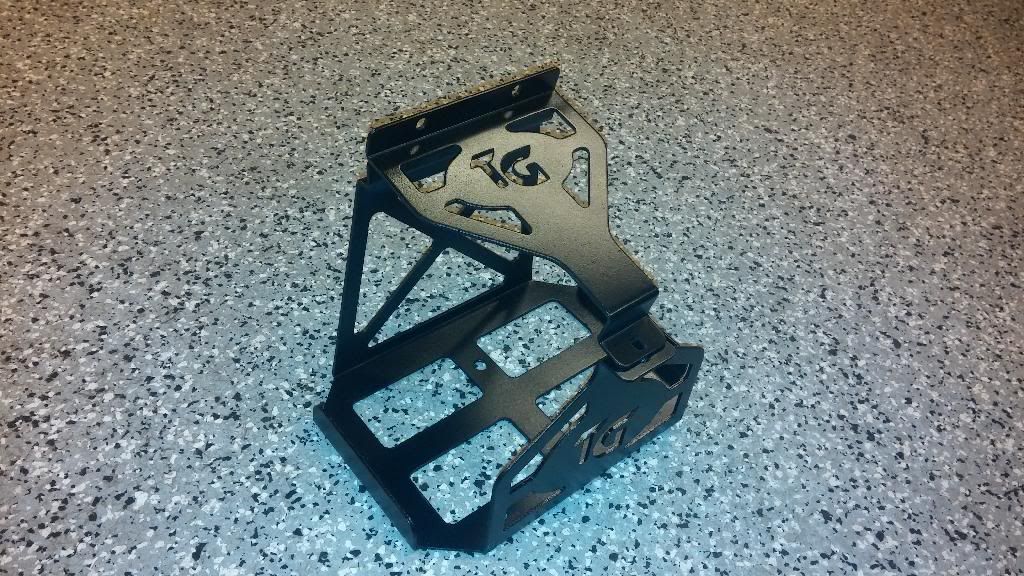
So I turned to my wheeler side and ordered up this battery box from Trail Gear. Very happy with it, except that is says TG on it :judge: Its ok, I think its fitting for this project.

Finished drilling and got some paint on it.


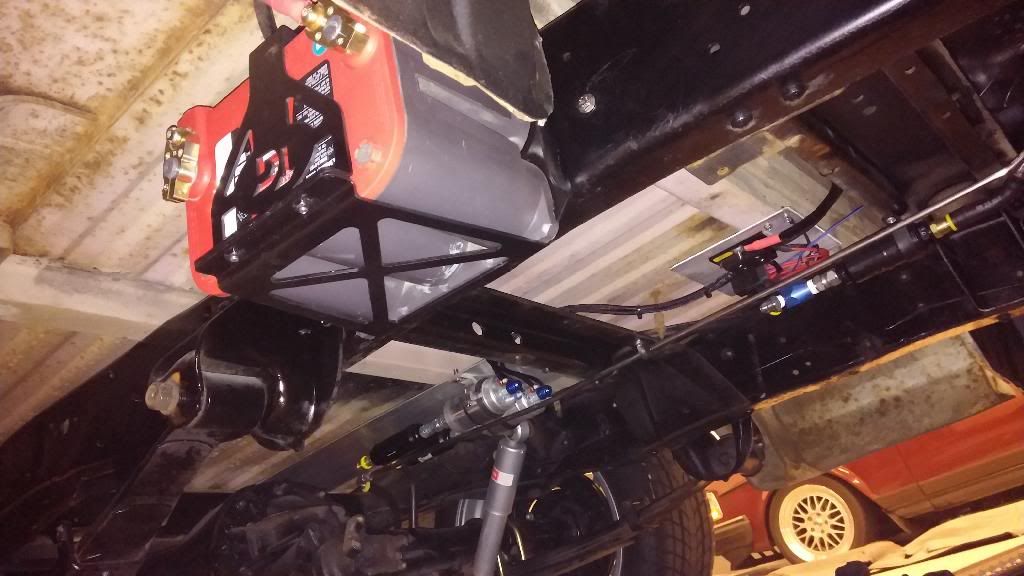
And here is the old girl parked in her new home. Passenger side frame rail just under the bed floor in front of rear wheel.


And this is where I spent my entire day. There was about four feet of framerail that never got painted so I wire wheeled that and painted it finally. Looks good and needed to get done before I could get the wire ran and the bolts in for the hold down clamps.


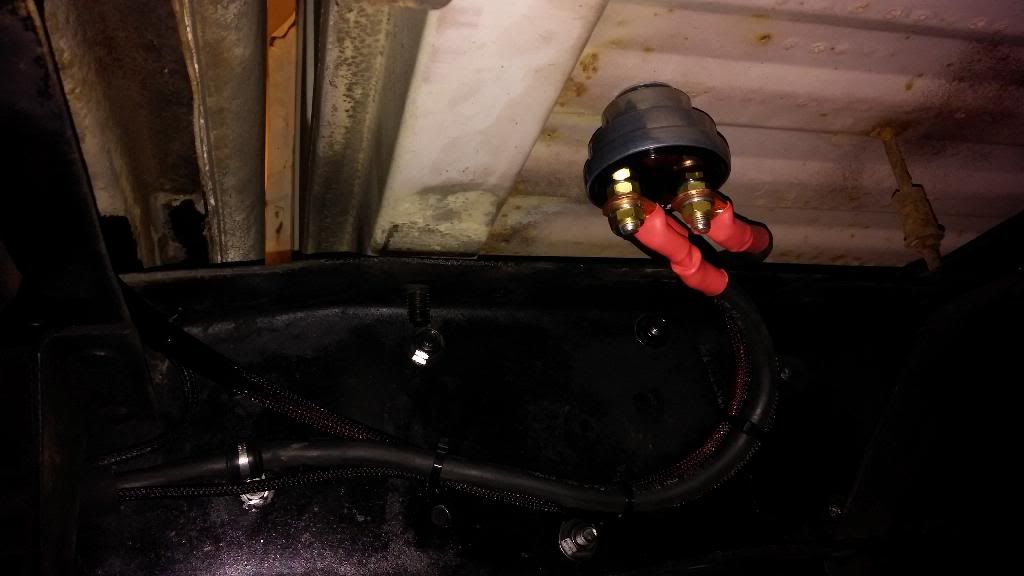
Mounted up a battery disconnect switch in the bed floor with the future knowing that I would need a push pull from the back of the bed, so this should work for that. Its just a taylor single pole disconnect.


Moved onto the relays and power for the fuel system. I know that power makes these pumps run much better, so I gave it lots of power. Small fuse holder, and each pump gets its own dedicated 40 amp relay triggered from the GM ECU.


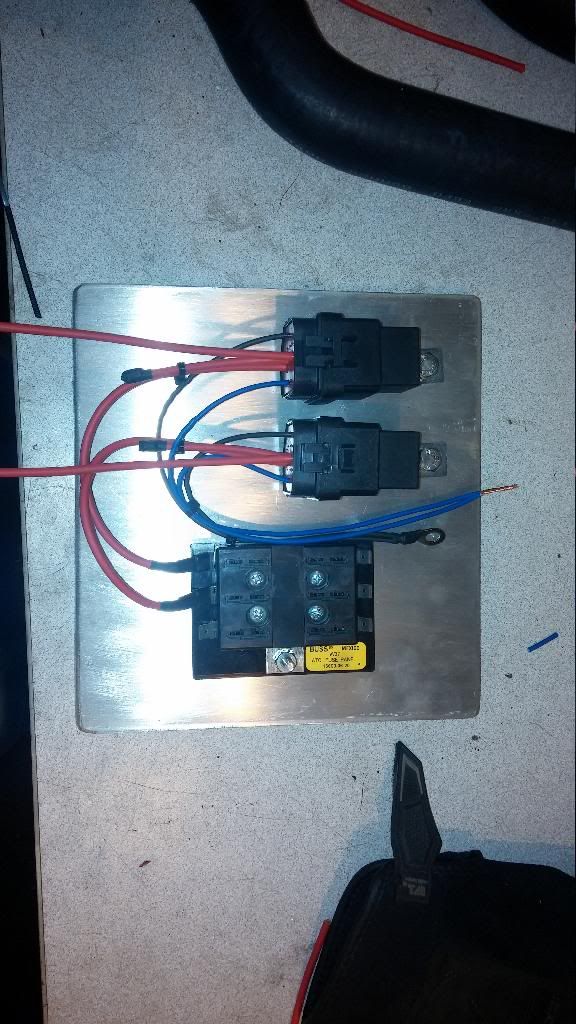
Installed and wired up.


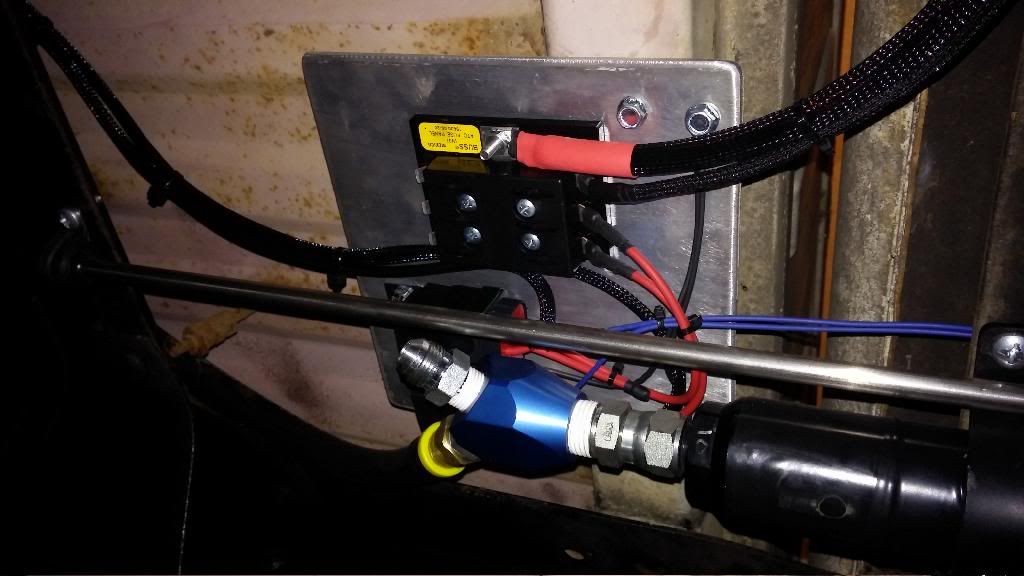
Wired up the pumps, just waiting on hardware for these terminals but its wired.


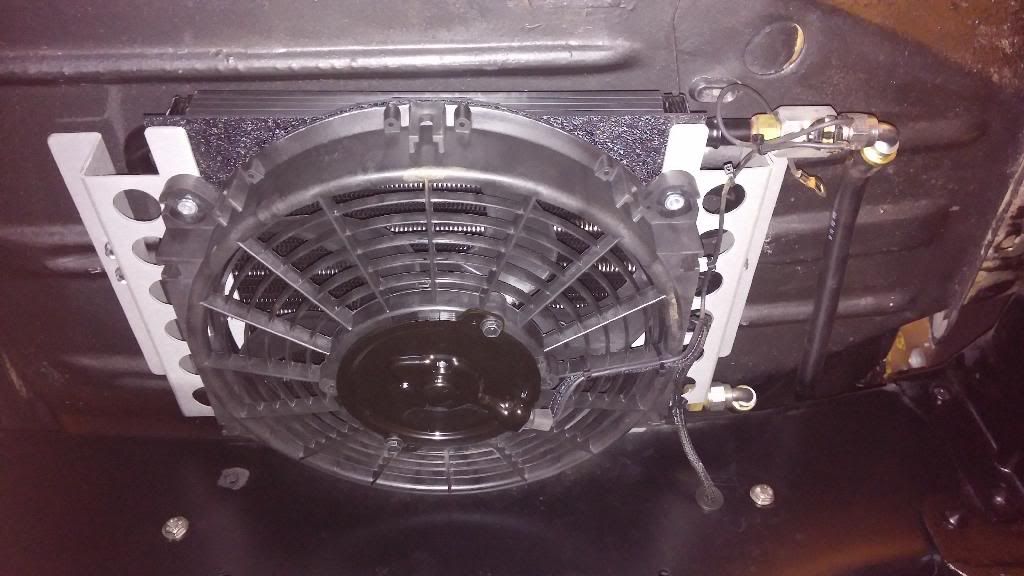
Tranny Cooler installed, plumbed and wired up. Fused off the same little fuse block the fuel pumps are fused off of.


Negative battery cable is built and ran, main 12v is run from the battery terminal to the starter and clamped in place.

It doesn't look like a lot of progress by the pics and the end result, but soldering, shrink swpping and sleeving every single wire on the truck, often under the truck seems to take a lot of time.

I think I am almost done crawling around under this.

Need a couple fitting to finish the fuel lines.

Might invite a few people over next weekend and see if we can fire this turd up for the first time.

Sean
Reply With Quote
  #47  
Old 03-04-2014, 06:19 PM
jarhead's Avatar
jarhead jarhead is offline
Senior Member
 
Join Date: Dec 2011
Location: Colorado, in a van down by the river
Posts: 1,283
Thanks: 999
Thanked 334 Times in 191 Posts
Default

nice work!
__________________
joe
Semper Fi

My 68 Torino
Reply With Quote
  #48  
Old 03-04-2014, 10:30 PM
67goatman455 67goatman455 is offline
Senior Member
 
Join Date: Jan 2012
Location: Wichita, KS
Posts: 258
Thanks: 1
Thanked 0 Times in 0 Posts
Default

perfect for you haha

__________________
Scott

1967 GTO, LS2 T56

WILWOOD FORGELINE RIDETECH
$10k Budget driver/ track car
Reply With Quote
  #49  
Old 03-05-2014, 10:39 AM
waynieZ's Avatar
waynieZ waynieZ is offline
Lateral-g Supporting Member
 
Join Date: Oct 2006
Location: Ma
Posts: 8,491
Thanks: 939
Thanked 342 Times in 231 Posts
Default

Nice work it looks great.
__________________
_Wayne________

___________________________________
https://lateral-g.net/forums/show...ghlight=FNQUIK
Reply With Quote
  #50  
Old 03-05-2014, 11:19 AM
ChuckDriver's Avatar
ChuckDriver ChuckDriver is offline
Senior Member
 
Join Date: Jun 2012
Location: Charleston, SC
Posts: 109
Thanks: 0
Thanked 0 Times in 0 Posts
Default

Looks like a "Blue Oval" would fit nicely over the TG!
__________________
JJ

My 1957 project:

http://67-72chevytrucks.com/vboard/s...d.php?t=334552
Reply With Quote
Reply


Posting Rules
You may not post new threads
You may not post replies
You may not post attachments
You may not edit your posts

BB code is On
Smilies are On
[IMG] code is On
HTML code is Off

Forum Jump


All times are GMT -7. The time now is 06:51 AM.


Powered by vBulletin® Version 3.8.11
Copyright ©2000 - 2026, vBulletin Solutions Inc.
Copyright Lateral-g.net