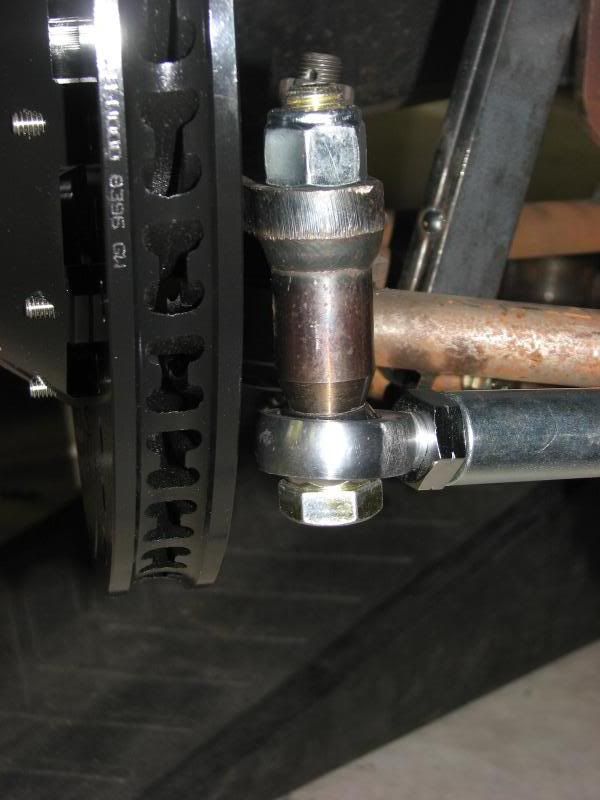
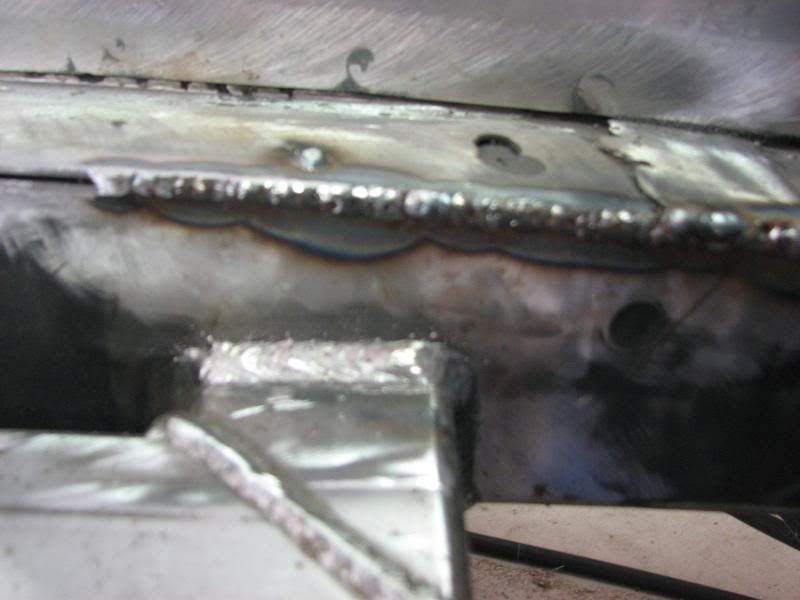
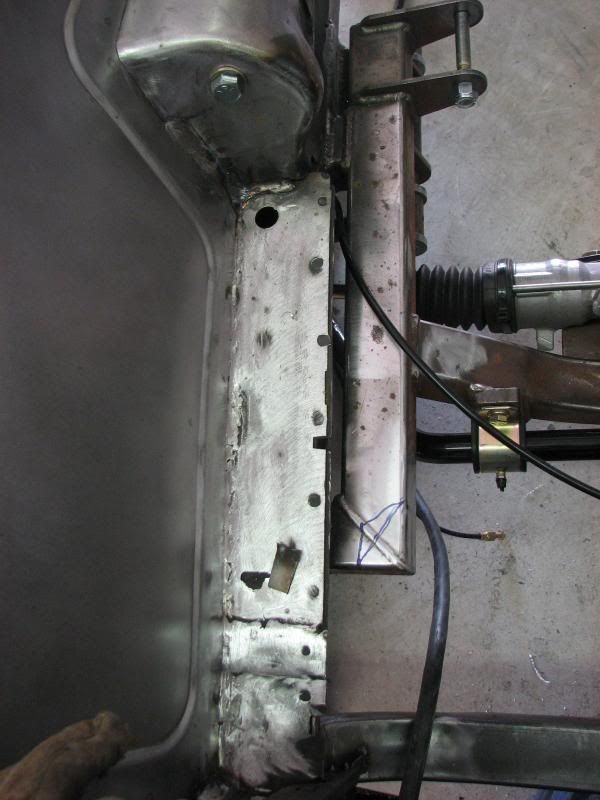
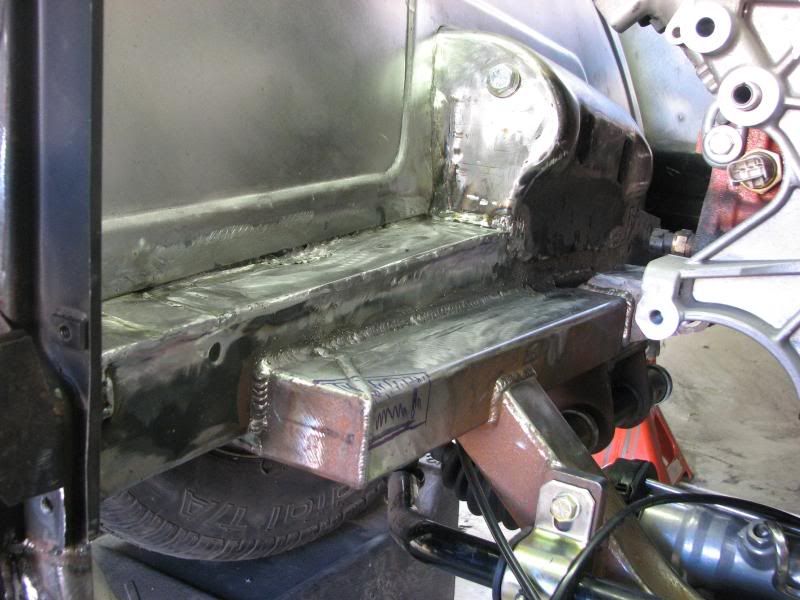
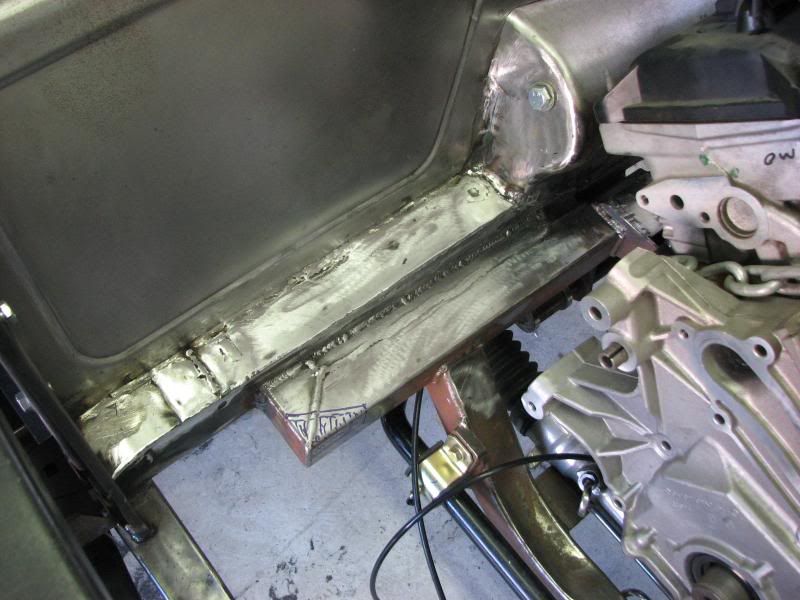
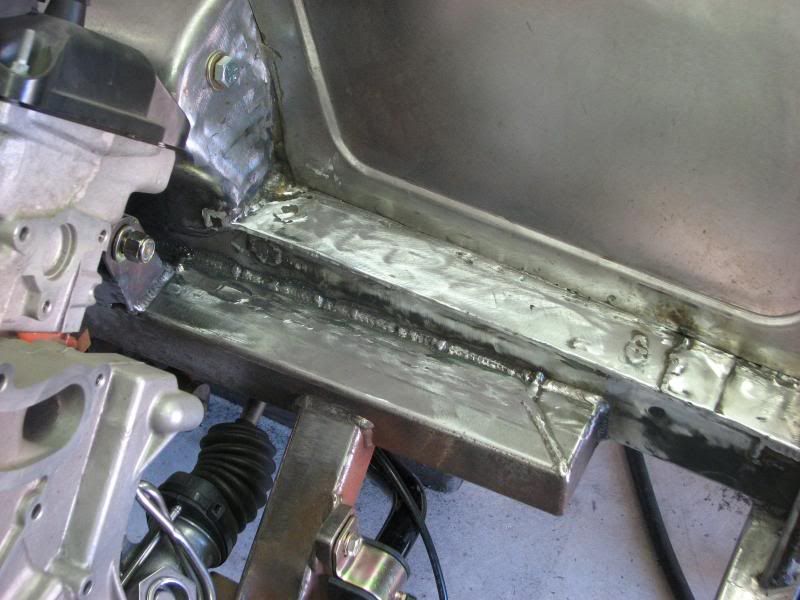
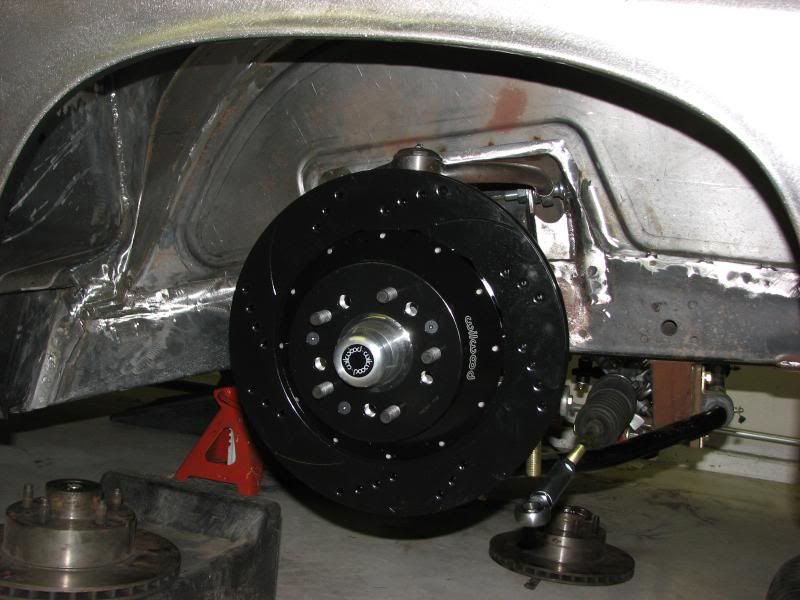
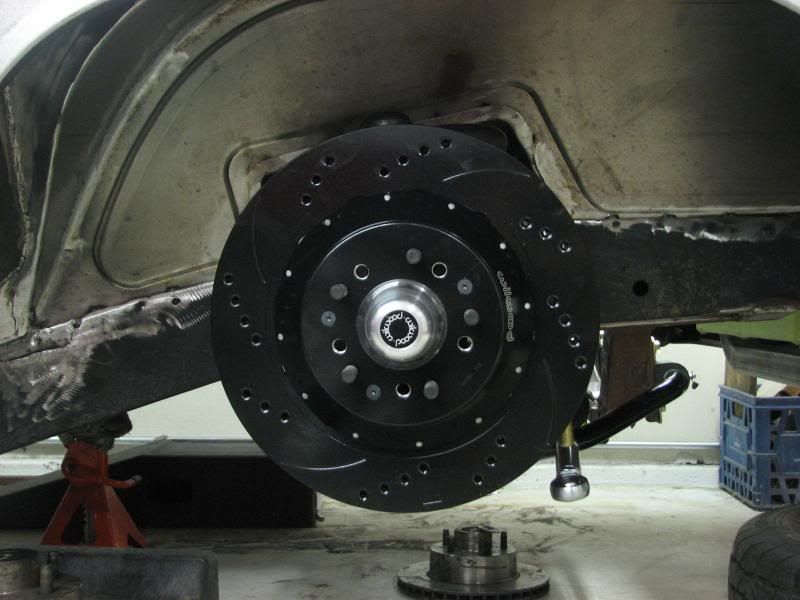
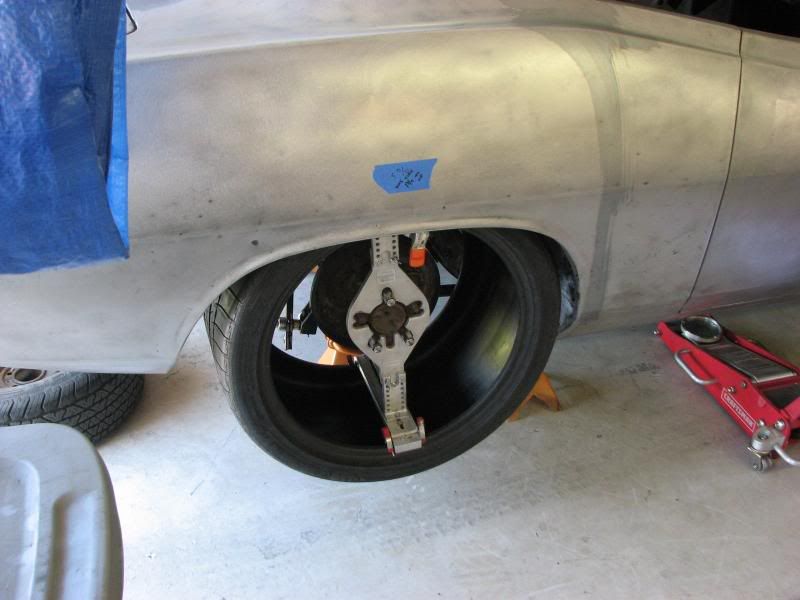
At first we had some clearence issue with the steering arm attachment, so I we had to swap out to a more shallow hat and move the rotor out a tad... its close but they fit now

Since thats been all mounted up, I've been trying to measure for wheels....that has been a huge PITA.
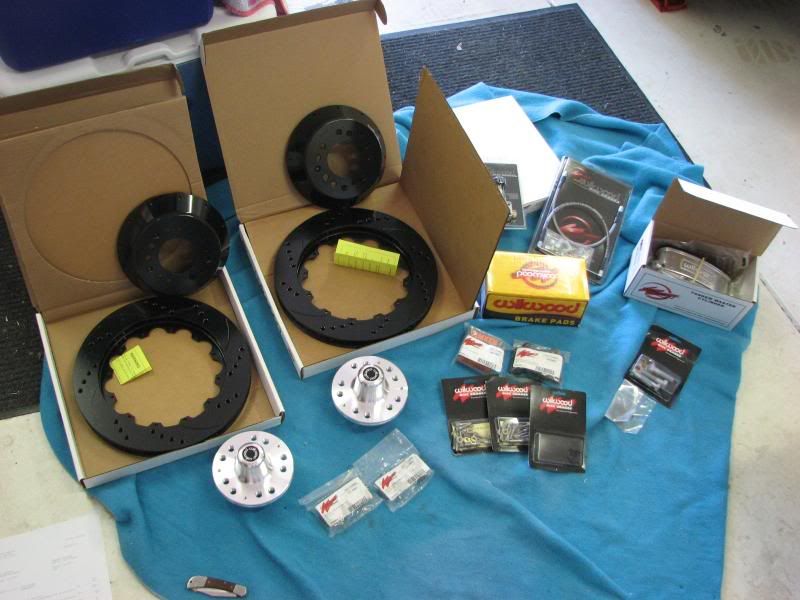
I wanted to thank Marty (Syborg) for lending me his Mount Mate to help the job. I borrowed it back in late July (anticipating my brakes would arrive soon) and then we had all the brake delays and its been sitting in my garage unused.... thank you Marty for being so understanding on the delays. I'll have it back to you next week, I promise.....
I've also been bugging Jason Rushforth with questions and trying to work out a way to get a decent lip on the front wheel. Unfortuately with these big brakes, its widened my track width some and then the caliper overhang is gonna push the spokes out some, so it dosent look like I will be able to get the dish I was hoping for, but thats life I guess.
Then I got back and forth on the 19x8 or 19x9.....245-35-19..... I tried a ton of BS setting for both, at the current ride height (based on the Air Ride ride height suggested for this shock etc), its pretty close the fender lip near full lock.
So I decided on either a 19x8 with 6 BS or a 19x9 with 6.5 BS and everything clears on the pass side (the one I've been working on the entire time). Figured I should make sure on the driver side.....and neither one works on that side !!!!! I dropped a plum bob from the fender lip and measured to the hub on both side and it looks like my fender is about 1/2 inch pushed in on the driver side. Everywhere elese I measure, it appears that the frame to hub etc is the same so I dont think the frame is moved over. There was some previous damage to the driver side fender, so I think it bowed it in slightly near the fender lip....great...more work......
If I do more BS, then the Mount Mate hits the tie-rod at lock...plus I guess 6 BS is the most I can really do on an 8 inch rim anyway....so best I can figure is do the 19x9 with 6.5 BS, have a slighlty larger lip, and fix the driver side fender opening.....
I can go with a shorter hub and hat and move the track width in, but the caliper is the most "outboard" piece, so it wont do anything for my dish....so by doing the shorter hub, all I'm doing is changing the BS reading.... the mount pad gets thicker and the dish stays the same....
So decisions, decisions......


 Brian Hobaugh SCCA National Tour June 2014
 First Hemi 'Cuda Convertible Ever Built
 Short clips: Goodguys Pleasanton autocross and pit videos


 Hybrid Mode
