...

Go Back   Lateral-g Forums > Lateral-G Open Discussions > Open Discussion
User Name
Password


Reply
 
Thread Tools Display Modes
  #431  
Old 06-27-2016, 12:29 PM
Josh@Ridetech's Avatar
Josh@Ridetech Josh@Ridetech is offline
Lateral-g Supporting Vendor
 
Join Date: Apr 2013
Posts: 382
Thanks: 17
Thanked 21 Times in 13 Posts
Default

Wow!
__________________
Reply With Quote
  #432  
Old 06-29-2016, 08:32 AM
Al Moreno Al Moreno is offline
Senior Member
 
Join Date: Dec 2004
Posts: 1,502
Thanks: 3
Thanked 1 Time in 1 Post
Default

Thanks for the props guys. We have some updated to do on the thread when we get a few minutes.
Reply With Quote
  #433  
Old 07-05-2016, 02:25 PM
Al Moreno Al Moreno is offline
Senior Member
 
Join Date: Dec 2004
Posts: 1,502
Thanks: 3
Thanked 1 Time in 1 Post
Default

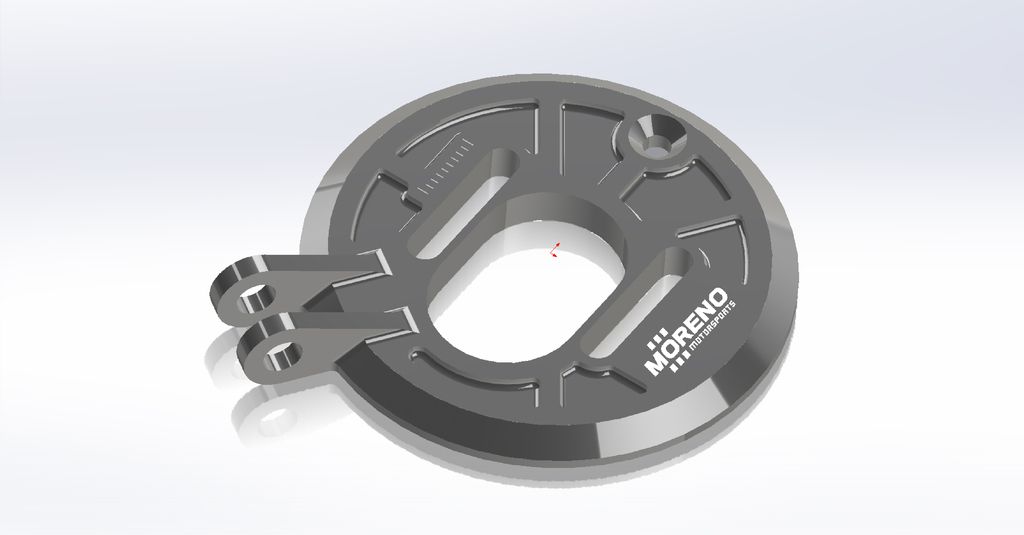
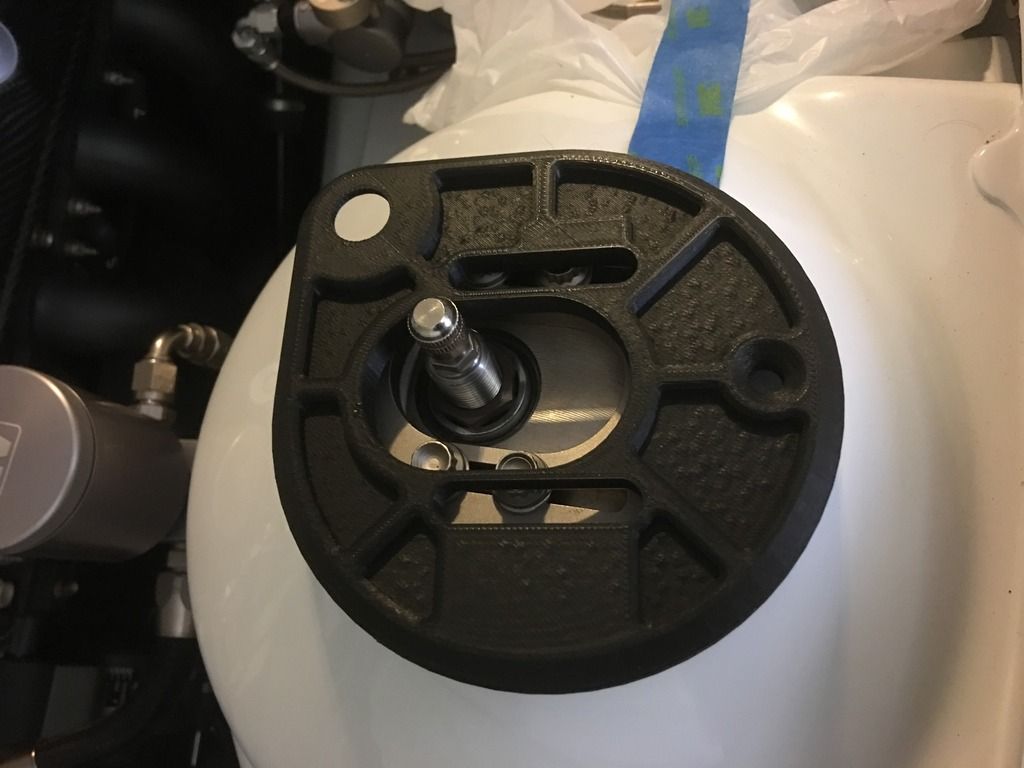
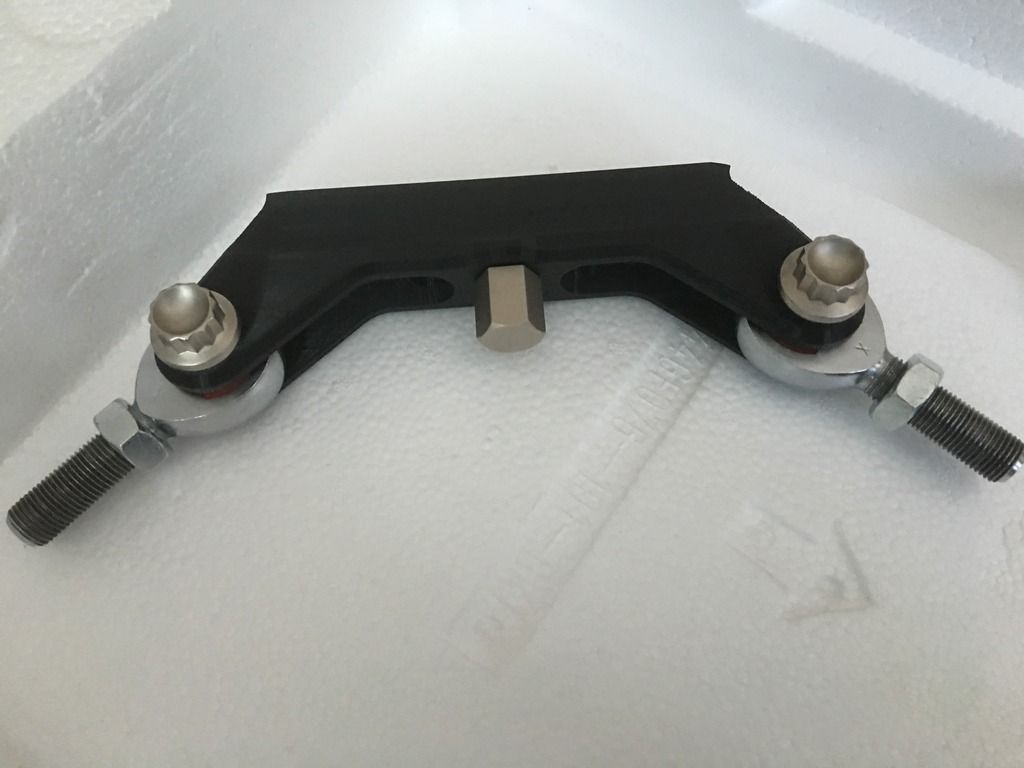
We are at the point were the project is most enjoyable. Most all fab is down and now we are just putting her together.

We received the trans back from RPM. They did their Stage 5 performance upgrade on it. We also replaced every bolt with ARP.


We also replaced the stock slave with RAM's through out bearing.


We also decided to replace the Mantic clutch with RPS twin disc carbon clutch. We have heard nothing but great things about this clutch. More expensive but worth it in the long run.


We added a little heat protection to the starter.


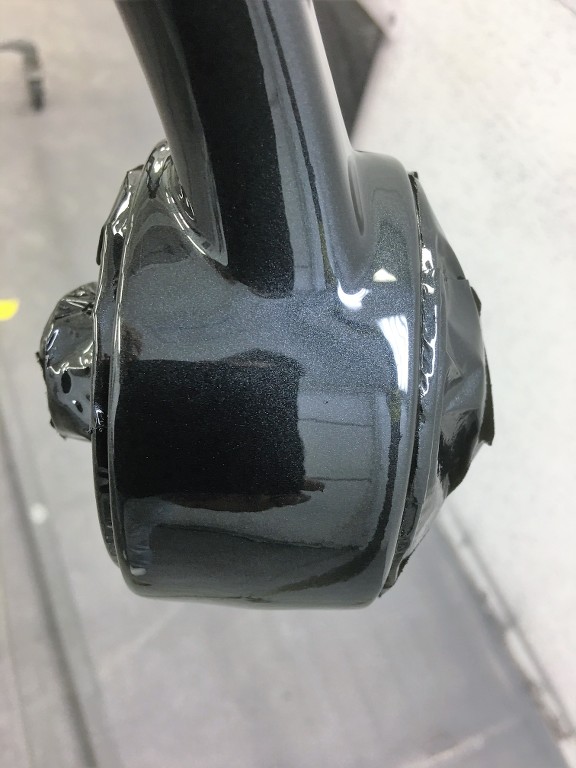
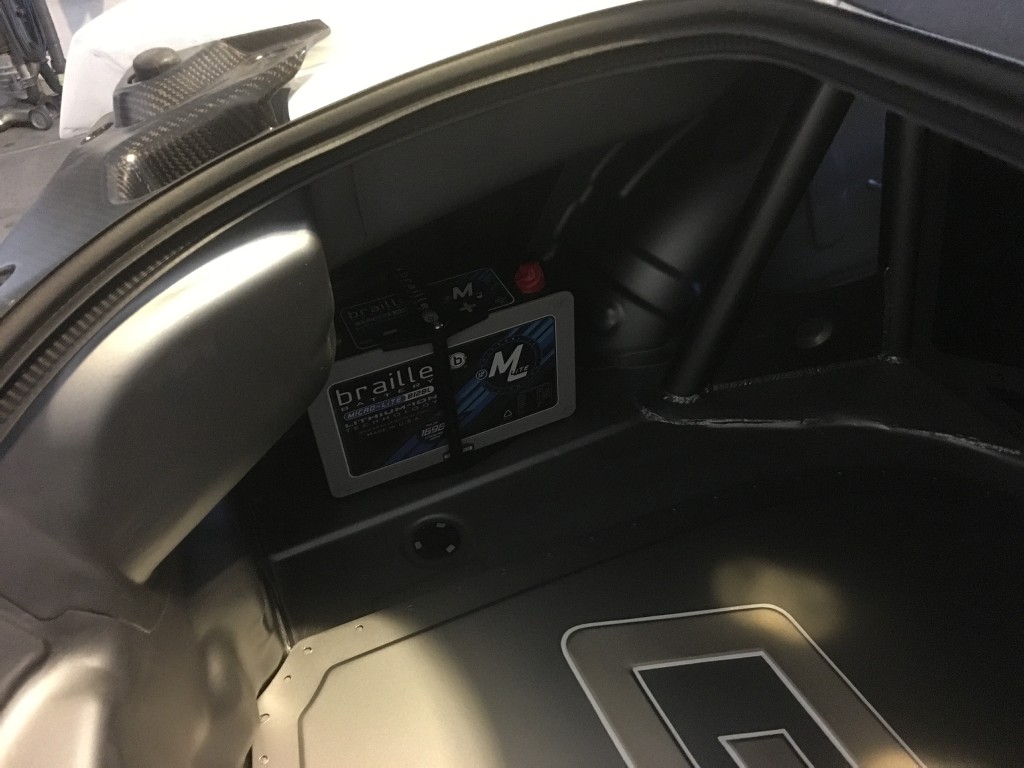
DC Powers made us this alternator to match the 8 lbs Braille battery. They made machined both end out of billet and we had them anodized gun metal gray before they put the unit together.


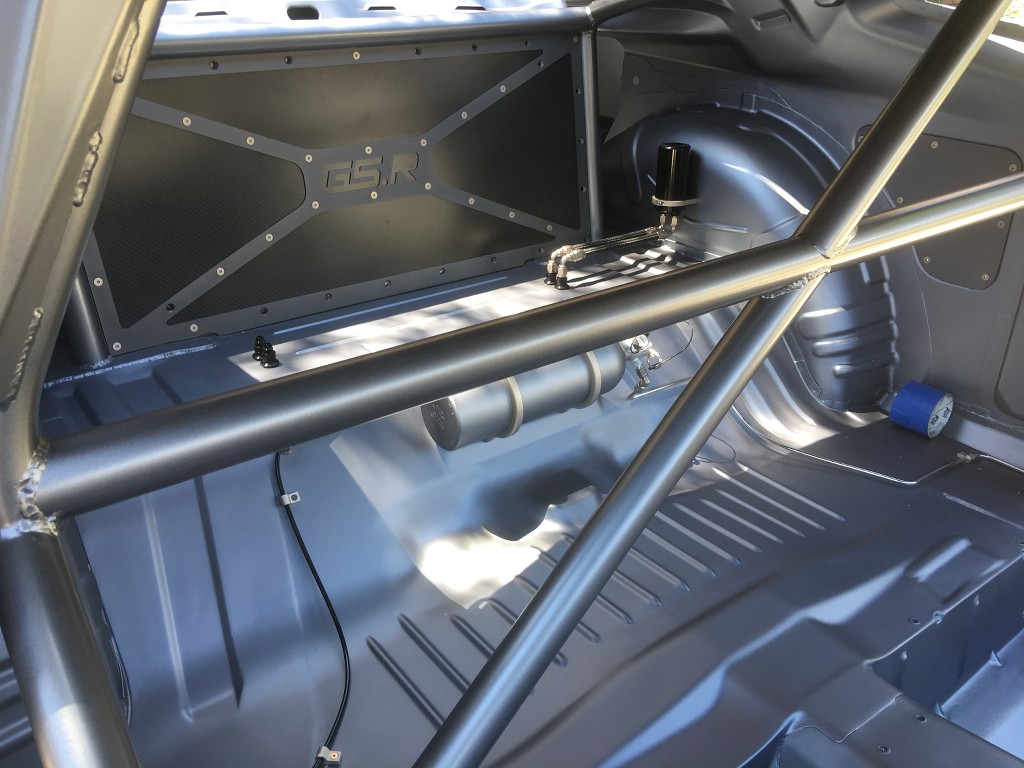
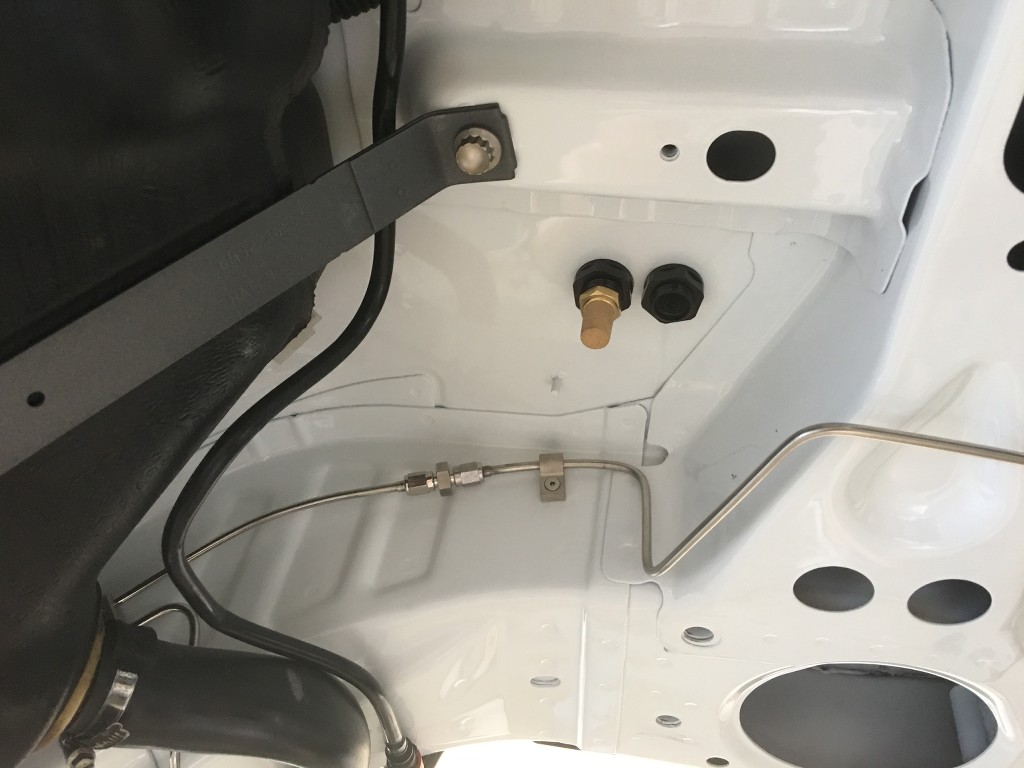
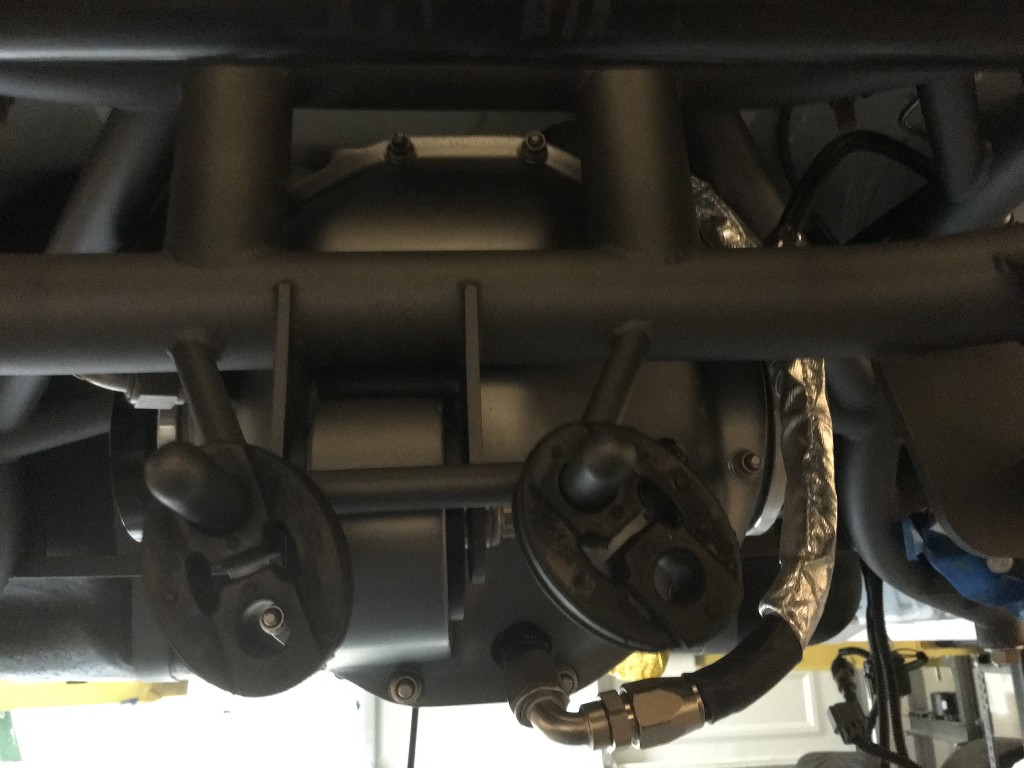
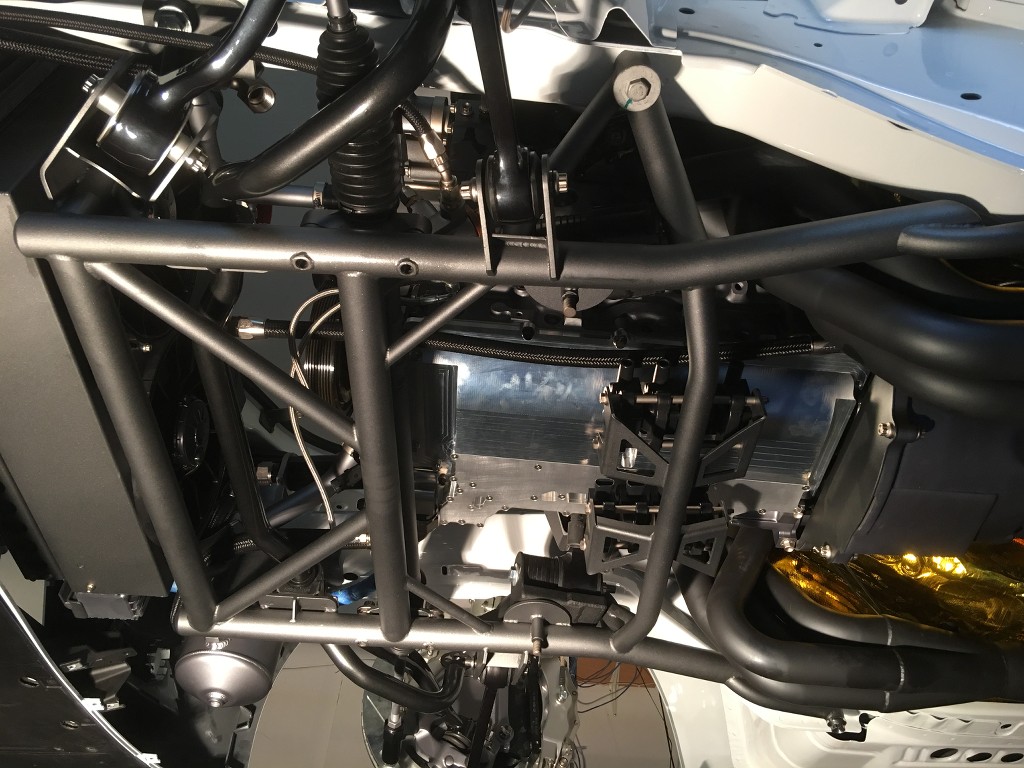
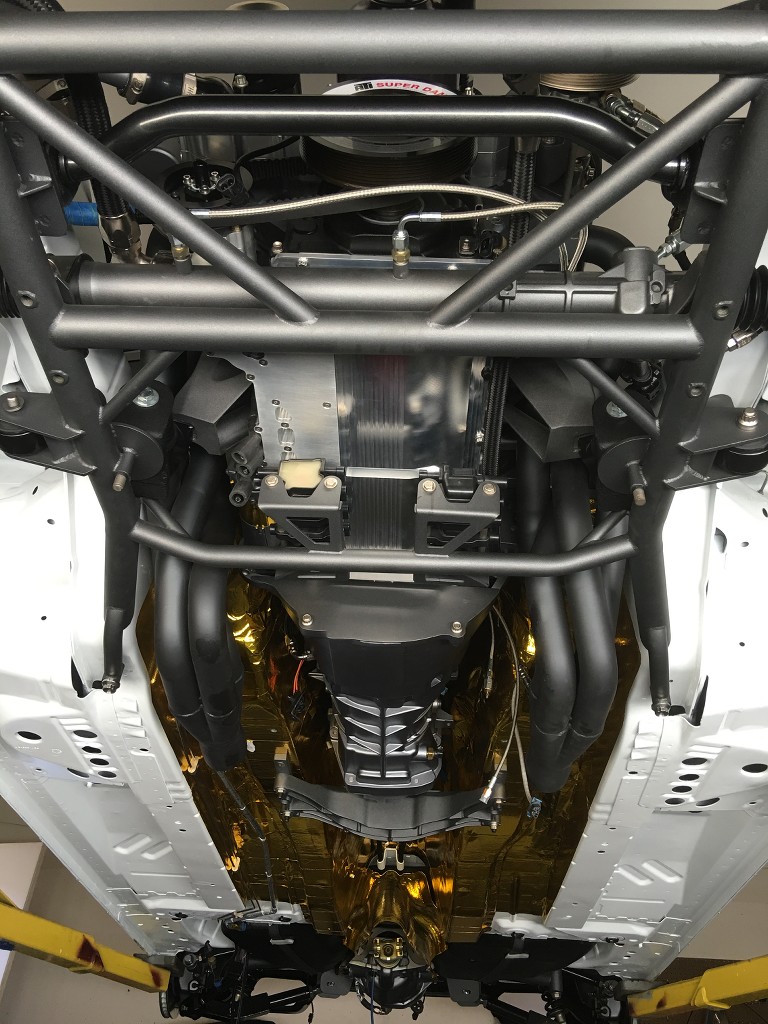
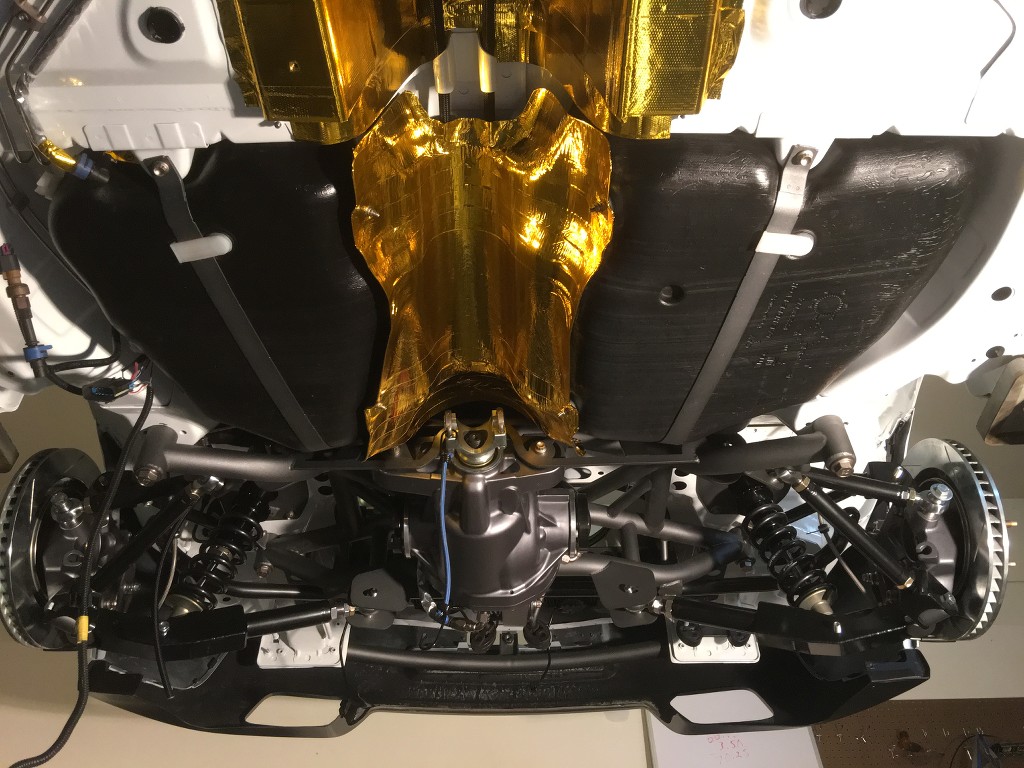
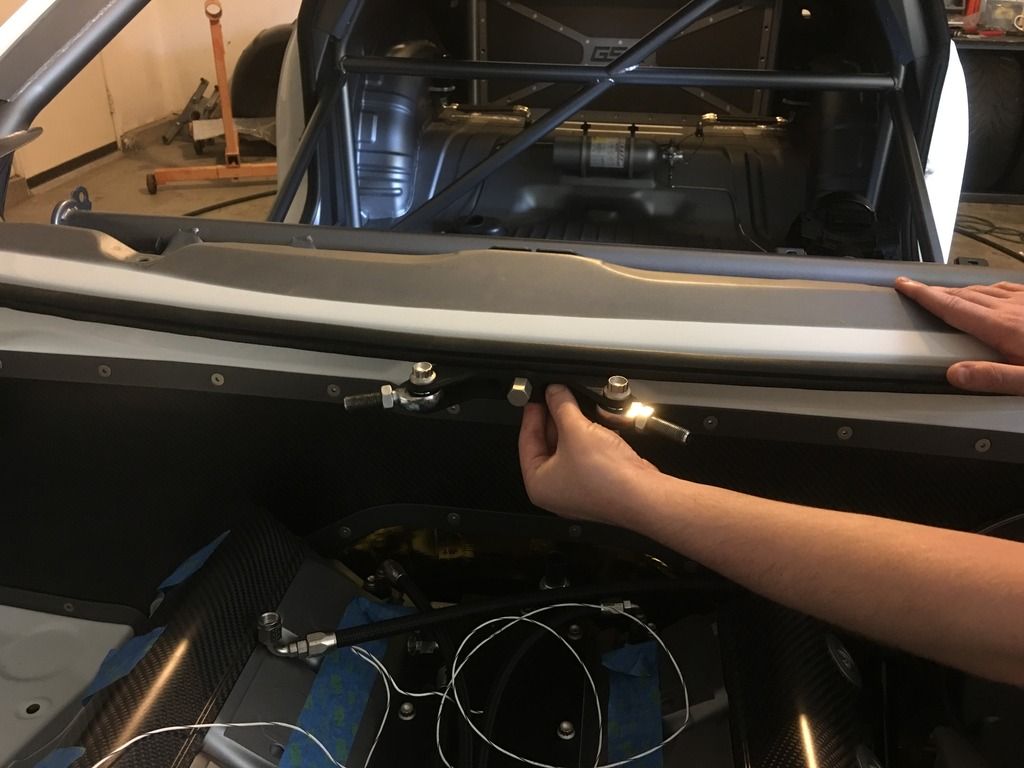
We used ll Much vapor canister for both the gas tank and the diff. We located on on each wheel well.


Here you can see the breather on the bottom side. Still need to connect the line to the tank in this picture.


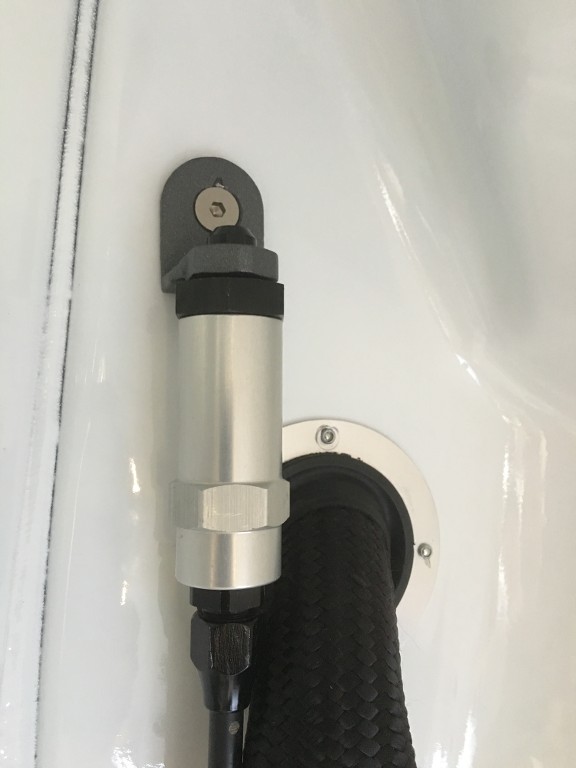
Becuase we relocated the gas fill to the trunk, we had to come up with a solution for the vapor line, we used this slick valve that will close if the car were to flip upside down.


Last edited by Al Moreno; 07-18-2016 at 03:59 PM.
Reply With Quote
  #434  
Old 07-05-2016, 03:01 PM
Al Moreno Al Moreno is offline
Senior Member
 
Join Date: Dec 2004
Posts: 1,502
Thanks: 3
Thanked 1 Time in 1 Post
Default

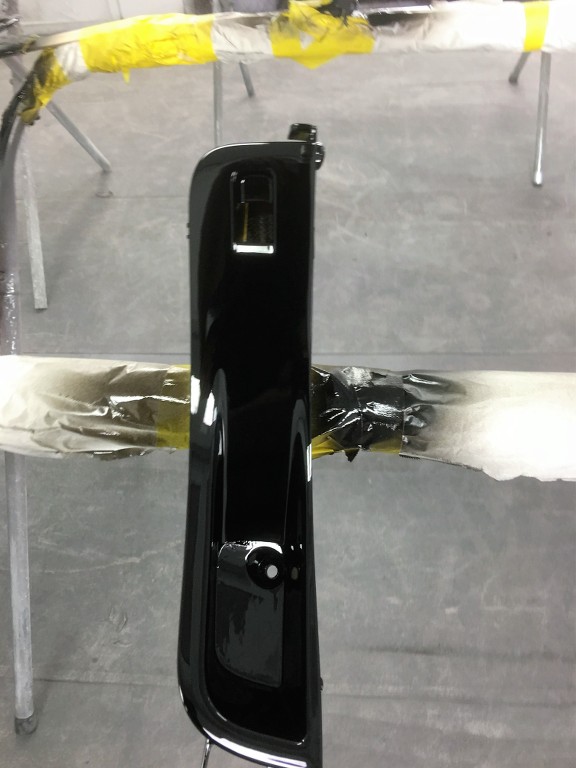
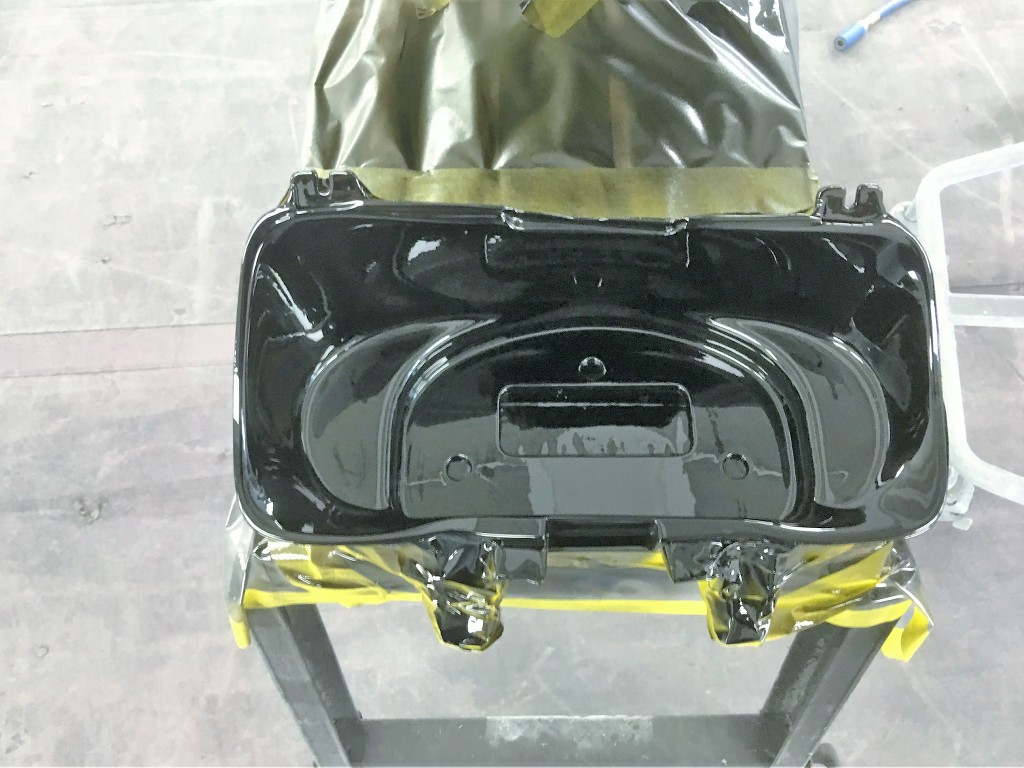
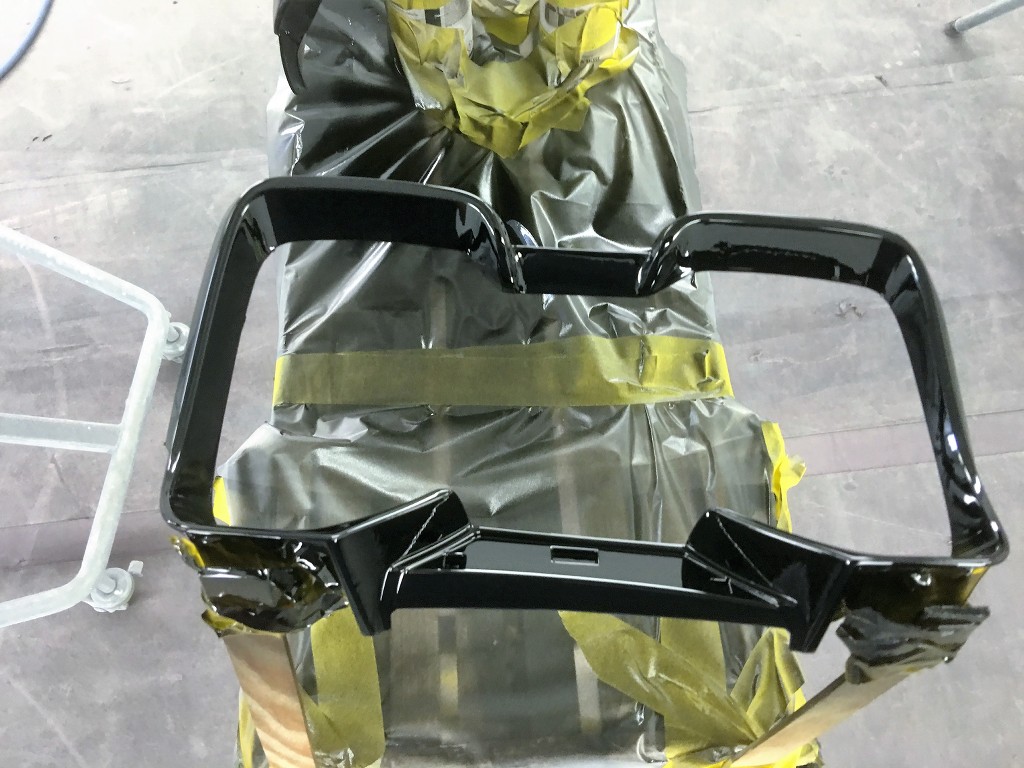
Had a bunch of interior parts painted to get rid of the plastic look.


Smoothed and painted the underside of the hood vent black.


There must be 100 hours into this hood vent! This will give you an idea what we start with. Each vent was slightly enlarged. We removed the 6 studs mounts as we are going to epoxy it onto the hood. Then it was time to smooth it. You just cant skim coat the part as the gray will show through on the to side. So had to build it with high build black primer and sand most of it off. This process was repeated four times before painting it black and cleared. The top side was given three coats of cleared followed by black candy and three more coats of clear. The end results is amazing but most wont know the amount of effort that has gone into just this one piece.


Painted the down bars black on the carbon fiber grille.


Couldn't leave the peddles unpainted.


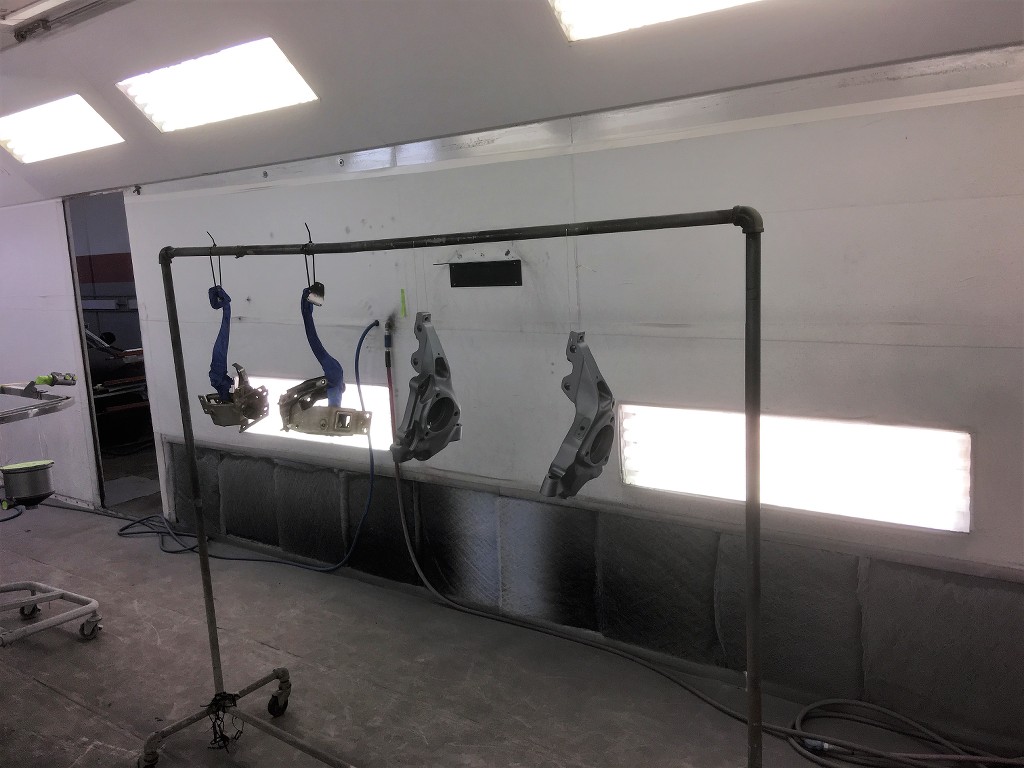
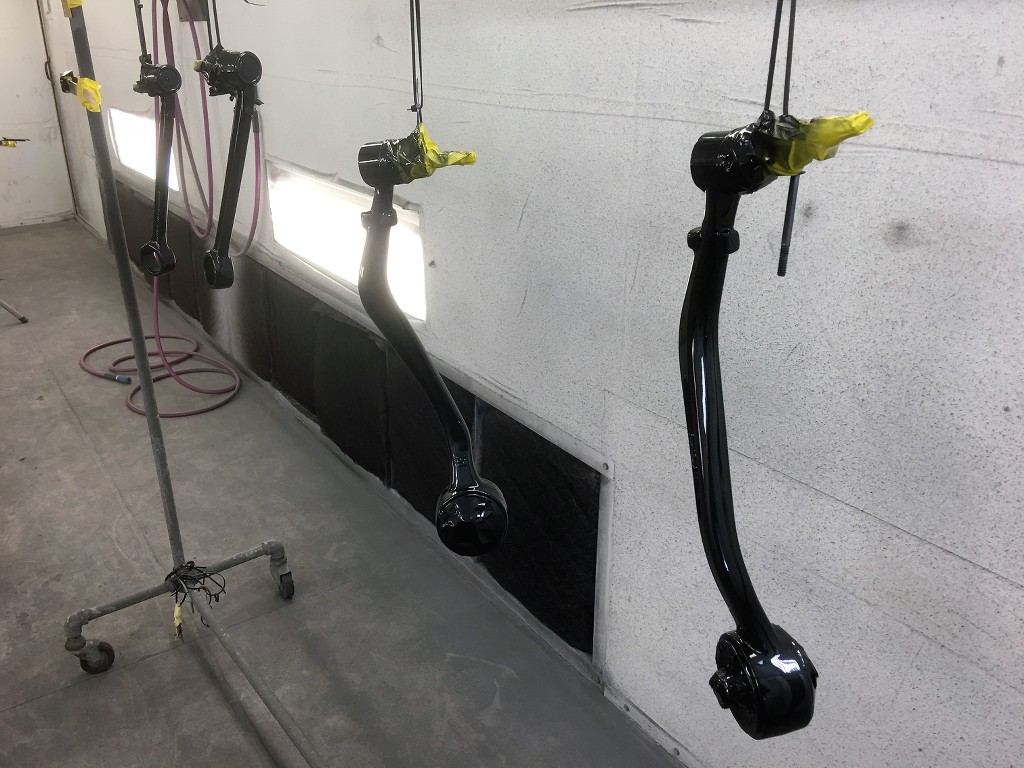
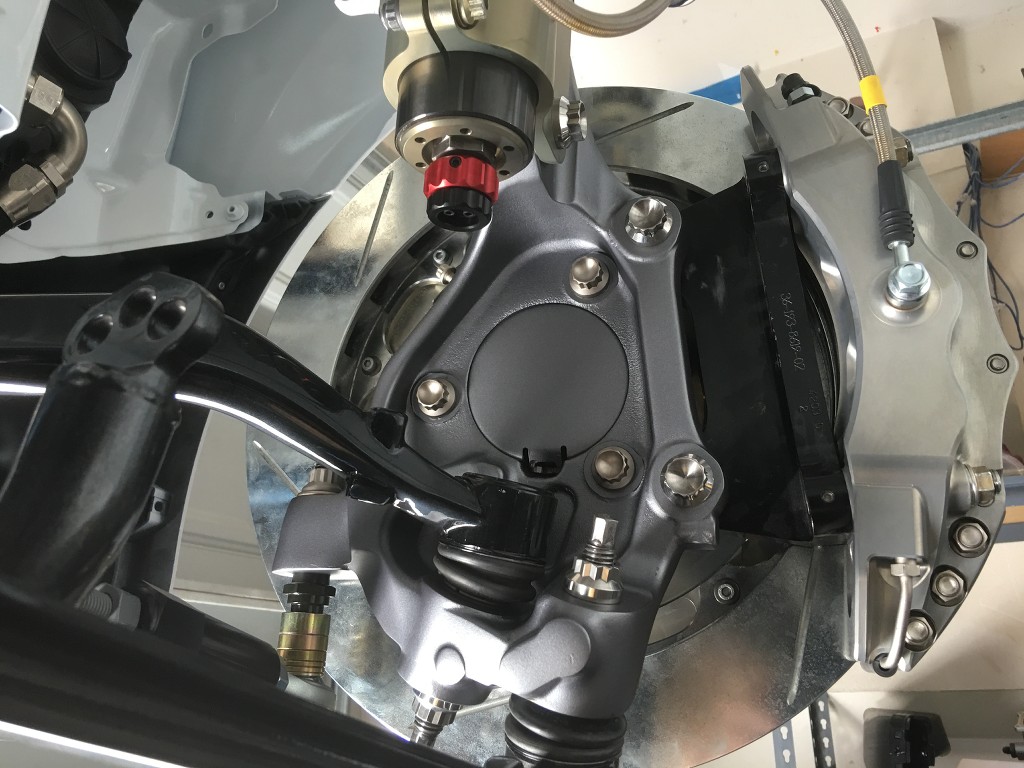
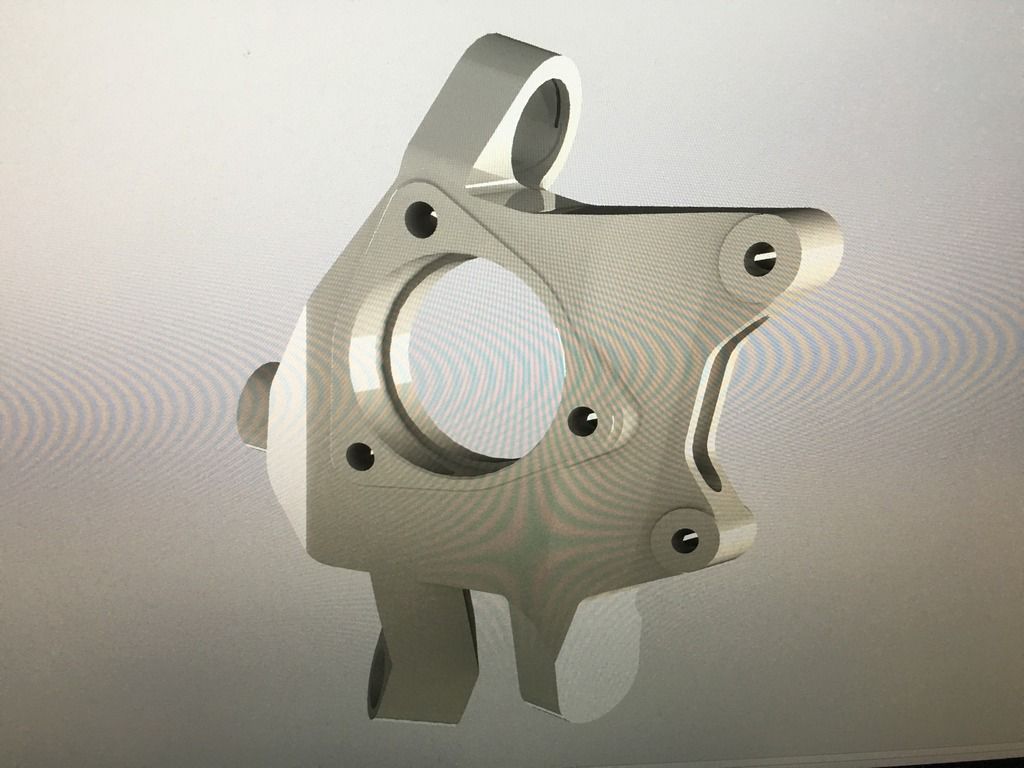
Could get these powder coated as the rubber would melt, so we painted them to match the powder coating. We might not use them as we are making billet drop spindles and new front control arms.


Last edited by Al Moreno; 07-05-2016 at 03:40 PM.
Reply With Quote
  #435  
Old 07-05-2016, 03:17 PM
Al Moreno Al Moreno is offline
Senior Member
 
Join Date: Dec 2004
Posts: 1,502
Thanks: 3
Thanked 1 Time in 1 Post
Default


This was like the fourth rending of the coil wires relocation bracket we made, LOL. Waiting on the ARP custom 12 point stainless bolts to replace those.


We used the factory brackets for the emergency brake lines for the trans cooler lines instead.

The diff bolts were replaced with ARP studs.


More ARP custom bolts. We drilled them for safety wire. Once we are done and know were not going to take anything apart again, we will wire them up.


Those Penskes are sweet!!!!


Few more pics.....


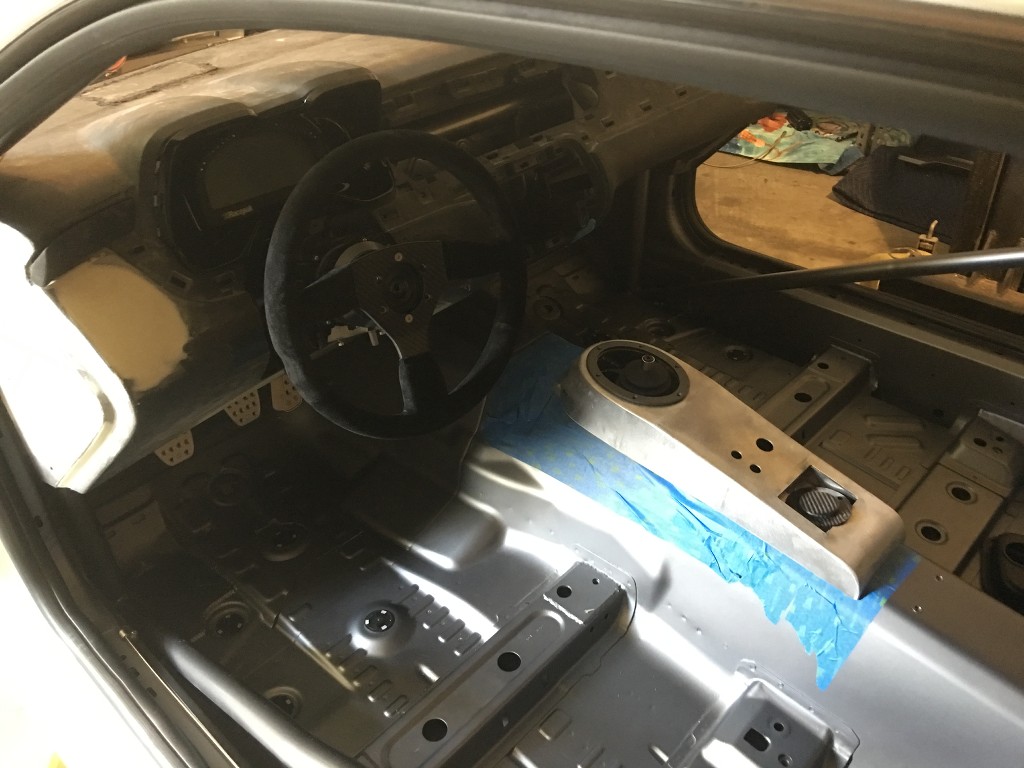
Quick mock up of the dash. Going to the upholstery shop to get wrapped in black leather with white stitching.


Last edited by Al Moreno; 07-05-2016 at 03:43 PM.
Reply With Quote
  #436  
Old 07-05-2016, 08:35 PM
syborg tt's Avatar
syborg tt syborg tt is offline
Lateral-g Supporting Member
 
Join Date: Jun 2005
Posts: 8,426
Thanks: 5,566
Thanked 2,005 Times in 1,080 Posts
Default

Al the car looks incredible. I am also looking forward to meeting your kids who have been busting there ass on this car.


Marty-MJ
__________________
marty-mj
Is a car ever really done???? It's like a ball of yarn unwinding, that has no end... Author DKz Garage

Projects - Syborg TT 4.3l v6 Mini-Truck, 2nd Chance Camaro & SLP575 Bumble Bee - 4Sale
Reply With Quote
  #437  
Old 07-06-2016, 09:33 AM
waynieZ's Avatar
waynieZ waynieZ is offline
Lateral-g Supporting Member
 
Join Date: Oct 2006
Location: Ma
Posts: 8,491
Thanks: 939
Thanked 342 Times in 231 Posts
Default

Beautiful !
__________________
_Wayne________

___________________________________
https://lateral-g.net/forums/show...ghlight=FNQUIK
Reply With Quote
  #438  
Old 07-06-2016, 01:55 PM
70 chevelle 70 chevelle is offline
Senior Member
 
Join Date: Oct 2006
Location: Chicago
Posts: 217
Thanks: 0
Thanked 0 Times in 0 Posts
Default

What brand of shielding are you using in the tunnel and on the starter?
__________________
Tony L
You can't fix stupid!
Reply With Quote
  #439  
Old 07-19-2016, 02:56 PM
Al Moreno Al Moreno is offline
Senior Member
 
Join Date: Dec 2004
Posts: 1,502
Thanks: 3
Thanked 1 Time in 1 Post
Default

Quote:
Originally Posted by syborg tt View Post
Al the car looks incredible. I am also looking forward to meeting your kids who have been busting there ass on this car.


Marty-MJ
Quote:
Originally Posted by waynieZ View Post
Beautiful !
Thanks guys!

Quote:
Originally Posted by 70 chevelle View Post
What brand of shielding are you using in the tunnel and on the starter?
DEI


Justin has been design a strut bar that will tie in the firewall to the strut tower. He 3-D printed them first before having them machined.

Camber plates with mount for strut bar. This was his first design rendition.


He wasnt happy with the first design, so he made a second rendition.


3D printed bracket that mounts to the firewall. He threaded the fire extinguisher nozzle to the center.


this is a preliminary drawing of the 1" rear drop spindles we are making.


Last edited by Al Moreno; 07-19-2016 at 02:59 PM.
Reply With Quote
  #440  
Old 07-19-2016, 03:27 PM
waynieZ's Avatar
waynieZ waynieZ is offline
Lateral-g Supporting Member
 
Join Date: Oct 2006
Location: Ma
Posts: 8,491
Thanks: 939
Thanked 342 Times in 231 Posts
Default

You guys make some amazing stuff!
__________________
_Wayne________

___________________________________
https://lateral-g.net/forums/show...ghlight=FNQUIK
Reply With Quote
Reply


Posting Rules
You may not post new threads
You may not post replies
You may not post attachments
You may not edit your posts

BB code is On
Smilies are On
[IMG] code is On
HTML code is Off

Forum Jump


All times are GMT -7. The time now is 12:41 PM.


Powered by vBulletin® Version 3.8.11
Copyright ©2000 - 2025, vBulletin Solutions Inc.
Copyright Lateral-g.net