Just been plugging away slowly. Built some more rear shelf close outs.
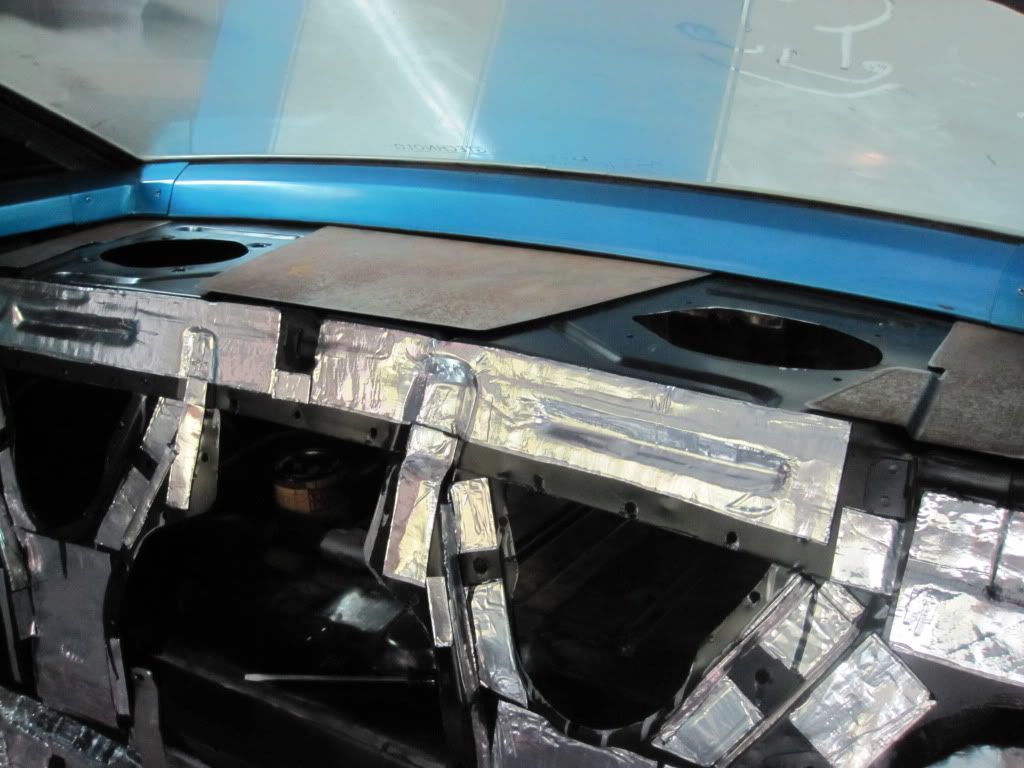
Mounted the Morris classic concepts rear 3 point seat belt brackets (very nice system definitely recommended). Part of the closeouts integrated with the MCC brackets as they mount underneath the package tray and the side closeouts I made help sandwich the tray.

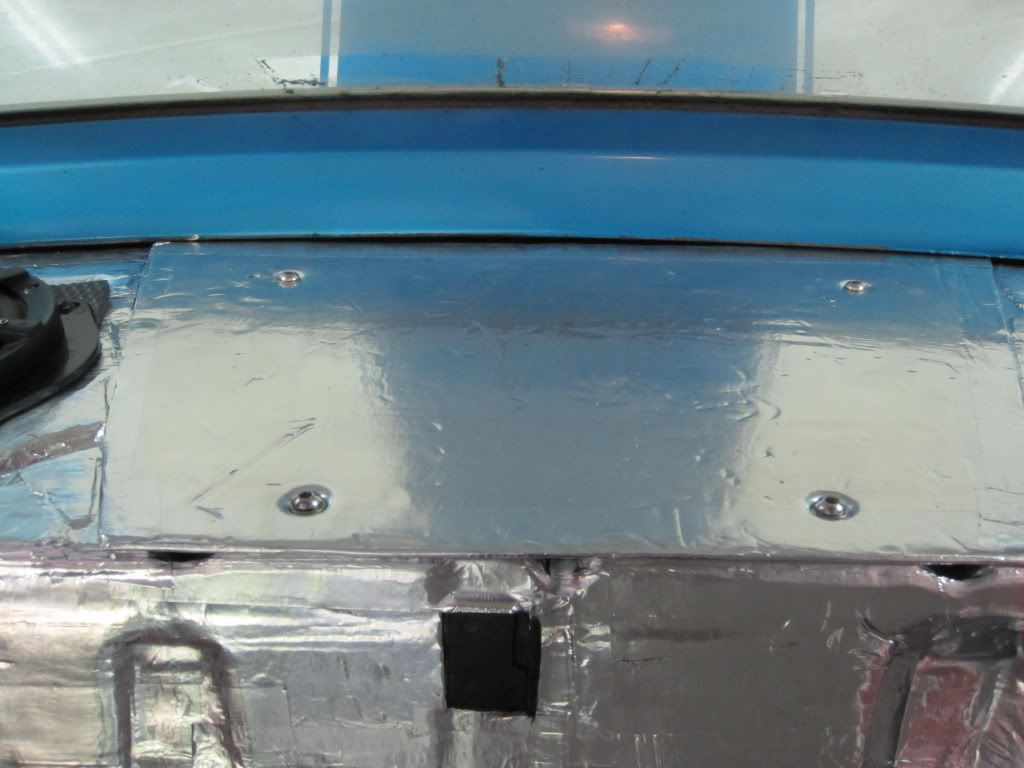
They are also covered with Dampflier Pro to keep them from rattling.
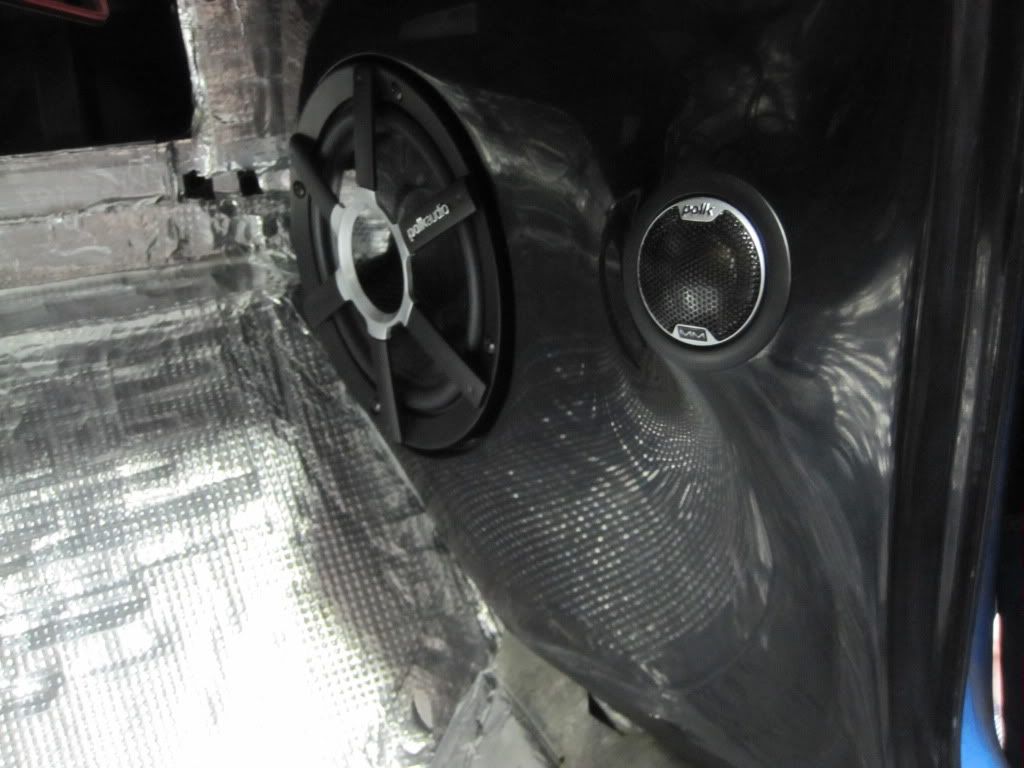
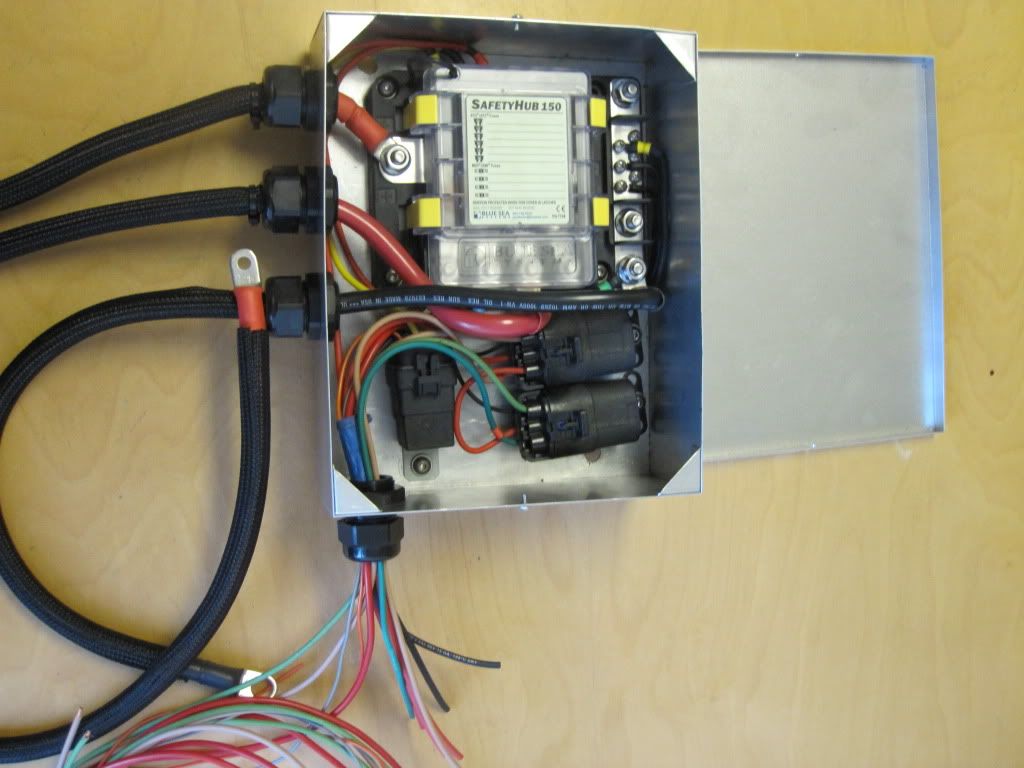
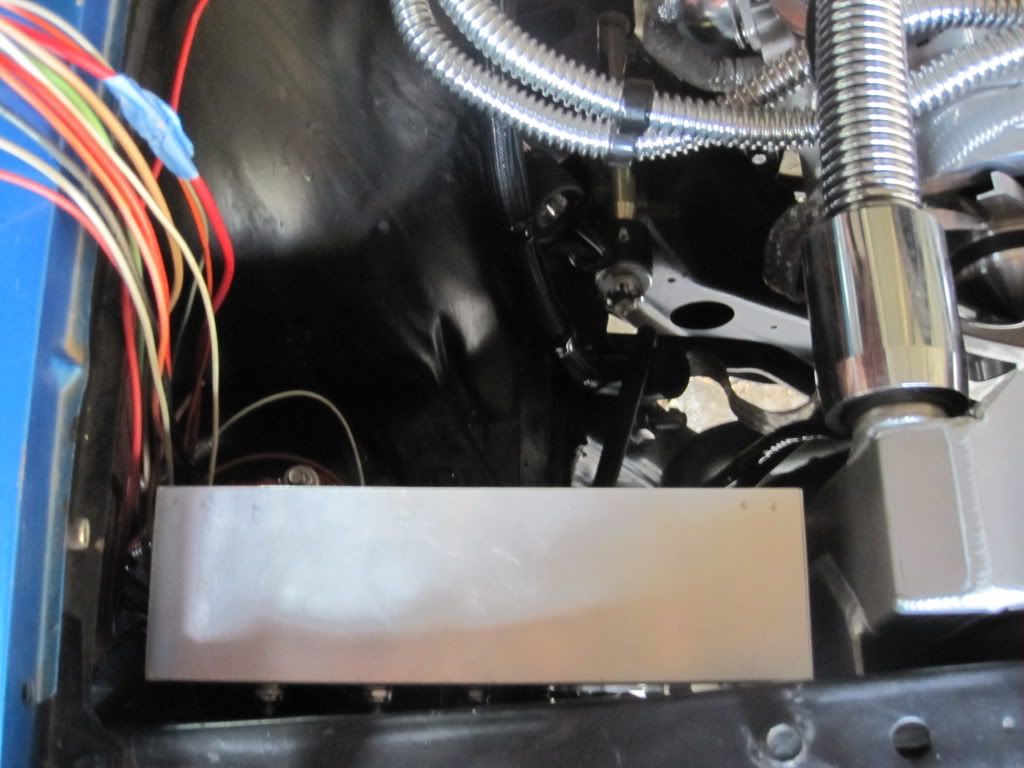
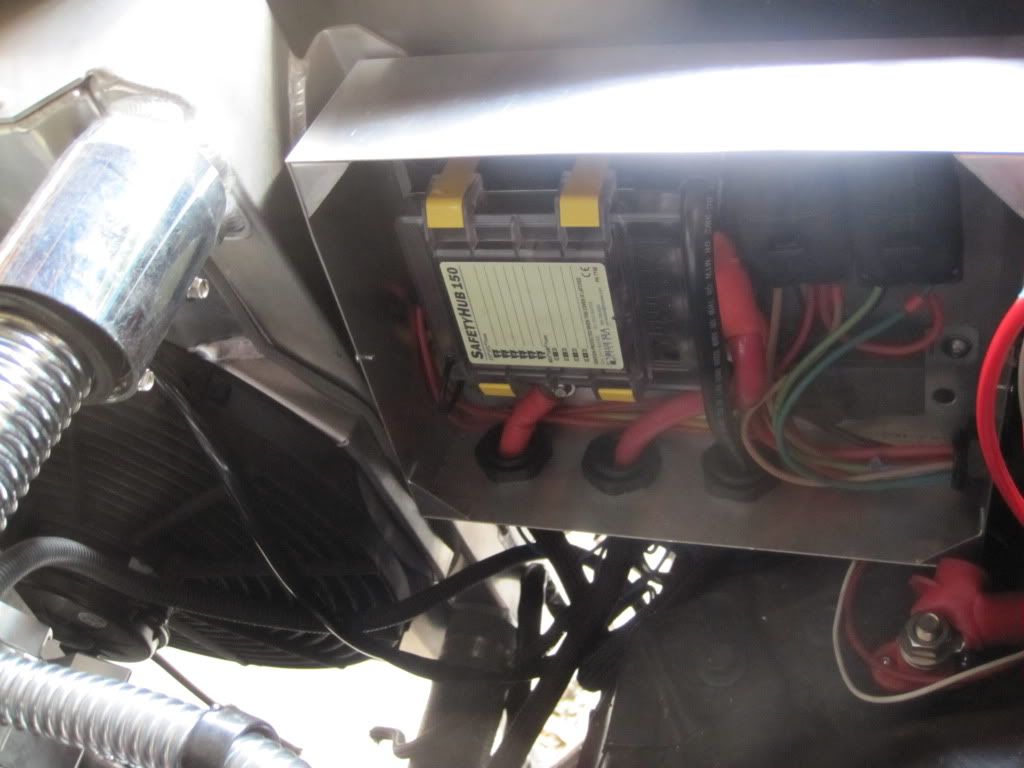
Took a slight detour and decided that I wanted to listen to some music so wired up my battery and then my amp, head unit and all 9 speakers (front/rear speaker+tweeter pairs and sub)
Using Screaming Performance's kick panels and closeouts:
http://www.screaminperformance.net/c...ick_panels.htm
Really liking them:
And my temporary wiring for some tunes while I keep working (everything is fused don't want to burn things down before I get the car on the road):
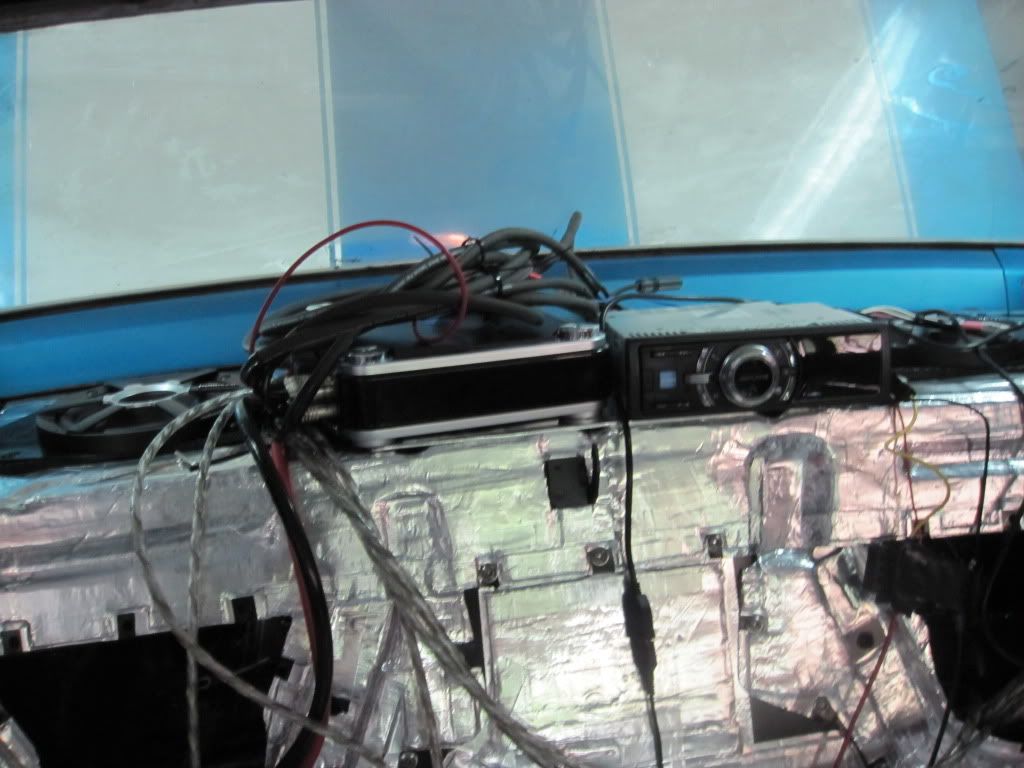
Using Alpine's IDA-x305 for a head unit to control my iTouch (very cool can tranverse my iPod's playlists, artists and genre etc lists). Alpine's PDX-5 to drive all the speakers and 2 sets of Polk Audio's 6-1/2 component speaker systems (MM6501) with their 10" DVC sub (MM1040) for speakers. So far with just a bit of tuning it sounds as good or not better than any car's system I have had. Been listening to it non-stop while working on other stuff.
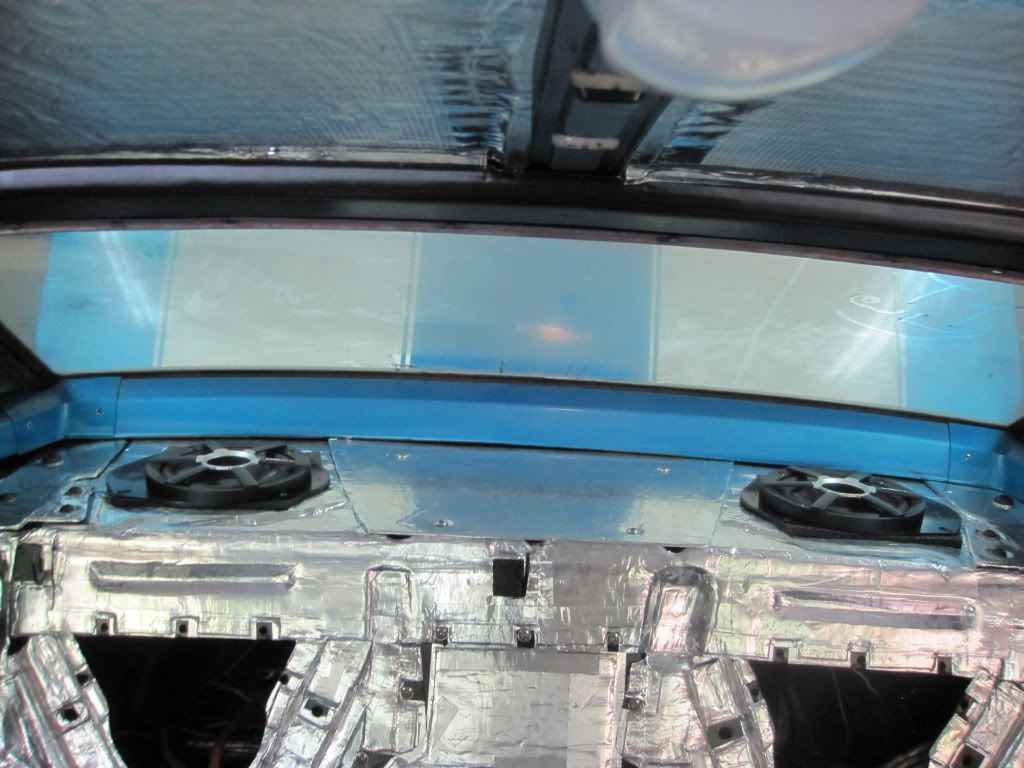
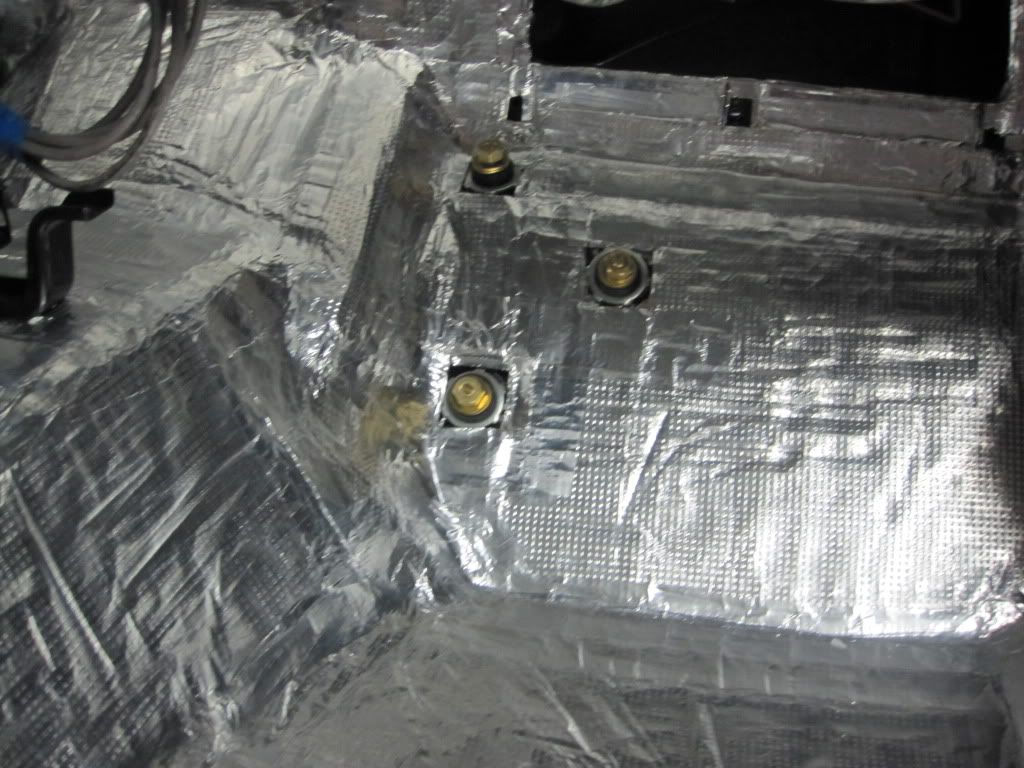
Definitely the location for the rear dome lights in the sail-panel area is a great place to mount tweeters, as I have the rear tweeters mounted there and they really make the system I think along with the front kick panels.
Put down what I have left of Second Skin Audio's Thermal block product (had used most of it on the roof). Was able to completely cover the firewall, trans tunnel and driver and passenger floor boards (least till where your feet go).
I just wish the stuff wasn't so expensive or I would cover the entire floor with it (almost $300 for 4 sheets or 24sq ft). The rest of the floor will get covered with their Heat wave pro (which I had bought before the Thermal Block product came out). May even double up in some areas like the firewall and trans tunnel over the Thermal block with heat wave pro. Then onto the sound absorbing Luxury liner pro. Doesn't look like I can get much more down underneath the gas pedal thou, probably have to skip some areas if I am still going to fit carpet in.


 Brian Hobaugh SCCA National Tour June 2014
 First Hemi 'Cuda Convertible Ever Built
 Short clips: Goodguys Pleasanton autocross and pit videos


 Linear Mode

