Quote:
Originally Posted by protour73

WOW Nathan, just WOW!!! You are indeed an inspiration to even someone as anal retentive and detail minded as myself!!!
I clicked the link on the constant tension clamps and saw the price, I almost spit coffee on my laptop keyboard, but then looked again and realized that the price was for a bag of 10  . Thanks for the link!!
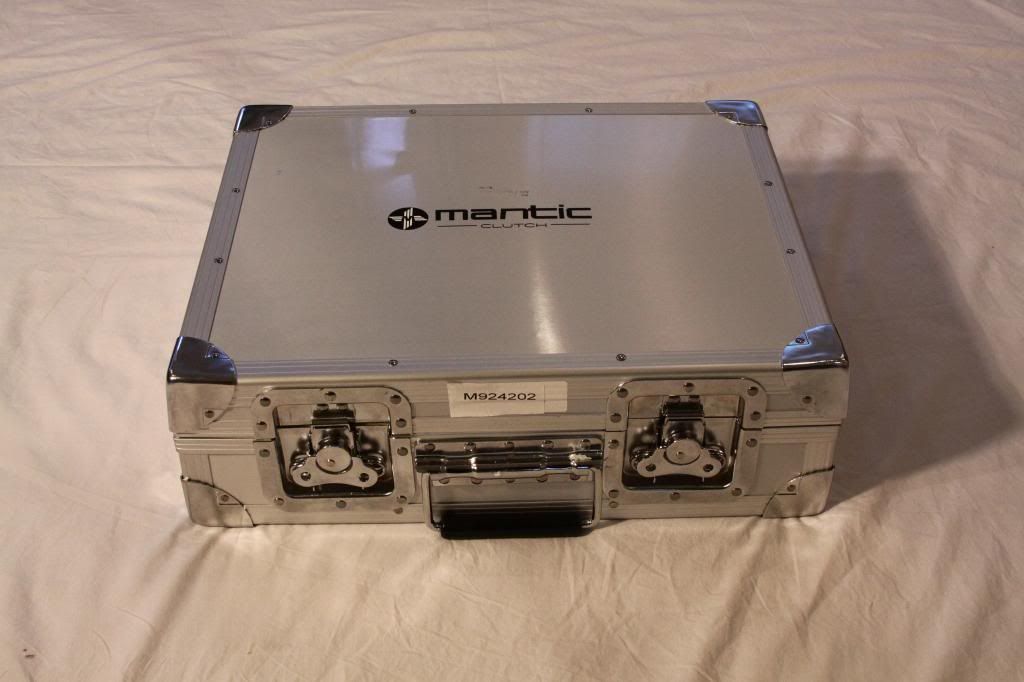
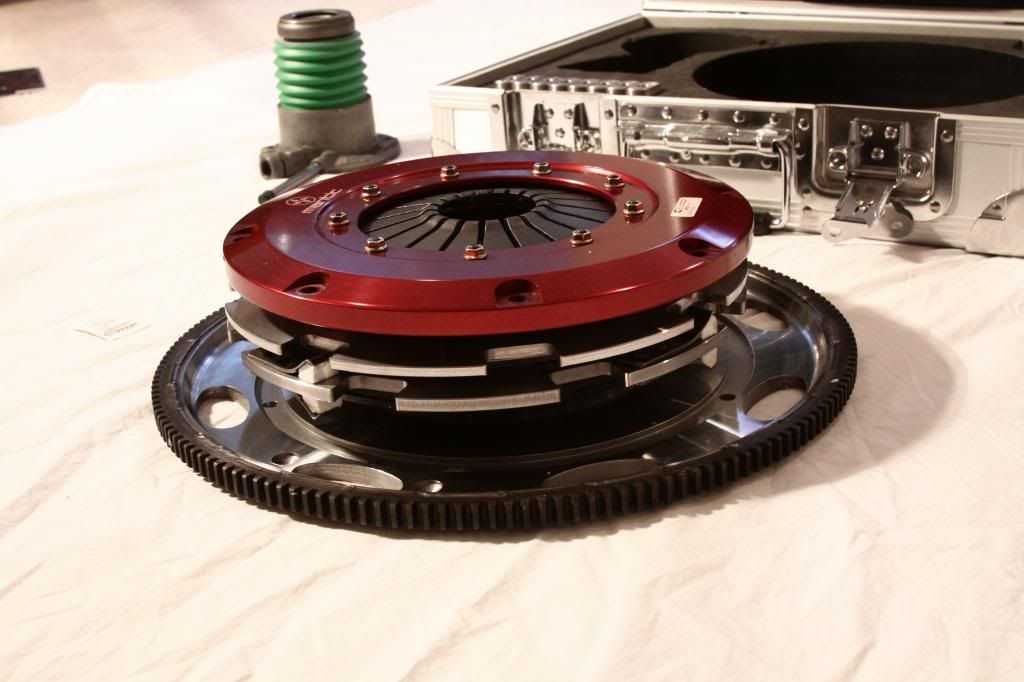
Where I really lost it was the packaging on the Mantic clutch, that's over the top!!
Now, after seeing your bar-setting detail work and after working on my car for 6 years, I want to tear it apart and start all over!!! |
From one anal retentive to another, I appreciate that, LOL.
Quote:
Originally Posted by HEEP
I found this link to the brackets. I'm guessing that the reservoir for the power steering has been removed and you are using a separate one. Can you get me this information?
Thanks,
HEEP
|
HEEP, this is the tank I'm Using. It's from Lee's Power Steering. The cooling fins have shown 40 degree temp drop in on the race track conditions.

Here's an update as to what I'm up to right now.
I had mentioned in an earlier post I will be using a complete Pfadt Racing suspension on the Camaro. I received my coilovers last week.
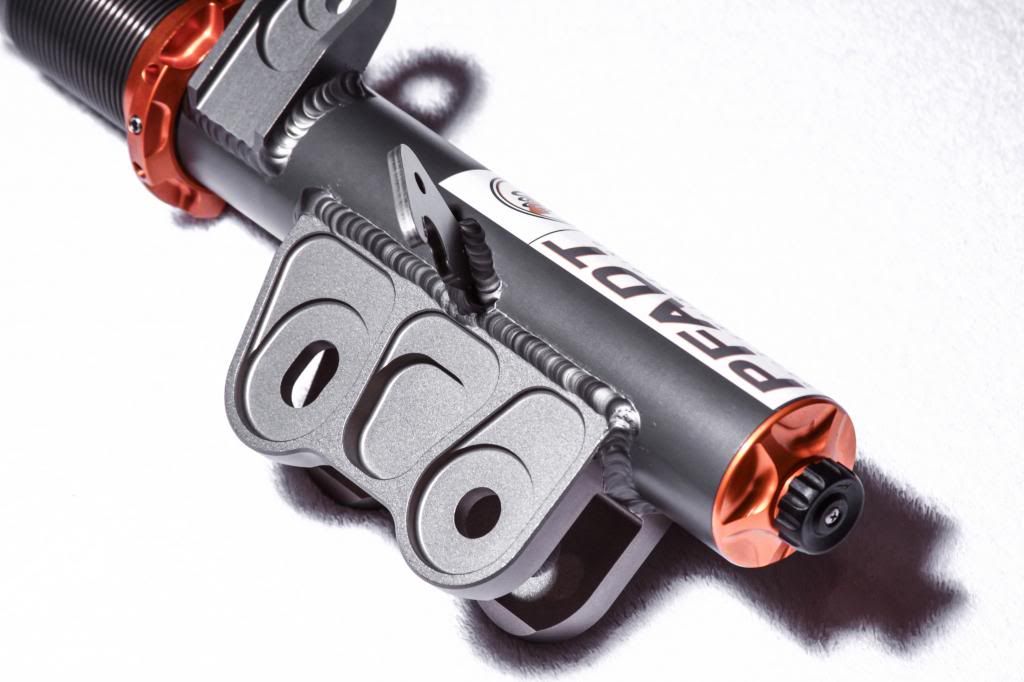


These things are so pretty that I felt I'd give some homage to the beautiful Pfadt colors,. I will be detailing the rack in the same colors.
Here is the game plan:
The orange circle represents the aluminum piece that will get anodized orange. It will need to get polished to clean up the casting.
The beige circle represents the steel housing that i will get painted to color match the anodizing on the coil overs housing color.
The red circles represents the seal plug and shaft which we will polish to a chrome finish.
The steel hard lines will be replaced with brushed stainless and black anodized AN fittings.
We sent out the four bolts and Clamp to get cad plated which will give them a soft goldish look.
The tie rods will get painted in a similar color as the gun metal color on the coil springs.
This will introduce a little interest in the engine bay. I also planning on powder coating the frame in the same gun metal gray on the coils. Should tie in really nice.

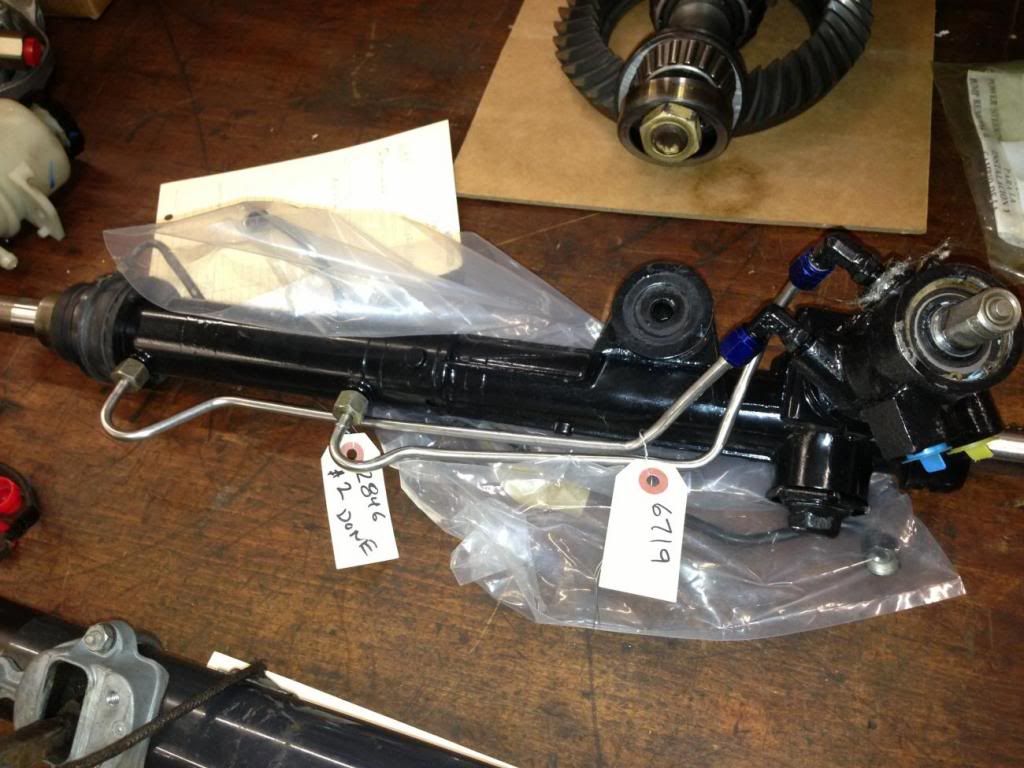
I took it to Lee's for dis-assembly.

This isn't my rack but it gives an idea of how I'm looking to redo the hard lines in stainless.
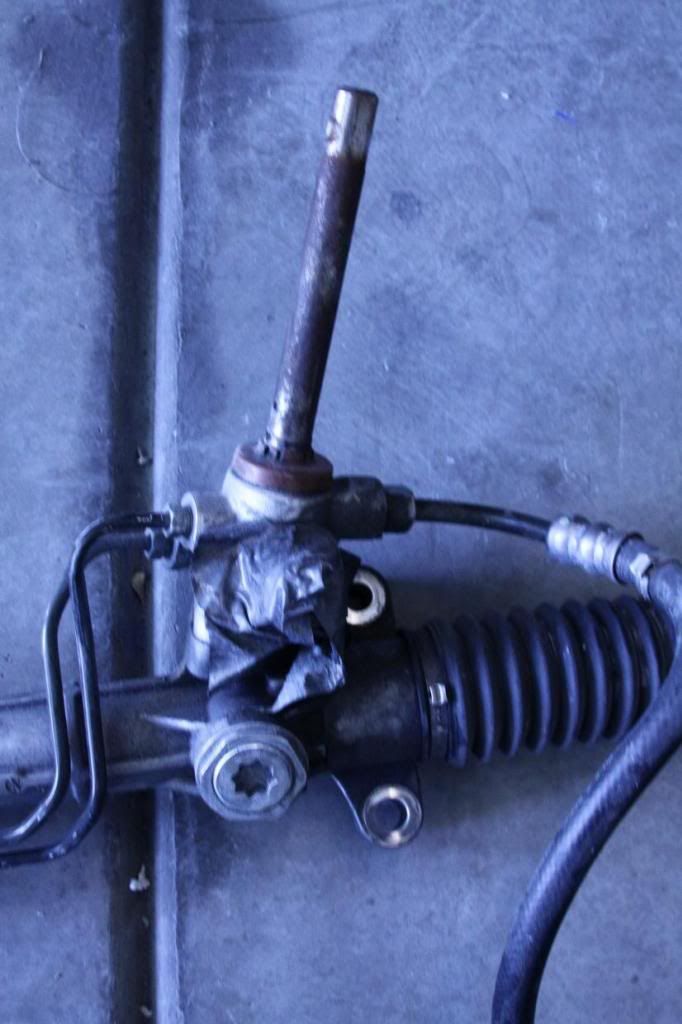
This is the same piece as in the picture above with all the lines connect in OEM raw

I did this all by hand because it's hard to get a flat finish using the dremel and I wanted it to look like a piece of billet. It just took me 5 hours...

Polished:

The steering shaft looks like chrome now!

]


 Brian Hobaugh SCCA National Tour June 2014
 First Hemi 'Cuda Convertible Ever Built
 Short clips: Goodguys Pleasanton autocross and pit videos


 The car is currently in pieces but I will post pics as I go. I'm currently welding all the holes in the engine bay. About 70 so far.
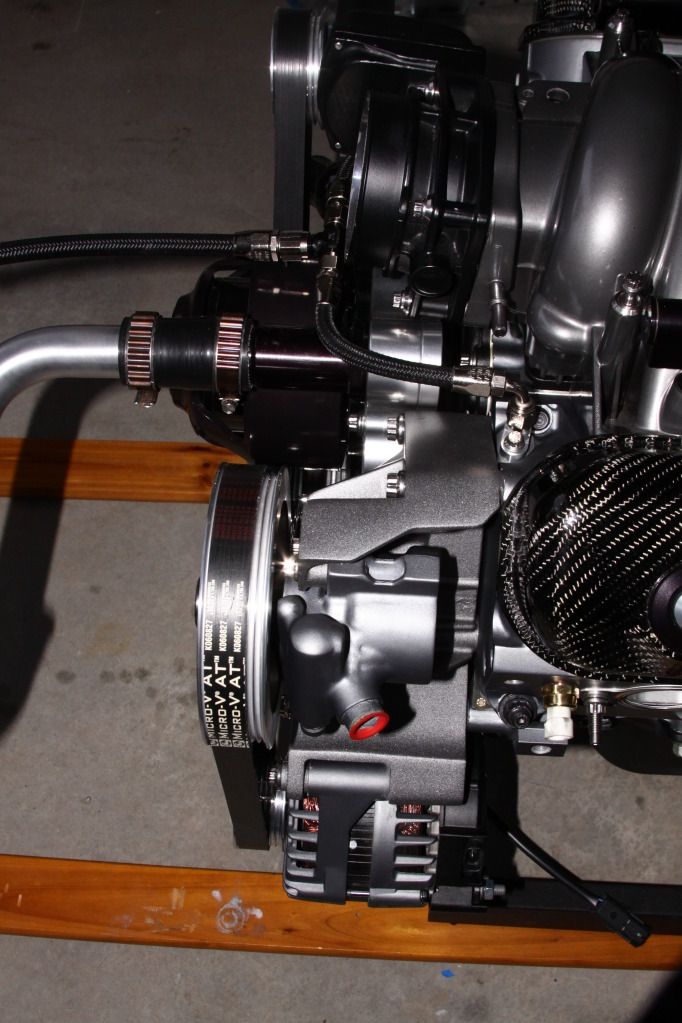


 Linear Mode

