Back in Part One of our quest for a 600HP bored and stroked LS3, we discussed that building an engine is a lot like making a cake. You need to have the right ingredients in the proper measured amounts in order to ensure you get not only an engine that builds lots of power, but is reliable as well.
For Part Two, we are going to start with the base of the engine, the flour and sugar if you will. The hard part is here, building the engine into a short block. This is where the majority of the fitting, measuring, and testing comes into play and where you’ll want to be as clean as possible.
Machining
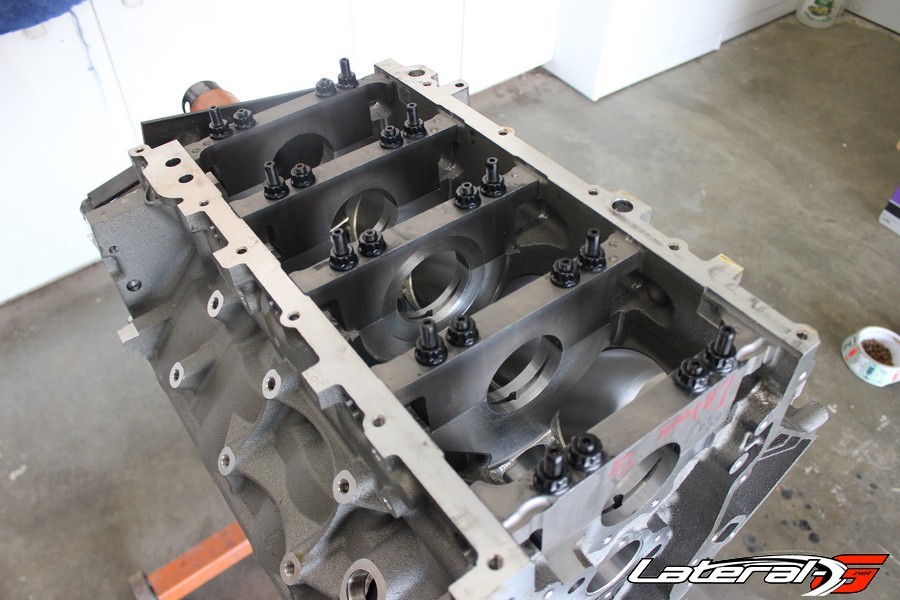
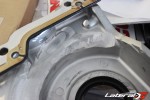
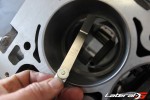
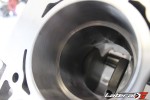
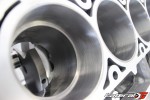
Right off the bat, we knew that our new LS3 block from Chevrolet Performance was going to have to be machined. In order to attain the 416 cubic inches, we would be slightly boring the cylinders. In stock form they are 4.065″ in diameter, we would be punching the cylinders out to 4.070″. The crank would also be stroked to 4.00″ which would requiring some clearancing on the block for the extra throw.
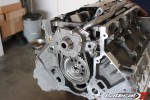
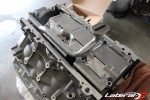
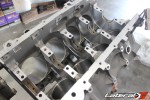
Since we don’t have the proper equipment to do this kind of work in our shop, we reached out to QMP Racing in Chatsworth, CA. We wanted to go to a shop that had done a lot of LS engines so they knew exactly what they were doing. We dropped off the block, crank, rods and pistons to them so they could double check all the measurements and fitment. While at their shop they also line bored the block to ensure everything was perfectly straight. QMP also suggested to upgrade the main bolts to ARP Bolts for some cheap insurance.
Let The Assembly Begin
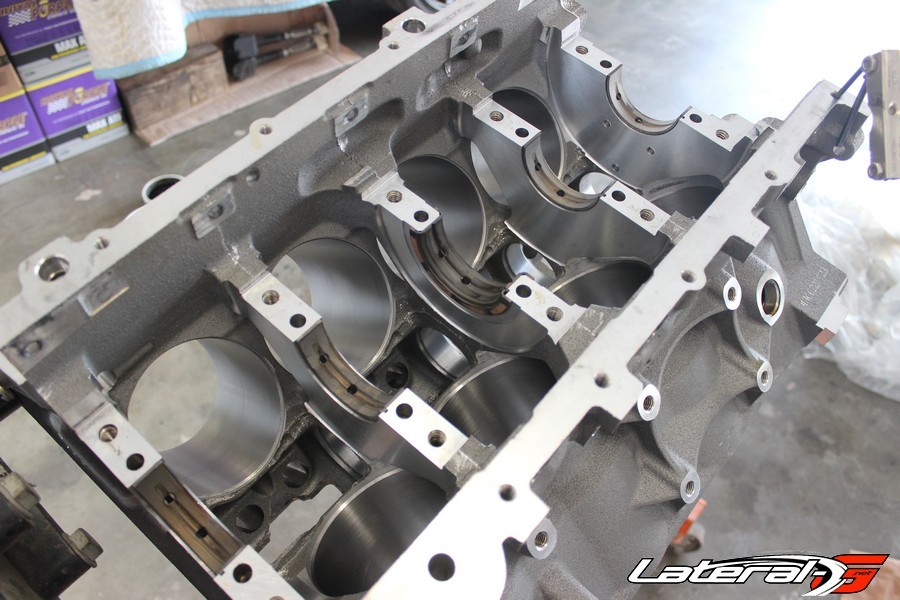
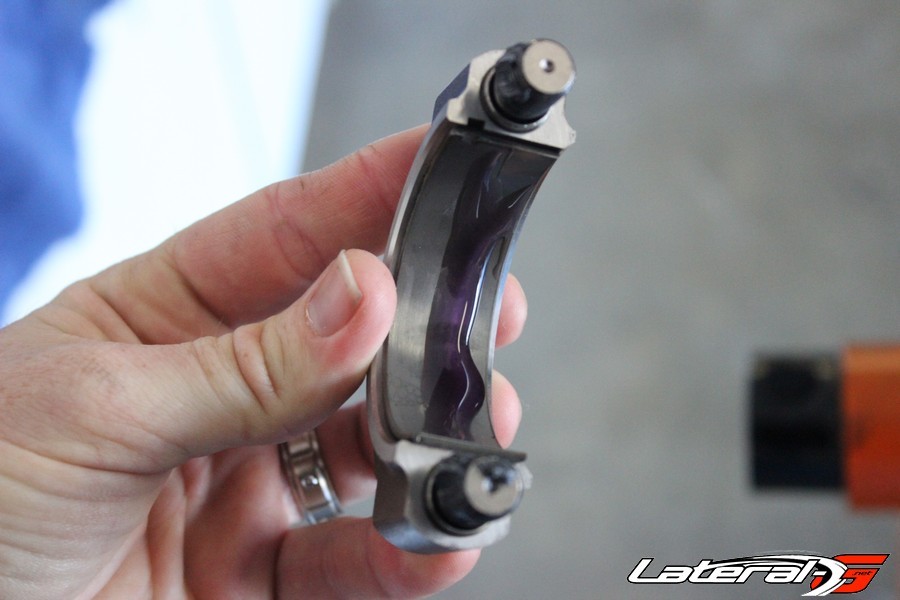
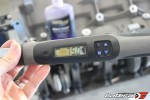
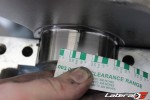
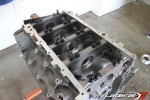
Once back from machining, the real fun began. We started by installing the Mahle bearings that came with our Texas Speed And Performance kit into the main caps. We then set the crank into the block, and torqued the mains while using plasti-gauge to measure each main bearing to ensure there was proper clearance. For this build, the targeted clearance is .0022″ while the ARP main bolts are torqued to 60 lb.-ft. for inner bolts, 50 lb.-ft. for outer bolts and 20 lb.-ft. for the side bolts. “You need .004-inch thrust for the center thrust bearing, make sure to check it,” added Trevor. “When torquing the main bearings, torque in this order: 3, 2, 4, 1 and lastly 5. You want to torque the center studs first, then the outers, then lastly the sides,” concluded Trevor.
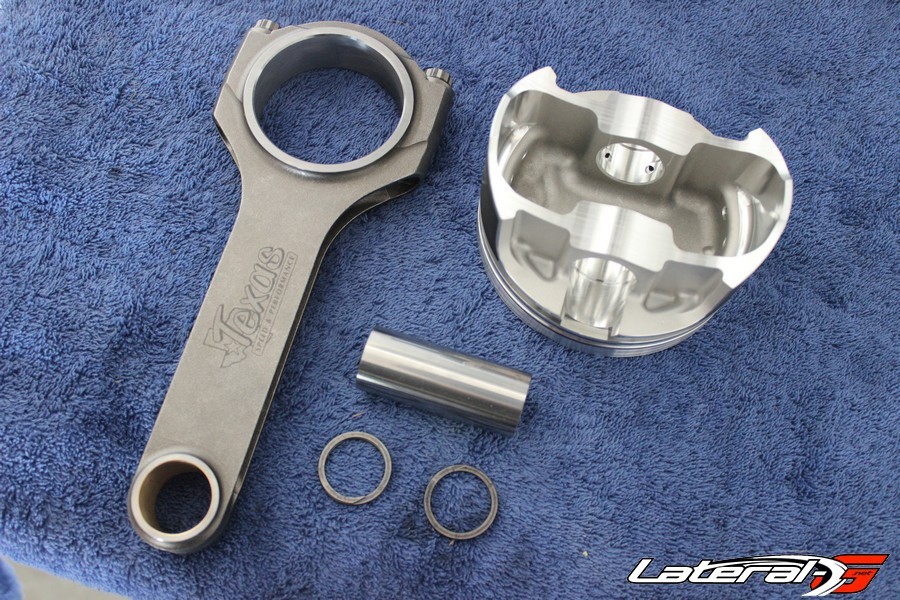
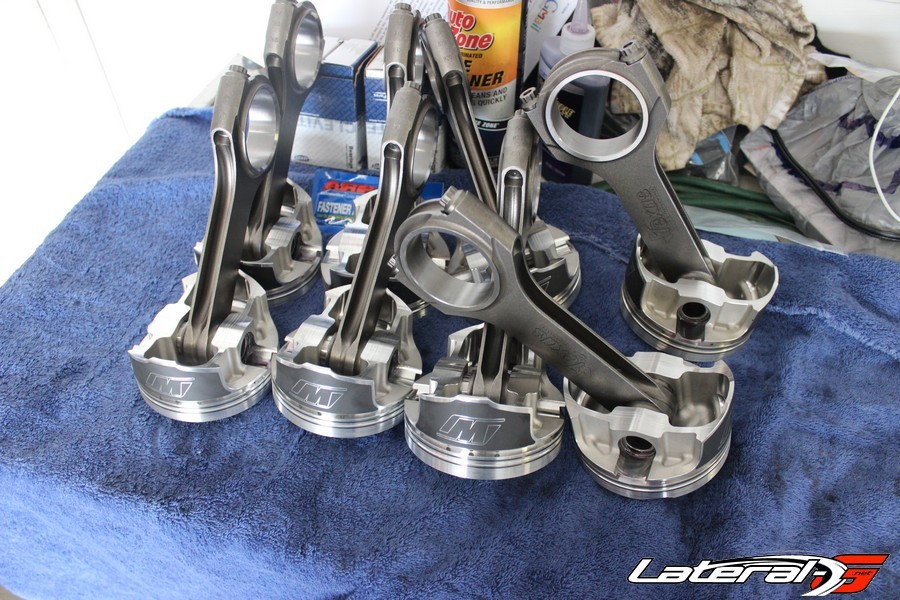
While we were bugging Trevor about the torque specs for this engine, we picked his brain a little bit as well. We asked him how he came up with this mix of parts that we were using in our build. “Our Texas Speed & Performance forged crankshaft and 6.125-inch H-beam connecting rods are our most popular combination because you get quality forged rotating parts that won’t break the bank. We have many customers running our TSP brand crankshaft and connecting rods in various applications making in excess of 1,000 rear-wheel horsepower. While we do offer a forged 6.125-inch I-beam, as well as a 6.125-inch billet I-beam, for the higher HP applications, our standard H-beam rod was a perfect selection for your build. The Wiseco forged piston set is, by far, the most popular brand piston that we sell. They all come standard with a durable 2618 aluminum forging, lowered ring lands for any possible power-adder use down the road, and steel top/napier second ring set for maximum durability and oil control. The pistons we supplied are a proprietary set that Wiseco builds exclusively for TSP in a 4.08-inch bore size,” stated Trevor. We knew that we had the right kit and continued on with the installation.
With the main bearings checking out, the time came to pop off the caps, make sure all the plasti-gauge was cleaned up and use some assembly lube. We chose Royal Purple’s Max-Tuff Synthetic Assembly Lubricant. “Max-Tuff utilizes unique, synthetic molecules that adhere to metal surfaces to create a formidable, load-bearing physical barrier between surfaces,” said Debby Neubauer, Royal Purple’s Vice President of Marketing. What that boils down to, is this lubricant provides an oil barrier between surfaces. Traditionally some people would use a thicker grease type lubricant – this is more oil based. However it’s a very sticky oil that doesn’t easily wipe off during assembly. It’s a magical combination of a sticky oil that plain works. We used it liberally on all the bearing and crank surfaces, rubbing around to ensure complete coverage.
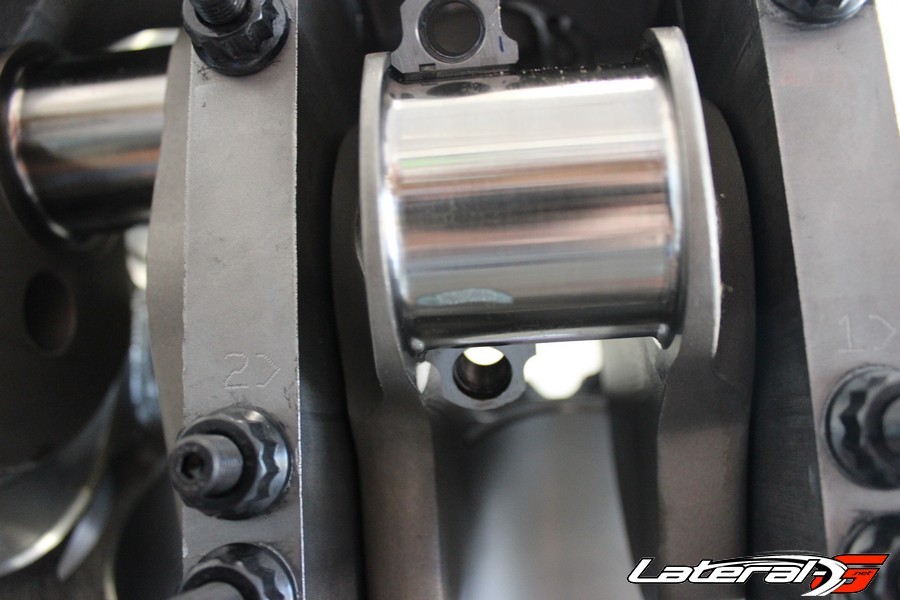
Before we could move onto filling cylinders with slugs, we needed to check the rod bearing clearance as well. “The rod bearing clearance has a .0022-inch target, when torqued to 75 lb.-ft. with moly lube,” explained Trevor from Texas Speed and Performance. All our rod bearings checked out, giving us piece of mind. We made sure to mark each rod with it’s accompanying cylinder – this ensures everything goes together smoothly later.
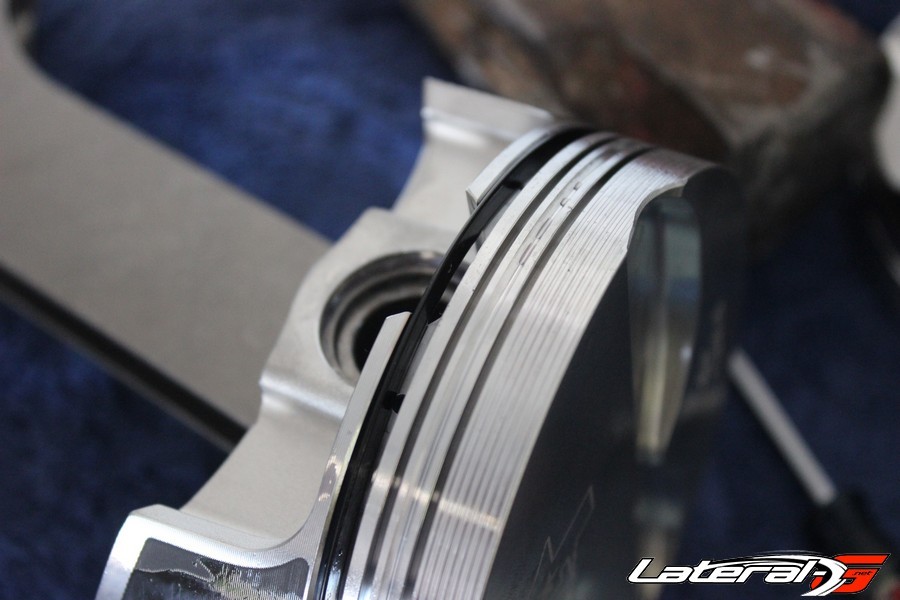
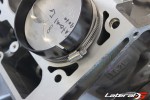
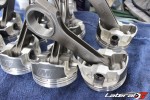
The next step was to assemble the rods and pistons, then grind the rings for a proper fitment. We are planning on keeping this LS3 naturally aspirated – our gaps will be on the tighter side. “I recommend .018-inch top and .020-inch gap for the second. If you want to leave room for a small power adder, I’d open both gaps up by .002-inches,” stated Trevor.
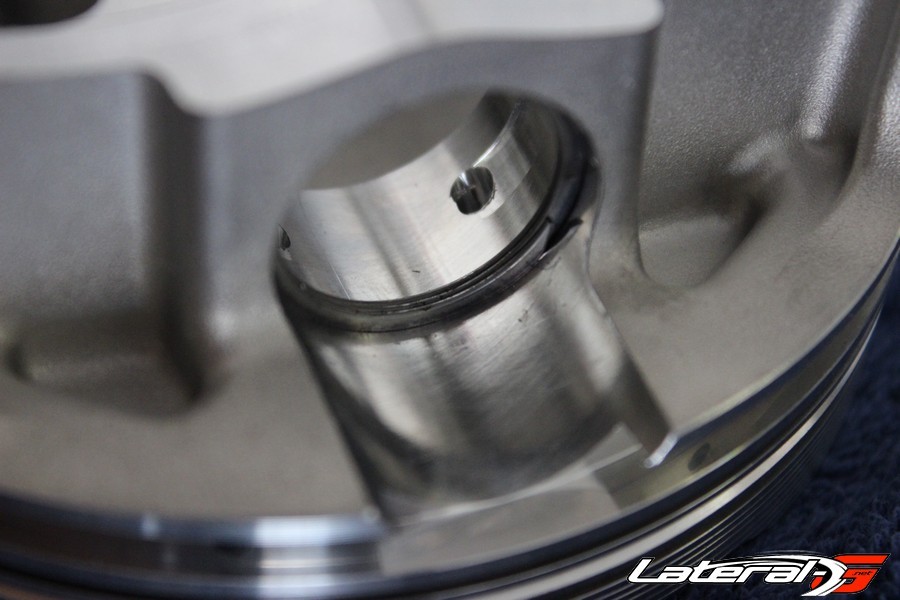
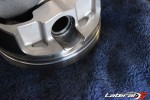
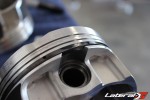
With the extra stroke, the wrist pin is moved up further into the piston, right into the ring grooves. In order to fix this, on the oil rings there is a support rail. Simple enough, there’s a dimple on this ring to keep it put it in the right position that goes under the oil rings.
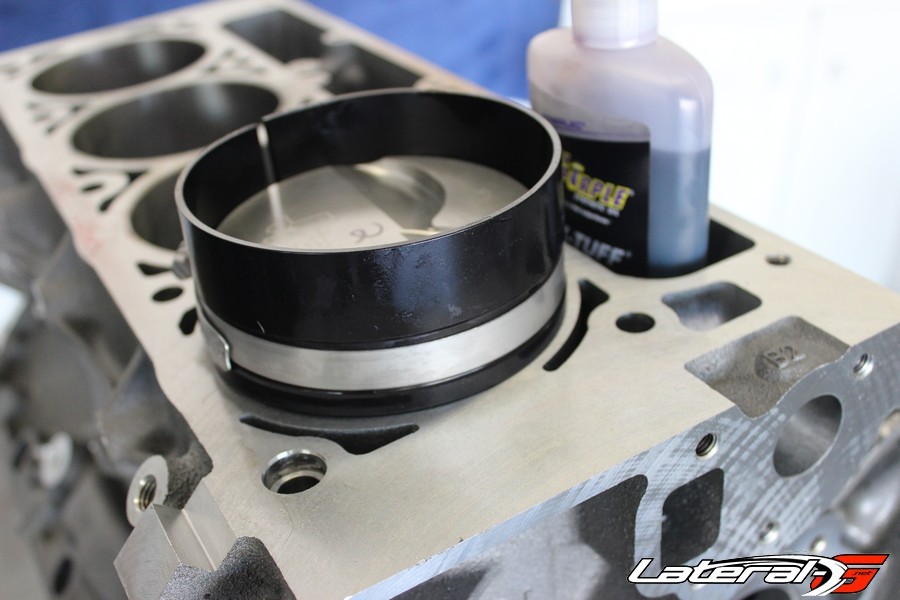
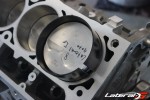
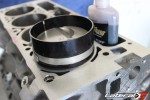
After checking and grinding every ring, the time finally came to assemble all the rings onto the pistons and start slapping them in. For this, we ordered up a Summit Racing ring compressor. It’s important to note that there is a proper orientation for the pistons, which put the valve reliefs in the right spot.
One by one we slowly put all eight slugs into the block and torqued down the rod bearings. With that done, the time came for some of the odds and ends to help make the short block complete. We started first by grabbing the custom ground Texas Speed and Performance camshaft.
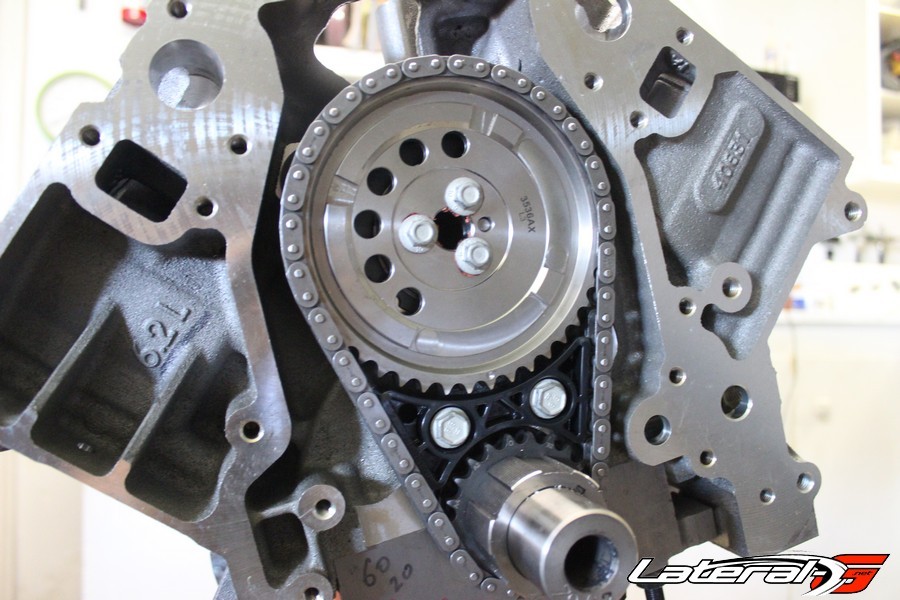
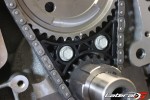
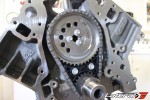
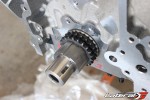
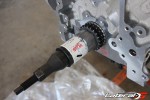
After applying a good amount of Royal Purple Max-Tuff assembly lubricant all over the camshaft, we slid it slowly and carefully into the block. Then the time came to install the Comp Cams dual roller timing chain set. “These timing sets are a great upgrade over a factory set. When you are increasing the spring loads, ramp rates, lift and RPM it’s good insurance to upgrade the timing chain,” explained Billy Godbold of Comp Cams.
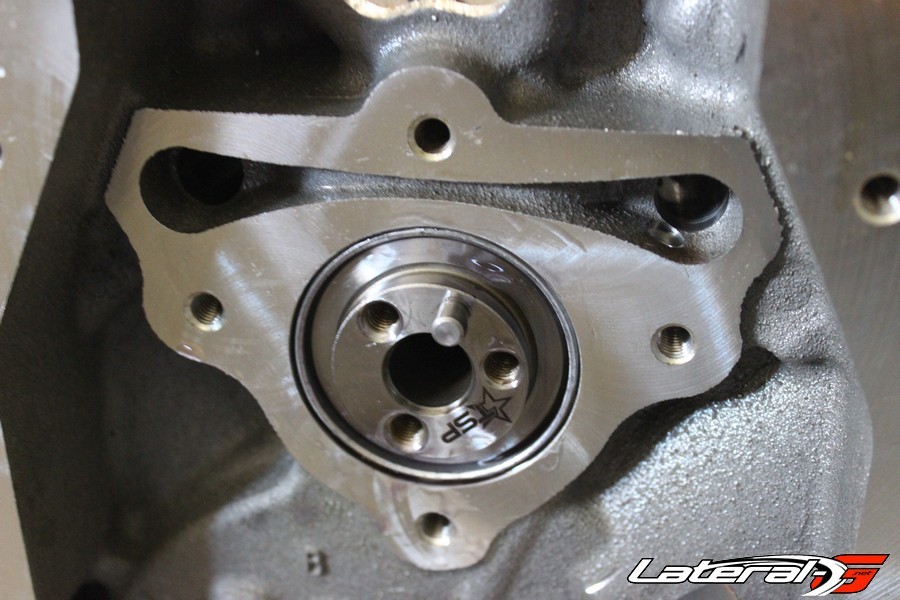
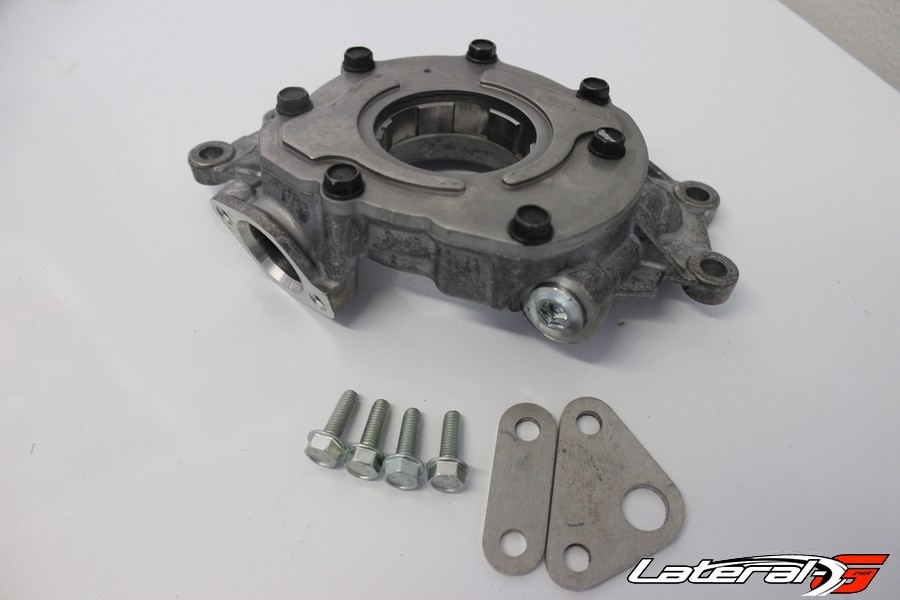
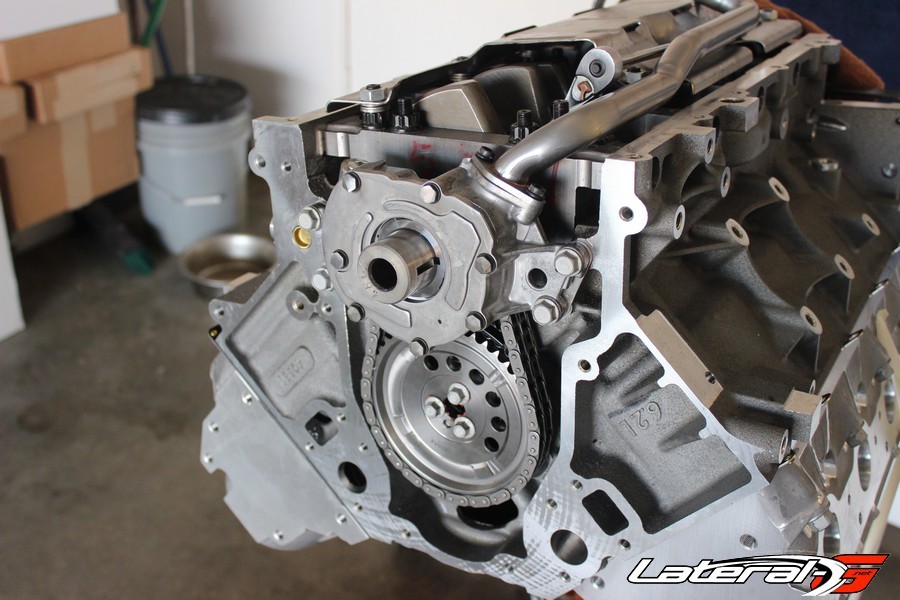
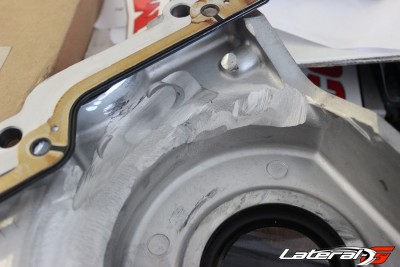
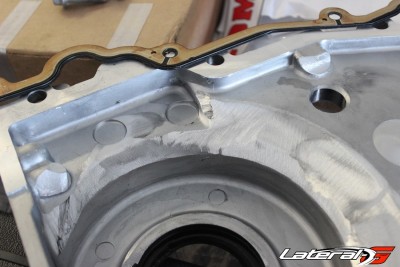
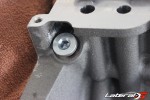
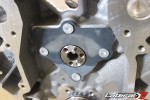
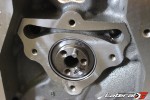
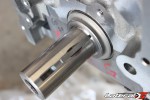
With the thicker timing chain and gears, that means our Chevrolet Performance oil pump won’t clear – not to worry though since the Comp Cams timing chain set comes with a set of spacers to clear the extra width. On a side note, we did have to grind the timing chain cover on the inside a bit for some extra clearance with the added thickness of the timing set.
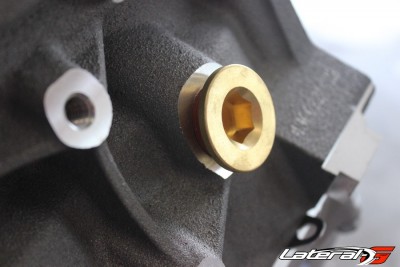
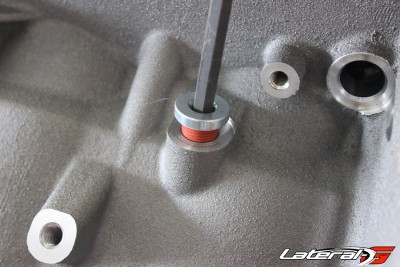
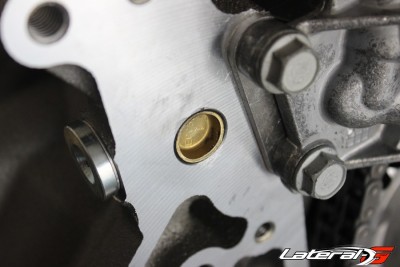
With the Chevrolet Performance high pressure oil pump mounted up, we wanted to tidy up the bottom end. Before we could install the timing chain cover, we had to install an engine plug kit. We grabbed one from Summit Racing and blocked off the last of the holes in the block. 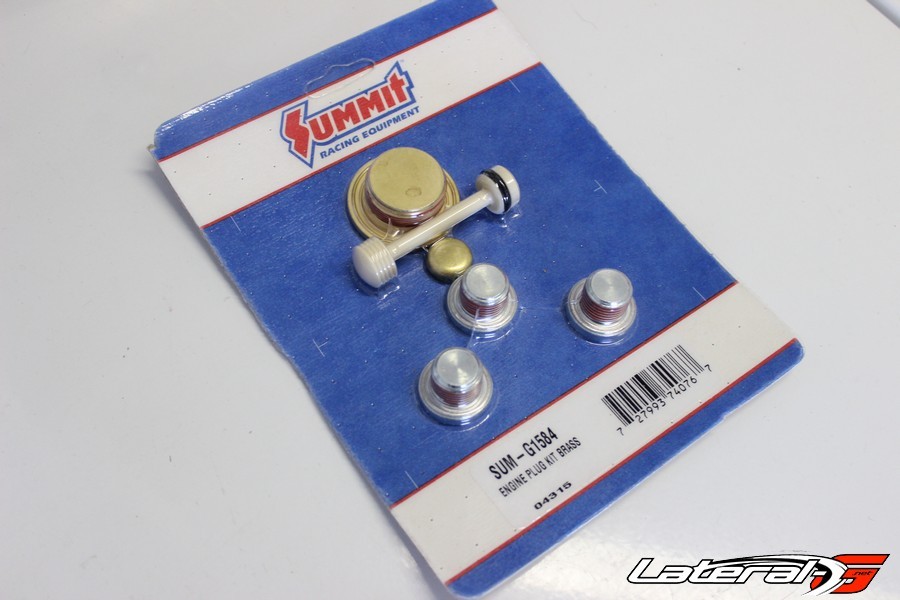
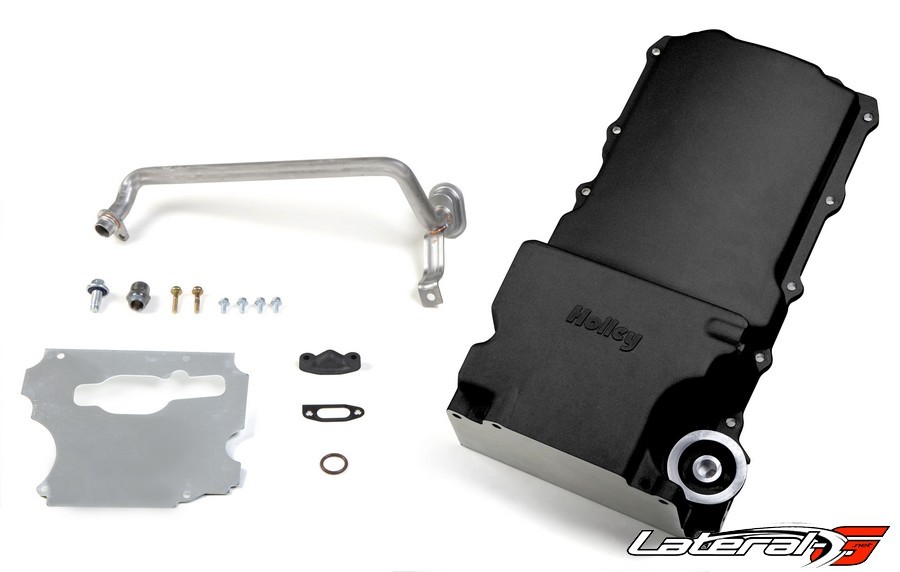
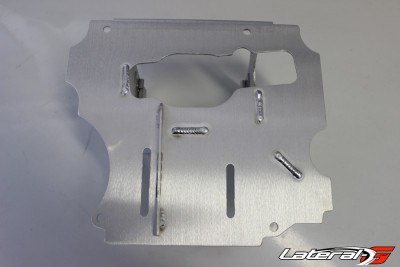
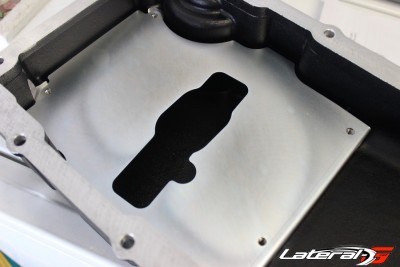
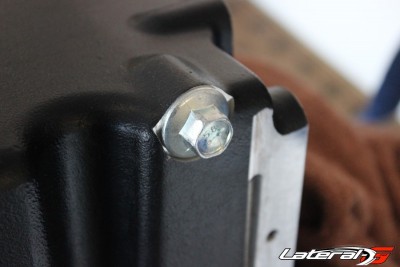
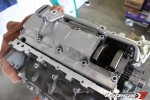
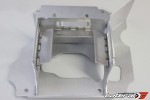
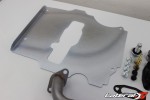
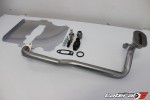
With the extra stroke but a lowered A-Body, we needed a pan that could handle the stroke but have a fairly shallow sump. The Holley 302-1 pan was our choice, which has more than enough room for the 4.00″ stroke but has a sump that’s roughly 2″ shallower than a truck pan. Since we plan to take this car on the track a few times, some extra insurance was installed in the pan with one of Holley’s baffle kits. We also used a stock windage tray, which we did have to space with about three washers to get proper clearance.
With the oil pan installed, that meant the short block was officially finished! Check back for Part III as we slap on the heads, serpentine kit, clutch, and get the car running!
- Completed Comp Cams dual timing chain set installed.
- Texas Speed and Performance camshaft in it’s new home.
- Royal Purple Max-Tuff goodness!
- Support rail installed, the oil rings go above this.
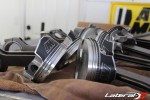
- The reason for extra clearance: a big rod and piston combo!
- Putting the bearings into the mains.
- The start of the build, getting the block back from QMP Racing.


