Bored and Stroked: The Quest For A 600HP LS3
Back in Part One of our quest to build a 600HP LS3, we laid out all the parts that we would be using to accomplish our goal. Then in Part Two we started to build the motor. By the end of the second installment we had a complete short block ready to be finished and installed.
In Part Three is where we will take the short block and finish it off, including showing the parts we used to install this into our ’66 Chevelle. These steps would be the same to install an LS motor into a 1964-1967 GM A-body platform. By the end of this article there will be a running motor, so let’s dive in and finish it up.
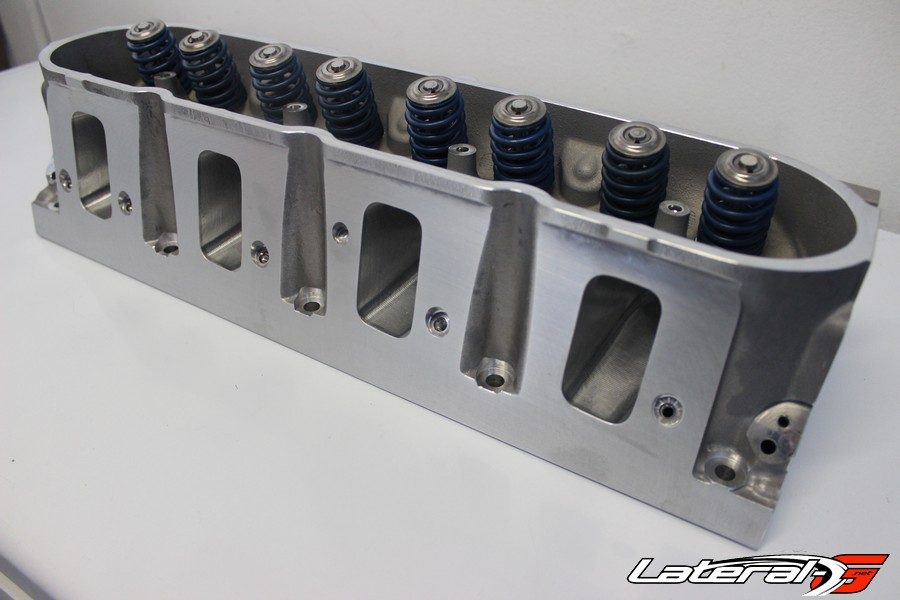
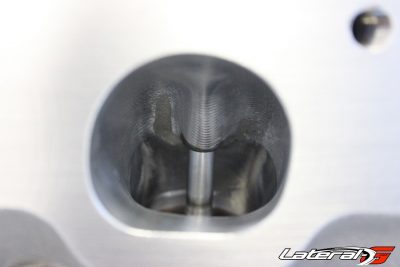
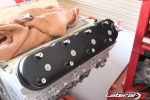
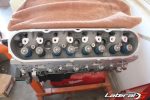
Chevrolet Performance ported heads.
Installing The LS3 Heads
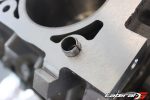
Our next step was to install a set of heads. Out of the box the LS3 heads flow extremely well, but we wanted something a little better. Instead of ordering a stock replacement set, we ordered up from Chevrolet Performance their ported and polished LS3 heads, part number 88958758. When compared to the production LS3 head, these ported versions will flow about 10% more air. They feature 276CC intake runners and 92CC exhaust ports and have a 2.165″ hollow stem intake valve and a 1.590″ hollow stem exhaust valve. What’s great is these heads come complete straight out of the box, ready to bolt on. Before installing the heads we slid in the Comp Cams LS7 lifters.
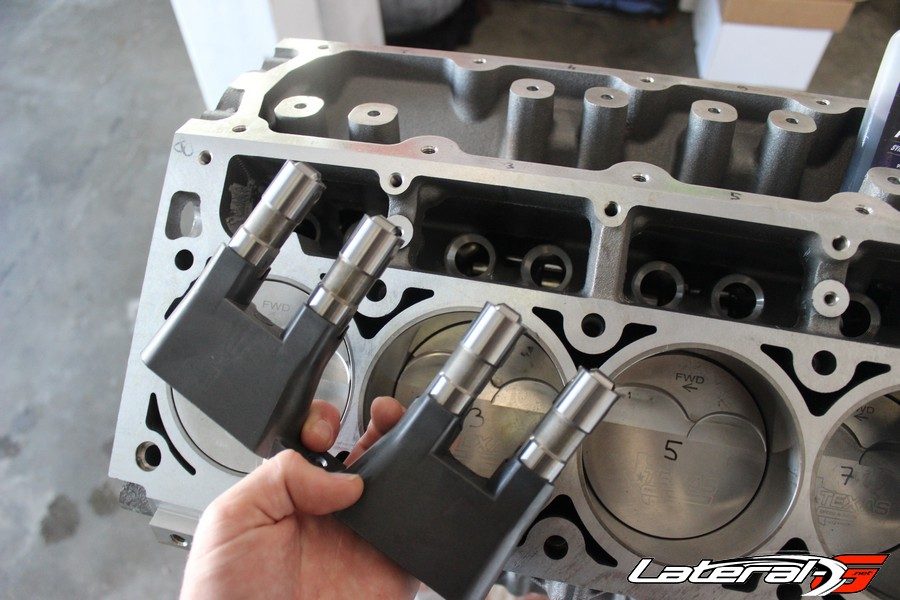
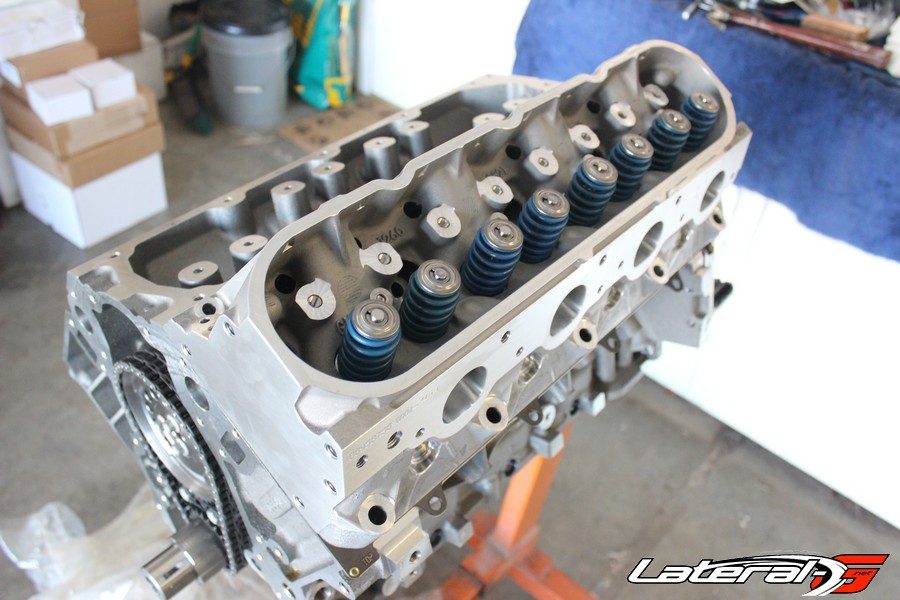
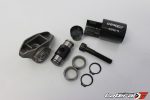
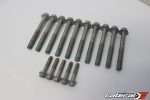
In order to install the heads, we used a pair of Chevrolet Performance head gaskets along with Chevrolet head bolts. After taking our time getting the heads on, we then moved onto finishing up the valve train. We started the process by utilizing a set of the factory rocker arms. However before bolting them on, we completed some cheap insurance on them. Talking with Trent Goodwin of Comp Cams, he filled us in on the trunion upgrade for stock rocker arms.
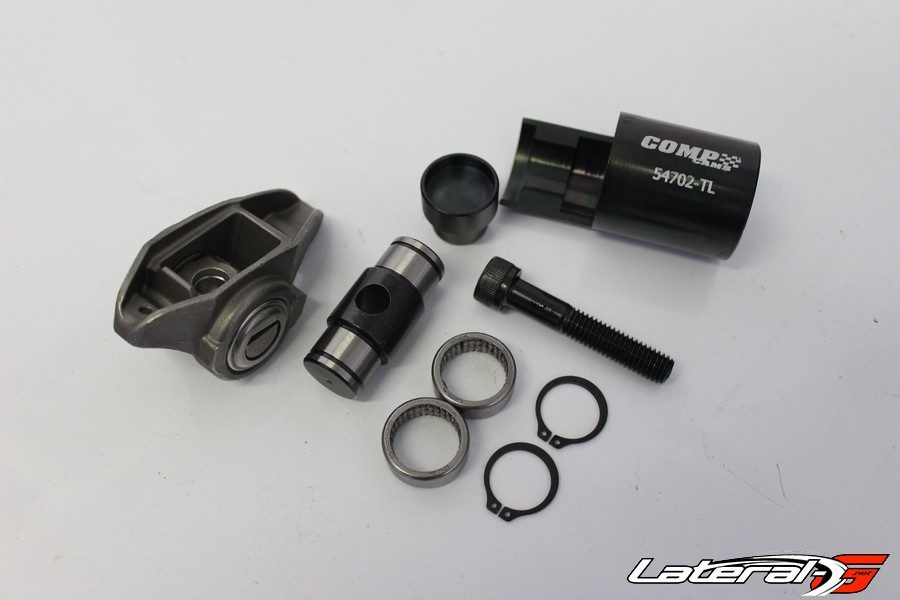
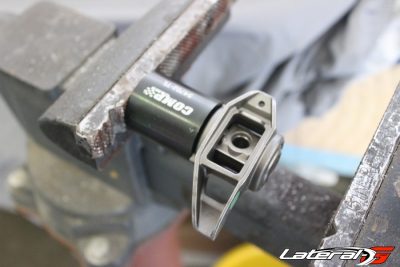
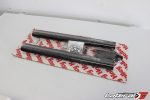
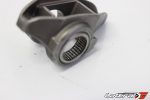
Stock rocker with the Comp Cams trunion upgrade next to it.
“One of the week points in an LS engine are the stock rockers. As we install performance camshaft with higher lift and valve spring with high spring pressure, the stock rocker components start to fail. With our trunnion kit and tool, it’s an easy way to upgrade your stock components and turn them into a captured full roller trunnion design at half the cost from a good aftermarket set of rockers. This upgrade increases stiffness over the original design while increasing valvetrain stability through the RPM band and only takes roughly 30 minutes to complete in your own garage,” continued Goodwin.
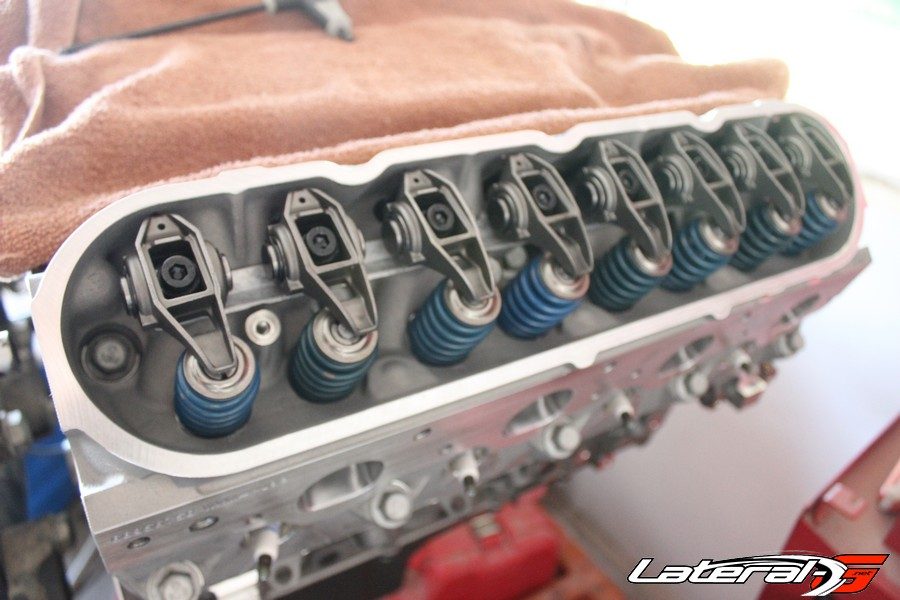
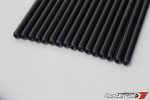
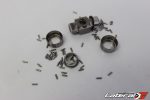
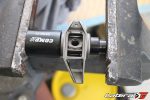
The process of replacing the factory needle bearings with the new Comp Cams kit was simple. Using the supplied tool and a vice, we were able to press out the factory bearings and press in the new bearings from Comp. This whole process took about a half hour to do all sixteen rockers, a cheap and easy upgrade in our books. While we were ordering the trunion upgrade kit, we also grabbed a set of Comp Cams pushrods to finish off the valve train.
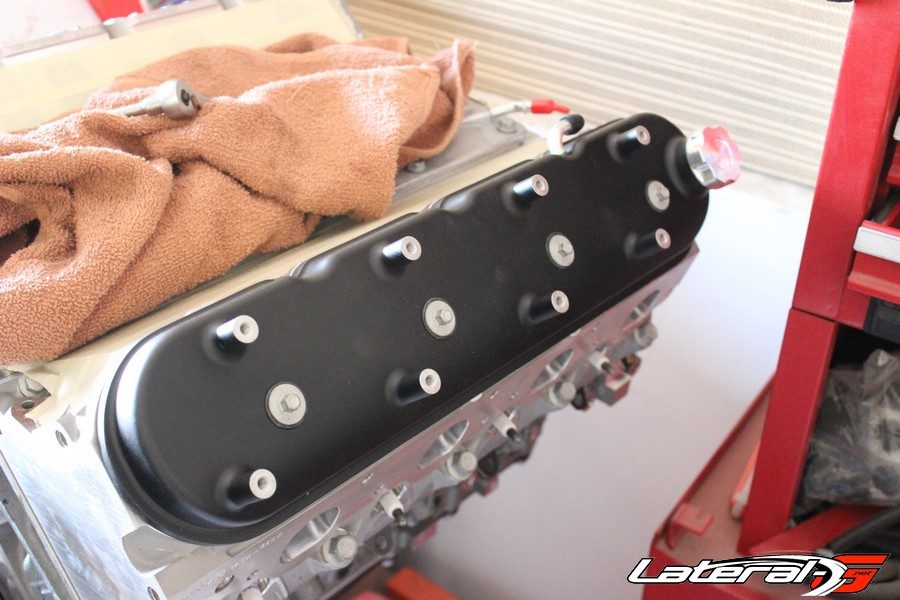
Ultra-slick Holley valve covers going on.
With the valve train finished, we wanted to seal up the motor a bit to prevent anything from getting in. We installed the factory Chevrolet valley plate cover, and installed the crank hub. We also grabbed the Holley valve covers to put on. These valve covers are a piece of work! They fit perfectly and we love how clean they are.
Installing the Motor and Transmission
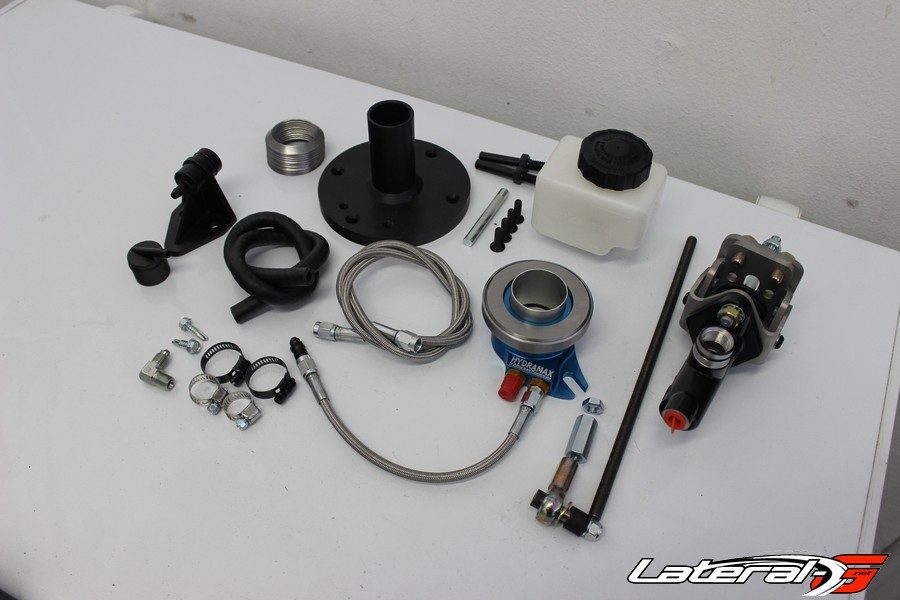
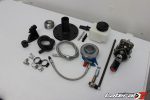
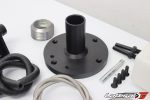
American Powertrain components waiting to find their new home.
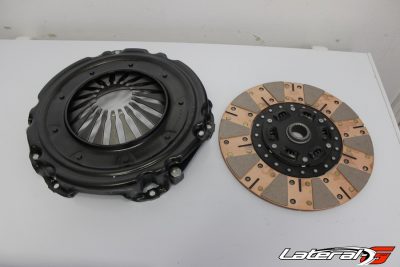
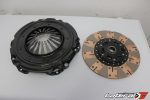
At this point the time came to bolt up the transmission before sliding the combo into the engine bay to finish up the build. For this part we reached out to Matt Graves of American Powertrain. Now we already had a good T-56 transmission from a 1999 Camaro. This trans had been in the car before, but the clutch wasn’t the right one and the throw-out bearing was off. On top of that, the cross member was just a modified stock one that didn’t really work that great.
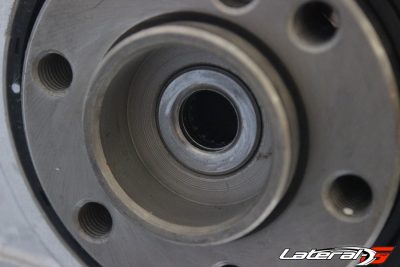
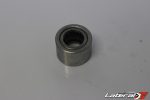
“We have absolutely everything you need to put that transmission in that car. From a brand new transmission, or just what you need to make yours work,” explained Graves. With that being said, we ordered up a clutch, flywheel, X-Factor aluminum cross member and throw-out bearing set up from them. When we asked Graves why he recommended a Hydra-Max over a stock set up he told us that “the stock set ups work great. However, it doesn’t work for all style clutch set ups. The Hydra-Max depth is set with shims so you can dial in the proper amount of clutch air gap for longer clutch and bearing life.”
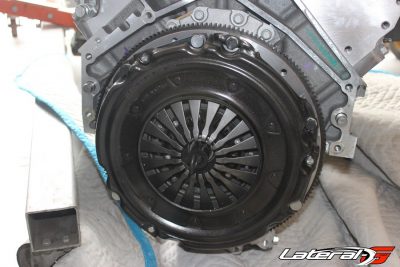
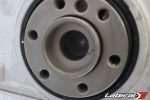
To start bolting up the transmission we first started by installing the flywheel and bellhousing. Using a dial indicator we double checked to make sure the factory T-56 didn’t require any offset alignment dowels. Now we could explain this process but if a picture is worth a thousand words then a video explaining this crucial step is worth a million words.
https://www.youtube.com/watch?v=vO9f4FhK13U
With the bellhousing still installed we started taking measurements to get the right amount of shims for the Hydra-Max kit. This is a little bit of a time consuming process but is pretty easy to follow. In the American Powertrain directions there’s a worksheet that breaks down the process to make it extremely easy. It’s crucial to get the correct amount of shims – too many and the clutch will never fully engage. Not enough and the clutch won’t ever fully disengage.
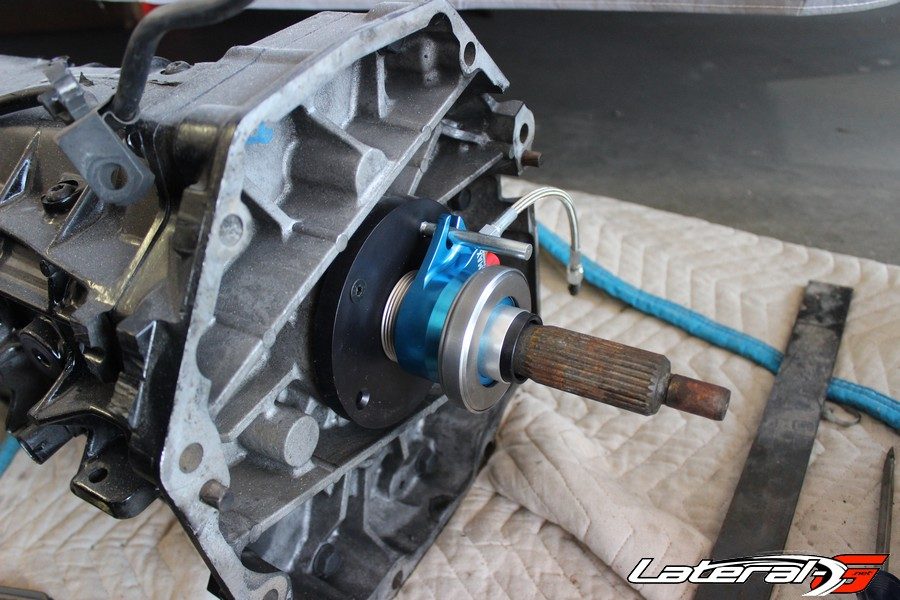
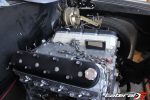
Now that the transmission was bolted to the trans, the time came to slip the motor into it’s new home in the engine bay. For this we used a set of Classic Performance Product’s motor mounts. These mounts are designed to give proper oil pan clearance along with allowing you to slide the motor forward and back several inches to dial in fitment.
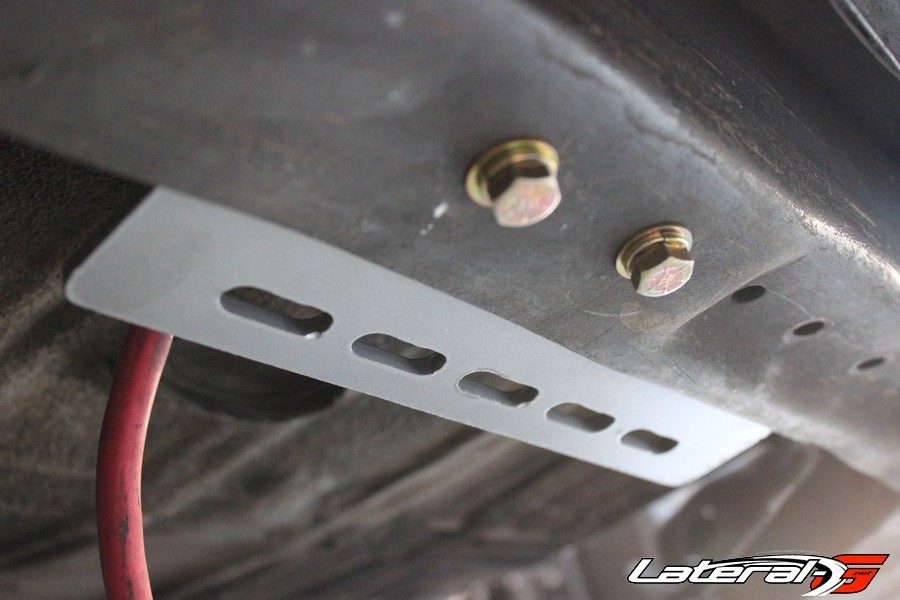
Starting to bolt up the X-Factor cross member from American Powertrain. Truly a “bolt on” product!
On the transmission side we used the new aluminum X-Factor transmission cross member from American Powertrain. “The X-Factor is made from 6061 aluminum so it’s light than stock cross members. In addition to that it’s not a tubular style – it’s boxed for increased strength over a standard tubular aftermarket cross member. Plus this design gives you more ground clearance and better exhaust clearance,” explained Graves. We started with bolting tabs to the frame, which then the cross member itself bolts to. Using their ISO-X mount, we bolted the transmission cross member into it’s new home.
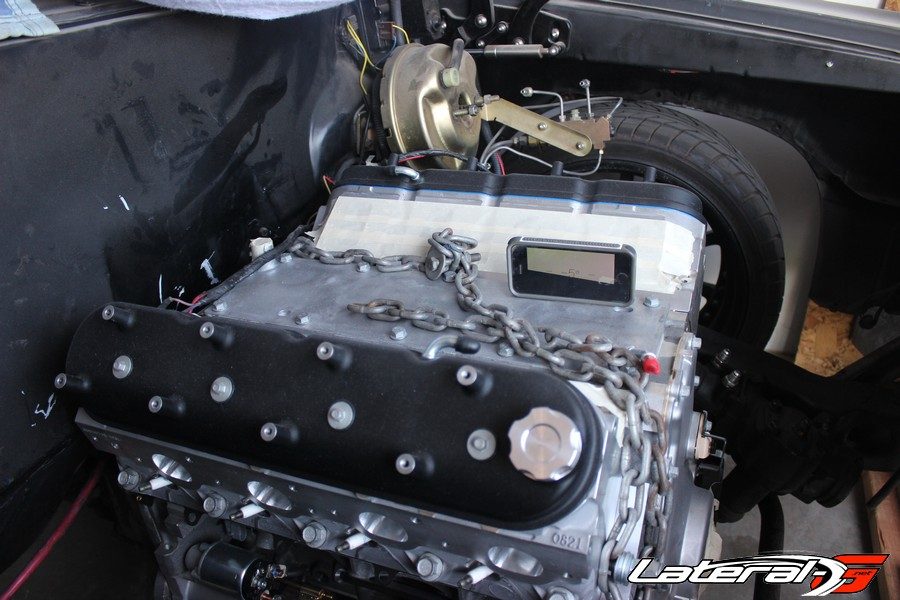
Now that the motor and transmission were in place, we needed to connect the transmission to the Currie 9″ rearend. Naturally, the old driveshaft was too short. Not a big deal, we called the experts at Inland Empire Driveline on the phone. After giving them a few quick measurements a few days later we picked up the new driveshaft. Sliding it in place is always satisfying as it fits perfectly.
Finishing Off The Motor
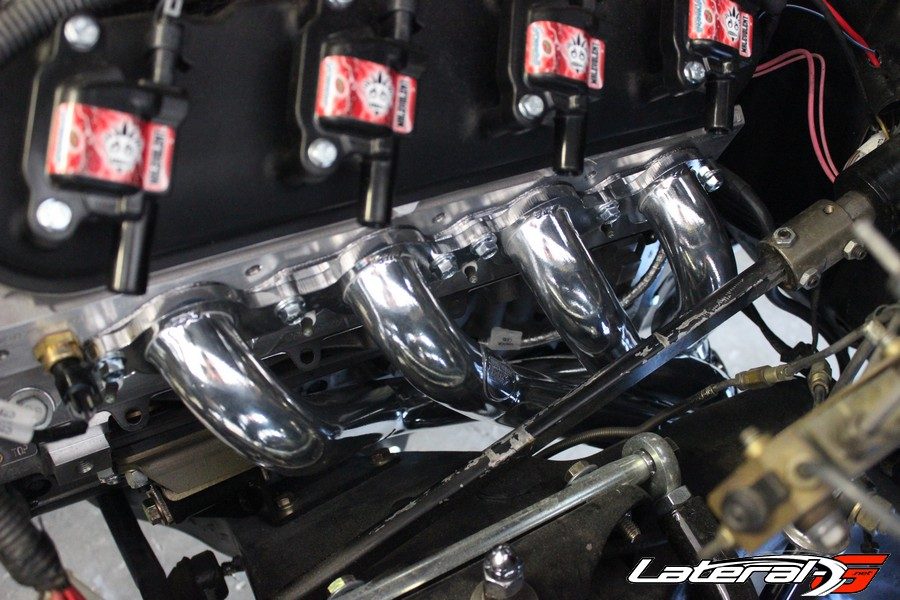
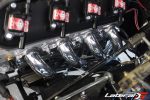
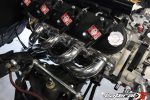
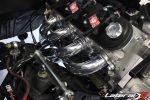
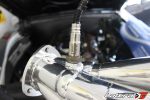
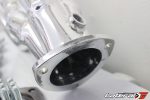
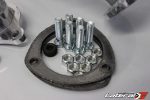
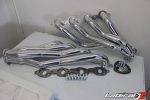
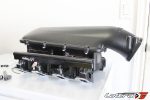
The hard part now comes of making all the connections to make this motor work! We started by knocking out the exhaust using a set of Doug Thorley LS Swap headers. These have thick flanges, ceramic coating and O2 bung’s welded into each header. At this point we were dying to see how that Holley mid-rise intake was going to look on the motor. This does require some assembly, such as putting the O-Ring’s on the intake runners and assembling the intake. The intake is actually three different pieces, a lower, middle and a lid.
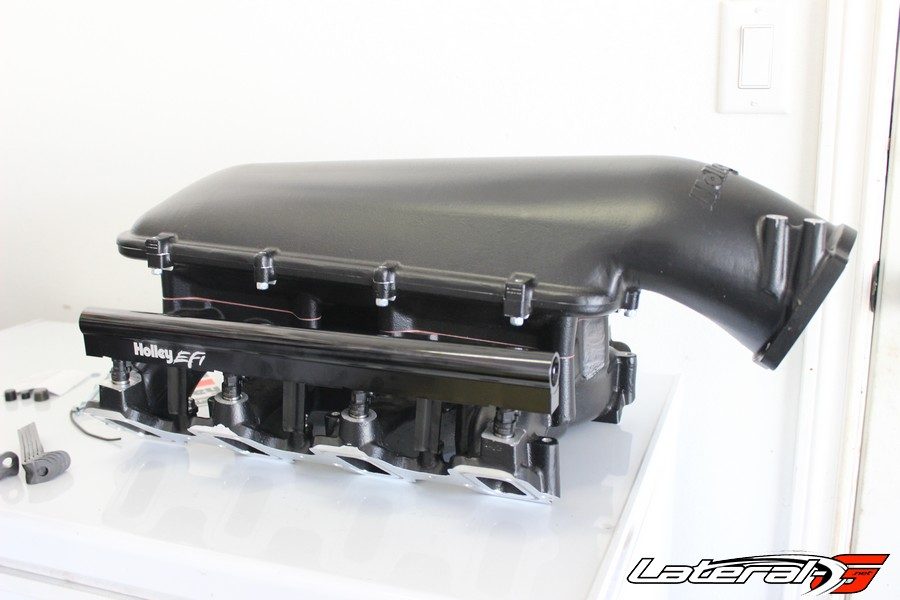
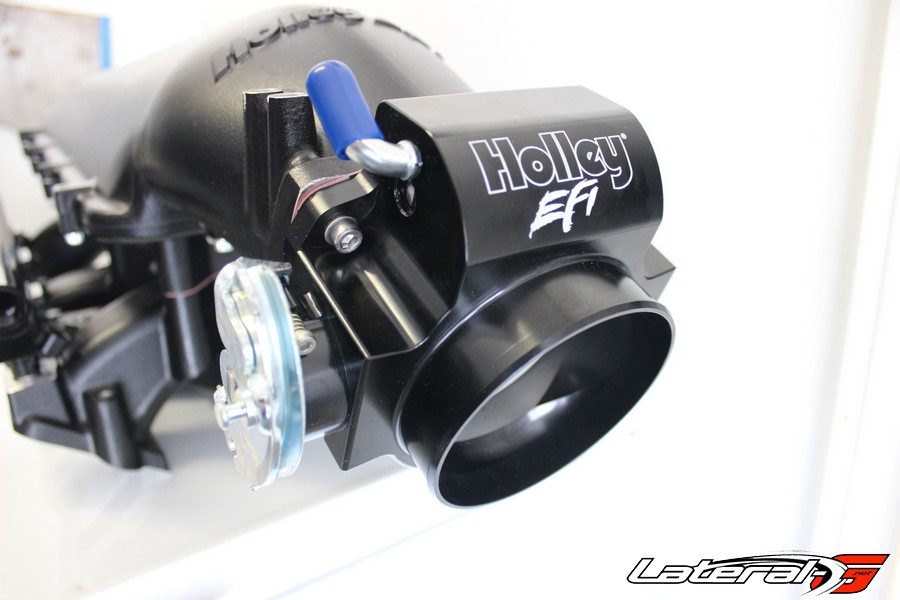
If an intake could ever be described as sexy, this would be that intake.
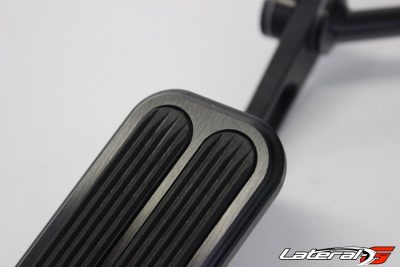
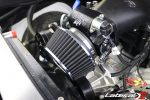
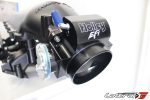
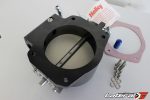
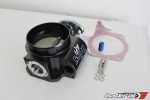
With the intake all bolted together, we grabbed our Chevrolet Performance LS3 fuel injectors and the Holley fuel rails. Using a little bit of lube, we bolted the fuel rails down. The last step was to install the 92MM Holley throttle body topped off with a Spectre Performance air filter. If you’re wondering how we made the throttle body open and close, we used a Lokar Performance Products pedal. This pedal uses the factory throttle pedal hole on the firewall, then we drilled a small hole in the firewall to plumb the throttle cable through the firewall. We’ve used this pedal set up before in another LS swapped A-Body and it worked flawlessly.
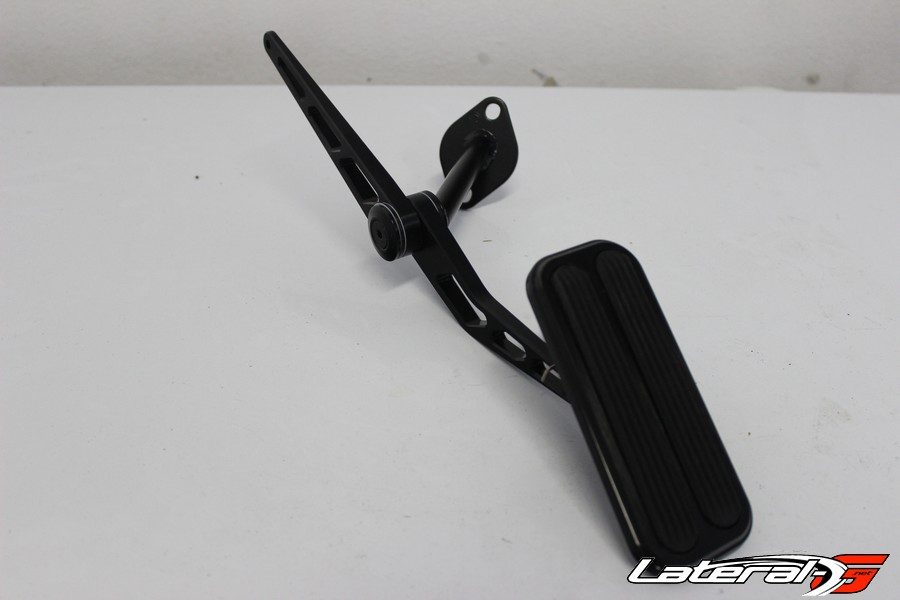
Once we test fit the hood we realized that it wouldn’t shut with this intake! Luckily the hood is a 2″ cowl induction hood and only required to trim a small piece of a brace underside the hood to fit.
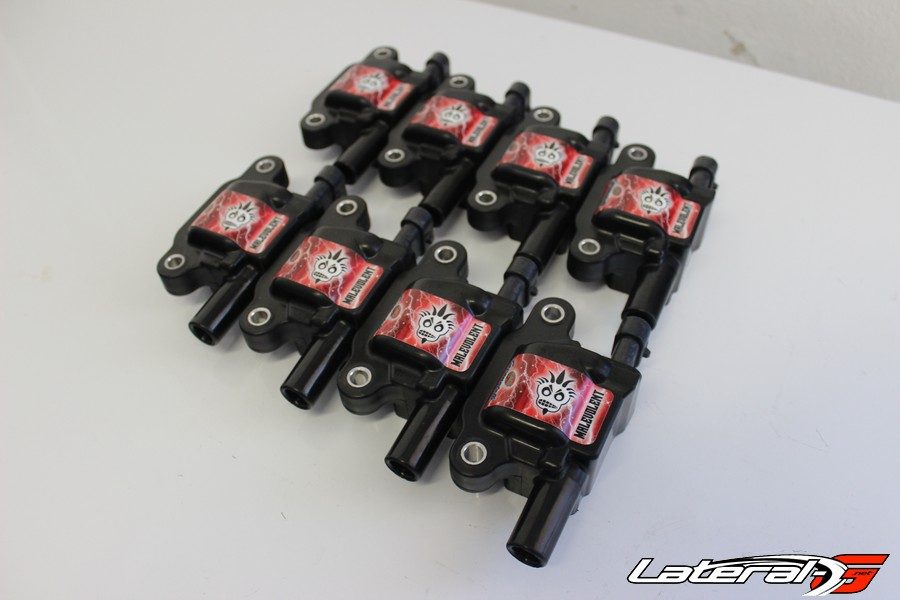
From here we grabbed the Granatelli Motorsport’s Malevolent coil packs. These are a bolt-in replacement but provide a massive punch for the spark plugs. In their testing just swapping the coils showed a 12 horsepower jump so we knew they were going to provide a massive spark to burn the fuel. We paired them with a set of spark plug wires from Granatelli Motorsports as well, to deliver that spark efficiently time and time again.
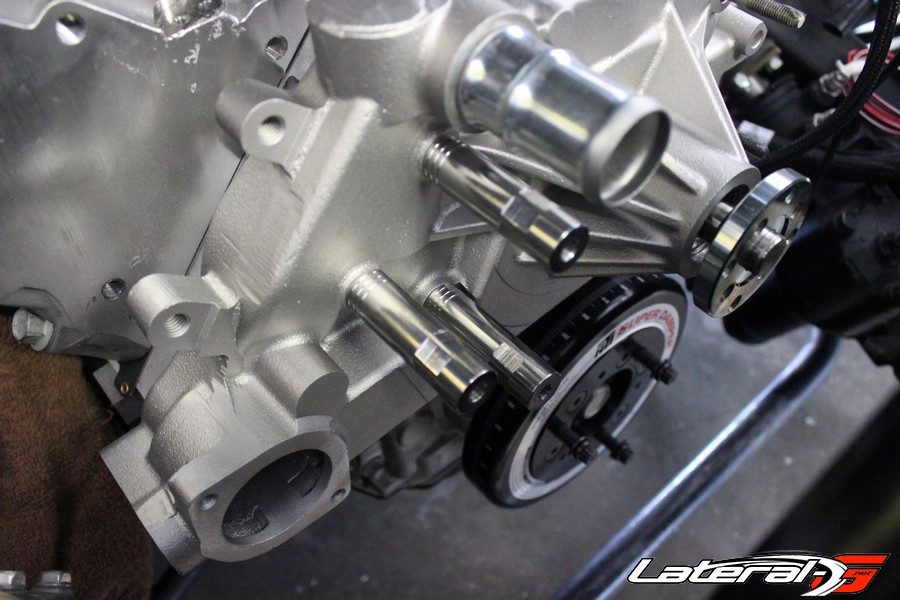
Making everything spin properly with Eddie Motorsports.
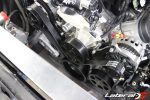
The big piece of the puzzle missing was the serpentine system. Now there are a lot of options out there from stock to a ton of aftermarket options. We knew that going into this A-body there were a few challenges since the gear box is in the way and the frame is in the way for a low mount AC pump. We called up Eddie Motorsports and they had an amazing billet 8-rib serpentine system called the S-Drive Plus, sitting on the shelf.
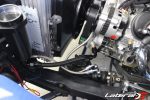
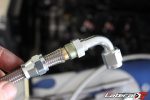
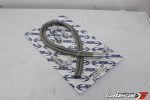
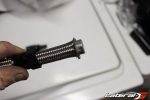
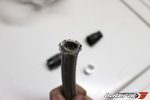
While the kit comes standard with an easy-to-plumb GM type II power steering pump with an attached reservoir, LS Swaps in early A-bodies are limited on space. Eddie Motorsports fixed us up with a remote reservoir and pump which provided the extra clearance needed around the steering box. Another selling point for us was this is a complete kit – the water pump, alternator, balancer, power steering pump and lines, along with every nut and bolt is included in the kit. They also sent me on of their optional braided stainless steel/Teflon lined power steering line kits. We didn’t have to try to figure it out or shop for parts – just like that we were sold!
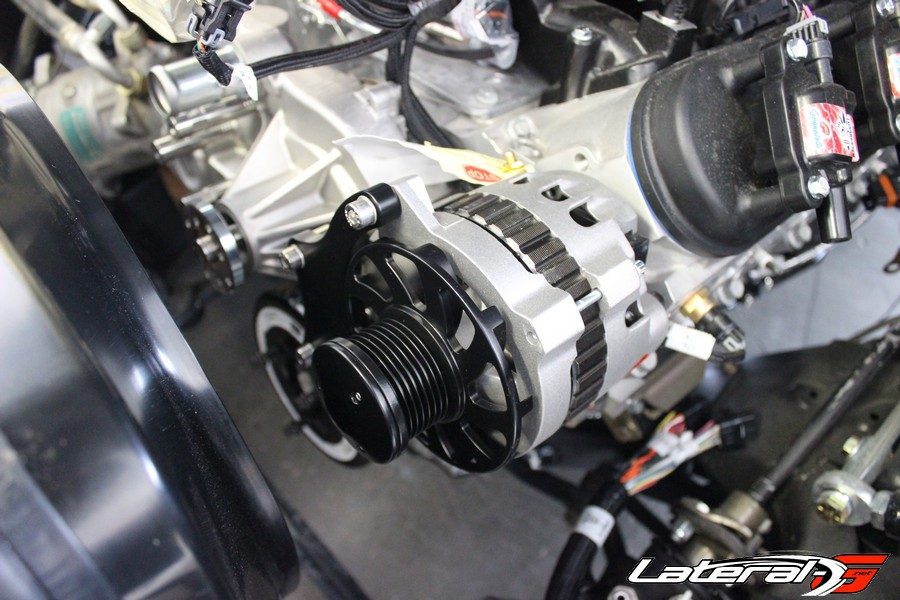
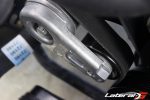
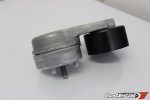
Talking with Joe Rode of Eddie Motorsports he filled us in a little bit more on the kit as well. “Our new 8-Rib kit provides a 33% larger contact patch. Which means that it can handle 33% more torque and horsepower than our 6-Rib kit. With the stouter 8-rib belt, we were able to incorporate a much stronger tensioner for increased belt grip,” explained Joe. The S-Drive Plus 8-Rib kits are available for the Chevy Small block, Big block and LS motors. Eddie Motorsports offers 6-Rib kits for Mopar, Ford and even Pontiac applications. They are available polished, raw, matte and gloss black, or anodized clear or black. We chose the matte black finish to match the rest of our Holley components under the hood.
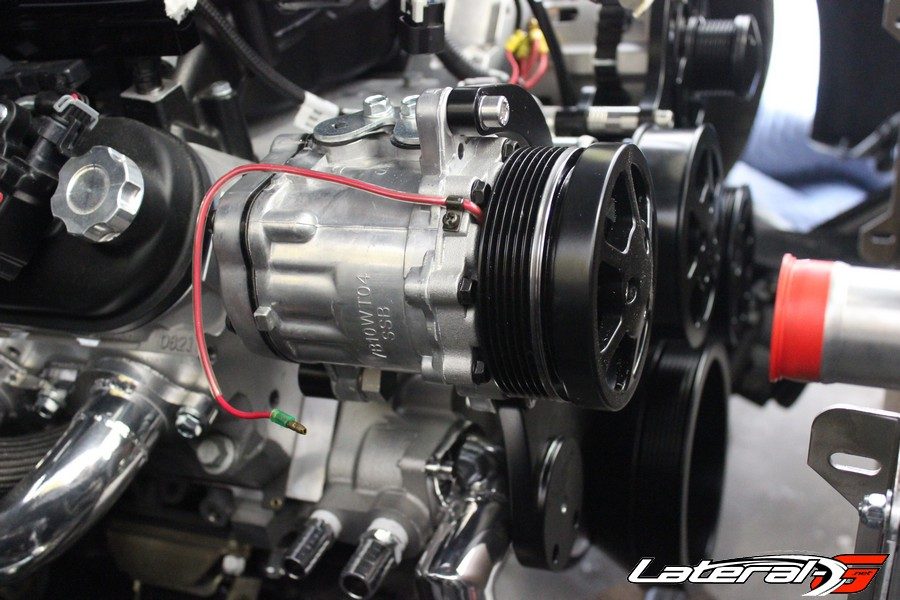
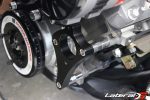
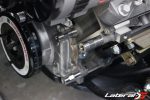
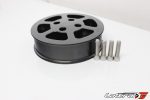
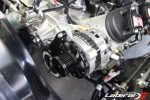
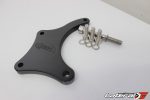
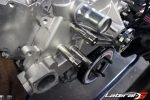
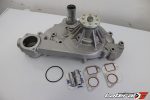
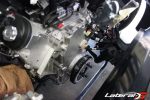
Installing the kit was very straightforward. After installing the included ATI dampner and crank pulley, we then installed the water pump. Now the water pump is where the Eddie Motorsports 8-rib kit starts to come into play as there are spacers and studs used to install the water pump instead of the factory bolts. This allows all of the accesory brackets to mount off of the water pump so nothing attaches to the cylinder heads, allowing for easier, universal mounting, and also adding to the compactness of the system by locating the accessories inboard of the cylinder heads.
The rest of the kit fell into place where we installed the alternator, power steering, and AC pump brackets. Then we installed those components to finish off the kit. Our last step was to plumb the power steering up to the reservoir, which was accomplished with the included optional AN hose and fittings. Overall this kit was simple to install and looks amazing. We can’t wait to see how it performs.
Cooling and Fluids
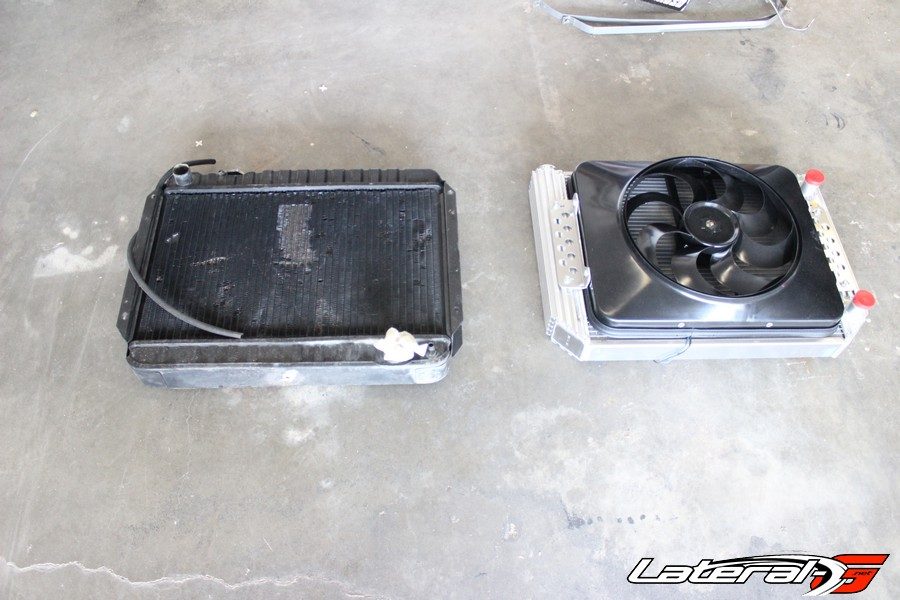

Another major component in making the engine run and work was the cooling system. Again, there are lots of options out there for this, but we chose Flex-A-Lite for the task. We love how the tanks are ribbed and talking with Flex-A-Lite they told us that “the patented side tank design has the cooling fins on the inside and outside for 140% better heat transfer than a traditional side tank.” The tanks not only provide extra cooling but allows for you to slide the radiator and fan combo up and down to easily dial in the location.
This Flex-A-Lite radiator came with a single large 3,000 cfm puller fan that has a radiused corner shroud built in, meaning it’s clean and simple. Since we already had electric fans in this car from before, we reused the relay that was already installed will use the Holley HP EFI to turn the fan on for us. What astonished us is how quiet the fan is compared to the old fans that sounded like a jet taking off. This one you can barely hear running – we like that. The cherry on top is that these fans and radiators are made here in the USA and we could definitely feel how they are a quality product.
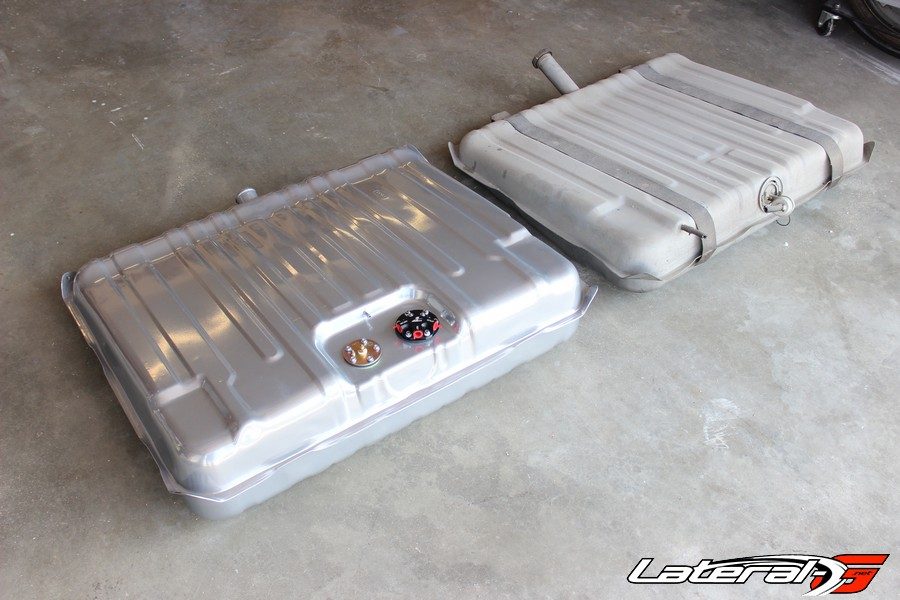
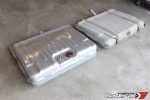
1966 versus 2017: Gas tank re-invented with Aeromotive.
By this point we were starting to see the light at the end of the tunnel, but had a few tedious tasks left: wiring and fuel system plumbing. After a bit of a debate, we decided to tackle the fuel system first. Since the A-bodies in 1966 never had a high pressure electric fuel pump, we had to figure out how to add one.
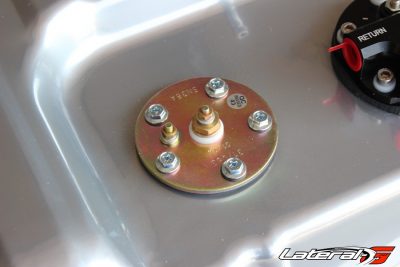
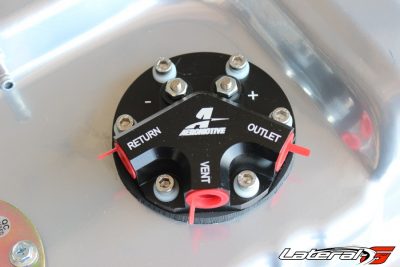
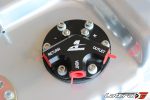
After calling up Aeromotive Inc we discussed a few different options. We could have used one of their kits to retrofit the stock tank, plumbed in an in-line pump, or use one of their new Stealth tanks. “Our Stealth tanks are currently available for more than 45 applications covering all popular performance applications. Aeromotive Stealth tanks utilize our 340 LPH pump which will support up to 850 horsepower EFI naturally aspirated or 700 hp EFI forced induction along with 1000 horsepower carbureted naturally aspirated or 850 hp carbureted forced induction,” stated Jackson Lueg of Aeromotive. We chose this option. The Stealth tanks are slick – they look like a stock tank but have the needed baffling for the 340 in-tank high pressure pump. This pump is good for 850 horsepower in a naturally aspirated fuel injected motor. They have a 25 gallon capacity and are one-inch deeper than stock. Our favorite part is how it’s complete and ready to install right out of the box.
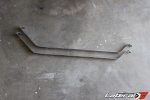
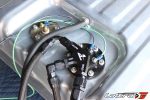
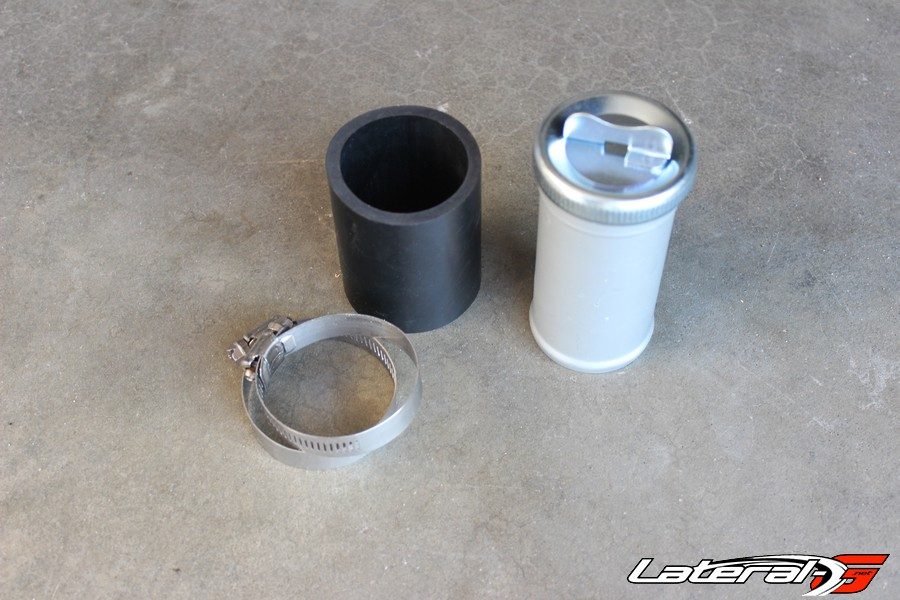
The pump itself has ORB-6 pump, return and vent ports to make plumbing with AN fittings easy. Also installed is a new sending unit that uses the factory 90 ohm sending unit. After attaching our ground, power and sending unit wire, we then connected our hoses to the tank. The rest of the installation was like factory, where you wrestle the tank up and get a strap wrapped around the bottom. The one nice upgrade though is that on the original tank the filler neck is welded to the tank and has to be slid into the hole in the bumper while trying to attach a strap. With the new Aeromotive Stealth tank, the filler neck is a removable piece. Once you have the tank in place then you can attach the filler neck with a set of hose clamps.
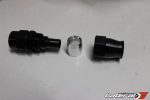
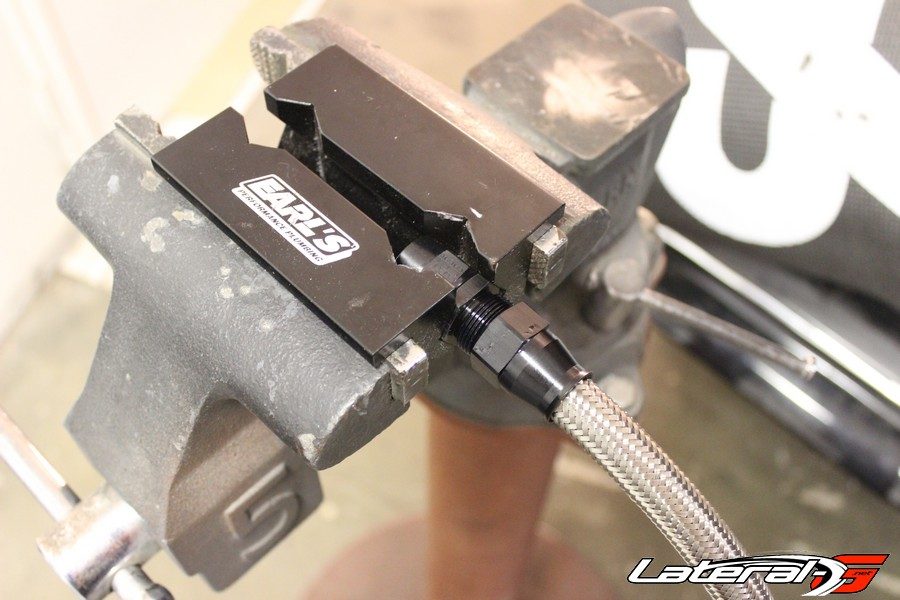
With the fuel tank installed, the time came to completely plumb the fuel system. On all our projects we use high-quality Earl’s Hose And Fittings. On every Earl’s fitting that we have ever used, there has been zero leaks. We love being able to plumb up a project and have zero leaks. For this project, it was no different. Starting at the tank, we ran two -6 AN lines all the way from the tank to the engine. One will serve as the supply and one will serve as the return.
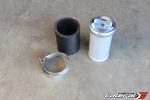
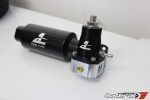
Filtration is extremely important with fuel injection. For that we used an Aeromotive post filter that was plumbed in with the Earl’s AN Fittings as well. On the supply side we have the -6 coming from the tank, through the post filter, and up to behind the intake. “Aeromotive recommends a secondary filter for both carbureted and EFI applications and recently introduced a new line of black anodized filters with -6, -8 or -10 AN male ends to save the expense of additional fittings. Filters are available with 10, 40 or 100 micron elements,” explained Jackson Lueg from Aeromotive. Once the line comes up behind the intake it does a “Y” where the line splits and supplies fuel to each fuel rail. On the other side of the fuel rails is an Aeromotive fuel pressure regulator that connects the two fuel rails. Then off the bottom of the regulator is the -6 AN return line to the tank.
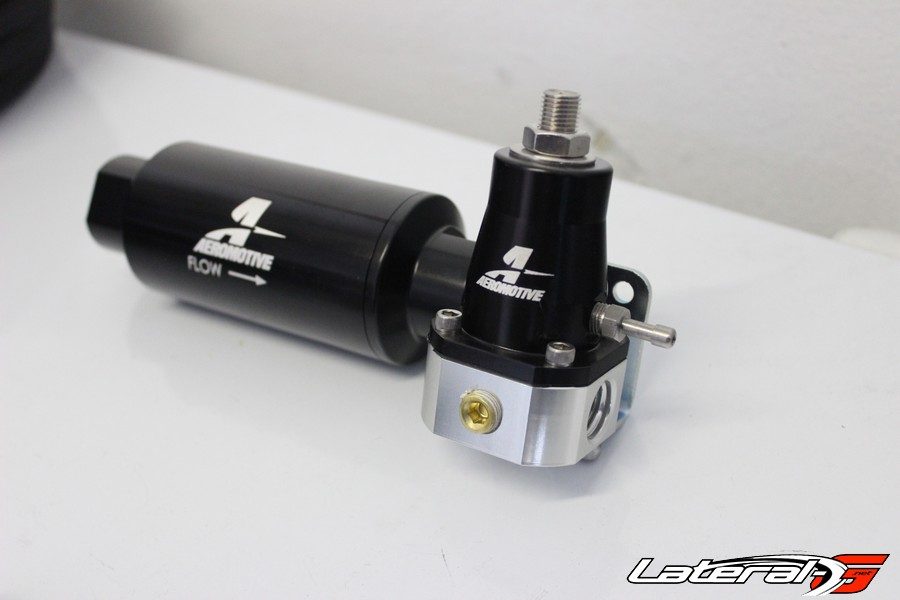
The fuel pressure regulator is a trick piece that is adjustable depending on your PSI needs. We added an Auto Meter fuel pressure gauge directly to this which allows us to keep tabs on the fuel pressure while under the hood. Not only did this allow us to dial in the fuel pressure, we will be able to easily diagnose any fuel pressure issues, should they arise.
Finishing Touches
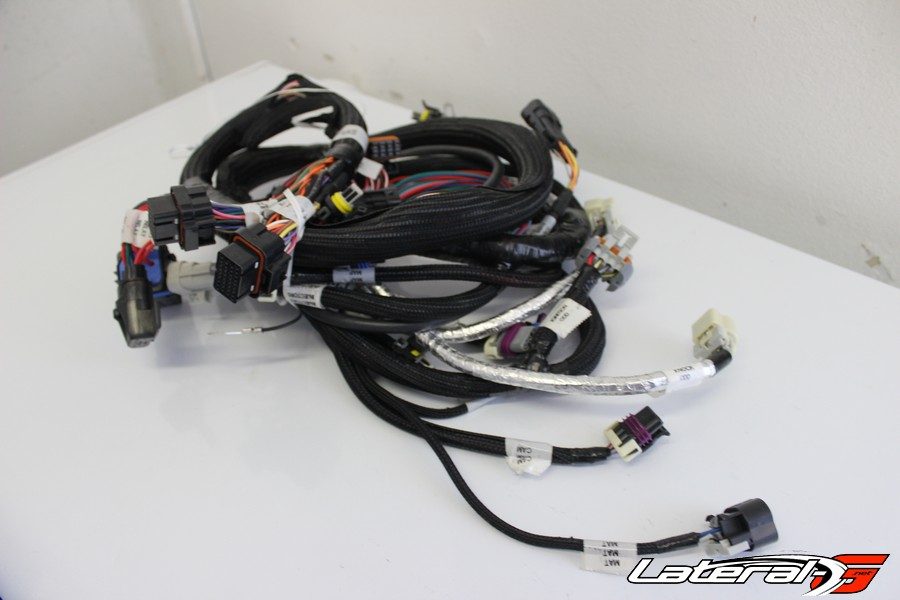
The last major step in our LS3 installation and build was wiring. In a fuel injected application, you’ll need something to tell the injectors to fire and keep all the vitals. An easy choice for us was the Holley HP EFI computer and harness. The harness itself uses high quality OEM style connectors but doesn’t carry the bulkiness of a factory harness. The harness is really clean and simple to install. After laying it on the motor we simply started to click all the connectors onto the accompanying sensors. This harness does require the use of an O2 sensor, which is included in the kit and we installed that into the port on the passenger side of our Doug Thorley Headers.
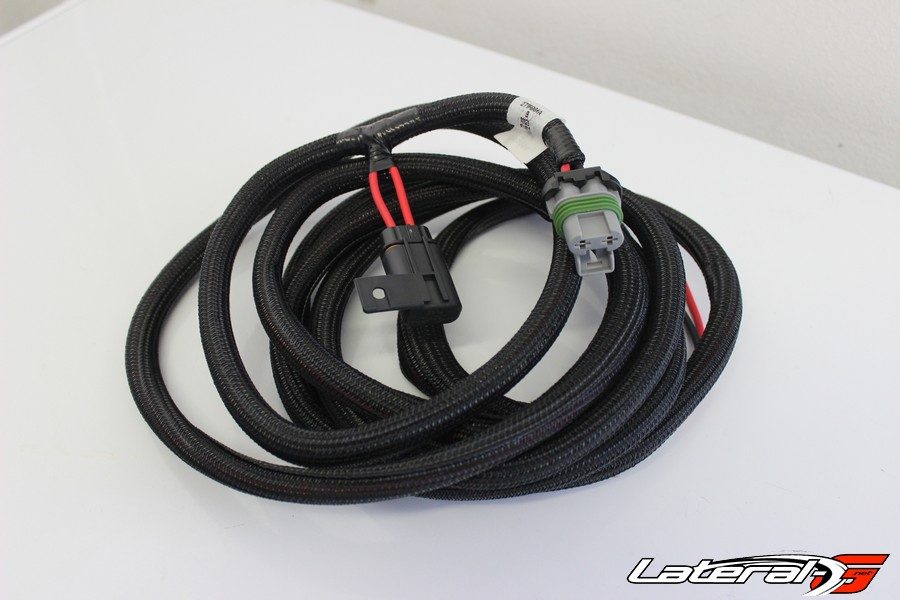
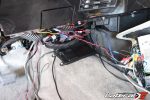
One major thing to note here is the power supply for the HP EFI. It has to be a clean supply, meaning that we ran the power wires all the way to the trunk to the battery. The computer needs power all the time as well, so it’s connected directly to the battery and not through our cut off switch. The computer itself is really small and we were able to tuck it under the center console. It can be mounted in the engine compartment but we wanted to protect it a bit and mounted it here. The only thing we did special was run the USB cable down the console and popped it out under the passenger side seat for tuning later on.
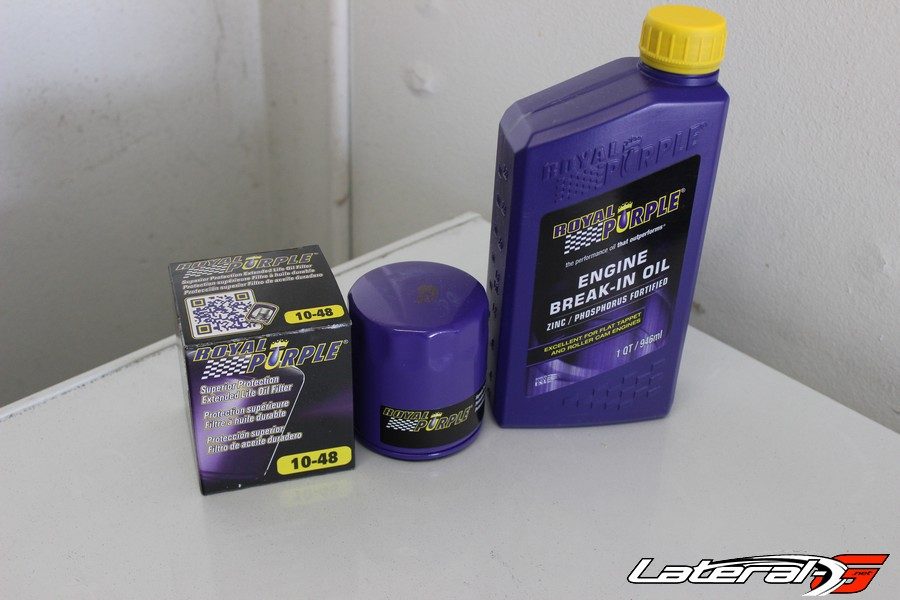
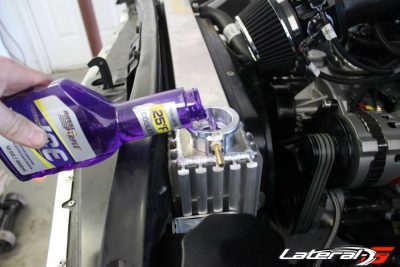
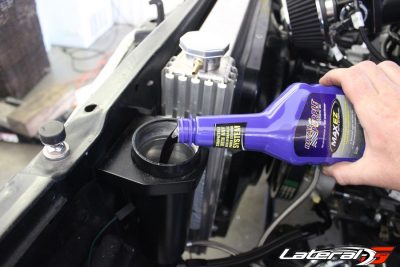
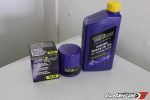
With everything plumbed and installed, it was almost time for the moment of truth. Our very last step was to fill everything full of fluids. For that, we reached out to Royal Purple and their full line of products. Starting with one of the most important, we poured in their Break-In oil accompanied by their LS oil filter. “Our goal as a lubricant manufacturer has also been to provide an answer to popular issues in the automotive community.” said Debby Neubauer, Royal Purple Vice President of Marketing, “Royal Purple Break-In Oil is our solution to address set-backs faced with modern motor oils that disrupt performance on new engines, it is our mission to provide protection for those engine builders that have long-waited for a superior formulation.” In the radiator we used Purple Ice coolant additive. This additive was shown to lower temps by up to 25 degrees. We figure that with this hot of a motor, we could use all the cooling help we could get. For the power steering we used Max Ez power steering fluid to ensure a long lasting and properly working steering system.. Lastly we used Max ATF synthetic automatic transmission fluid to fill up our T56 transmission.
After giving everything a once over, the time came to hit the key and hear those ponies. But before that happened we connected our laptop to the Holley HP EFI and got that set up. Now for somebody that has zero tuning experience, the HP EFI was really user friendly. There’s a quick start guide and it’s self tuning, so overall just about anybody could get just about any motor up and running. We set some parameters such as displacement, cam size, etc. and flashed the computer. One cool feature is how there is a set of gauges that pop up on the laptop allowing us to see our Air/Fuel ratio and a few others, but also providing a redundant set of gauges in case things were displaying properly in the dash.
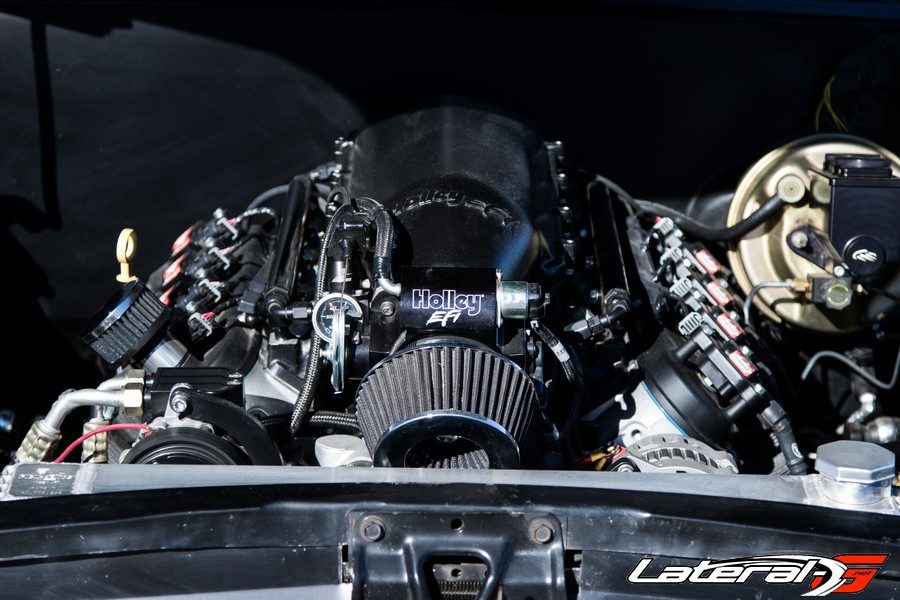
With the twist of the key we primed the fuel system a few times in order to purge any air from the system. The moment of truth came and we cranked over the new motor for the first time. It cranked a few times before we realized that we hadn’t adjusted the butterfly on the throttle body to allow air in. We gave it some gas with the pedal and she fired right up and idled perfectly. We let the motor run for a few seconds and build oil pressure then shut it off to check for leaks.
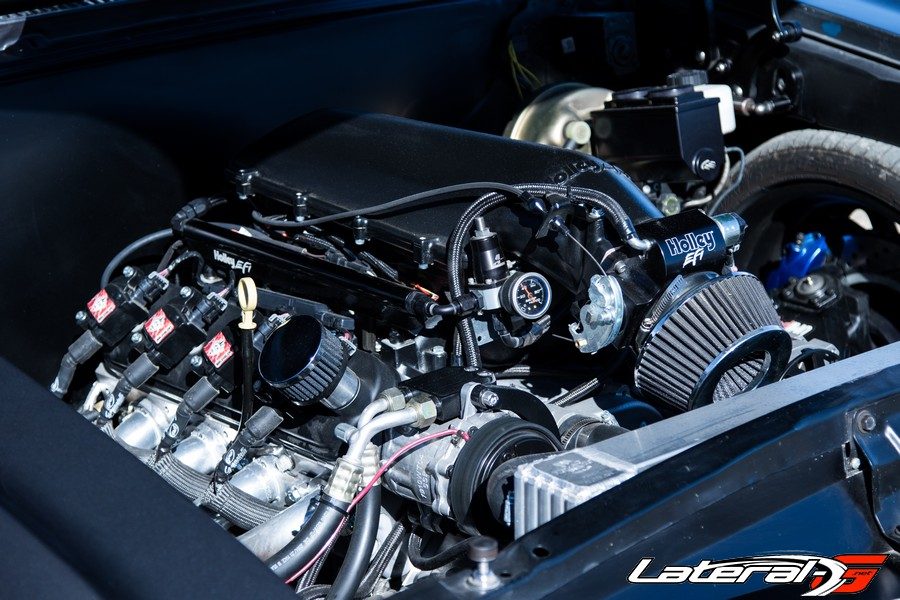
Successful Results!
Once we ran the motor for a bit and got it up to operating temp, we could see on our laptop how it would go into a closed loop and was adjusting the Air/Fuel Ratio on the fly. We couldn’t believe how hassle free the motor started up and ran. Driving it around the block for the first time the motor worked and had tons of power. We put about 20 easy miles on it, dialing in the EFI and checking for leaks or maybe a loose bolt or two. Then the real fun came where we were able to beat on the motor and holy cow were we impressed.
The true testament to this build was when about a week after of getting it all put together set out for Hot Rod Power Tour. We accomplished roughly 5,000 miles in just eight days without a single hiccup or issue. In fact we drove the car about 90MPH on average across Texas fully loaded with the AC cranking and still clicked off about 17 MPG and never overheated a single time thanks to the Flex-A-Lite fan and radiator. Our next step is to take the car to a dyno and see what kind of numbers we get – stay tuned!


