Stopping and Going With Lokar Performance Products
A crucial part of getting our Project Way-Gone ’66 Chevelle Wagon going is being able to give it some gas by stomping on the gas pedal! For that we called up one of our favorite manufactures, Lokar Performance Products. While we were placing our order we also picked up a floor shifter to get that transmission in gear, awesome pedal covers and a transmission dipstick.
On this build we are using a Holley throttle body which would use a similar linkage to a carburetor. With that we could have reused the factory gas pedal and linkage – the problem there is we didn’t have any of that when we bought this shell. Instead of finding an original linkage and hooking it up, we decided to go for an upgrade. While the original linkage works okay, it’s still a mechanical linkage that can hang up and cause some serious issues.
When we LS swapped a few Chevelles in the past, we used the Lokar pedal with great success and wanted to repeat that. One of the reasons we say Lokar is one of favorite manufactures is that everything we’ve used from them just works amazing. They are one of the manufactures that claim “bolt-in” and it’s truly bolt in!
Pedal To The Metal
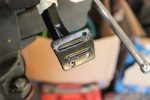
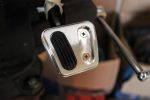
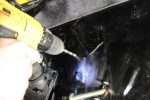
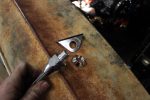
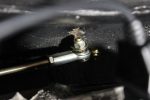
We started with the gas pedal set up so we can at least sit in the car and make race car noises. The pedal is really easy to install as you slide a mounting bracket into the original linkage hole in the firewall, from the engine side. This attaches with two screws and that’s it. The next step is to drill a hole in the firewall to allow the throttle cable to pass through.


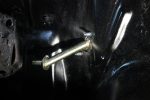
In order to do this, we reattached the arms onto the mounting bracket then rotate the upper arm till it touches the firewall. After marking that spot with a marker, we drilled the hole then started to thread the cable housing through the firewall and trimming it to length on the throttle body side.
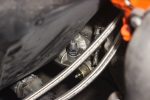
We started by mounting the housing on the firewall. Then we ran the housing up to the bracket on the Holley unit, making sure its a few inches long for some slack in the line. We had to then trim the housing which we did similar to trimming an AN hose – we wrapped it in electrical tape then very carefully cut it so as to not fray. With the housing cut to length we then installed the cable and cut it to fit as well. The last step was to install the supplied return springs.
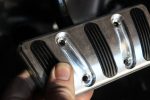
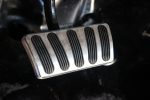
Pretty Little Pedals
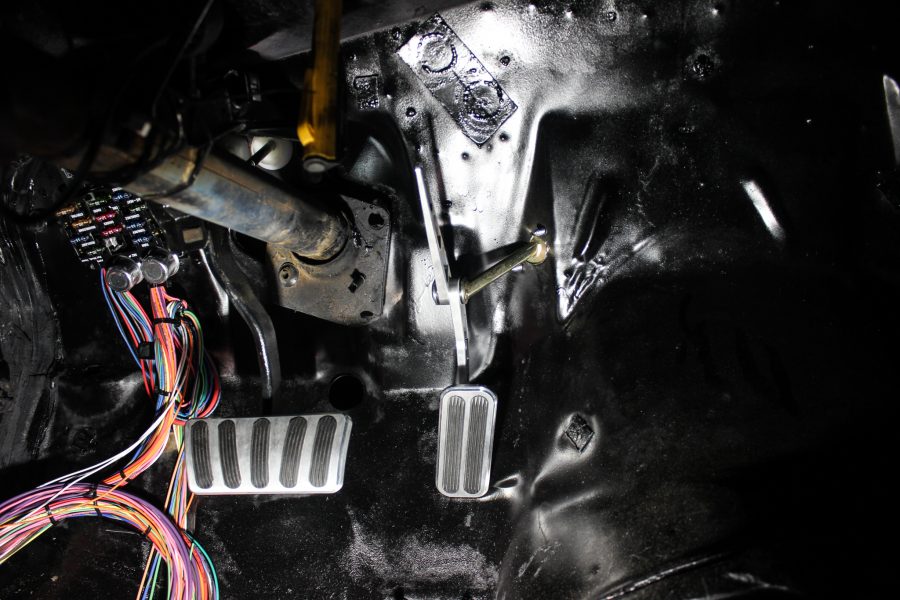
Now that we had a great working and even better looking gas pedal, the other two pedals needed to be brought up to par. Another easy task, Lokar makes these great pedal covers to give a modern make over to any pedal.
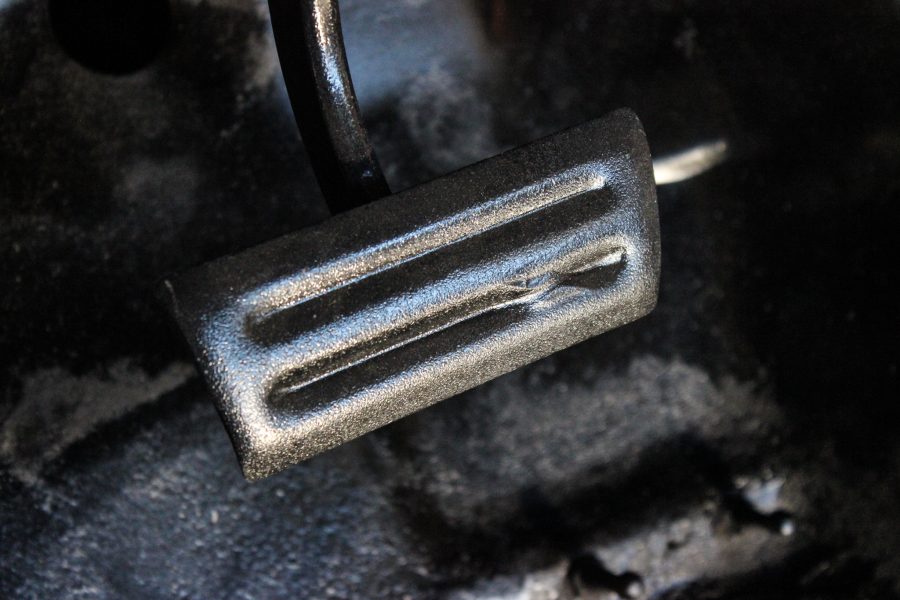

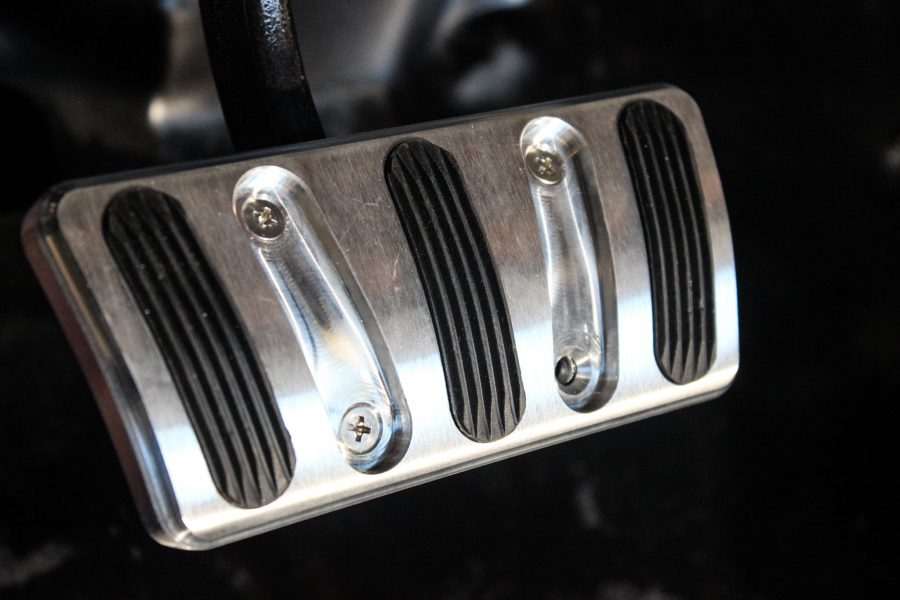
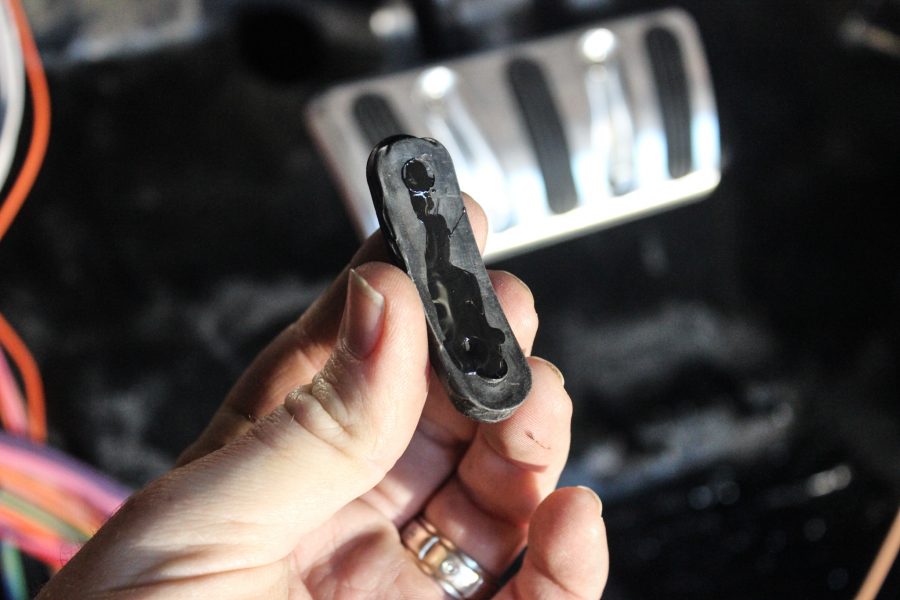
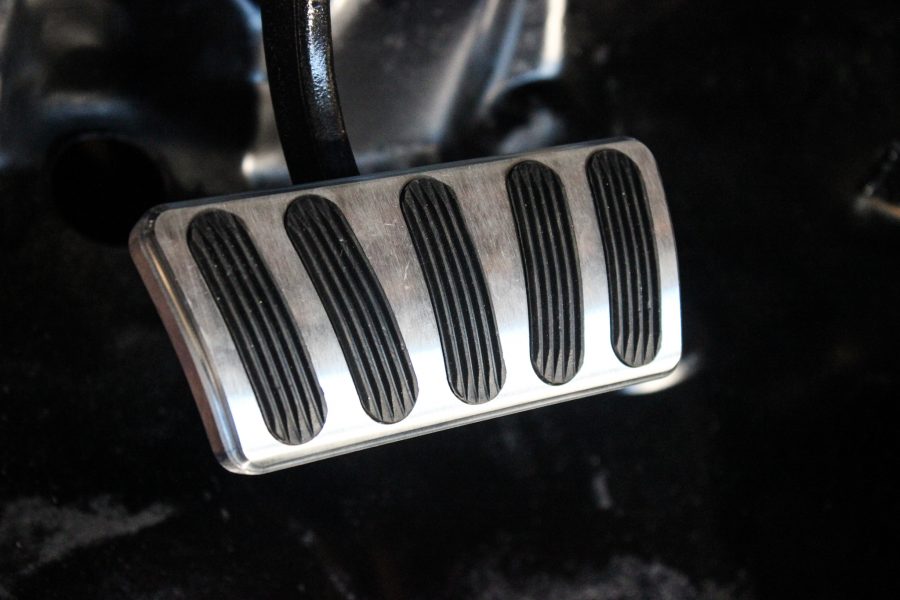
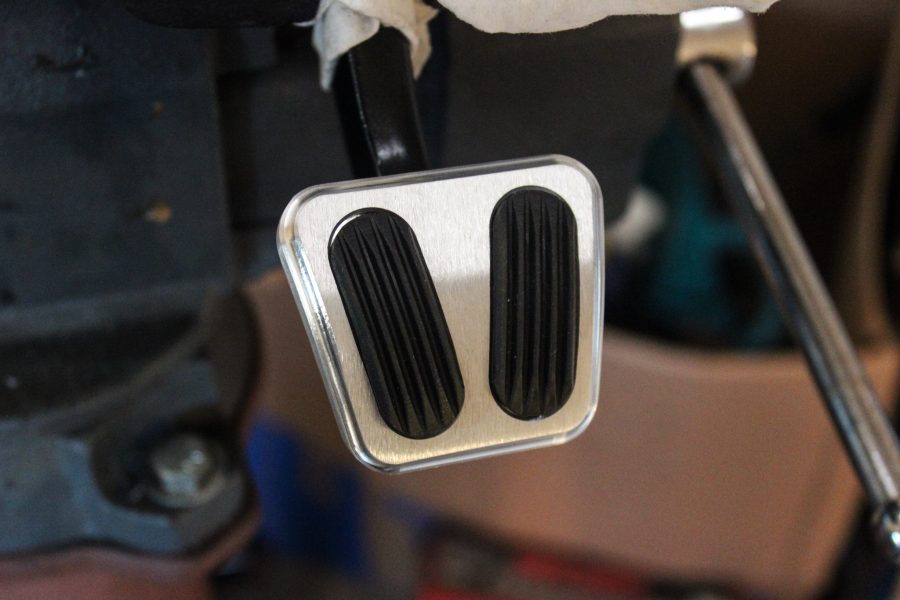
The pedal pads are simple to install and include all the hardware. We started by popping out the two rubber pads, marking the holes on the metal pedal, and drilling the holes. We then bolted the Lokar pedal pad to the metal petal and finally finished it off by super gluing the rubber pads in place. In our other installations which have thousands of miles, we’ve never once had an issue with these – we know they work flawlessly! We repeated the process for the emergency brake pedal.
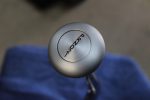
Shiftin’ Gears
With the pedals installed and looking good, we need to be able to put this car in gear and drive it! We accomplished that with this trick Lokar shifter.
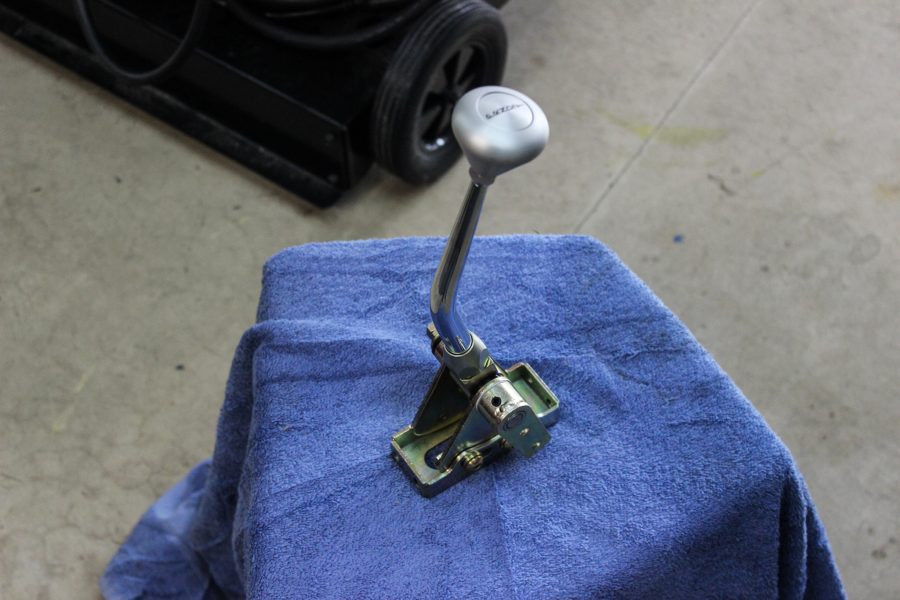
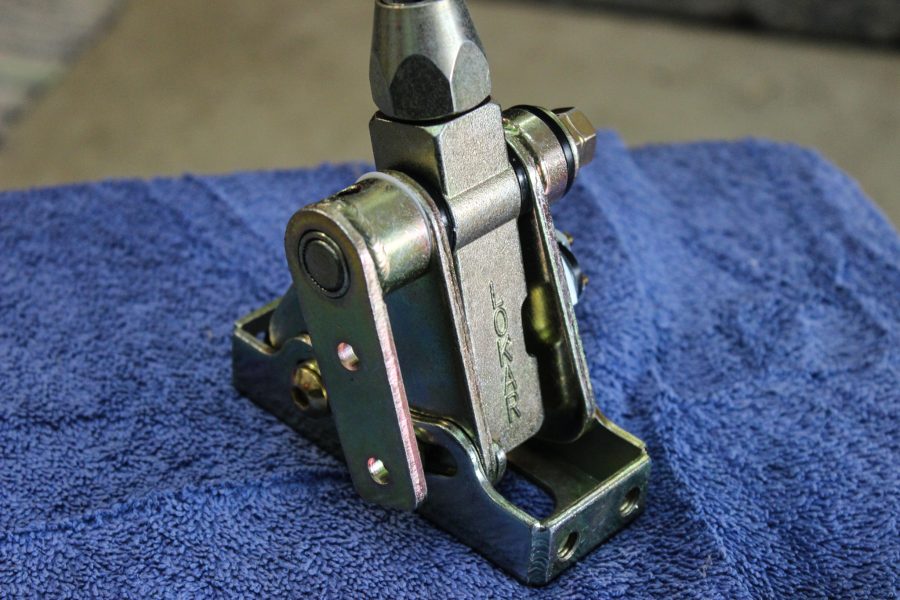

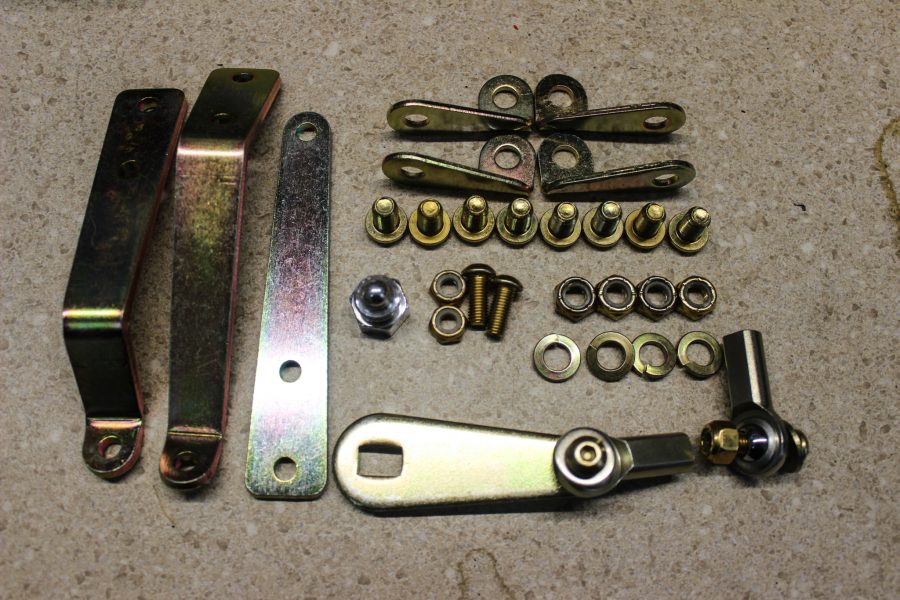
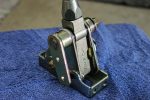
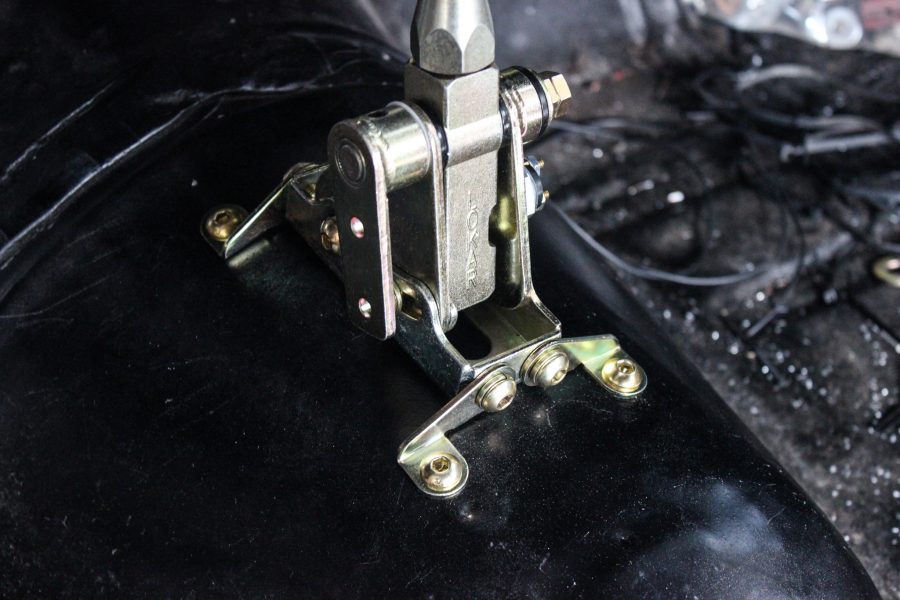
Installation from start to finish took a little over an hour – it’s straight forward and has excellent instructions. Our first step was to attach the mounting arms to the base of the shifter. These can be flipped to allow the shifter to be mounted on the top of the floorboard, or mounted underneath. We opted for the top of the floorboard.
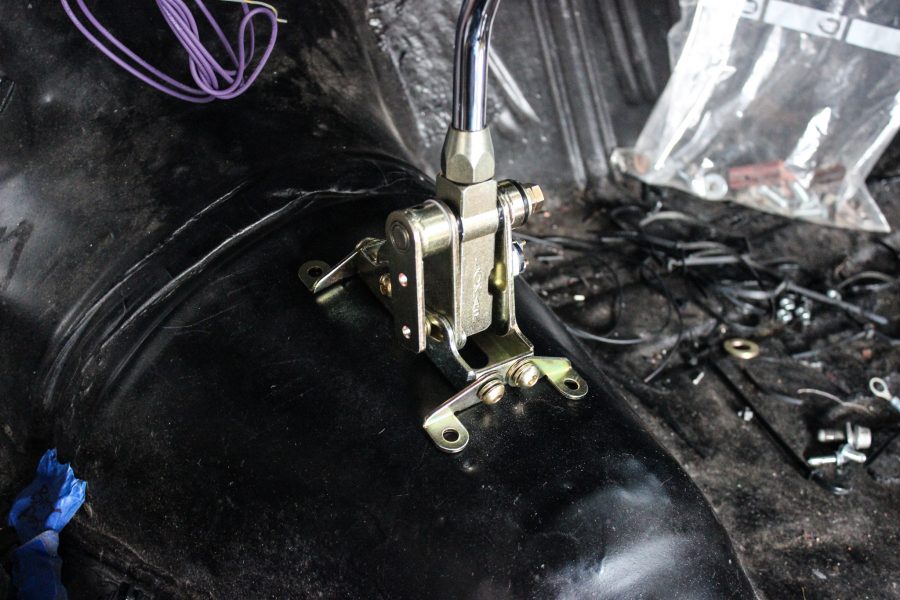
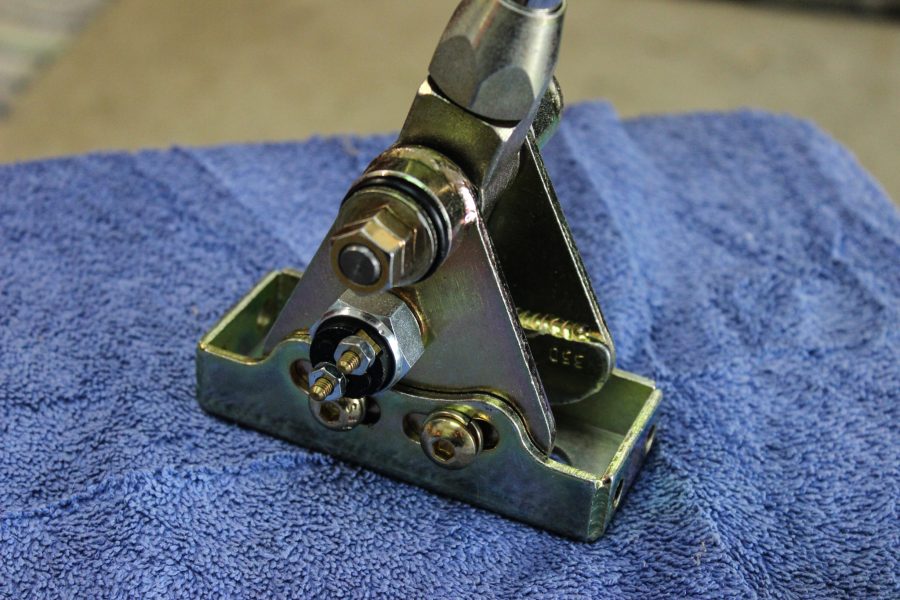
During this part we had to make sure that when in park the shifter wouldn’t hit the dash, or in first gear wouldn’t hit the seats. Now we don’t have seats at this point, so we just got it close to the dash and hoping for the best. After marking the location we drilled four holes into the floorboard and attached the shifter with the provided hardware. One thing to note here is the position of the arms on the shifter base. We have them facing away from the base, but if you plan on using a Lokar shifter boot and ring, then you’ll want the forward set facing backwards.
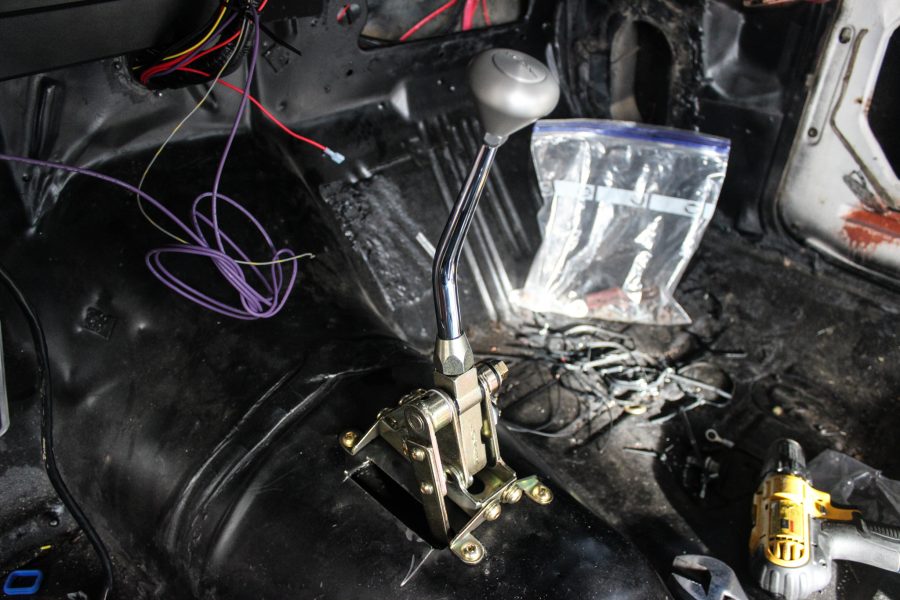
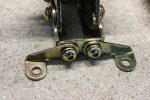
From here the time came to cut a hole in the floor for the linkage to pass thru. We started this process by holding one of the supplied arms to the shifter and letting it scrape it the floor to mark where we needed to cut. Basically we cut a slot about 3/4″ wide and the length of the shifter. With that, we tried the different arms to see what fit best and had the straightest shot to the shift arm on the transmission.

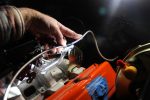
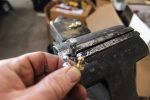
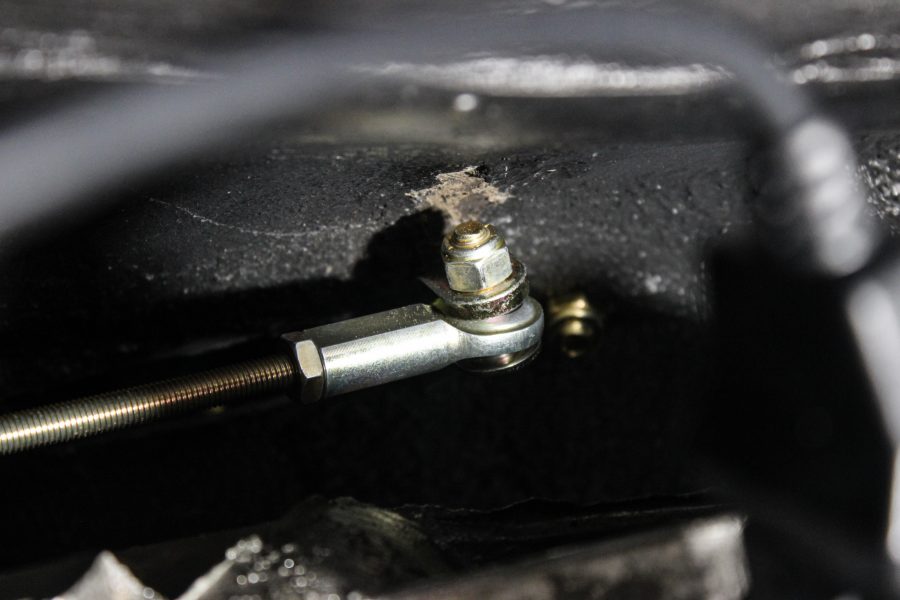
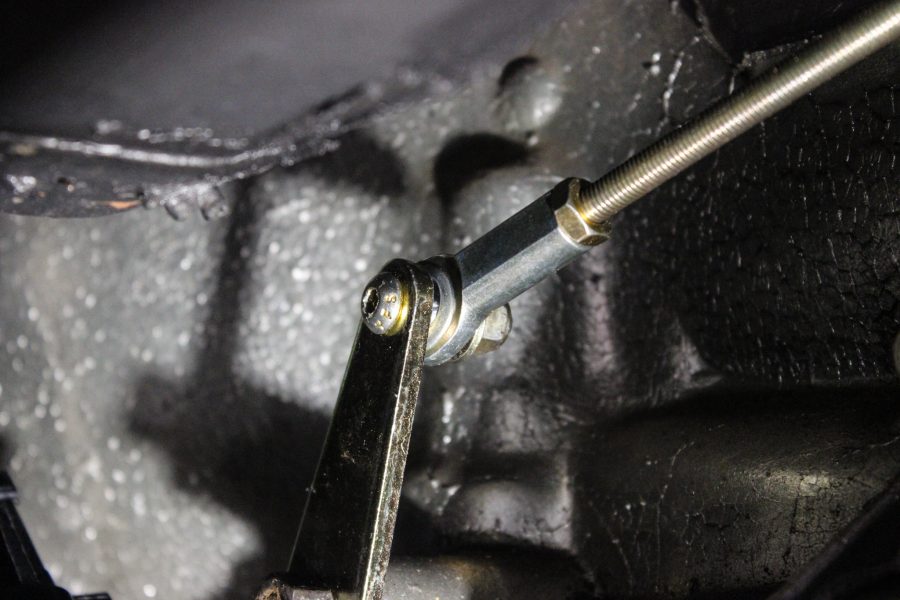
Back under the car we popped the stock shift arm off, slid the new arm on, and reused the stock nut to attach it. The instructions say to make sure the transmission is in Park, which puts this arm in the 1 o’clock position. The arm on the shifter itself needs to be in park as well and located at about the 4 to 5 o’clock position. Then we measured the distance between the two arms.

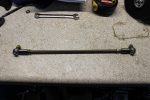
With that measurement we took the long rod of all-thread and cut it to fit. The instructions say to take the distance between the two arms, subtract 1-3/4″ and cut it. After that we threaded on the rod ends and bolted the assembly to the shifter and transmission.
Naturally at this point we had to try out the shifter and make sure it works. The last step was to wire up the neutral safety switch. Our Painless Performance wiring was already hanging down there, we just had to cut the wire and connect it to the switch.
We did pick up a shifter boot and bezel from Lokar, but we won’t get to that until carpet gets laid down.
Checkin’ The Fluid
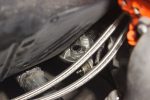
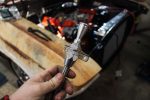
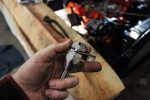
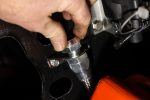
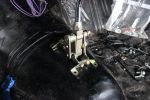
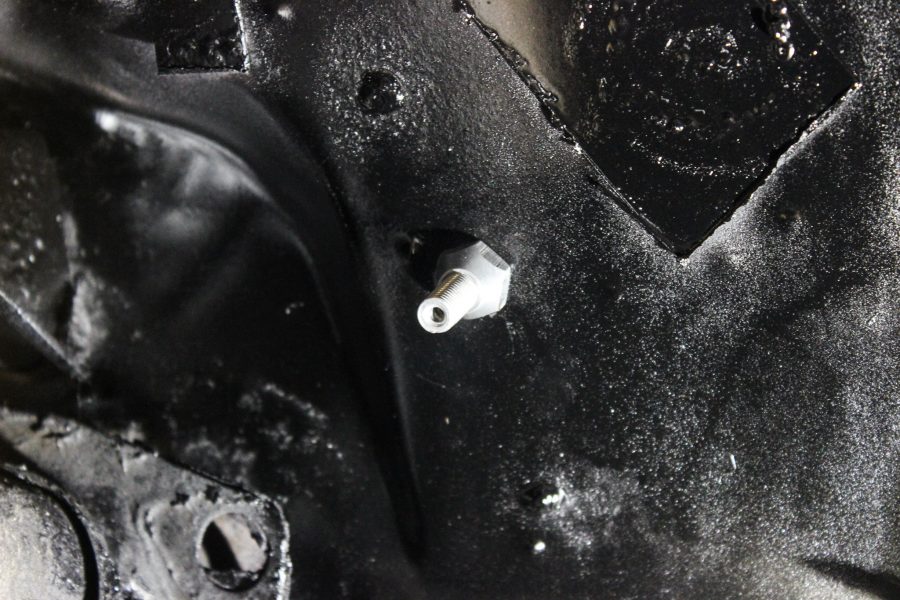
Our last step in the box of parts from Lokar was the transmission dipstick. The Turbo-400 we picked up had a factory tube and dipstick in it, but the bends weren’t right for this car and frankly, it looked like junk. We snagged up this trick Lokar piece that has a flexible tube to snake it around and mount it just about anywhere. On top of that, it looks amazing too!


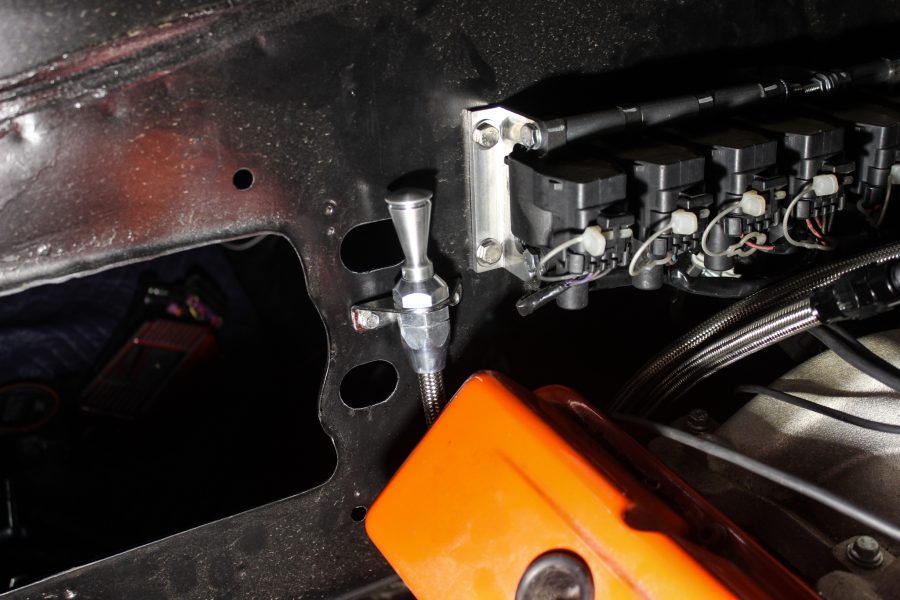
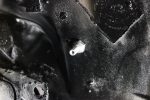
We popped out the factory tube and dipstick, and slid the Lokar piece in. Then we moved it around to find a suitable mounting spot, which we found on the firewall. At the top of the tube is a simple bracket that we screwed right into the firewall.
If you’re wondering about depth of the dipstick, that’s set from the factory. They have these set to the right depth so you don’t burn up a transmission. This piece is literally a set it and forget it type piece.
For more information on any of these Lokar pieces, give them a call at (877) 469-7440 or hop on their site at Lokar.com