A wildly popular upgrade in any classic car is to either ditch the manual 4-speed or the automatic transmission and upgrade to a modern overdrive transmission. They shift smoother, drop the RPM’s, improve MPG and drastically increases the smiles! After selling thousands of transmissions and becoming the largest TREMEC dealer out there, American Powertrain knows everything there is to know about installing a modern transmission into your classic.
One of the biggest downsides though is the space required. “We try to design our kits so that you don’t have to cut or modify the transmission tunnel,” stated Matt Graves of American Powertrain. “However it’s not always possible, and sometimes you have to do some cutting in order to get the transmission to fit,” continued Matt. We know this adds a lot of work to an already big job. Plus lots of gearheads are great at bolting things together, but not so much on fabricating sheetmetal.
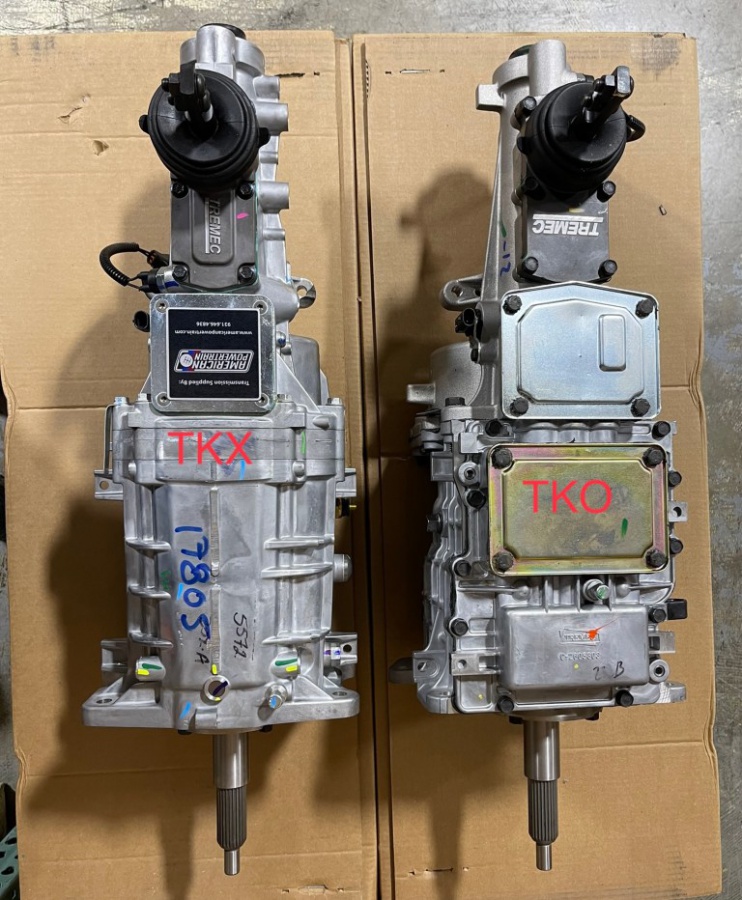
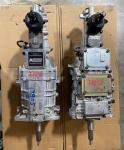
“TREMEC finally answered our requests with a smaller 5-speed transmission, the TKX. These new transmissions are completely redesigned over their TKO predecessors. First and foremost the case is significantly smaller, so it fits more applications and requires less trans hump modifications. Second, they are much stronger and can handle more power. Third, the synchro’s are based off the Magnum synchro’s so the shifting is smoother and at higher RPM’s. Overall, this is a much better transmission than the TKO,” continued Matt.
We hopped on the American Powertrain site and found an article article talking about the differences between the two transmissions. This really is the new transmission for the future and we couldn’t wait to test it out.
More features of the TKX
- Equipped with a high-performance short-throw billet aluminum shifter that isolates road noise while providing clean, crisp shifts.
- Multiple shift locations for installation flexibility.
- Robust design with internal three-rail shift system and steel shift forks.
- Wide gear width increases gear life and torque capacity.
- 26-spline input shaft with a 31-spline output shaft for added strength.
- Built-in reverse light switch and cruise control safety switch.
- Separate GM and Ford case patterns and input configurations. Integrated GM and Ford transmission mount patterns.
Goodbye Auto, Hello Manual
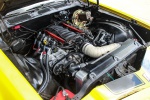
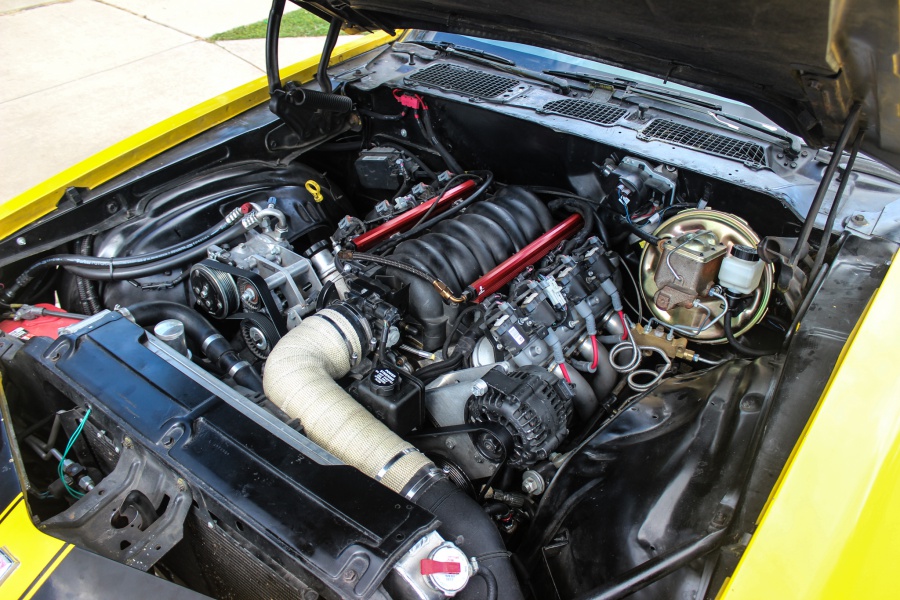
Our test bed was a 1971 Camaro Z/28 that already had an LS/4L80e swap in it. With a TKO the transmission hump would have to massaged a bit, or cut and rewelded. We wanted to upgrade to a manual transmission in it and find out if it was truly bolt in or would require massaging of the tunnel.
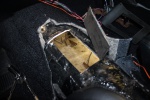
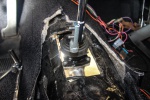
After dropping out the 4L80e, we got to work. What we did first was to install the bell housing and TKX transmission without the clutch to check fitment and figure out where to cut the floor for the shifter. If you were going to use a factory console, American Powertrain sells offsets for their shifters that will allow you to put the shifter right through the factory location on all major platforms. In this case we were using a TMI Products console and just wanted it to come through the center of it where the factory horseshoe shifter was.


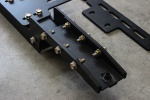
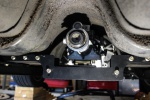
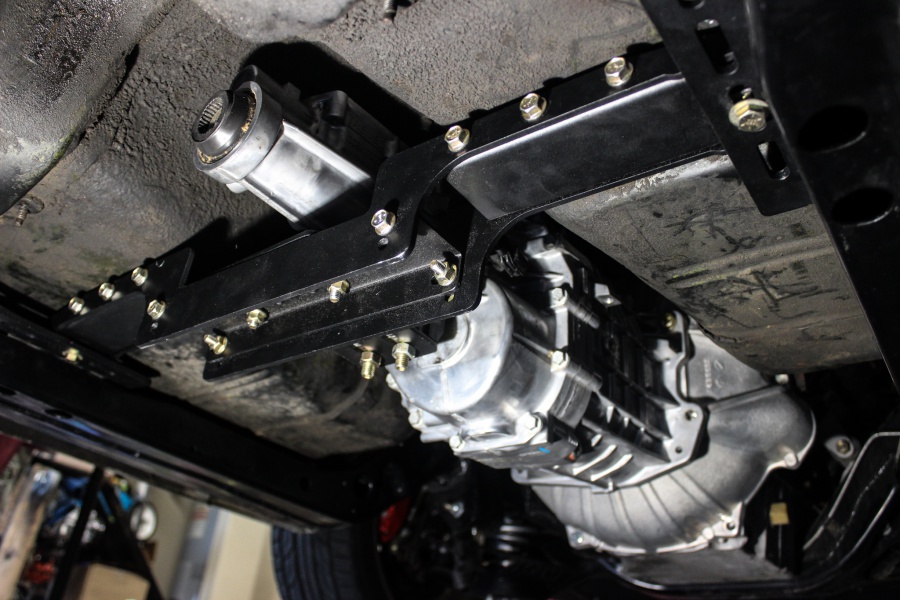
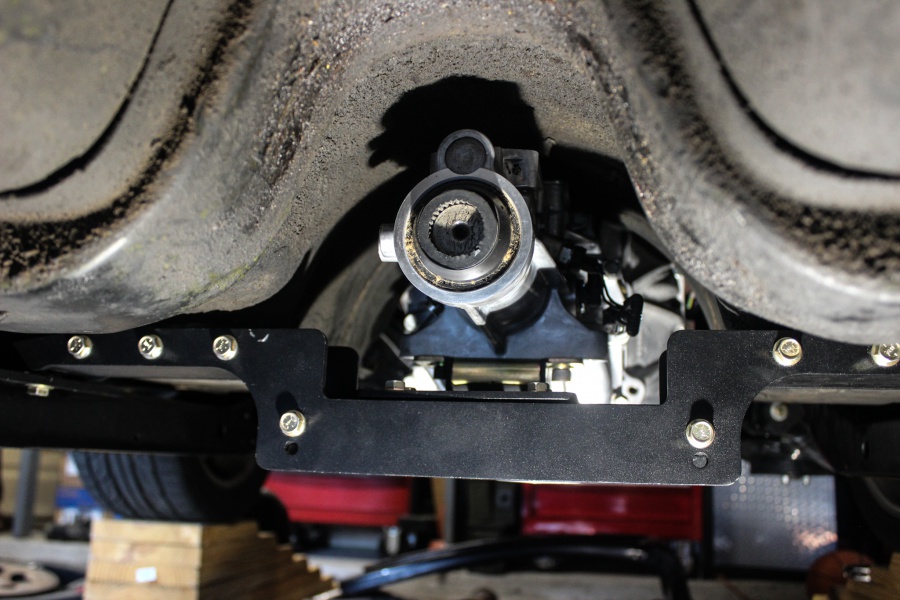
We ordered and used the complete American Powertrain kit for this car, which included a cross member, hydraulic throw out, pedals, clutch, pigtails, yoke and even transmission fluid. The cross member works by bolting two mounting tabs onto the stock sub-frame. With the transmission bolted to the bell housing we then bolted in the cross member and took note of the fitment of the transmission. There was zero modifying needed around the trans hump – we couldn’t believe it! This swap was truly a bolt in deal other than cutting a hole for the shifter to come through. We measured for that while under the car then pulled the trans back out to get it ready for final installation.

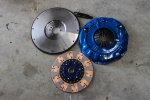
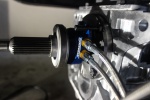
We wanted to get the hard part done first – we accomplished that by installing the pilot bearing, flywheel, clutch and pressure plate. With this done the next step is to measure and figure out how many shims we need for the HydraMax throw out bearing. We bolted the bell housing back up and measured from the face of the bell housing to the fingers of the clutch. Then we measured from the face of the transmission to the face of the HydraMax bearing. Ideally you want .125″-.200″ between the throwout bearing and the fingers on the clutch. We did a little math, some head scratching, more math and figured out exactly how many shims we needed. Then we redid all our measurements to make sure we were right. We didn’t want to install this clutch more times than needed!
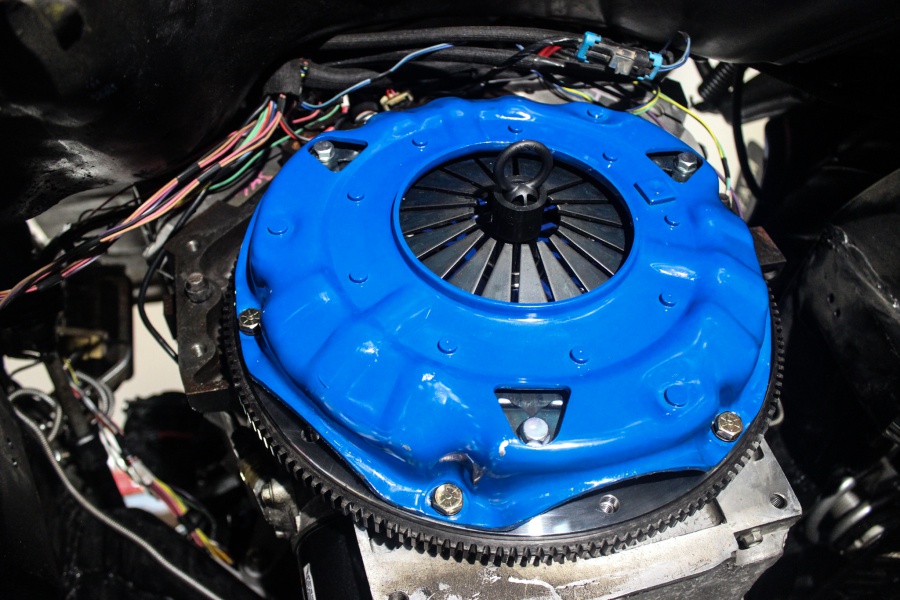


Before lifting up the transmission and installing it we did connect a 24″ long braided hose to the HydraMax that we will route up to the slave on the firewall. The last step was to cut a hole in the floor for the shifter to come through. With everything in place we jacked the transmission up and slid it into it’s new home. It’s important to take your time and not rush or force things. We jiggled and wiggled the trans a bit to get the input shaft slid through the clutch disc and to make sure the HydraMax set up was slid over the input shaft and clocked correctly. After that we bolted the cross member back into place – if you’ve never used an American Powertrain cross member you should. There’s so much adjustment it makes mounting up any transmission a breeze.
The driveshaft wasn’t the correct length after swapping from the 4L80e – we had a local shop rework it and swap the yoke to the correct one. You might have to have your shaft lengthened or shortened.
Going Up Top
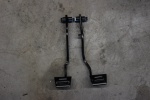
On the topside we had a little work left to do before we could hit the open road. Under the dash we disconnected the brake booster rod and removed the automatic brake pedal. We then installed the new clutch/brake pedal combo under the dash. Under the hood we unbolted the master cylinder and moved it forward, then removed the booster. American Powertrain provided a master cylinder and bracket that mounts to the firewall and bolts to the clutch pedal.
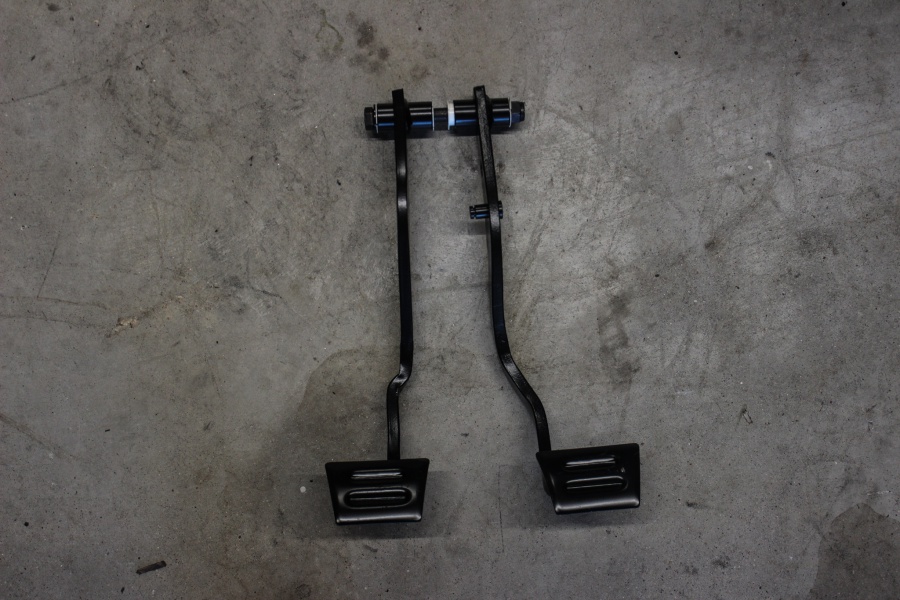
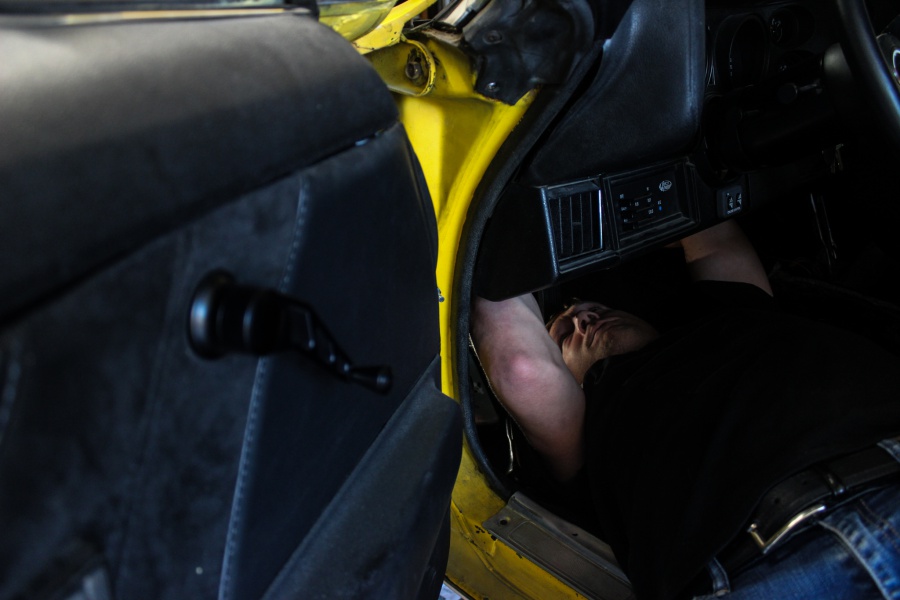
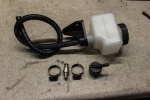
Before we mounted the booster back up we bolted the slave into place and connected the braided line. Then we bolted the booster and master cylinder back up before fabbing a little bracket off the master to hold the slave reservoir next to the master cylinder.
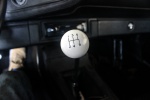
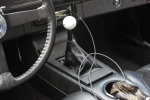
The American Powertrain kit came with a stock second-gen Camaro shifter handle. This handle was tall and had a long arc back to the driver. While it worked, we wanted something shorter for a more performance feel. We ordered up a new shifter handle from Lokar Performance and a boot to fill the opening in the TMI console. This shifter handle was straight and machined in the same pattern as the Lokar door handles to tie it all together. The best part is it’s only 6″ tall, drastically shortening the distance to shift. Two bolts and a knob, and the shifter was done.

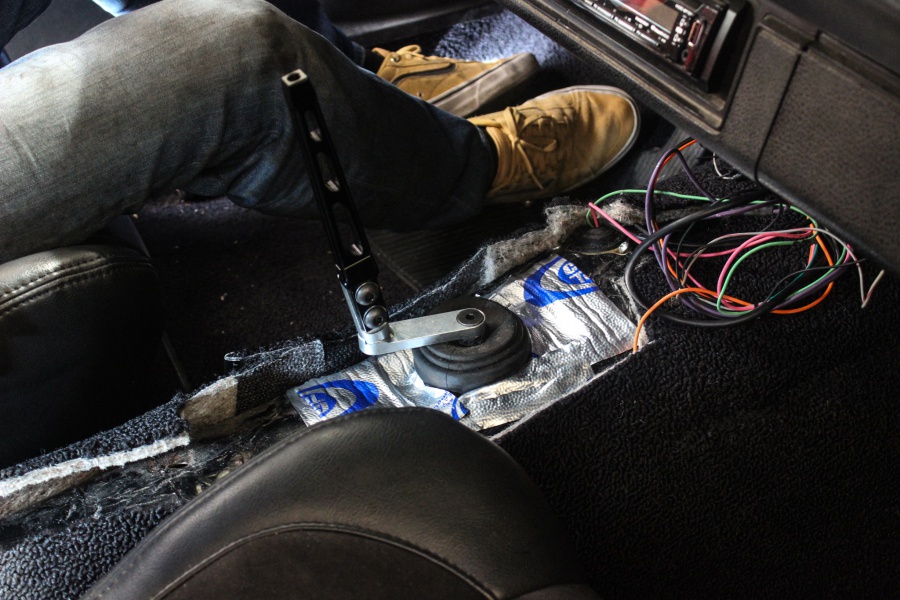
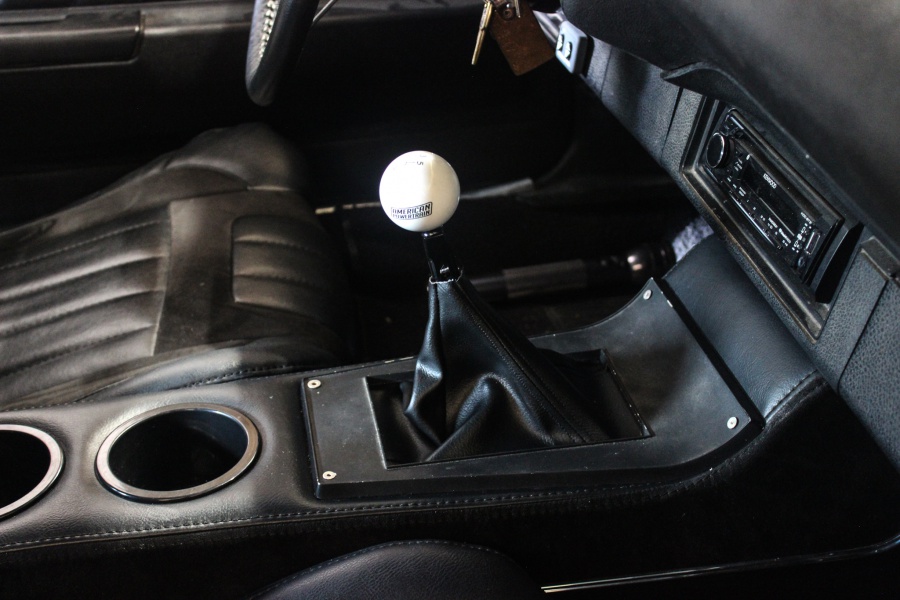
All that was left at this point was to connect the speedometer wires to the speedometer and back up light wires. While under the car we also filled the transmission with fluid. American Powertrain includes break in fluid when you order a kit. Our final step was to bleed the master which is an easy task with the remote bleeder. We used DOT 3 brake fluid for this part.

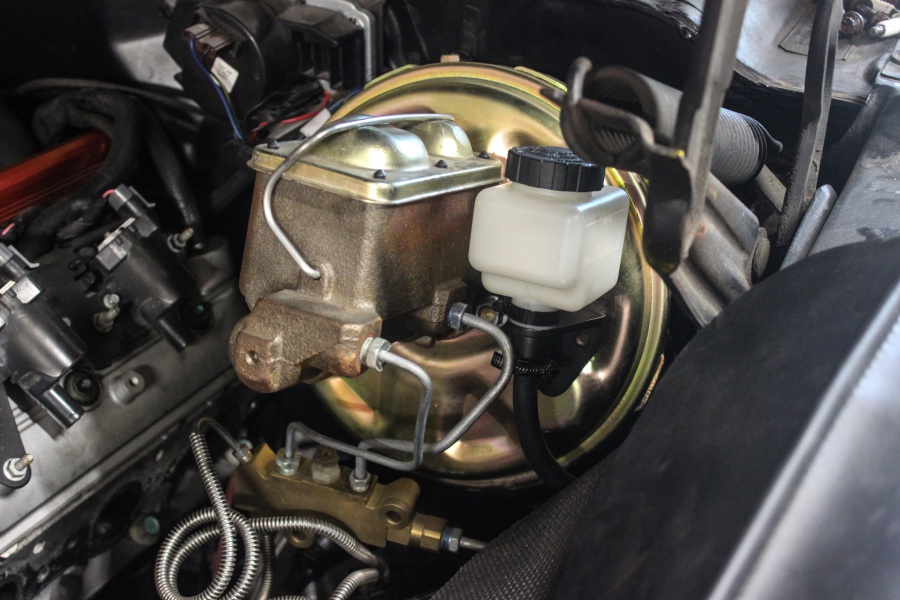
The clutch requires 500 miles of break in as does the transmission. After 500-800 miles American Powertrain recommends draining the fluid and putting in some Tremec HP-MTF fluid or any high quality Syncromesh rated oil. The fluid coming out of the transmission might have some glitter or a shiny tint to it, and that’s okay – that’s just the synchro’s breaking in. American Powertrain recommends draining the trans fluid.
Driving around the car has a night and day difference feel to it. Before, there was a vibration on the highway around 75-80MPH. That vibration is gone, the RPM’s have dropped and the whole car is so much smoother overall. Well worth the weekend it took to swap it all over!


For more information hop on American Powertrain’s site or give them a call at (931) 646-4836


