Installing Holley’s High-Mount Accessory Drive
One of the next goals on our 1966 Chevelle Wagon project is to get the car running and moving under its own power. The engine is a bone stock LM7 engine that we’ve outfitted with Hedman cast iron manifolds and SBC valve covers along with an Edelbrock carb style intake to allow us to run our Holley Sniper.
A major component needed to get it running is the accessory drive set up. On another LS we installed an Eddie Motorsports 8-Rib accessory kit. While we loved it and it’s performed flawlessly for thousands of miles for us, it’s too flashy for this build. We wanted something that fit the build a bit better along with a better price point.
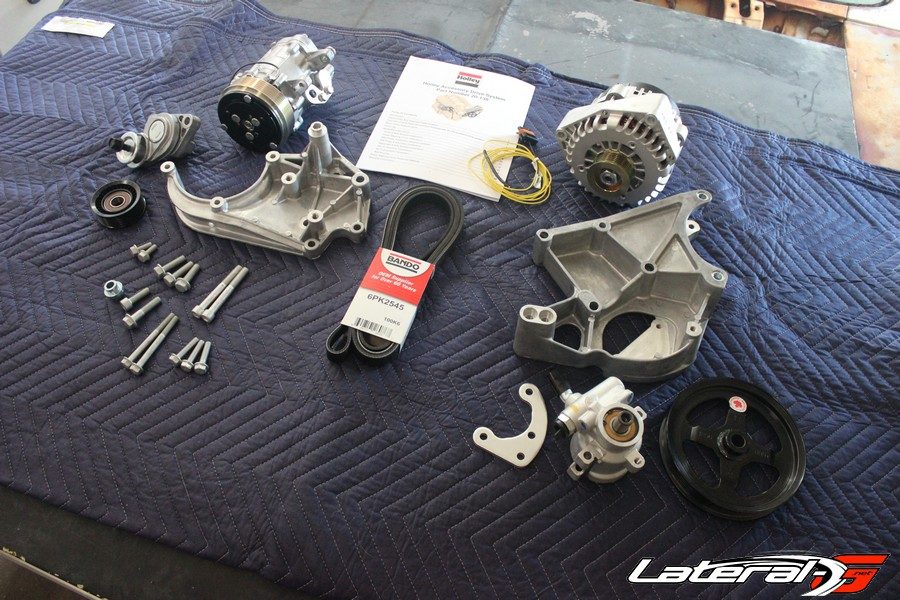
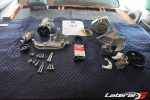
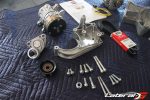
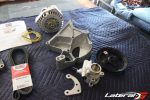
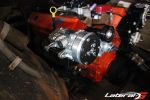
What we liked about this high-mount kit is that it includes just about everything. We got the power steering pump, alternator and air conditioning compressor along with the brackets to make it work. Holley does offer a mid-mount kit that bolts everything to the water pump bolts along with a low mount version. This kit the brackets bolt to the driver and passenger side head. In essence this is similar to a factory Corvette style accessory drive.
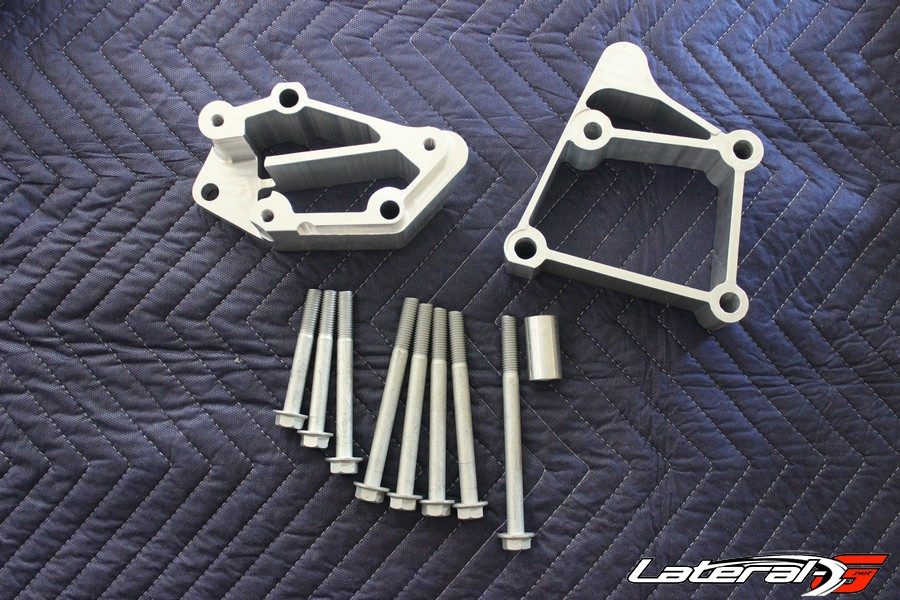
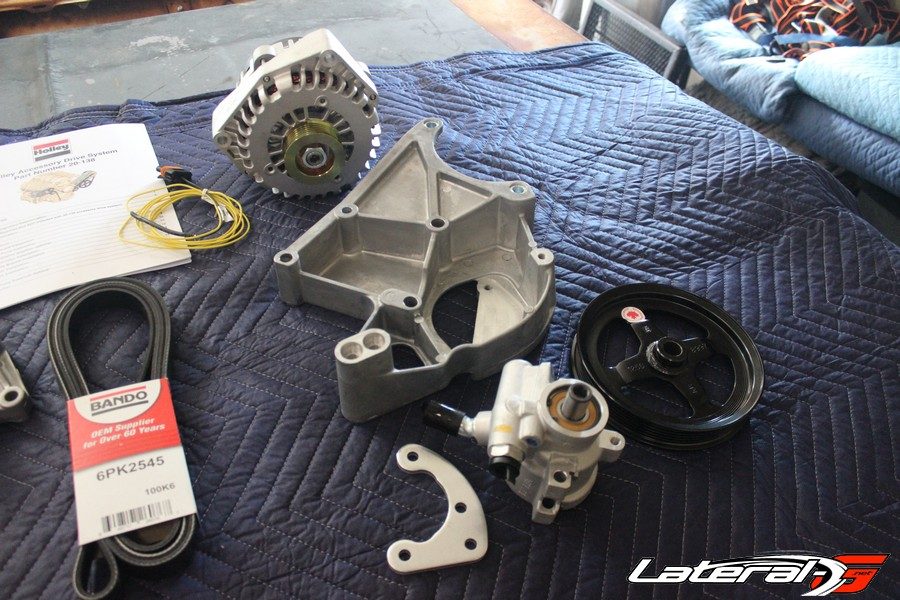
One thing we noticed right off the bat that we really loved was how this kit can adapt to whichever LS you have. When we got this motor it was like most junkyard LS engines, it was a long block with a crank pulley on it. In order for this kit to fit the different variations of crank pulleys, there are different spacer kits that go between the accessory brackets and the heads.
Installation Is A Snap
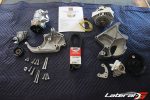
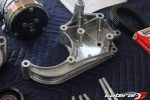
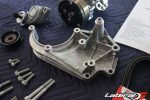
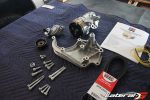
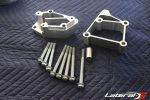
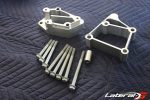
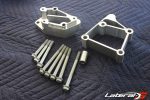
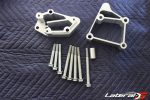
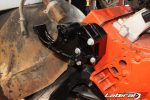
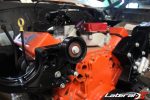
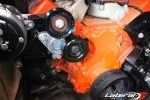
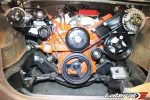
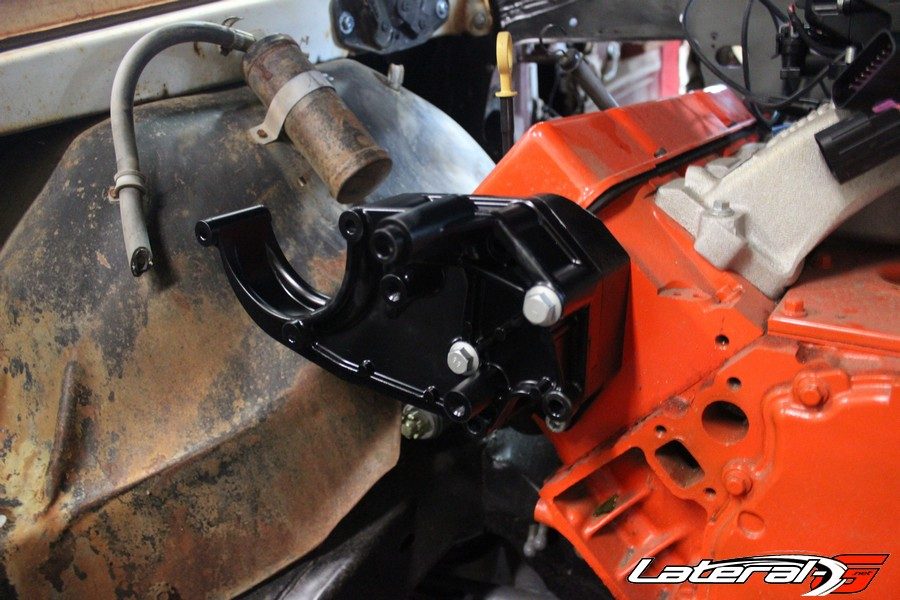
The brackets for this kit are raw cast aluminum. Since we are going with traditional SBC vibe on this LS, we whipped out a can of semi-gloss spray black. After a quick coat of primer, we painted the brackets black to give it a semi-stock feel. Once that was done, installation could begin.
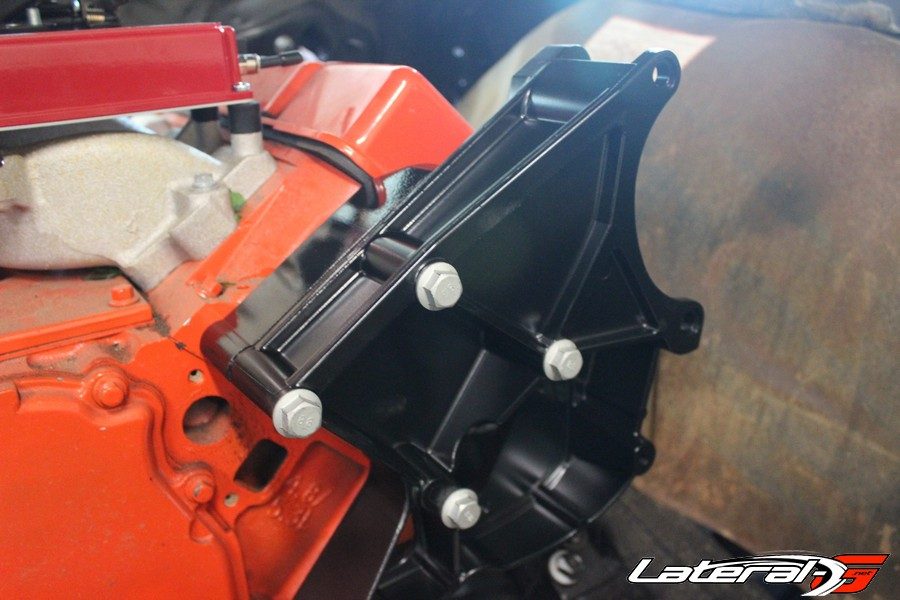
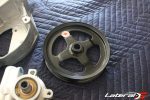
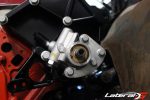
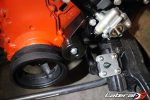
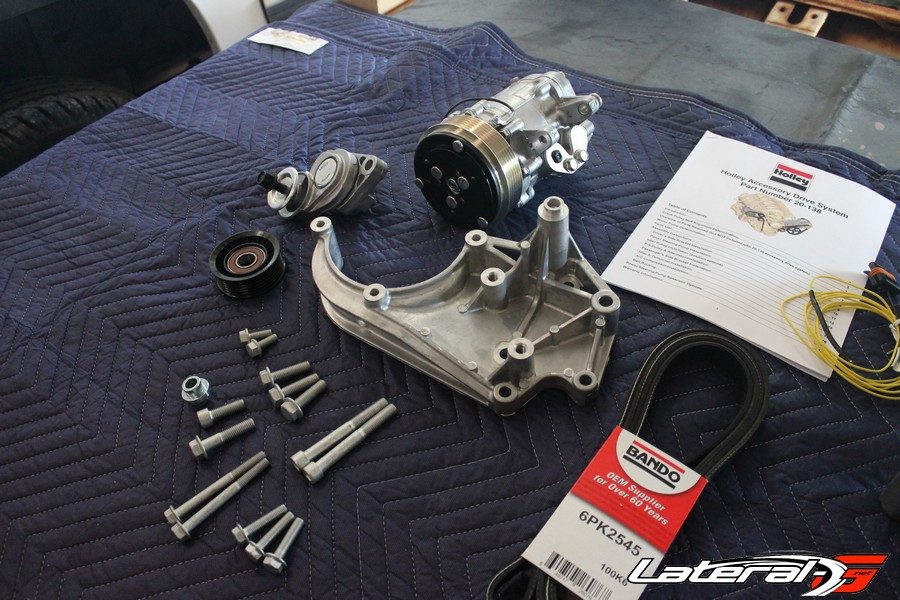
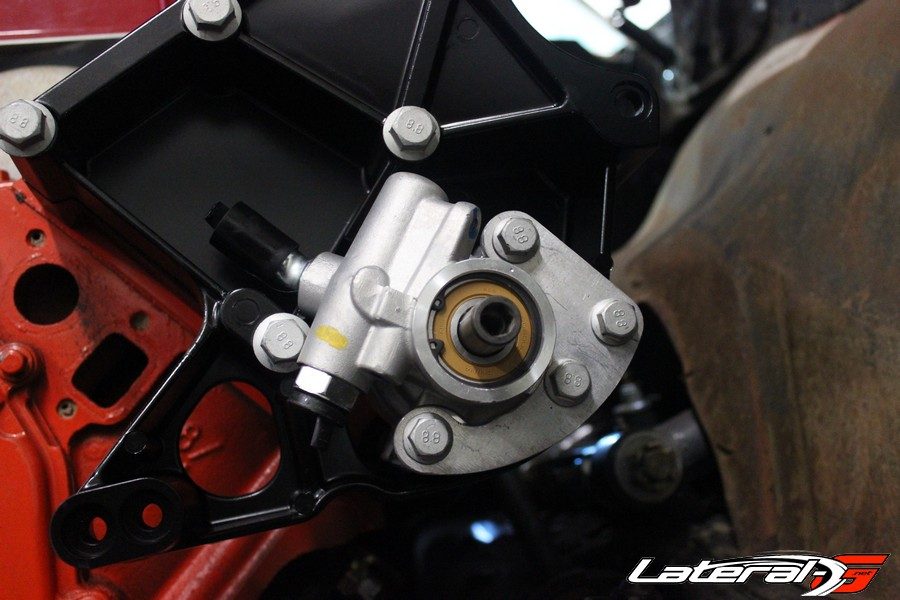
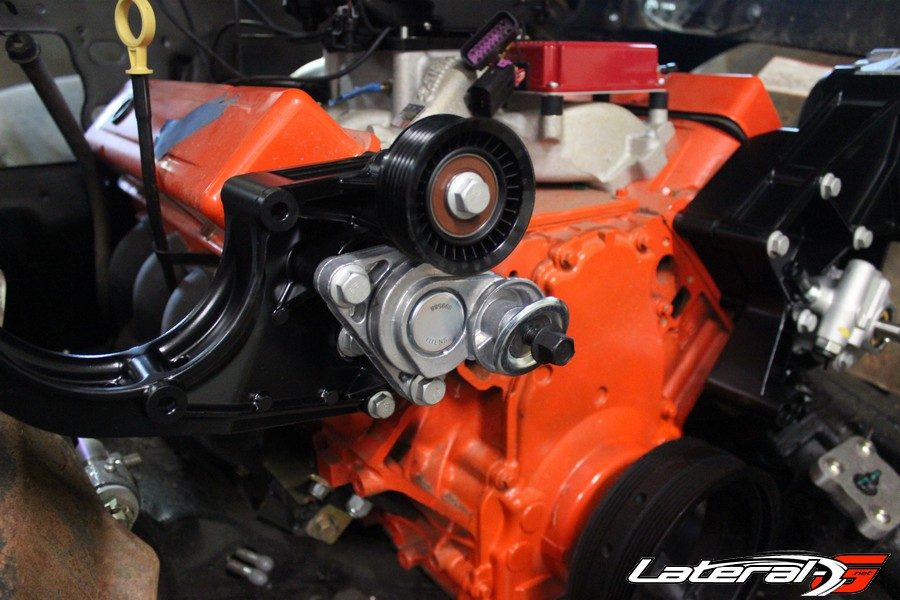
We started by mounting the drivers side bracket and spacers to the head. This is accomplished with four bolts that are provided in the kit. With that done we bolted up the power steering pump with the included bolts and bracket. One note is that the pulley isn’t mounted on the pulley and you will have to press that on yourself.
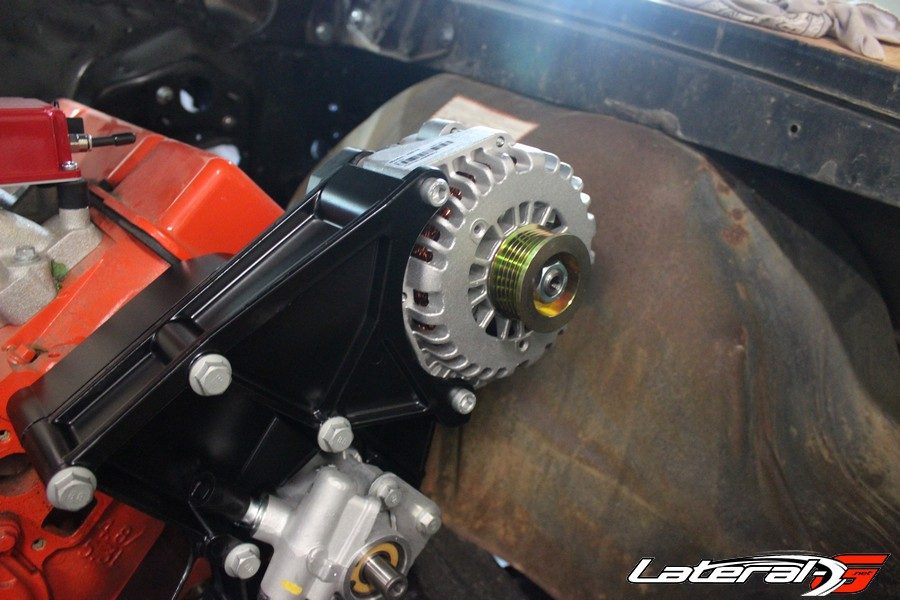
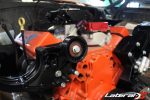
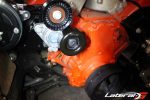
The alternator was our next step which is secured the same as a factory alternator with two allen head bolts. Holley even provides the pigtail for the wiring on the alternator.
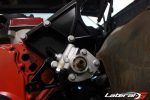
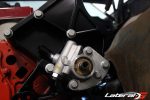
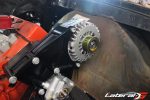
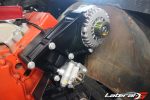
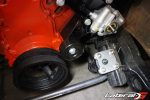
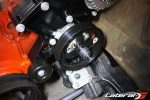
On the passenger side we bolted up the bracket to the head with the supplied bolts. The next step for us was to bolt up one of the idler pulleys and the tensioner pulleys. We then set the AC compressor in place and bolted it down.

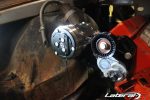
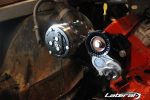
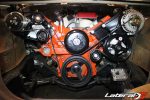
At this point we worked on the pulleys by installing the other idler pulleys and pressing on the power steering pulley. In order to finish up the install we then installed a replacement water pump we bought off RockAuto.com for this truck engine. Using the supplied belt, this accessory drive system is finished!
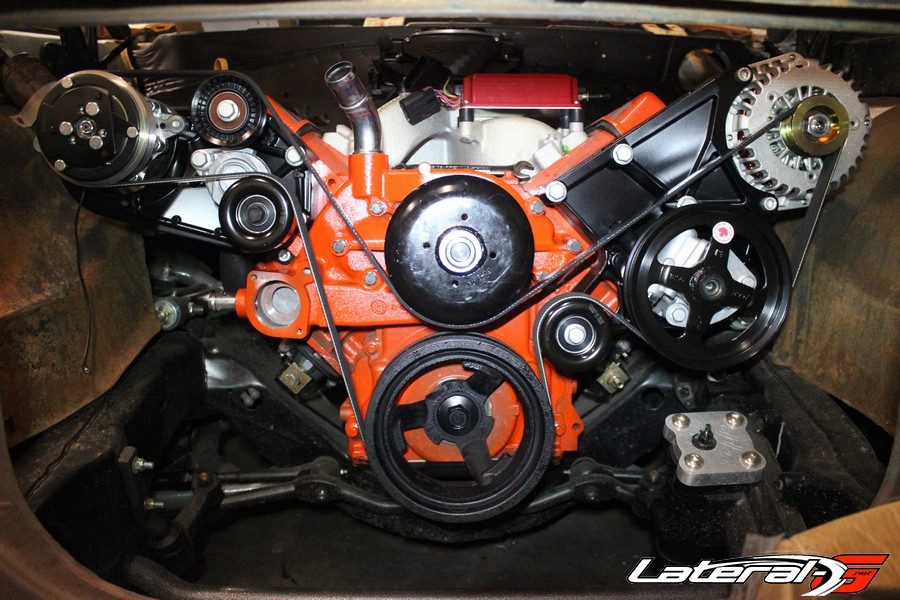
Overall this kit was well designed and worked great for us. After the paint dried the entire time to install this kit was a couple hours. Our next step is to wire up the alternator and the rest of the car using our Painless Peformance wiring harness and finish up the plumbing so we can hear it run!
For more information on this kit or to buy, hop on Holley’s website or give them a call at (866) 464-6553