The Full Air Ride Install With Ridetech
The time has come to really see what this Ridetech air ride is all about! Back in Part One we discussed some of the common misconceptions of air ride and how Ridetech has fixed all of those.
We wanted to show that anybody can complete an air ride install so we did it ourselves in a driveway with fairly basic tools. We went ahead and took a quick cell phone video of the install to help show some of the details and overall installation as well.
The first step was to get the car up off the ground. We used a basic pair of jack stands at all four corners. With the car up in the air, we removed the wheels and tires at all four corners.
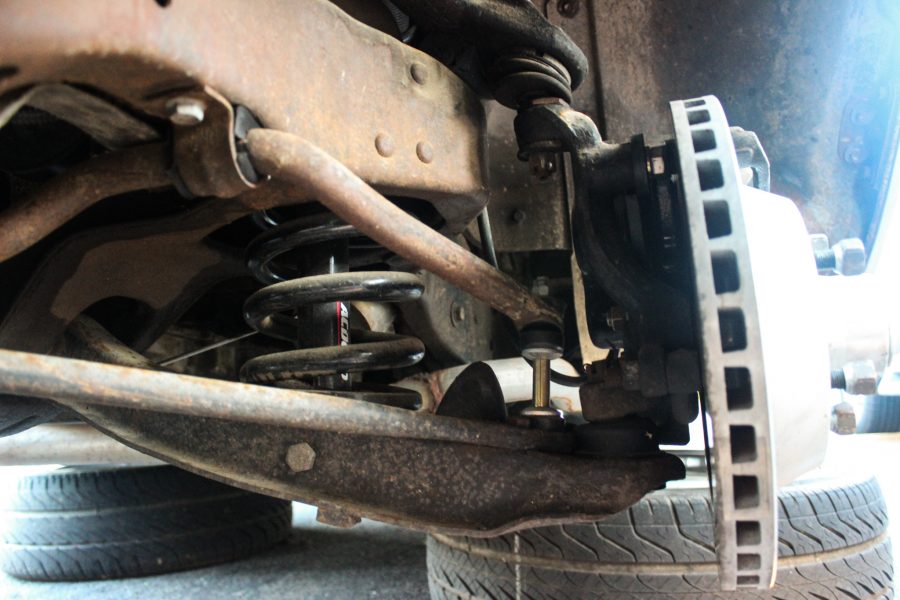
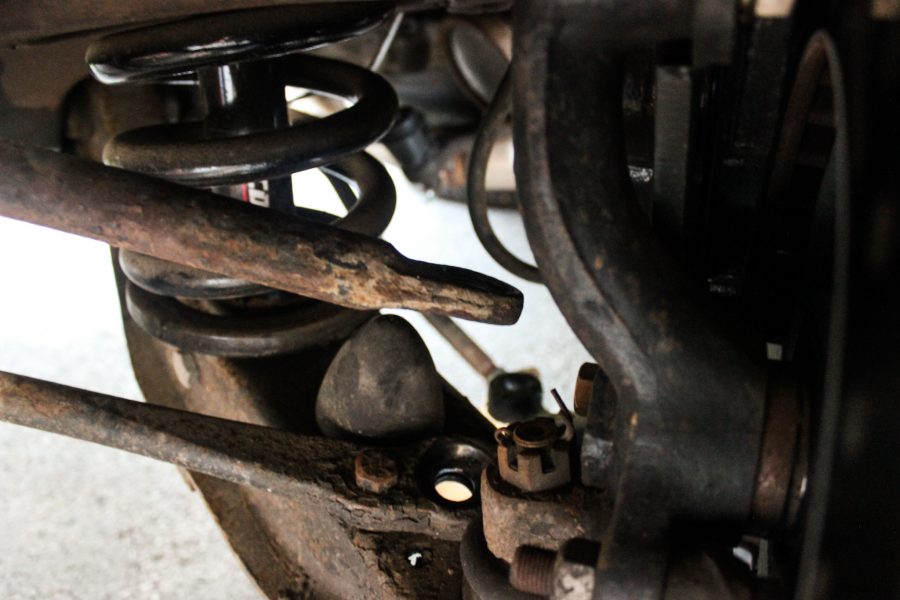
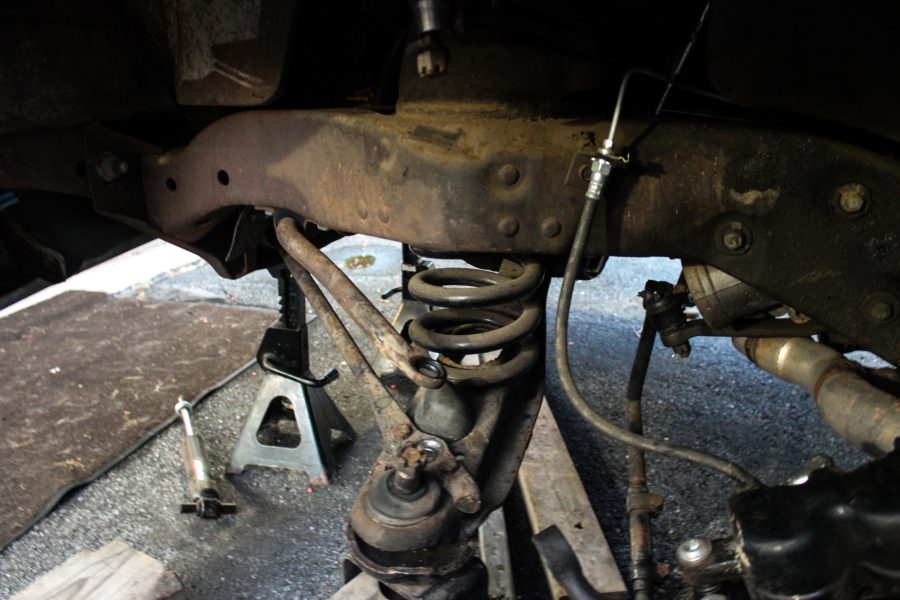
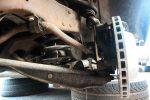
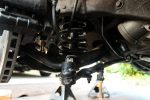
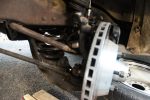
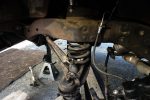
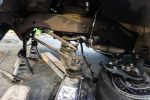
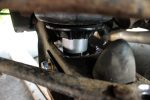
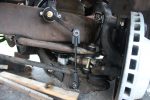
Tackling the front first, we needed to remove the factory shocks and coil springs. After popping off the tie rods, we unbolted the sway bar along with removing the shocks. From here busted the upper and lower ball joints loose, then very carefully removed the spindle and coil springs.
Now the Ridetech is mainly a bolt-in deal depending on the application, but this particular one does require a little trimming in the front. There’s a few ways to skin a cat but luckily we have a Miller 625 X-Treme plasma cutter. This little plasma cutter cuts through metal like butter, so that’s what we used.
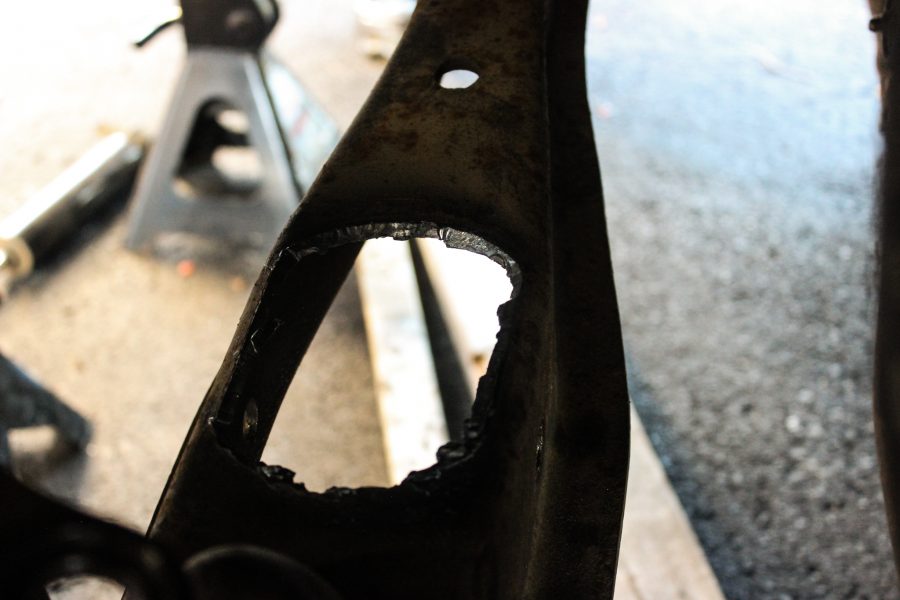
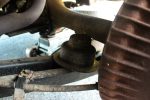
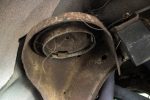
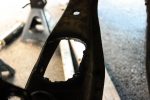
The cutting required is fairly simple – the coil spring pocket opening has to be widened to ensure the bag doesn’t rub. On the lower control arm you’ll have to remove the hump that would normally keep the coil spring in place. This is simply to ensure that the shock doesn’t rub the lower control arm. With our plasma cutter this was quick work, then we used an angle grinder to clean everything up a tiny bit.
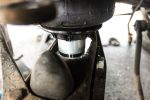
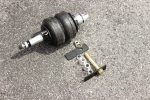
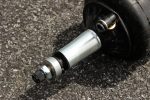
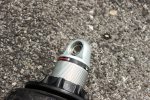
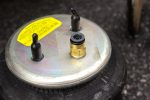
Our next step was to mount up the ShockWave. This is a crucial step as we had to make sure there was ample room around the bag to ensure no rubbing or chaffing of the bag. The ShockWave is pretty straight forward to install, as the top installs just as the factory shock does through the factory shock mount hole.
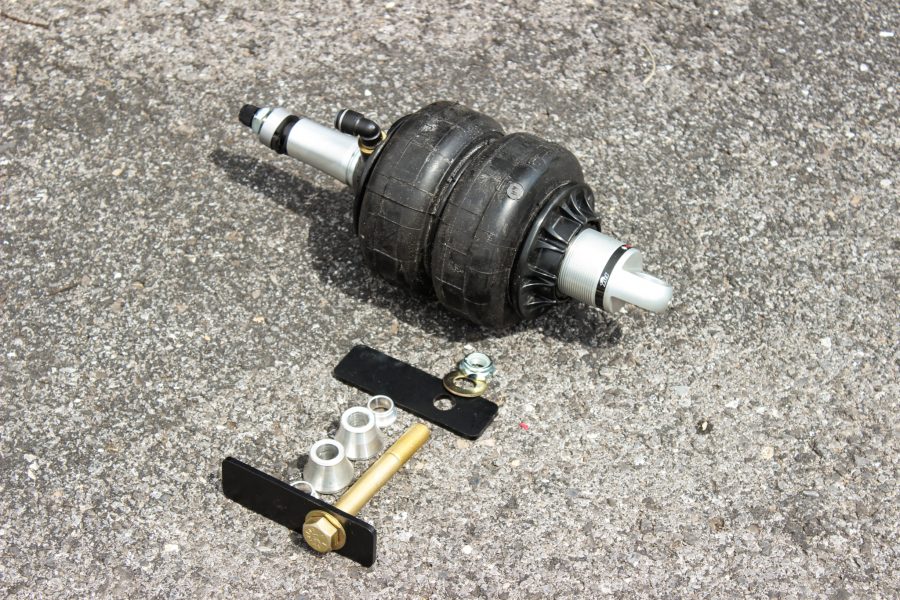
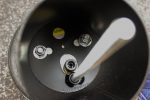
On the bottom we had to drill out the shock mount bolt to a larger 5/8″ hole for a larger bolt. Remember that this bolt will now hold up the weight of the vehicle and not just the shock dampening.
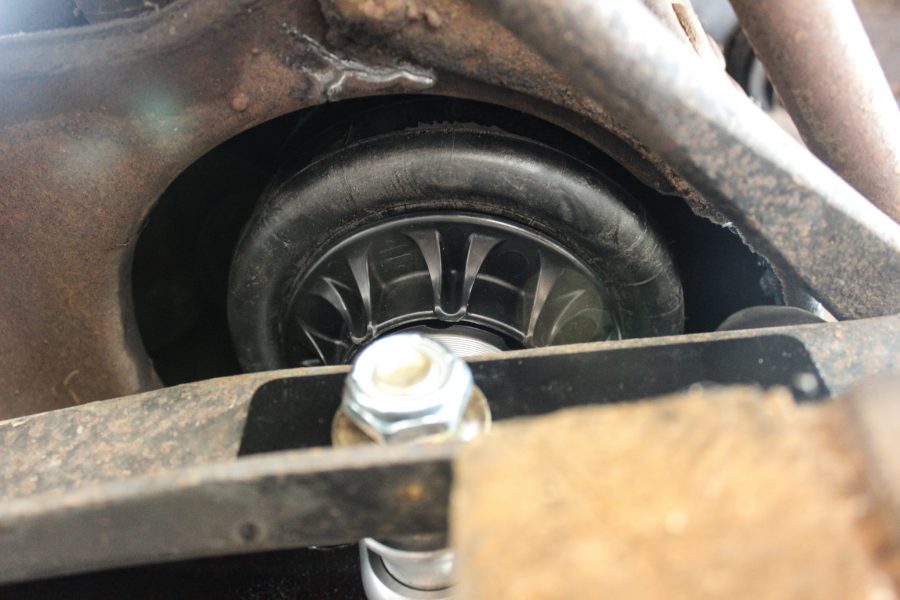
With the ShockWave loosely bolted in place, we grabbed a floor jack and cycled the suspension up and down while watching for clearance all the way around the bag. In it’s tightest spot we could easily slip a finger between the bag and the frame which is more than enough clearance.
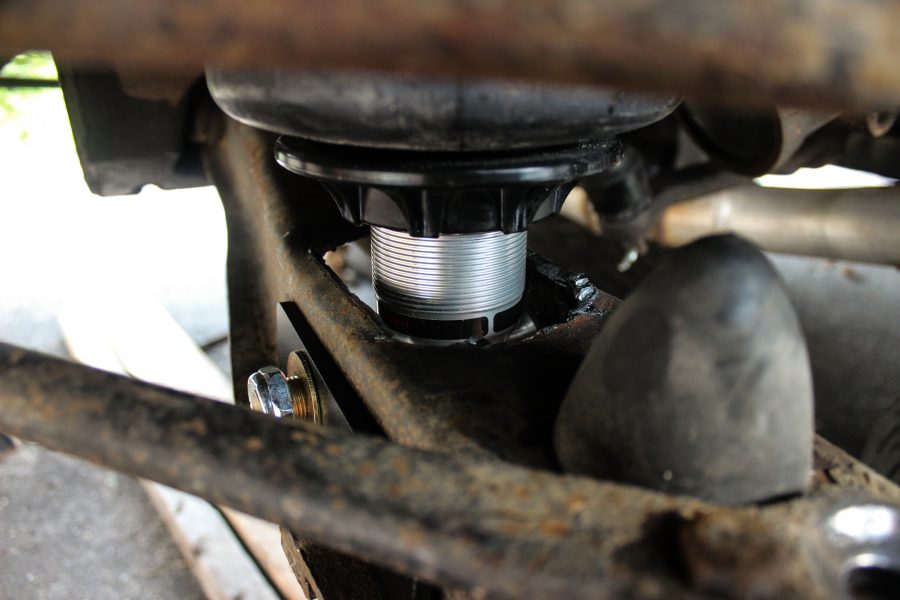
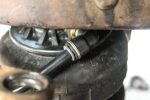
After completing the test fitting, we popped the ShockWave back out to plumb the air line. Now the air line is just like the bag in that it can’t have any rubbing or chaffing on it. Since all the valves are going to be in the trunk, we ran the air line along the frame all the way to the back.
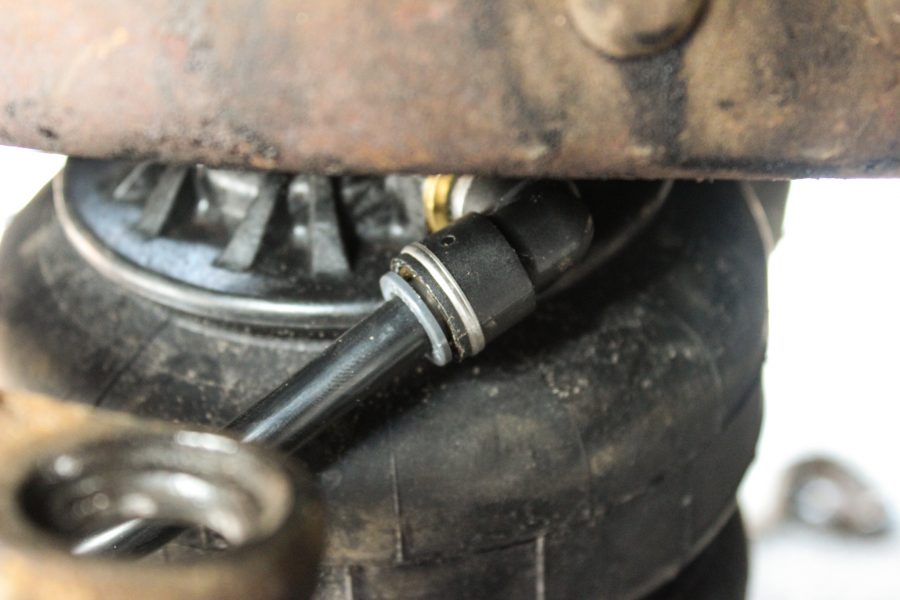

Now that the ShockWave is fully installed, we put the spindle back on along with the rest of the suspension and moved onto the back.
Dropping The Rear
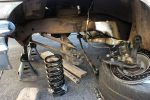
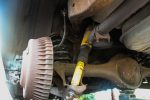
The rear of the suspension is even easier than the front. We started by removing the shocks and lowering the rearend down which allowed the coil springs to fall right out.

On the lower control arms there are stamped sheet metal humps that hold the lower side of the coil spring in place. Just like in the front, these have to be removed as well. The good thing is that on this car, they are only tacked welded into place. A few grinds with an angle grinder and they popped right off with a little bit of prying.

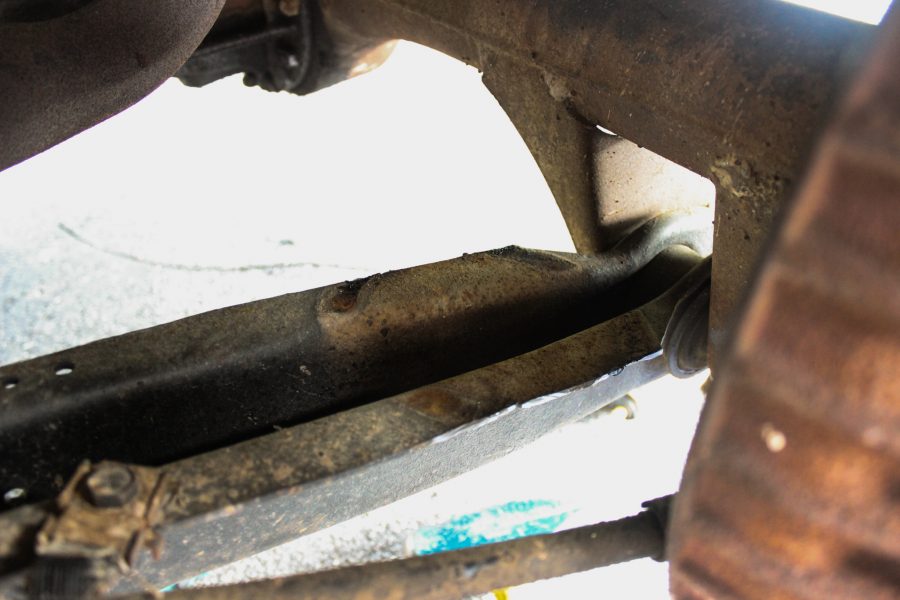
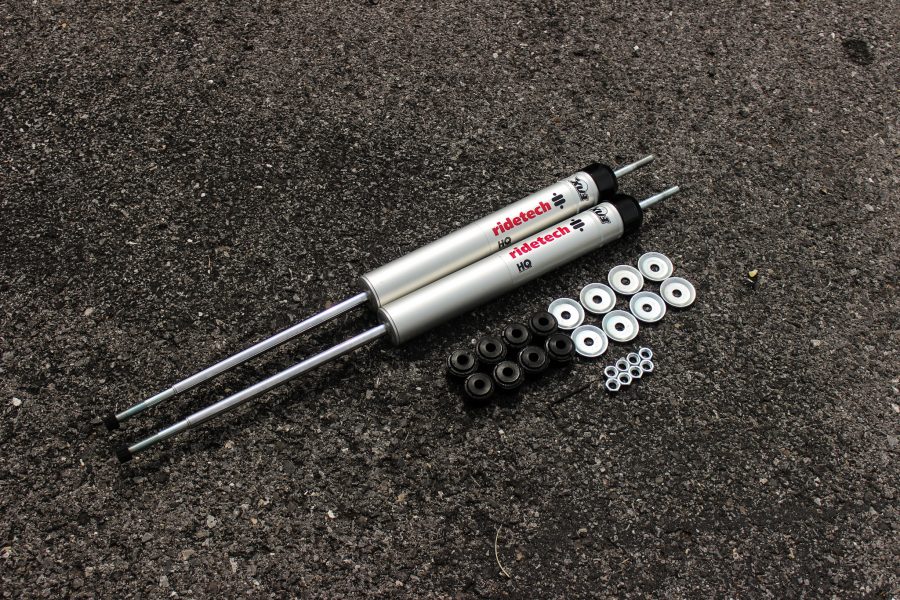
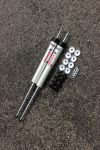
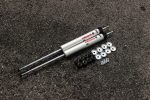
On the spring pocket side we had to drill a hole for the air line, but that’s it. With the fab work out of the way, the rear went together really easy as well. We started by putting in the new Fox rear shocks, which are a direct replacement of the factory shocks. Just like the fronts, these are rebound adjustable to dial in the perfect ride quality.

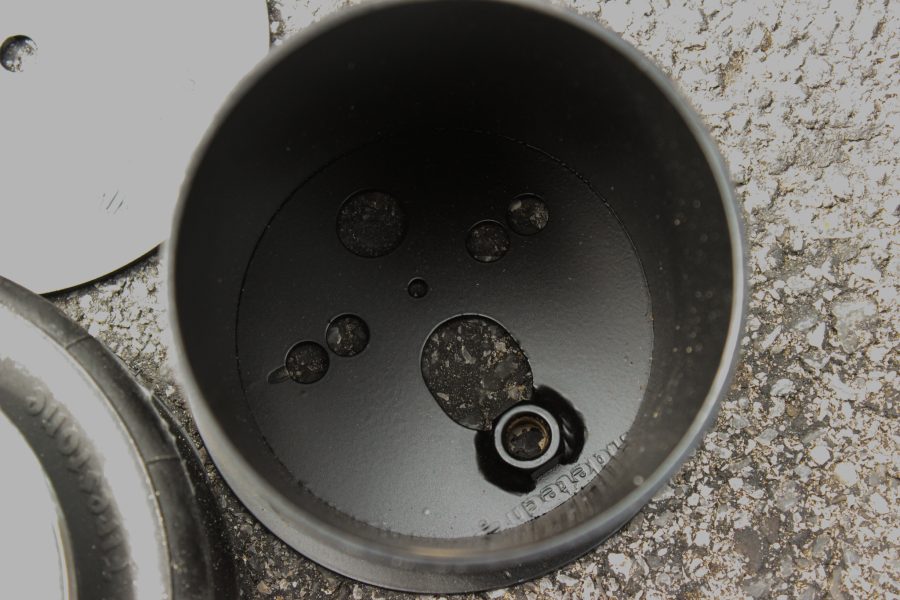
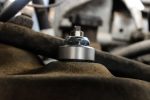
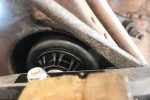
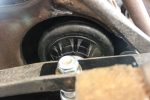
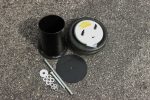
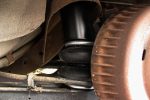
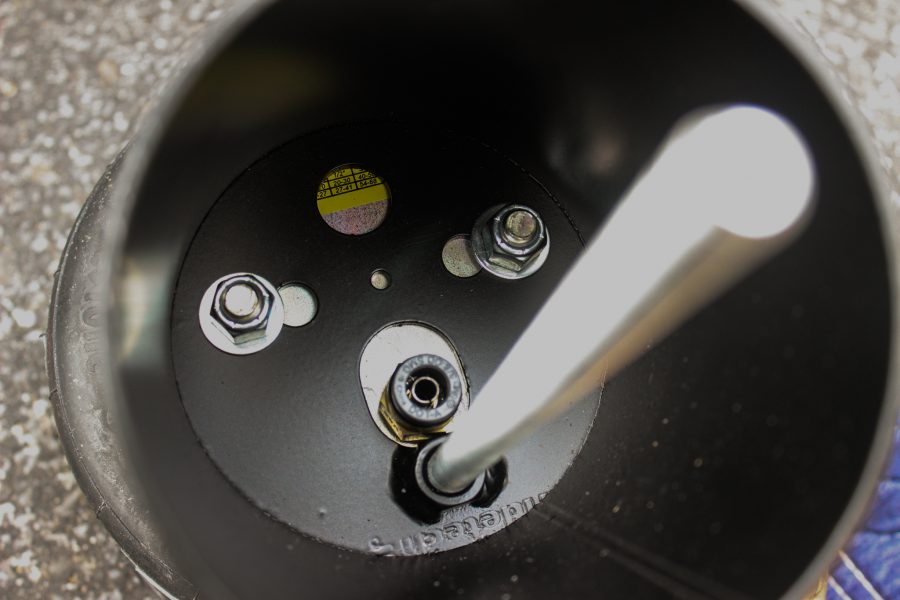
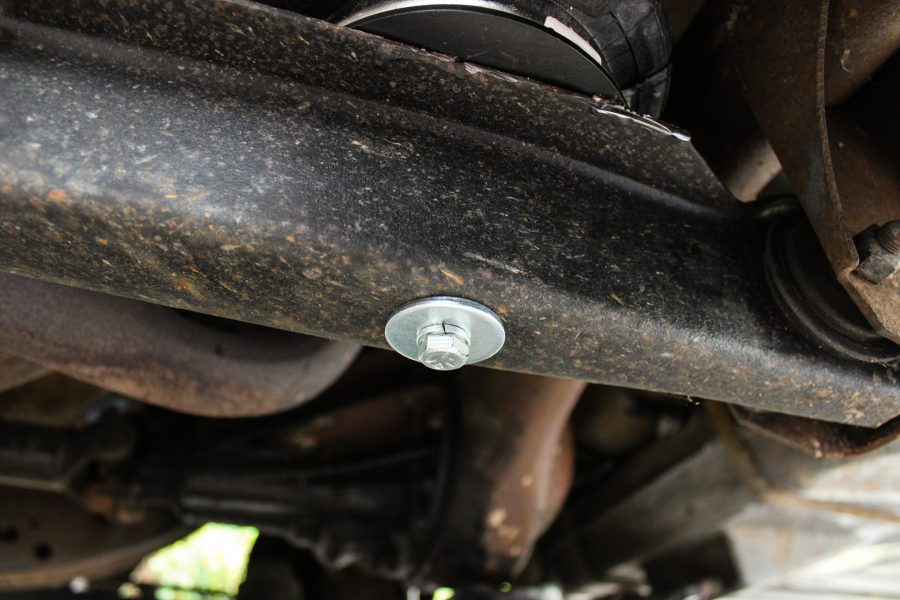
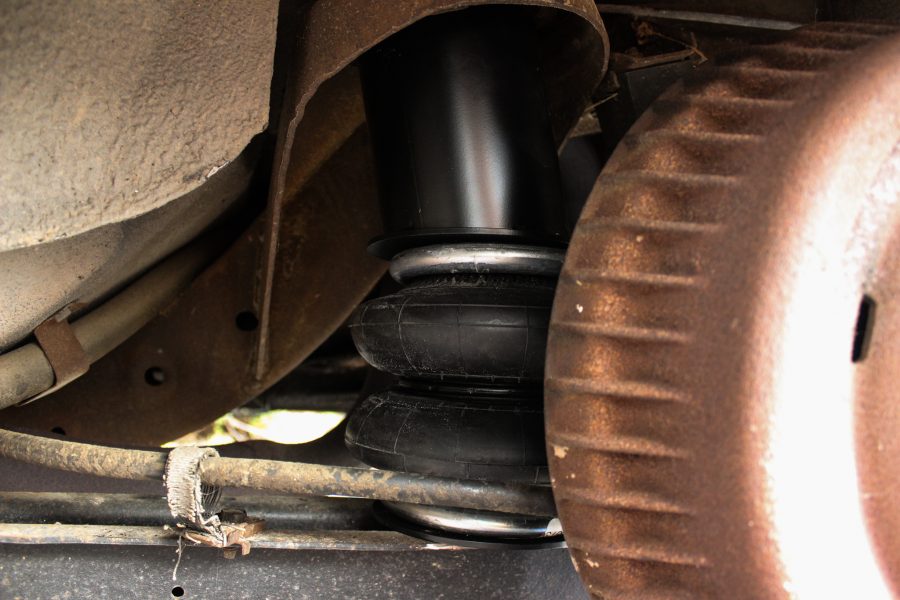
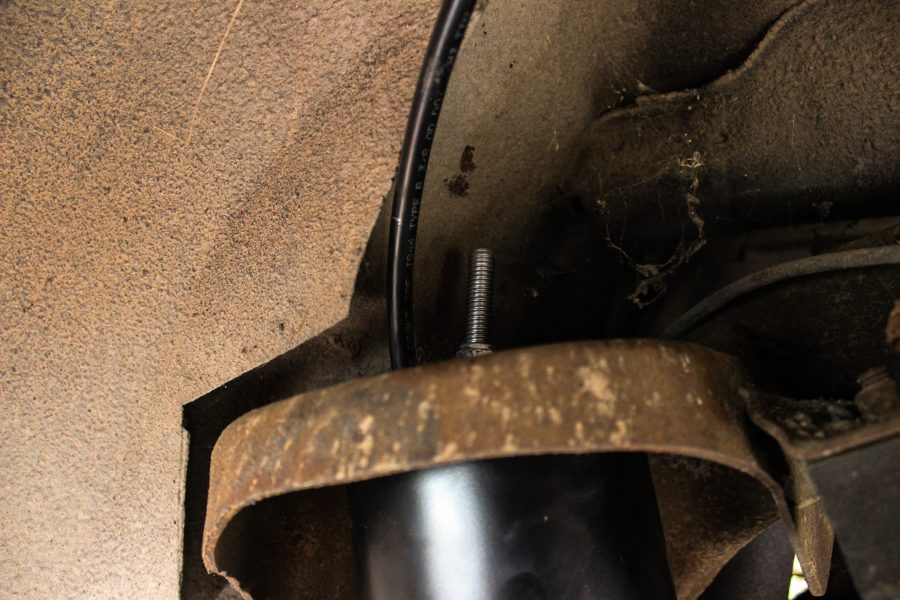
The bags themselves have a laser cut plate that goes between them and the lower control arm to properly support them. They are bolted in using the factory hole in the lower control arm. The top requires a little bit of assembly by using two bolts to bolt a cup to the bag. Inside that cup is a length of all thread that then threads the entire assembly into the upper spring mount. During this process we slid the air line right through the spring pocket while installing a rubber grommet to ensure the line won’t chafe or get cut.
RideProX
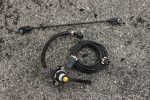
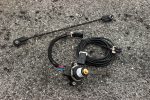
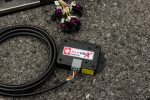
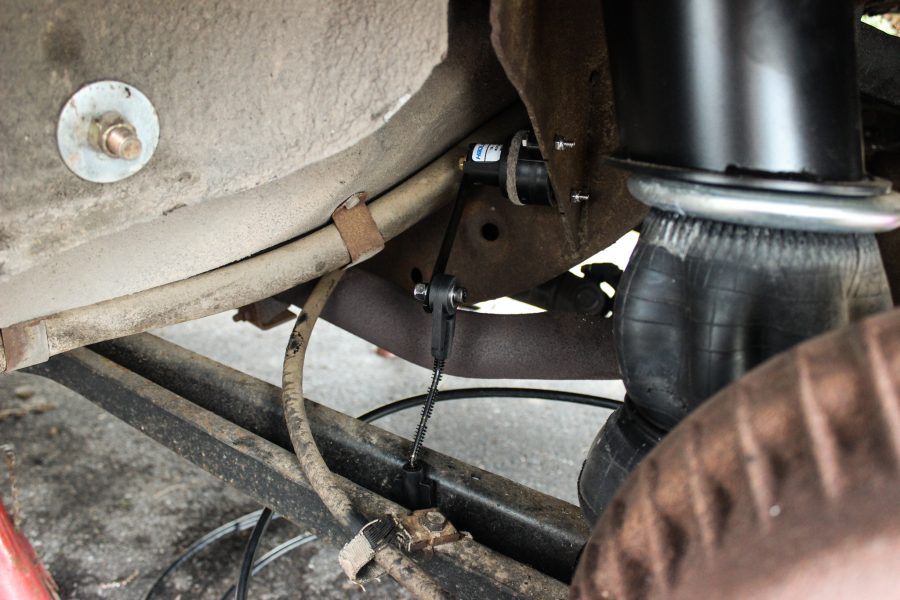
With all the air bags and air lines ran, we now needed to install the RideProX sensors. These sensors tell a computer where the suspension is during it’s travel. They have a little arm on them, and naturally the more stroke they see the more accurate they are – but they can be stroked too much so pay attention to length the arms are moving.
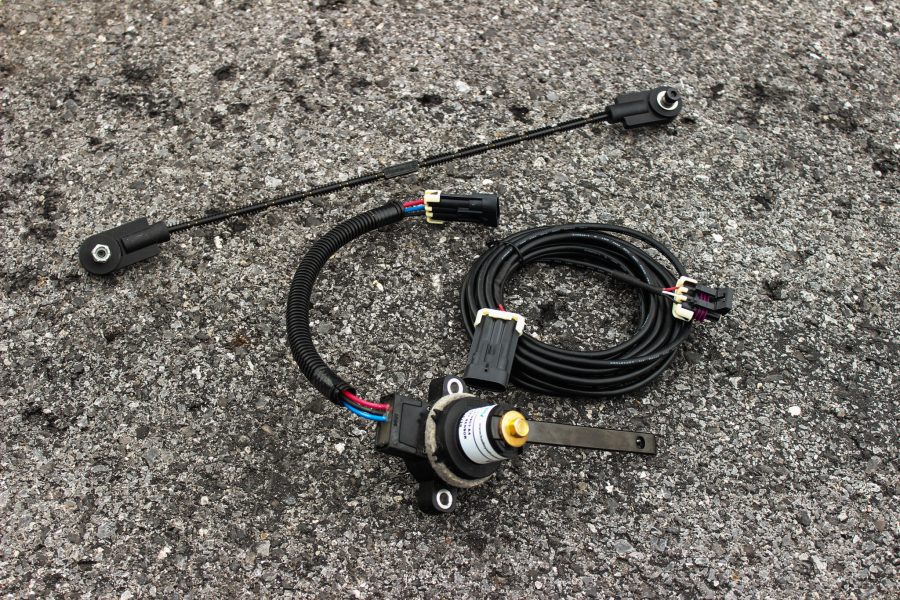
Honestly we we were dreading this part as we thought it would require fabrication and be hard to figure out. What we found out is that it took some time to measure and test, but it’s really pretty straight forward and the arms can be bent to clear things as well.
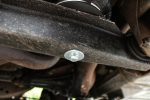
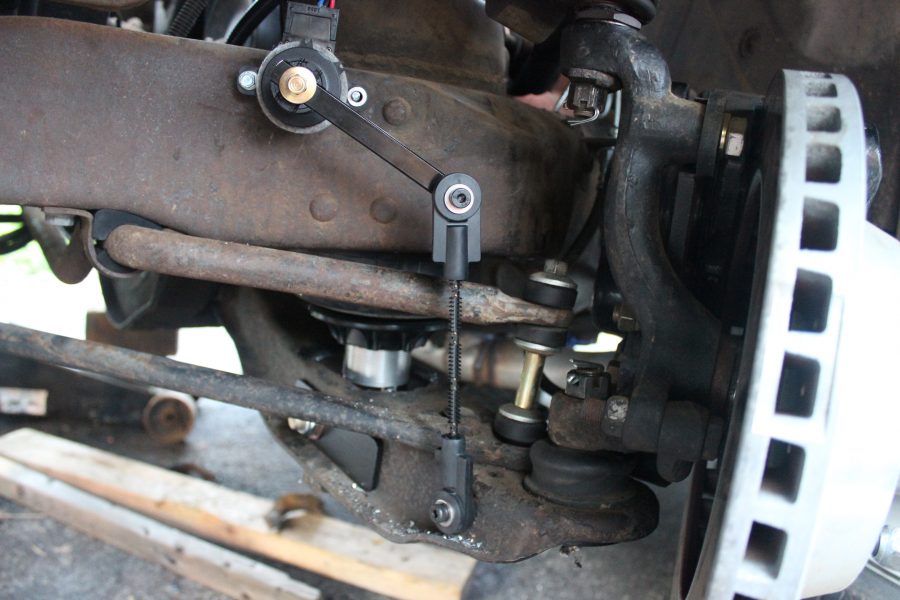
How we did it was to grab the trusty jack and start cycling the suspension. We looked for places to mount the sensor where the arm would move it’s max allowance. We found a convenient spot in the front on the front near the upper control arm and then attach to the lower control arm.
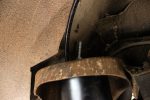
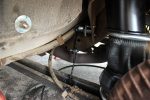
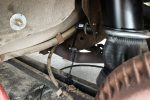
In the rear we cycled the suspension a few times and mounted the controller on a small brace that holds the spring bucket. On the bottom end we went right to the lower control arm. With the sensors installed we ran the wires all the way to the back and into the trunk.
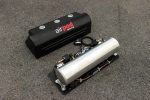
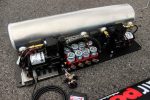
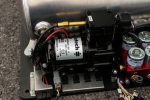
With the hoses and wires ran into the trunk, it was time to set up the AirPod. Now we’ve installed a few air bag set ups in the past which usually required finding real estate for compressors, controllers, air tanks and then hooking them all up. The simplicity of the AirPod is genius – everything comes pre-plumbed, pre-wired, and pre-mounted.
Installation of the AirPod is as simple as a hot, ground, hot-in-run, four airlines and four sensor wires. In this Cadillac we mounted the AirPod right on the trunk floor. Since the battery is already mounted in the trunk, we simply ran the hot and ground wires over to the battery. The one other wire to run was a hot-in-run, which we found off the ignition up front.
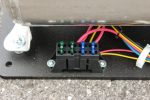
The air lines popped right into the valve block, and the four sensor wires plug right into the computer as well. If you’re asking yourself, don’t you have to run wires to the front for a controller? Nope. This system is fully Bluetooth equipped. What comes with this set up is a sleek little three button switch that plugs into your cigarette lighter. Or you can download an app for your phone and use that.
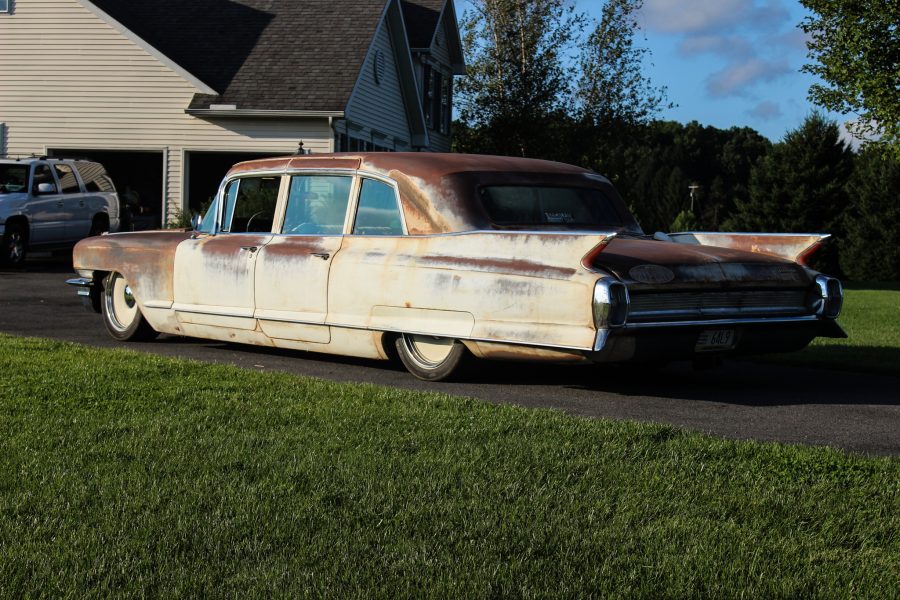
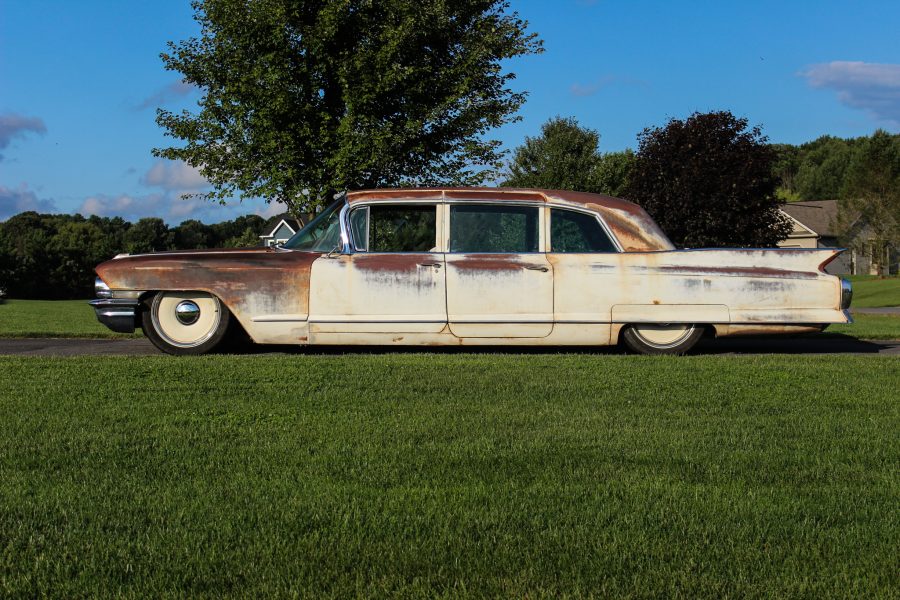
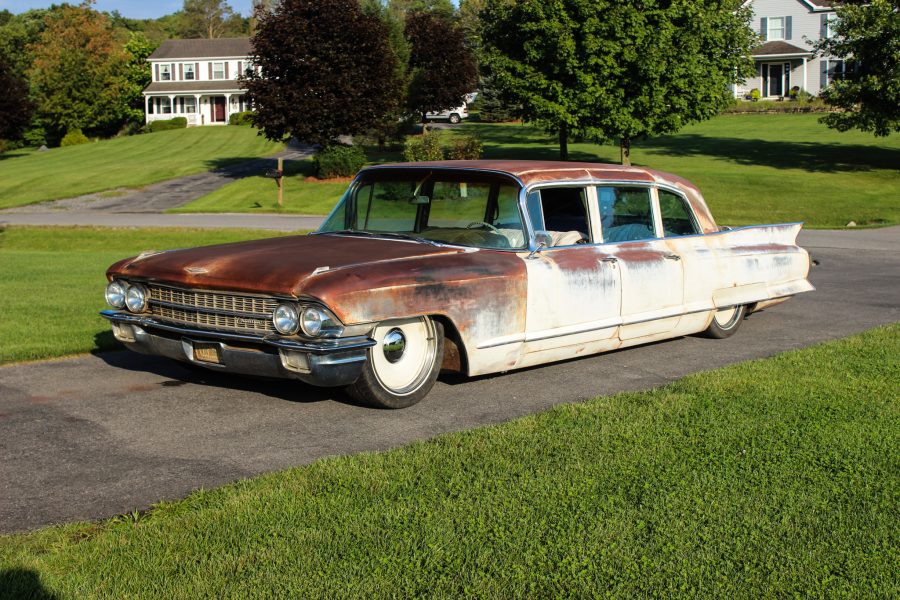
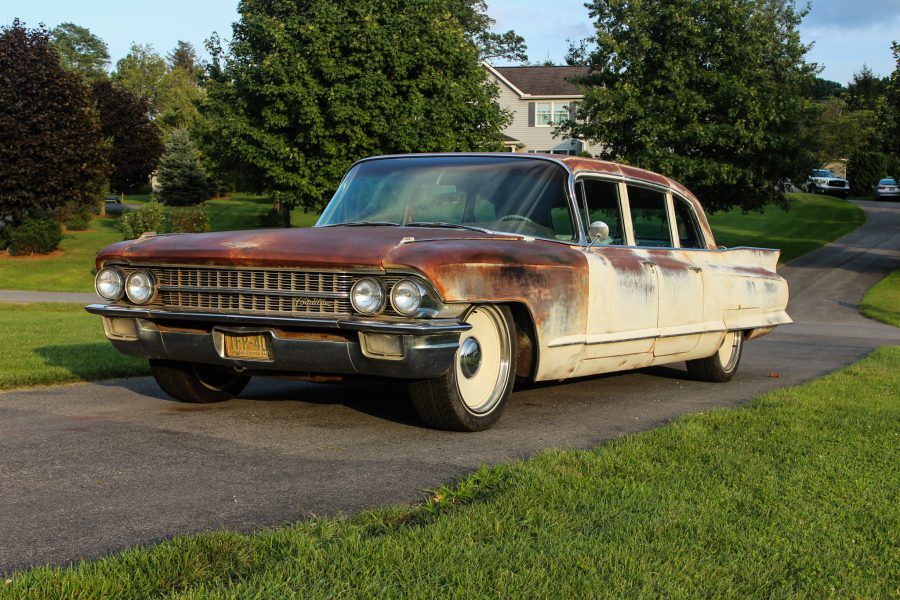
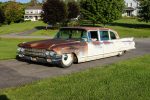
Before Ridetech Air Ride
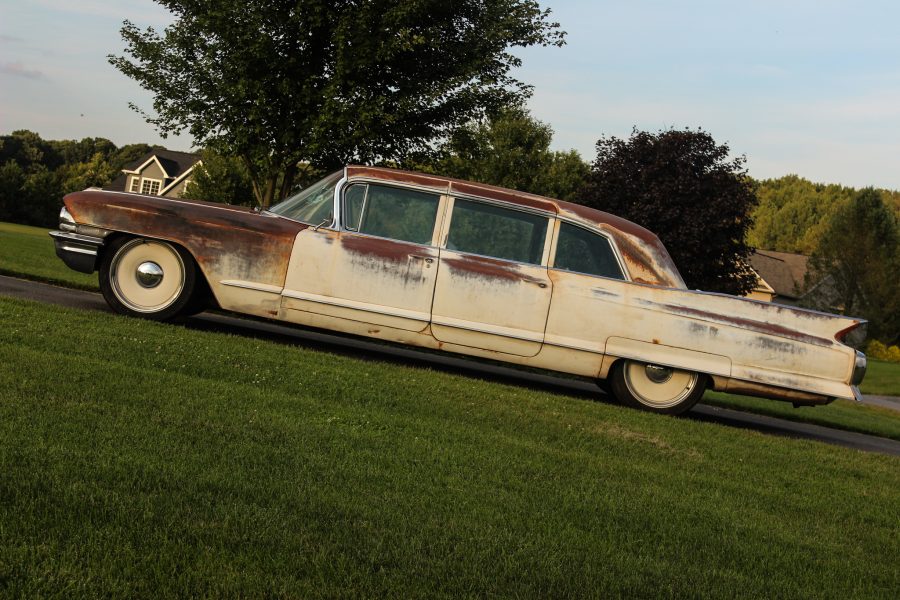
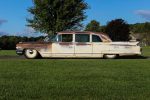
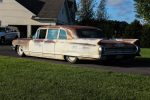
After Ridetech Air Ride!
