Dancing needles, flashing lights, oh what a sight! Gauges on your dash are one the of the coolest features on a car. They move with the push of the pedal, and give valuable insight to your car. They let you know how fast you were going – regardless of what the Highway Patrol may claim. Gauges also act as insurance in a way, letting you keep tabs on the monster under the hood.
Just like everything else on a car, gauges have evolved and been modernized. Original tachometers were driven by a cable, which wasn’t the most accurate and prone to failure. They weren’t even standard on most cars for a long time, and you can still get cars without them! New style tachometers have a digital stepper motor, which is controlled by a microprocessor. These offer reliability and precision that a cable driven tachometer could only dream about.
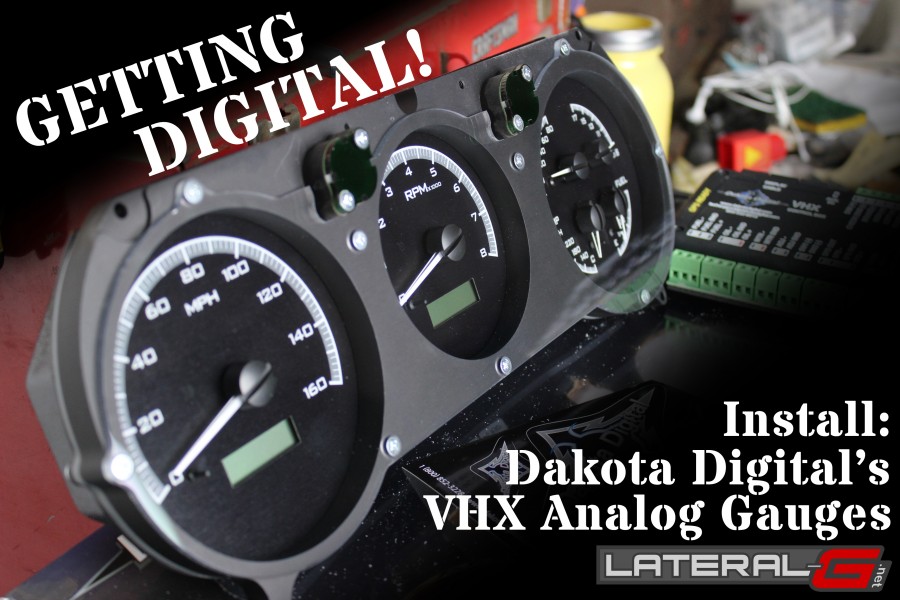
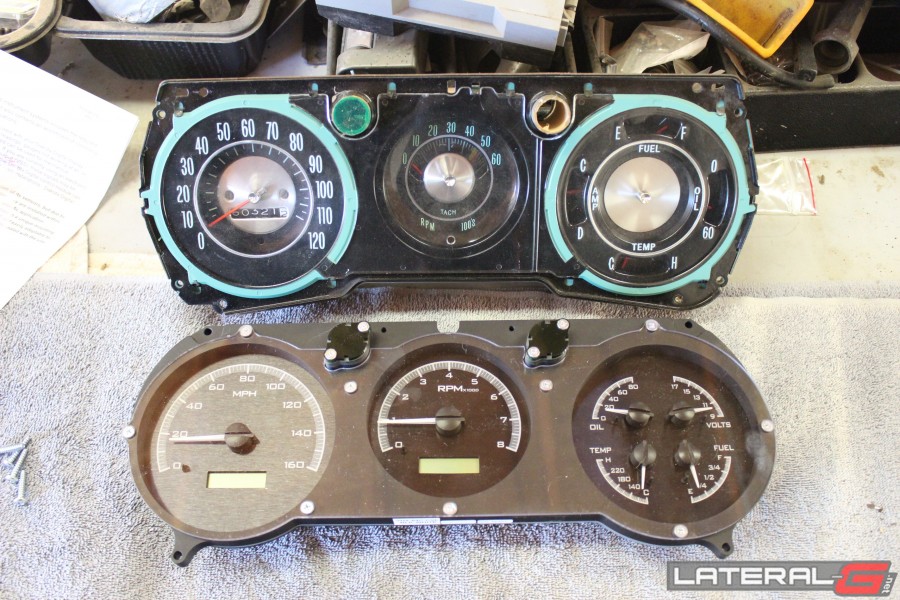
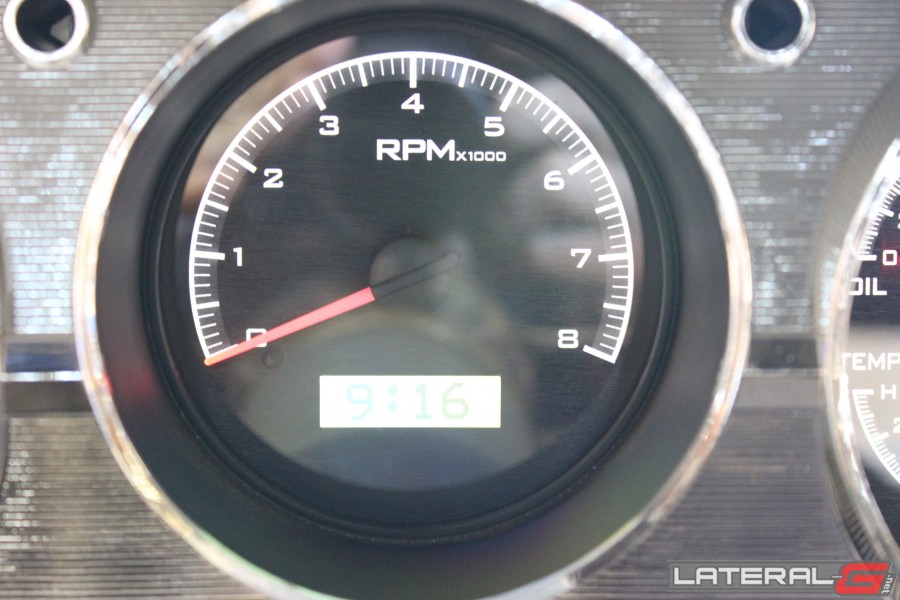
But what if you want a modern, reliable, and extremely accurate set of gauges in your classic car? There’s lots of options for you. One option that we love, is a complete set of bolt-in VHX gauges from Dakota Digital. These gauges offer the latest and greatest in technology, that fit your ride, and offer a classic look – should you choose.
Order Up!
We started with a pretty common car, a 1965 Chevelle. The owner wanted the modern gauges since his original cluster didn’t work. With a warmed up LS2 under the hood, he never felt comfortable driving the car since he was always worried about the vitals. However he didn’t want to install a complete aftermarket cluster that looked way different than factory. With that in mind, we gave a call over to Scott Johnson at Dakota Digital to see what he had to offer.
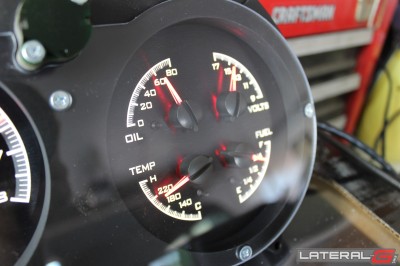 With our request to have modern equipment with a classic flair, Johnson said, “I recommend the VHX gauges with the black alloy background and white needles. This will give you modern internals, with the traditional needle and colors similar to stock.” Johnson also let us know about the other features of the gauges such as: 0-60MPH speed, quarter mile time and speed, max speed, and all the programmable warning lights. We placed our order, and then proceeded to check the mail every day with anticipation.
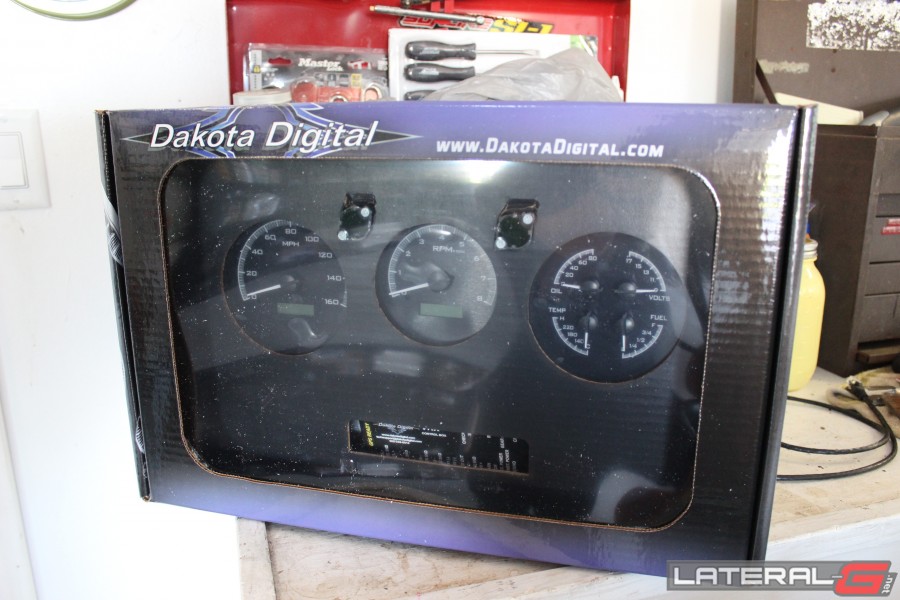
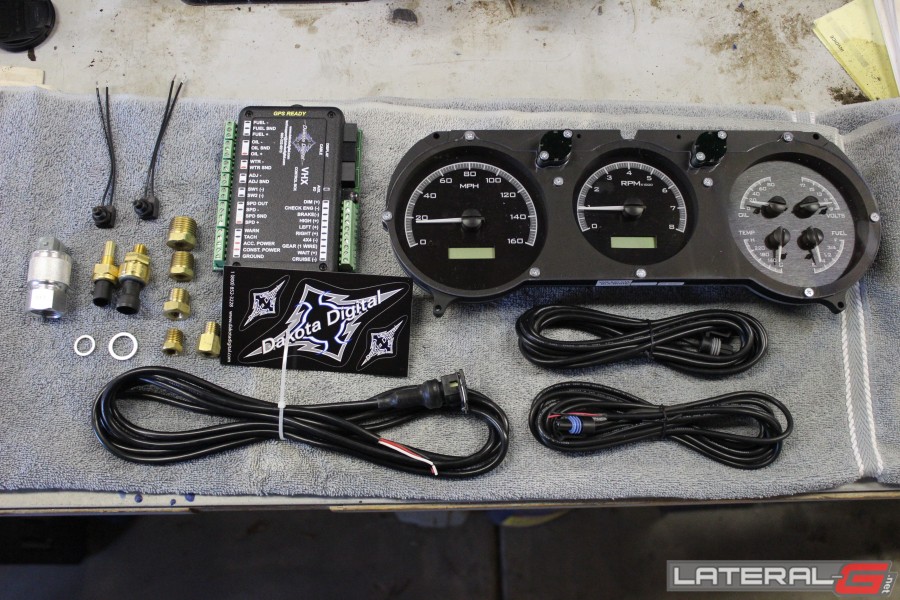
When they were delivered, we ripped open the box like a kid on Christmas morning, eager to hold the gauges in our hands. We were extremely impressed right off the bat – the gauges come in a really nice box that holds the gauges and all the required sending units and computer. The box was almost too pretty to open, but we popped the top and grabbed the gauges. One thing we noticed and loved is that there isn’t a plethora of studs on the back of the gauges to attach a million different wires to. There is a single CAT 5 computer cable, that connects to a separate computer – now that’s slick and easy installation.
Everything else we needed was in the box as well. The oil sending unit, temperature sending unit, and speedometer sending unit. There was even adapters in the box to make sure that no matter what engine was under the hood, the sending units would fit. Dakota Digital even includes the wiring needed to go from the sending unit to the computer as well – one less thing we would have to buy.
Getting Down To Work
After reading the instructions, it was time to install these puppies. We started under the hood, by removing the existing oil pressure copper line, temperature sending unit, and the speedometer cable. On this LS engine, we installed the oil sending unit on top of the block, behind the intake. For the temperature, we installed the sending unit on the rear of the passenger side head. For the speedometer, this transmission actually had an electronic output included, so we just spliced into that pigtail. In total we spent less than an hour swapping out the new senders. From here, we moved to the inside of the car.
- Water Temperature Sending Unit
- Oil Pressure Sending Unit
- Speedometer Sending Unit
On this Chevelle, we didn’t even have to contort ourselves under the dash and have pain in our neck for the next week. We started by removing the two nuts that hold the clamp which holds the steering column in place. We let that hang down a bit. From there, we removed the few screws that hold the dash bezel in place and slid the entire bezel out past the dash. The last step was to remove the screws holding the factory gauges in place and we were home free.
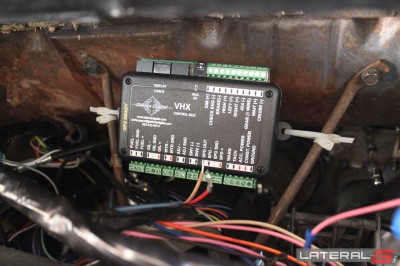 To start the installation on the physical gauges, we mounted up the small computer first. The computer itself has a few mounting holes, and we could have used some double sided tape as well. But we went with something quick, easy, and effective – the zip tie. On this dash there were two support braces that made for the perfect spot to mount the computer. Before we actually mounted it up, we started by adding all the wiring for the gauges.
Wiring can be a scary task for anybody. Most people are willing to try it though, and have varying levels of success. Dakota Digital makes the wiring extremely easy. We tapped the fuse box for a constant hot, and hot-in-run. We also had to cut and use a small portion of the factory wiring which included: fuel sending unit wire, turn signals, high beam indicator, and one dash light wire. All of the wiring has clearly marked spots on the computer, making it a quick and easy process. From here we wired up the sending units that we plumbed in from the engine.
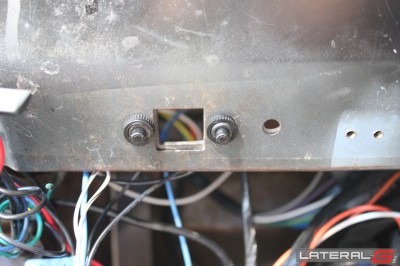 There is two buttons that are required with any VHX set of gauges. These buttons allow you to toggle between the set-up and display screens. They need to be convenient and easy to use, but don’t have to be mounted in site either. We chose to drill two small holes in the bottom of the dash. This allows us to easily push the buttons yet remain unseen. The kit comes with really well laid out instructions and wiring diagrams too, should you have any questions.
With all the wiring out of the way, the time came to finish up the installation. We grabbed the gauge cluster and attached it to the factory bezel using the supplied screws. Then we mounted the computer with our zip-ties and connected the CAT 5 cable. The very last step was to slide the complete bezel back into the dash and re-install the screws that hold it in place.
Before we could hit the road and test out the gauges, there were a few small set-up questions and adjustments that were needed. For one, the computer needs to know what kind of sending unit you’re using. Then we went on and set up warning levels for each gauge. For example, we wanted to know if the oil pressure drops below 15 pounds of pressure, so the display would show a warning message if that happens.
The absolute last step in installation required the calibration of the speedometer. This turned out to be a really easy process. We started by hopping in a vehicle that had a working, correct speedometer. Then we measured out one mile on a deserted road. Hopping back in the Chevelle, we started at the beginning of our mile. We stopped, and entered the set-up mode. From here we cruised our one mile, and at the end of it pushed the button again. In a short few seconds the computer calculated out the readings and started showing our precise speed.
And That’s A Wrap
The owner of this 1965 Chevelle couldn’t be any happier with these Dakota Digital VHX gauges. Not only do they look absolutely killer, they work even better. Between the two of us talking about cars, women and a few beers, the whole process only took about five hours. This is definitely a great product that would be perfect in any ride. They are proudly made in the USA and have a limited lifetime warranty, you can’t beat that!
Check out Dakota Digital’s full line-up of VHX gauges by clicking right here.


