We are all guilty of it, buying a cheap knock-off model to save a few bucks. In fact we are bombarded every day with decisions, from the Harbor Freight version up to the Snap-On version. Even with electronics, furniture, clothing, or just about any other item you can think of. There is always an expensive option and cheaper option. Generally speaking, the expensive option is the better or offers something that the cheaper option doesn’t offer.
When it comes to things like drinking glasses, it’s not such a big deal. Worse case is you spill your drink all over yourself. When dealing with car parts, it can be downright scary. In our case it was something as simple as a steering column. As long as the shaft doesn’t snap, who really cares right?
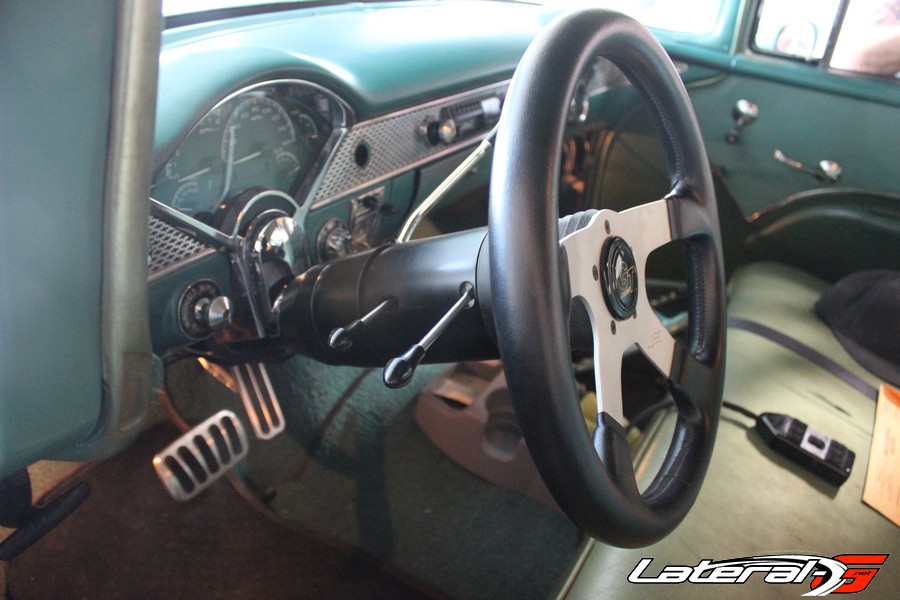
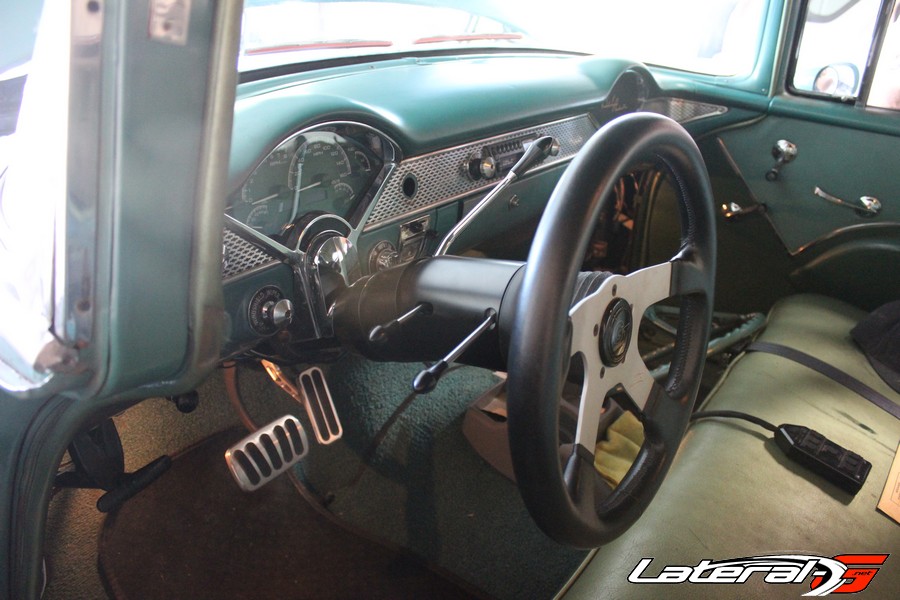
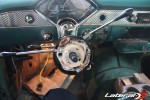
On our ’55 Bel Air we recently picked up, a “knock-off” steering column was already installed. At first glance we were happy with it – chrome, tilt, and seemed to work decently. The first apparent problem was that it wasn’t made for this car. It had a gear selector indicator on the column, where this car has one in the dash. Not a big deal, we just popped that off for a better look.
However, more problems arose. The tilt joint was already wobbling around, causing some weird feedback when driving. The shifter wouldn’t allow you to fully shift down into first gear either, but not a major concern since this is just a cruiser – still annoying though. Then things got worse when one day we hopped in and noticed when the brake pedal was applied, all the turn signals would come on. After an hour of testing, we found out the turn signal switch took a dump on us.
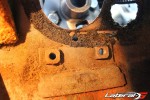
In the process of removing the steering column, we noticed there wasn’t a lower mount either. Not a major concern, but something that will emit more vibration through the wheel. Also during the removal process the entire shifter arm just fell off. The pin that was supposed to be holding it in place was gone.


As you can see, this knock-off was junk. On top of that, it was becoming a safety concern as well. The last thing we needed to happen was to be driving down the wheel and have it come apart, or the wheel come off causing the car to becoming a traveling bullet. Without a doubt the column had to go.
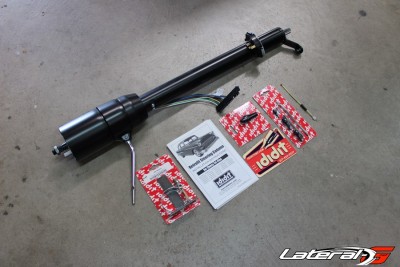
We started by calling up Ididit, out of Tecumseh, MI. We spoke with Marty Waterstraut, their National Sales Manager. We figured that he would know a thing our two about getting the right steering column. “This column we designed specifically for the ’55 Chevy. We brought one into the shop to develop off it. The column itself is all brand new components and has a late model turn signal in it,” explained Marty. “One thing to note is that the upper end is designed off a 1969 and newer GM style column. This means when ordering a steering wheel adapter, get one for a 1969 or newer GM car, not a ’55 Bel Air,” continued Marty.
Removal
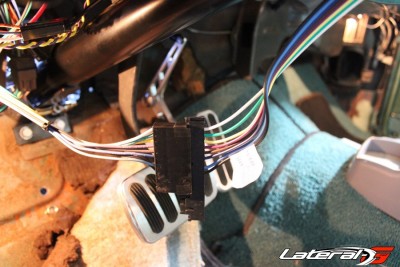
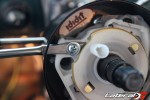
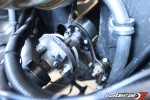
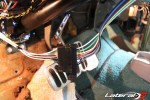
Getting the junk column out of the car is a fairly easy process. We started by disconnecting the battery, then disconnecting the electrical connector on the column. From here we removed the steering wheel by removing the one large nut and using a steering wheel puller. On the engine side, we unhooked the shifter linkage along with the unbolting the coupler between the column and steering box.
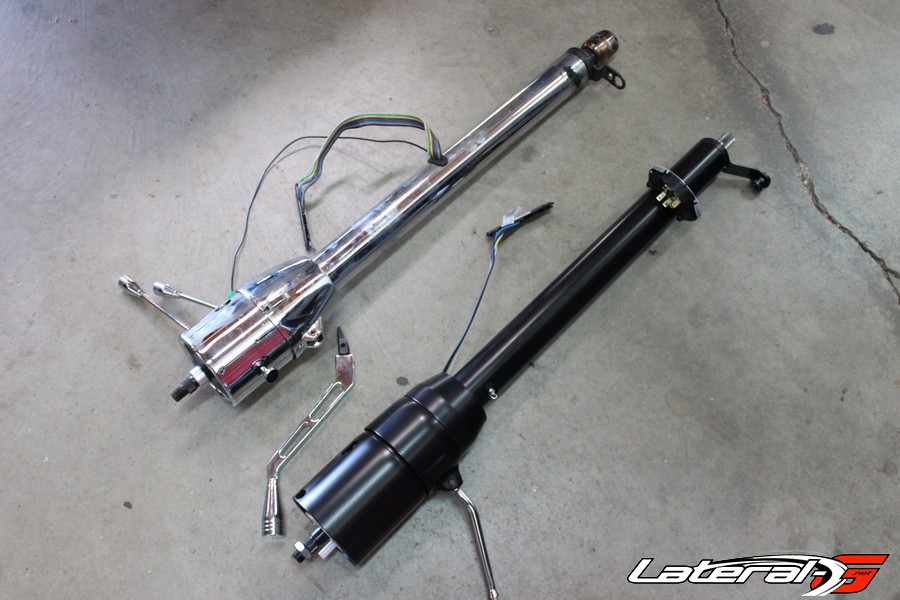
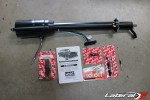
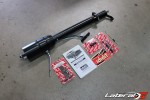
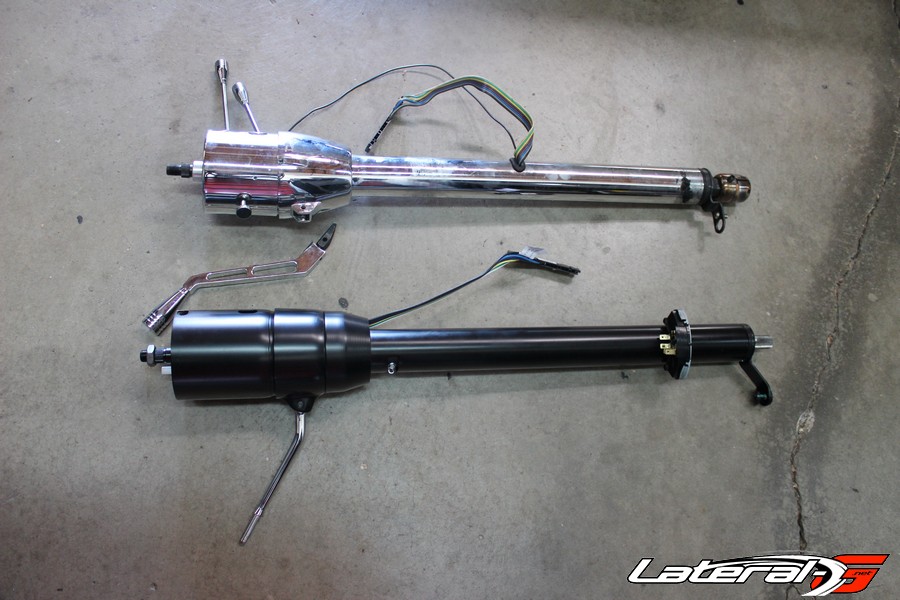
Comparing the old vs. new columns.
The last step was to unbolt the column from the dash, which is done by removing two nuts. Now the column is free of the dash and only required small tug to pop the coupler off the steering box.
Installation
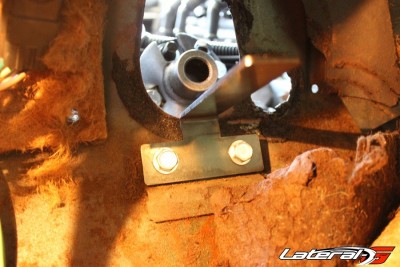
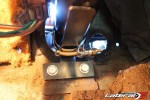
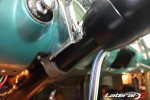
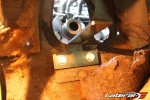
The installation is just about as easy as the removal. We started by installing the new rubber rag joint onto the steering box. Then we installed the new lower floor mount, which simply bolts up using the factory bolt holes.

From here we wanted to make sure everything was lined up. The wheels needed to be straight and the column needs to be clocked properly. This is a simple process accomplished by turning the blinker on then clicking it off and finding the middle between the left and right blinker.
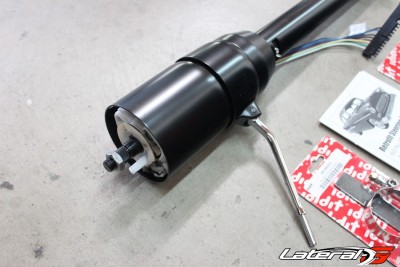
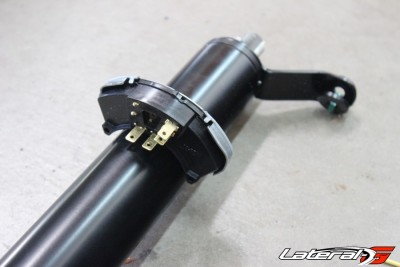
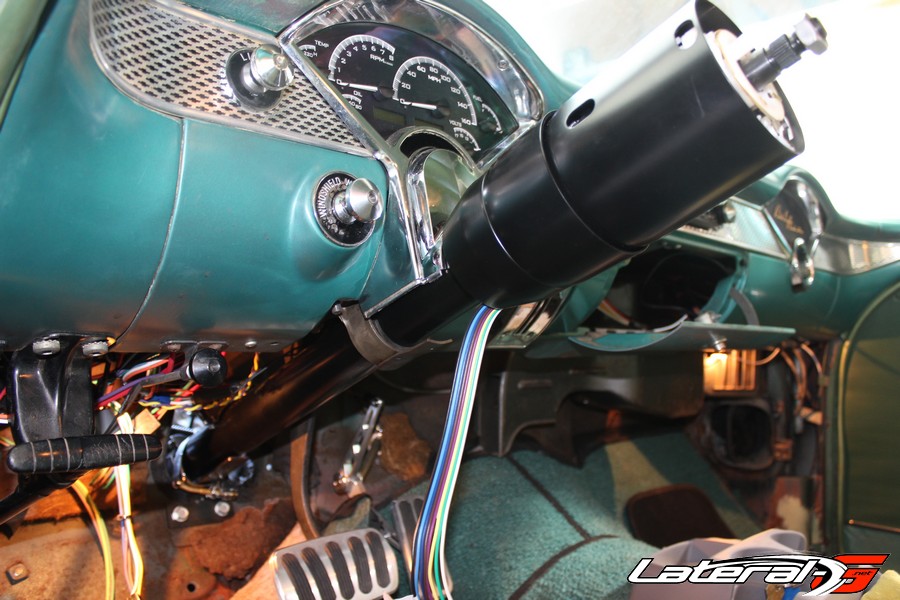
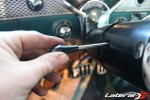
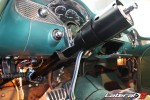
Sliding the column in we made sure to get the column slid inside the clamp on the lower column mount, then slide the shaft inside the rag joint. After that we installed the clamp that attaches the column to the dash with the factory nuts. Before going further, we wanted to get the shifter linkage installed and working properly. At the end of the column is an arm that’s attached to the column with four allen screws. We unscrewed these and rotated the arm until it met our linkage then reinstalled the allens. After that, the linkage worked perfect.
The rest is easy, from here it was a matter of tightening down the set screws on the rag joint, installing the turn signal arm along with the tilt and shifter knob. We also wired in the Neutral Safety Switch, which wasn’t done on the previous column since there was no provisions for it. Overall, the whole process took about two hours with taking our time to stop and snap pictures. We didn’t bother about sealing up the firewall at the column, since our next project involves all new interior and we will address it then.


The end result is a column that works without any sort of movement, giving us a very confident feeling while driving down the road. An easy upgrade for anybody! For more information hop on www.ididitinc.com or call them at (517) 424-0577


-

- Comparing the old vs. new columns.