Flowmaster American Thunder Install With Catalytic Converters
Installing exhaust isn’t a hard task – most people can accomplish it fairly easy. Especially when you use a kit made for your car, like we did with Flowmaster on this 1955 Bel Air. What made it take more time was that we changed the mufflers that came in the kit and added a set of high-flow catalytic converters to go along with it.
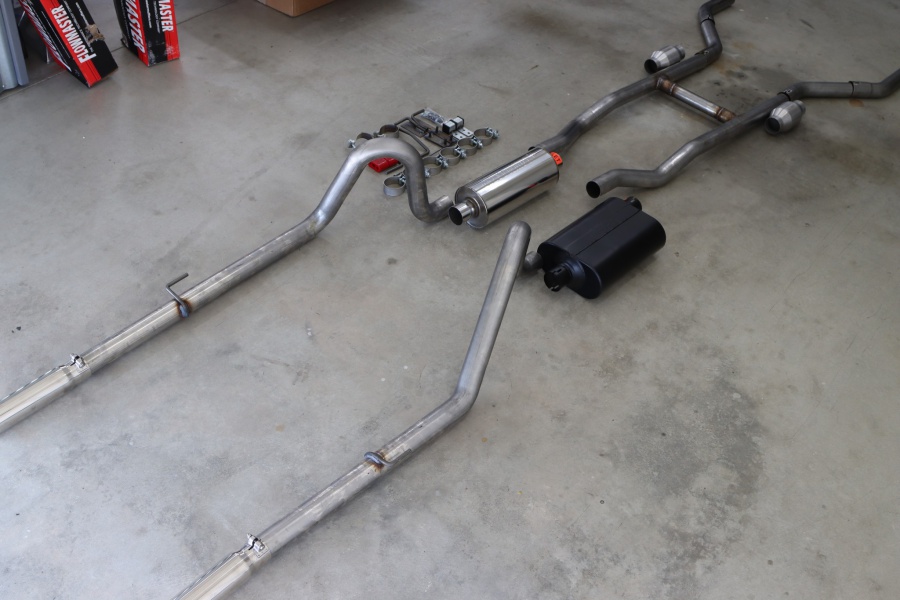
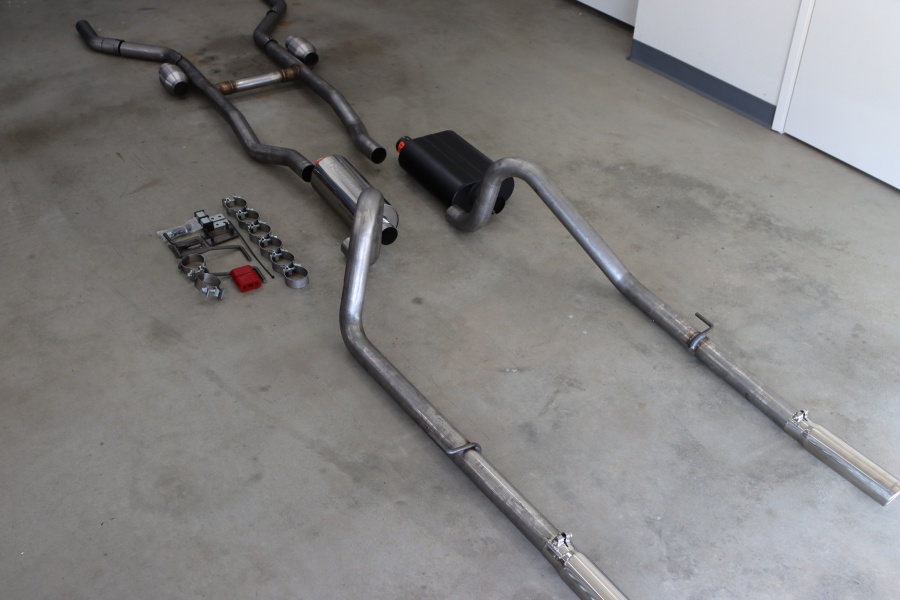
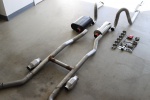
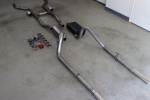
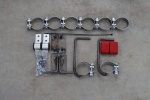
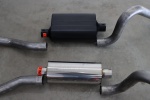
Before we start diving into the who/what/why questions you probably have, let’s take a look at the kit right out of the box. What we ordered from Flowmaster was a complete American Thunder kit. These are pre-bent kits designed around specific applications allowing a basically bolt-in exhaust system. They come with the mufflers, hangers, clamps, and even a welded H-Pipe. The tubing is 2.5″ stainless steel for a lasting kit.
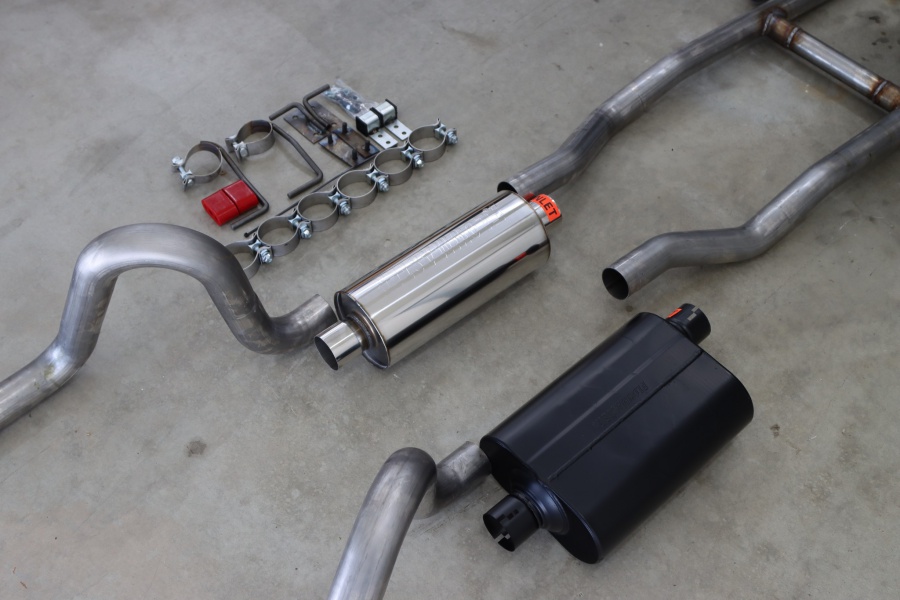

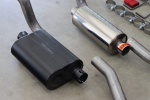
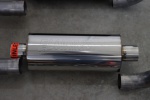
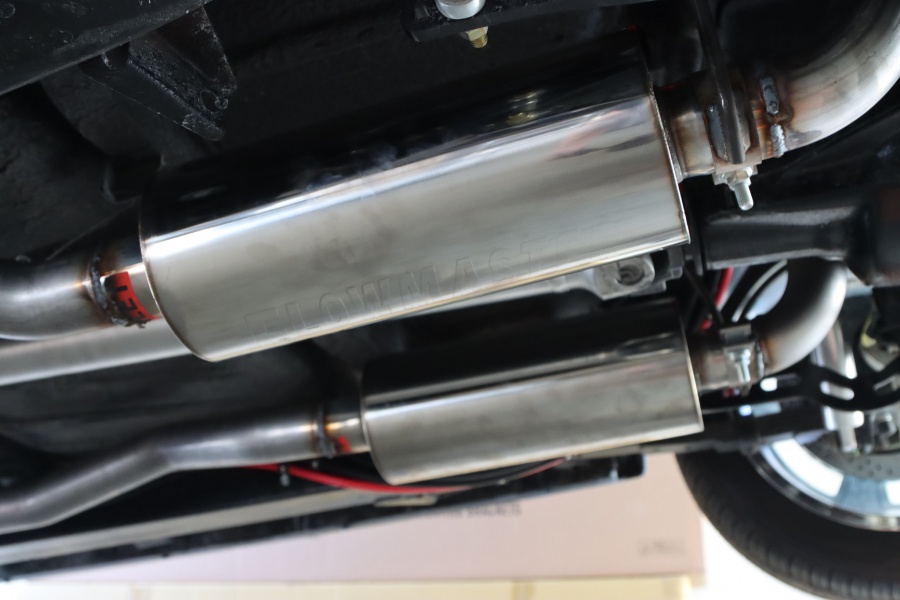
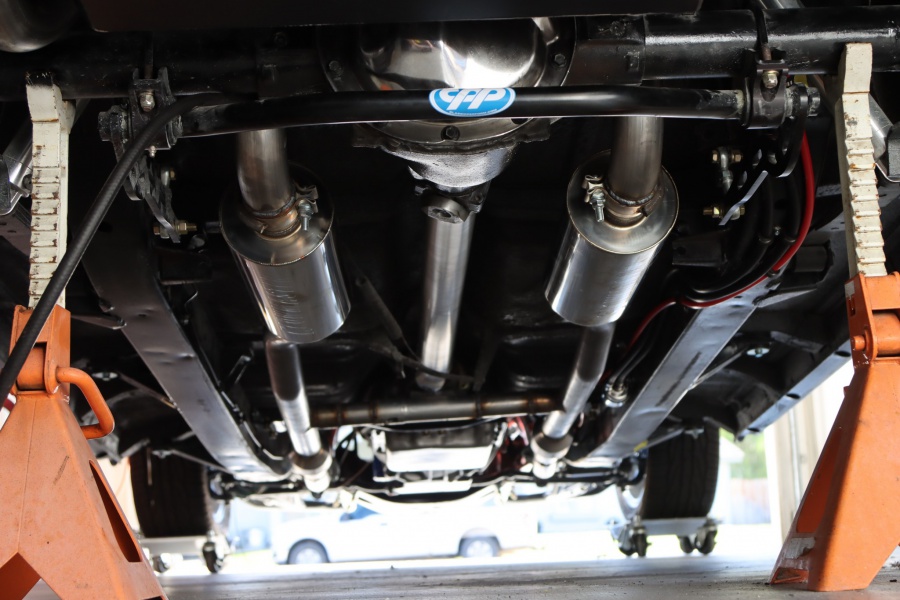
What we did was change out the mufflers from a Super 40 Series, to a Pro-Series. The reason we did this was we wanted a different tone and something a little bit quieter. This car is going to be a long-haul driver and daily driver, so having a quiet exhaust was a priority. Another thing to point out is the Super 40’s are a reflective style muffler, where a Pro-Series is an absorptive style muffler.
The issue with swapping mufflers is this kit wasn’t designed for these mufflers. The original mufflers had an offset in and straight out, where these mufflers are straight in and straight out. As you’ll see that posed some problems for us, but we figured it out fairly easily and got this exhaust installed!

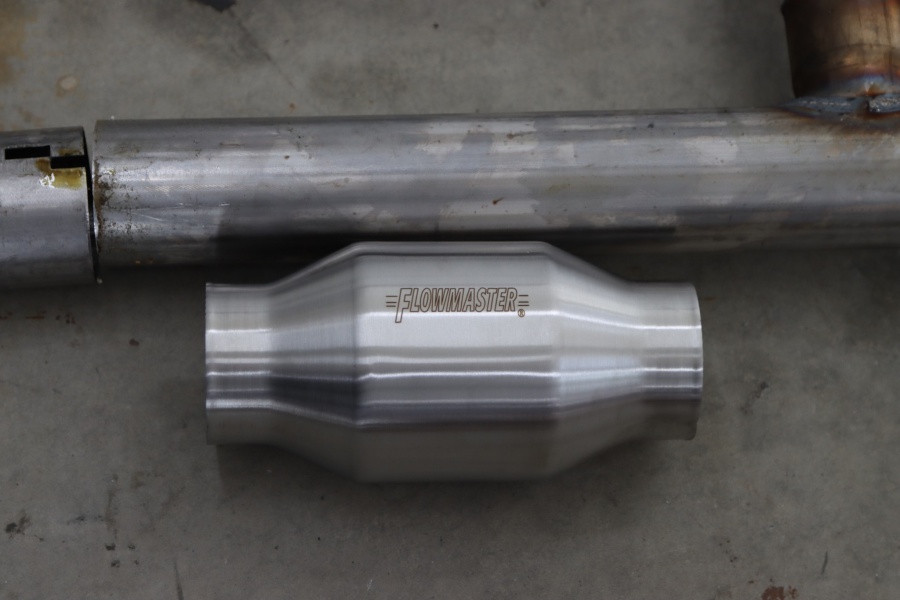
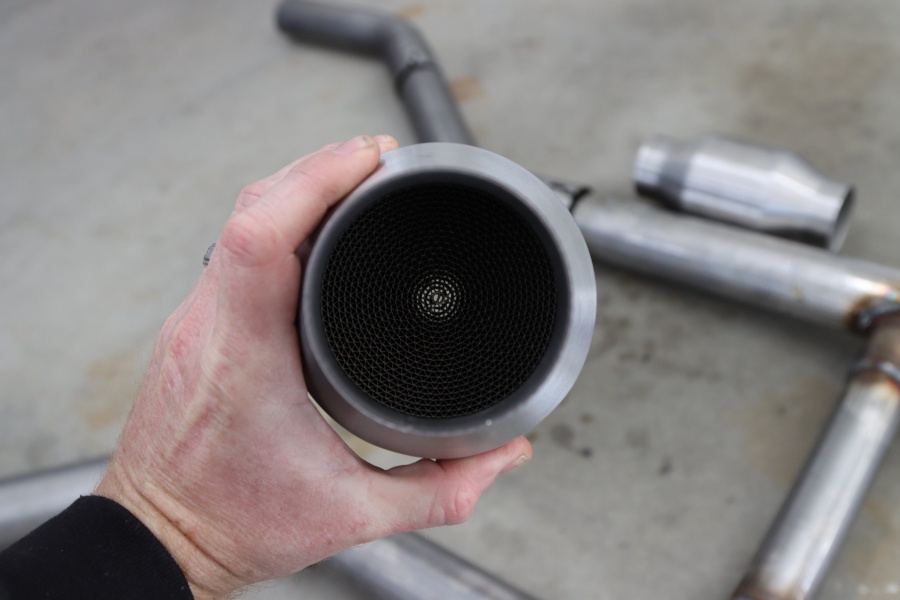
Another answer you’re probably looking for is why on earth would we install catalytic converters on a 1955 Bel Air? There was two reasons for us. First, was to help lower the noise level the exhaust makes. Seeing that these are small high-flow cats they probably won’t do much in the noise department, but it should help a tiny bit. Second and most importantly, smell. This car will be backed into a garage for parking and we didn’t want to smell like exhaust every time. Even with a fuel-injected LS these will help lower the smell.
Install With Modifications
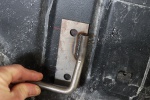
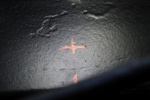
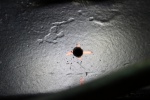
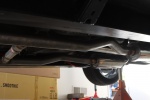
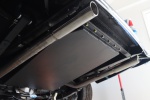
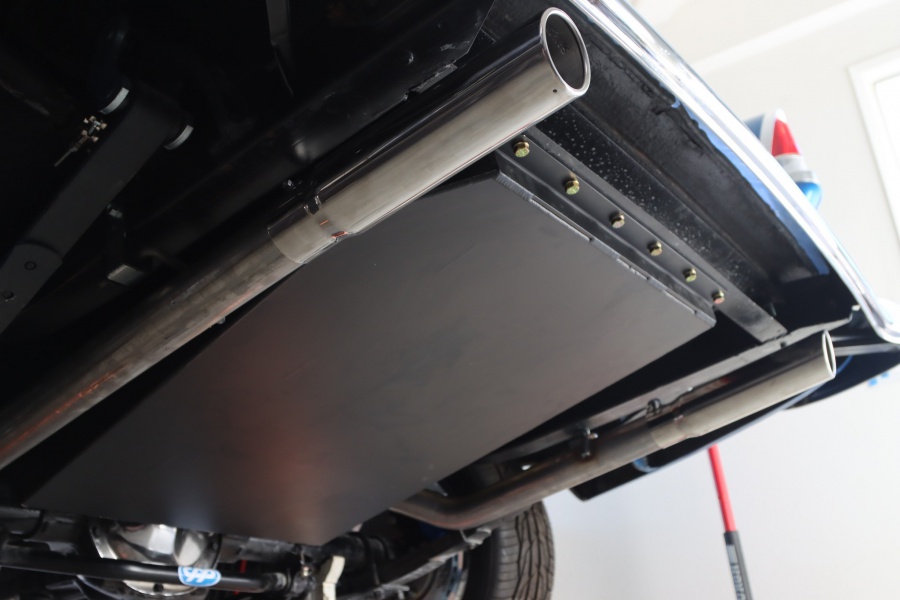
The first step is to actually remove the rear seat. Luckily we haven’t installed the rear seat in our ’55 Bel Air yet, so that was an easy step! After that you’ll locate two ribs in the body and do a little measuring. Then you’ll drill a total of four holes(two per side) and install plates that have studs welded to them. On the underside of the body you’ll then attach a bracket using the supplied nuts and washers.

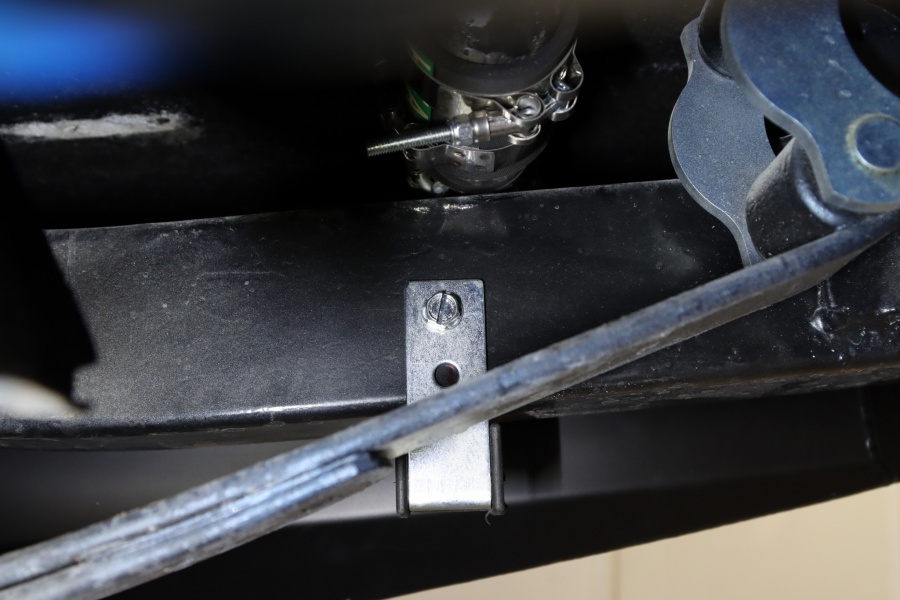
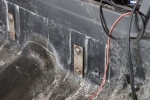
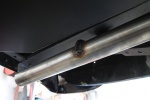
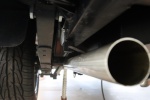
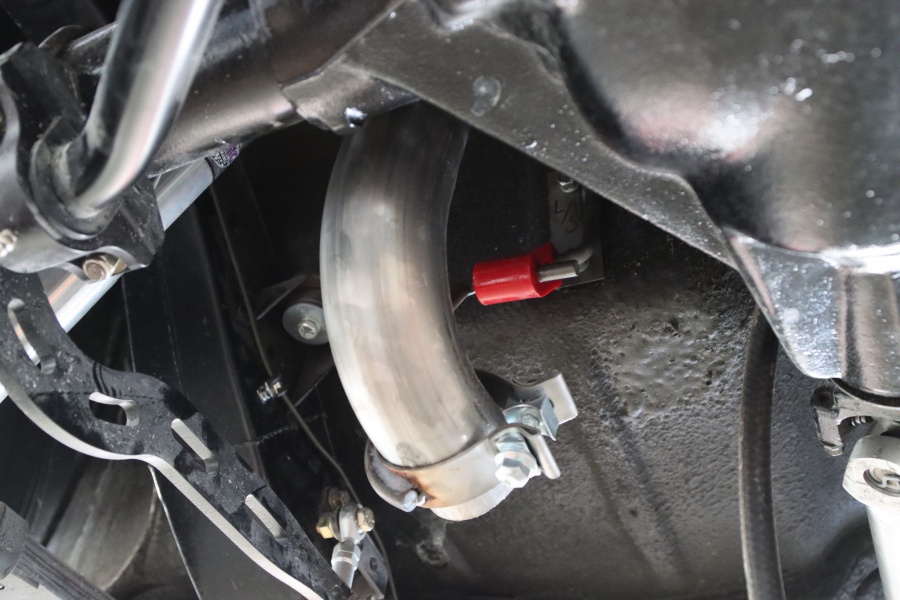
From here you hang a clamp that will clamp and hold the rear of the muffler and front of the tail pipes together. Before we could install the tail pipes we had to install another set of hangars. These are installed on the outside of the frame rails towards the rear of the car. We followed the the instructions and measured, putting the hangers in the right spot. Then we we slid the tail pipes into place and into the rear hangers, followed by the front hangers.

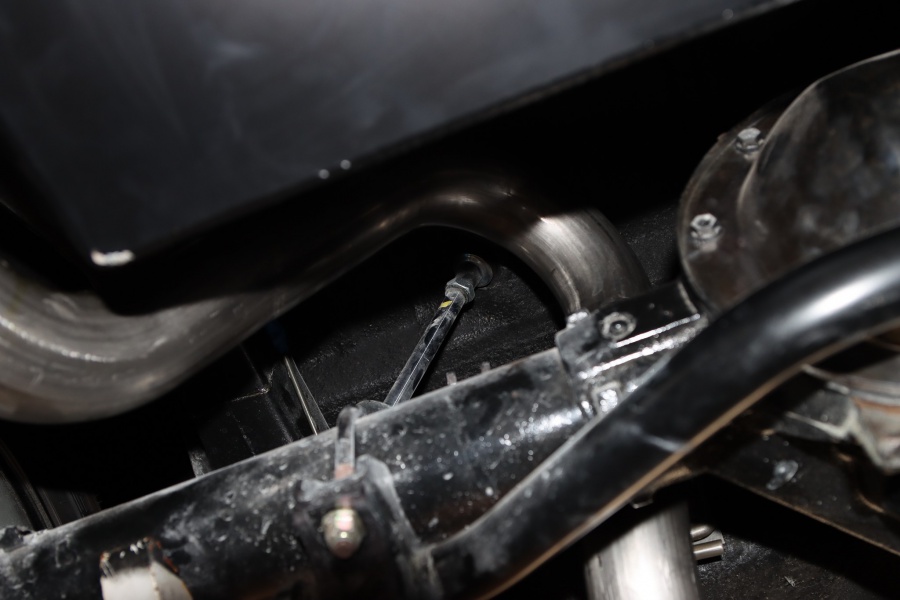
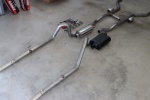
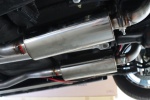
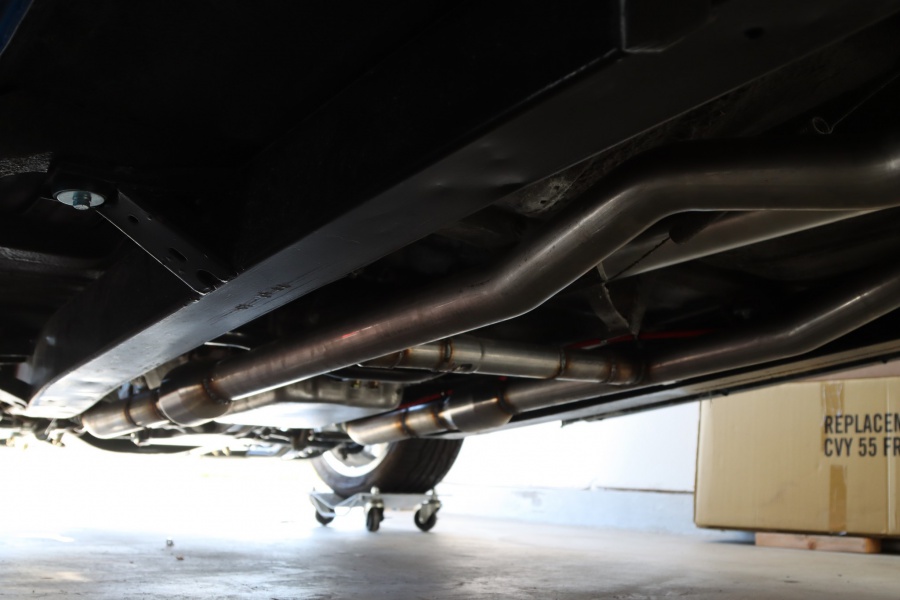
With those in place and loose, we then slipped the new mufflers into the clamp hangers. The next part is where things started to get tricky. We lifted the pre-welded H-Pipe into place but because the mufflers lack the offset, this H-Pipe flat out didn’t fit. We thought you could just push the mufflers at an angle but that didn’t work.
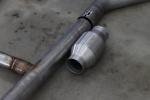
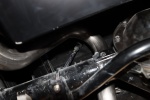
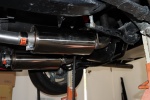
After scratching our heads for a bit we came up with a really easy solution – but it took us awhile to come up with that solution. What we did was cut the H-Pipe in the middle and extend both legs out so they reached the mufflers. We started on the drivers side and tacked it into place. We also added the catalytic converters up front as well; these just weld in-line with no direction to them.
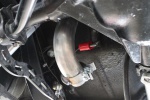
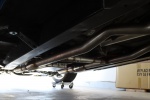
Connecting the exhaust to the headers is something that a kit just can’t prepare for. For the Tri-Fives there’s probably a dozen different engines with each one have a dozen different manifold/header options. Our headers are a mid-length from CPP which allow the exhaust to be tucked up nicely. Flowmaster supplied a few elbows to connect the exhaust to whatever header or manifold you’re using.

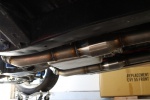
Once we had the drivers side tack welded into place, we then did the same on the passenger side and also connected them back in the middle with the H-Pipe. After everything was tacked into place, we double checked clearance and fitment everywhere on the exhaust. With that out of the way we fully welded everything up! We could have used the clamps but we prefer to weld since it guarantees to not leak or come loose.
Now to get the rest of the car going so we can hear how great this new exhaust sounds!
For more information or to purchase Flowmaster for your ride, visit Holley.com