TANKS INC For The Long Road Ahead
There’s always a wrong way and a right way to do something. When it comes to a fuel system, this is not something that you want to do halfway right or wrong. For starters, if it leaks then you obviously risk a fire which can quickly engulf your ride and put an end to it.
The other side is a system that just doesn’t work or starves your engine for fuel under hard cornering or braking. On our 1955 Bel Air, almost everything done on the car before we bought it was done halfway right. We’ve slowly been going through the car and fixing all the errors of the previous owner. One thing that caught our attention was the fuel system.
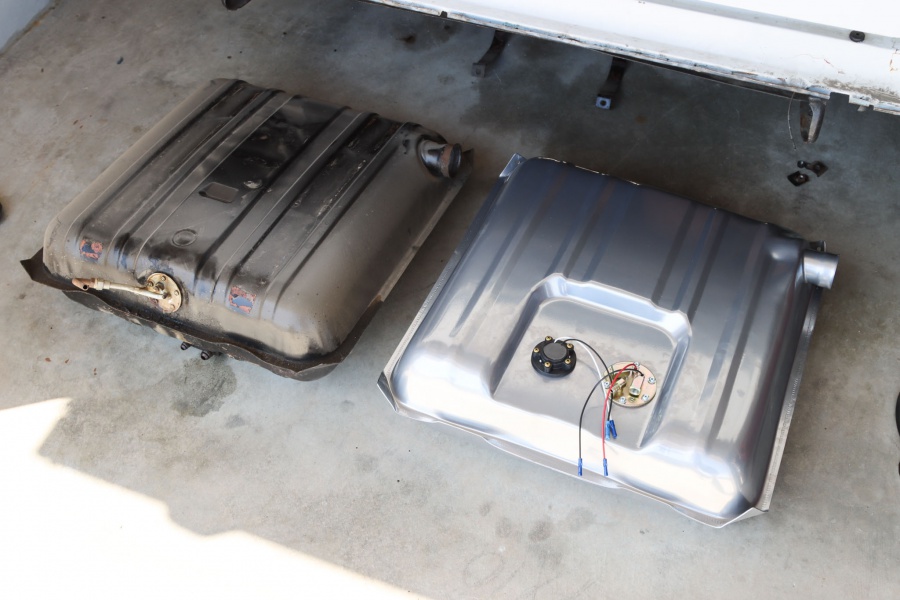
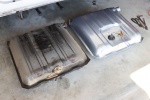
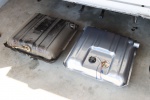
What they did to install the high-pressure fuel system required for the LS1 under the hood was to weld a small sump on the bottom of the tank and run an in-line fuel pump. The issue is that leaves zero baffling for the fuel so it would easily slosh around and starve the system. The other is that the fuel pump was on the frame forward of the rear axles. That means it was having to suck the fuel all the way from the tank up and over the axle to the pump.
We knew with this set up it was only a matter of time before the pump would be overworked and fail. Plus above all else, the fuel pump was noisy and could be heard even with the engine running. After last summer’s Power Tour trip where we experienced overheating the fuel system, we decided we weren’t going to chance it on this car.
Making The Call…
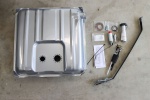
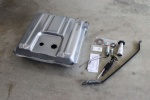
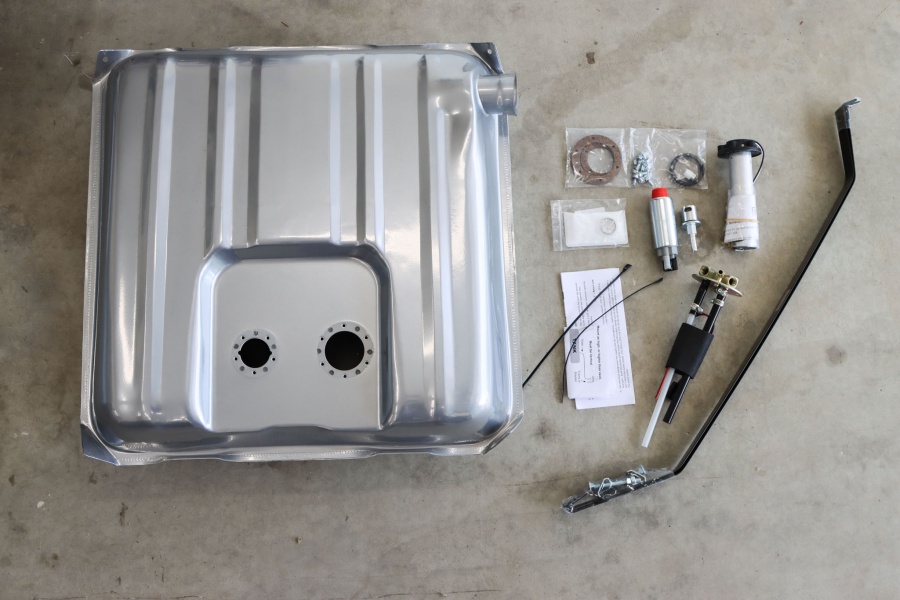
In our Project Chevelle and Nova we’ve used TANKS INC fuel tanks with zero issues. They offer tanks with baffling for fuel slosh and they have a recessed area to give room for the pump and lines. It was a no brainer to give them a call and order up their ’55 Bel Air set up.
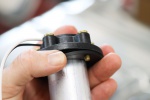
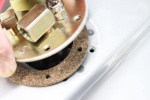
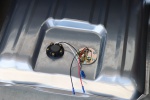
When we ordered the tank we went ahead and ordered up their float-less sending unit and a high-pressure fuel pump as well. The float-less sending unit is insanely easy to install, literally just use the rubber gasket and bolt it into the tank. There’s no more measuring and trimming for an arm then wrestling it into the tank. Just drop it in and go.
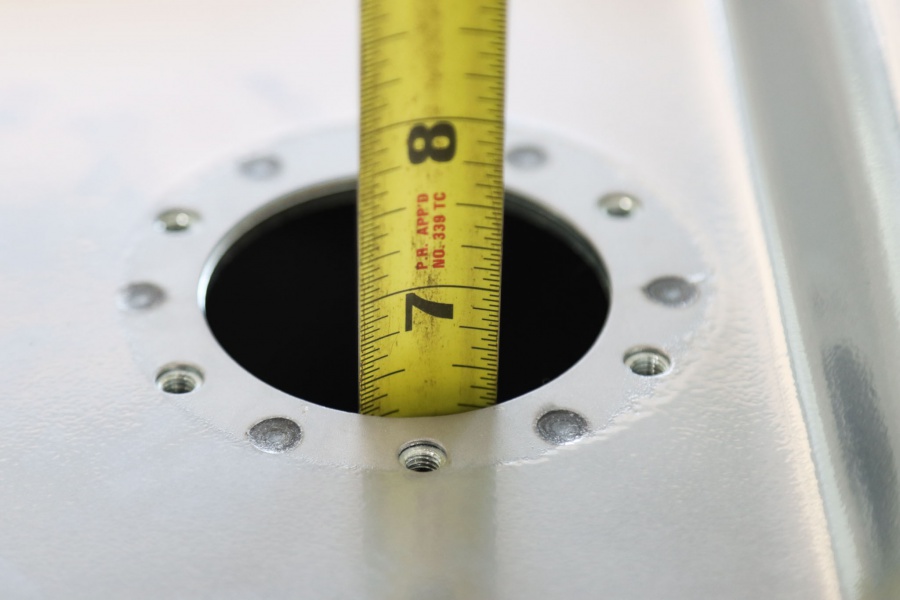
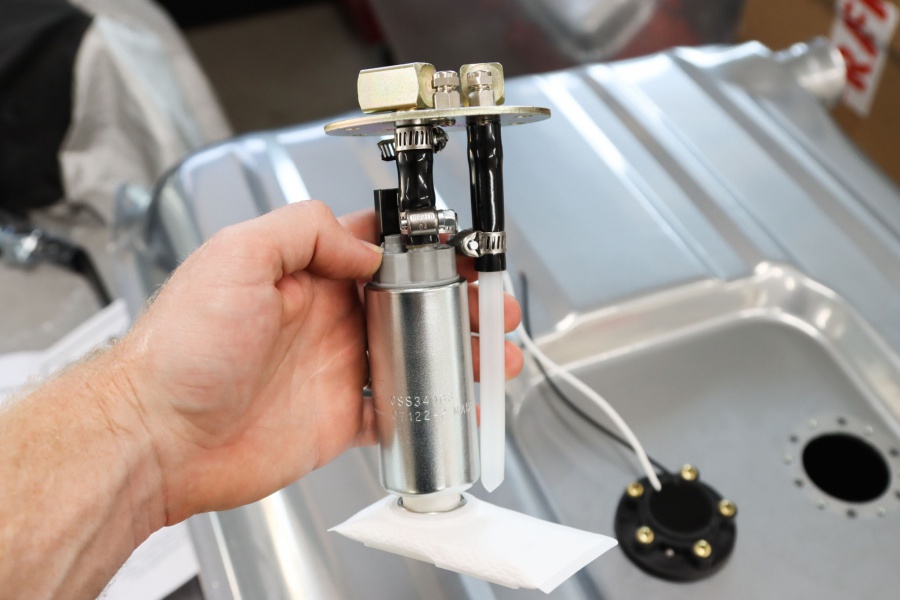
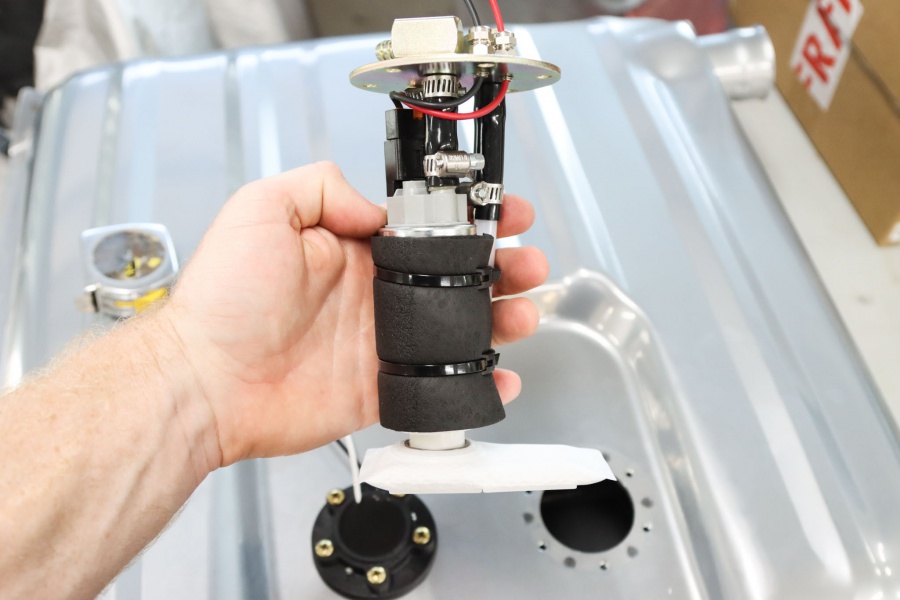
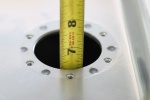
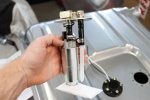
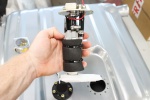
The fuel pump was almost as easy. We measured the depth of the tank and then did the math to trim up the supply hose and the return hose. One tip they give when installing the pump onto the supply hose is to heat it with a heat gun to soften it up a bit, which we did and it helped slide on easily. The last few items are to pop the sock onto the pump and slide the foam around the pump then secure it all together with the provided zip ties.
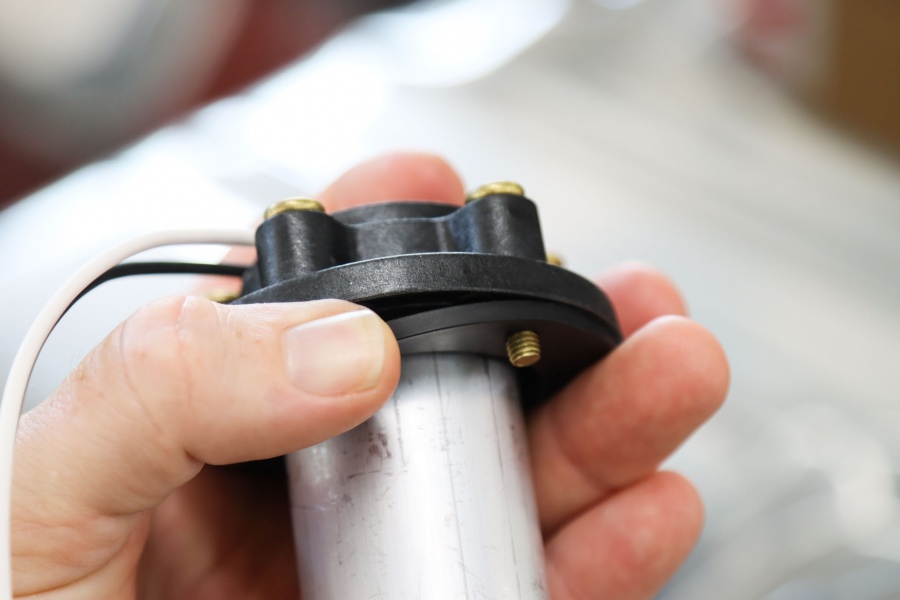
One trick upgrade is now you don’t have to terminate the fuel pump wires, they slide through these bolts than then tighten down and seal up, making installation that much easier. After that we dropped the unit into the tank and secured it with the provided gasket and screws. The pump inlet/outlet are 1/4″ NPT and we used adapters to convert that into AN fittings.
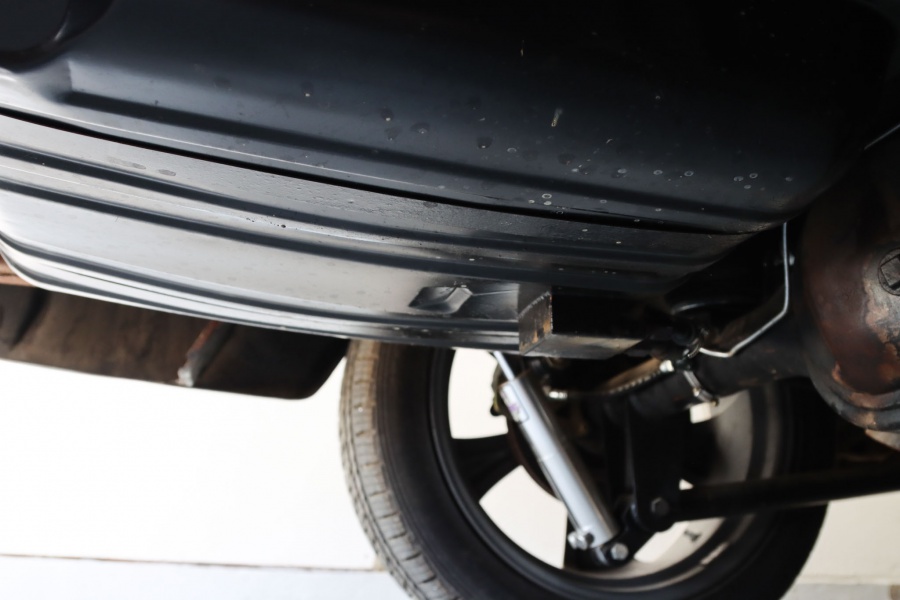
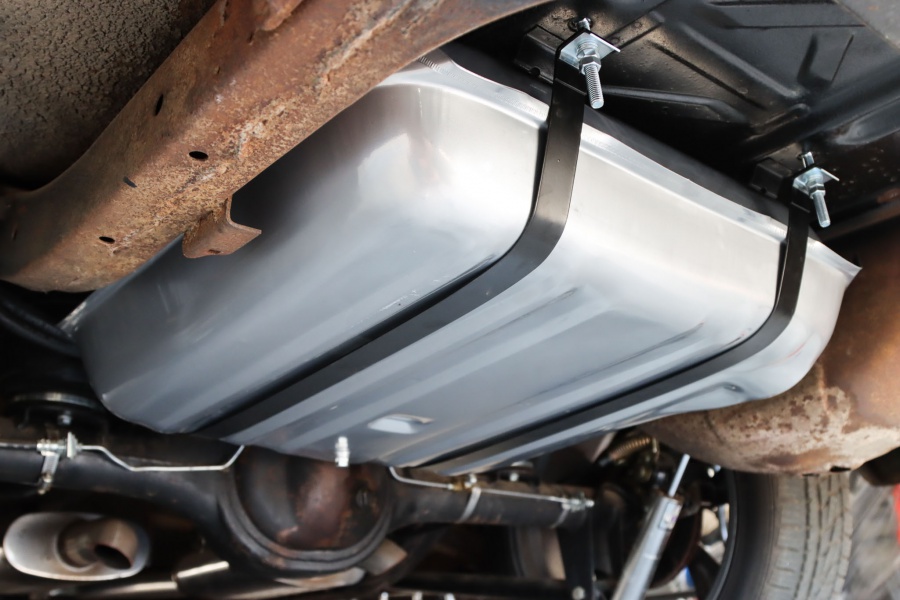

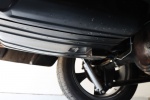
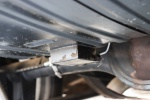
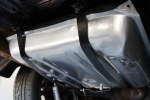
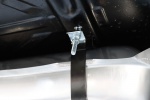
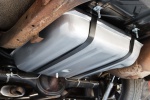
From here removed factory tank. This required us to remove the AN fittings and hose, undue the sending unit wire, pop off the filler neck, then drop down the tank. With the TANKS INC tank, we picked up new mounting straps and hardware as ours were bent and out of shape.
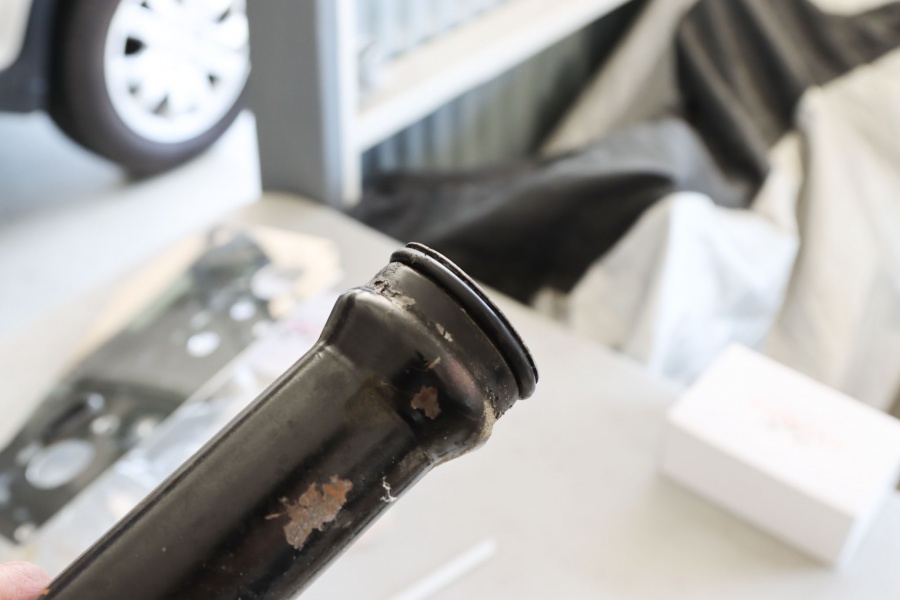
After hooking up the lines and wires we raised the tank into place and secured it with the new straps and carriage bolts. Our last step was to slip the factory fuel filler neck into the tank, but we did install a new O-Ring onto it which came with the tank.
Now we will have miles of a reliable and quiet fuel system in this ’55! For more information gives TANKS INC a call at (877) 596-3842 or hop on their site at www.tanksinc.com


