All Photo’s And Text Courtesy Of BangShift.com
In the world of hot rodding, it is pretty easy to lose the plot one way or another. For instance, if you have your cool classic muscle car and you have been dutifully driving it for years, you may not notice the suspension turning to mush below your feet as the bushings start to break down or the springs sag, etc. On the other end of the spectrum you may be thinking about making your car drive better than stock and end up with something that doesn’t ride really well, has mismatched parts, and is all but vehicular wife repellent in terms of actually enjoying the time you spend in it.
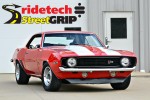
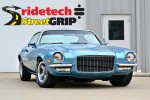
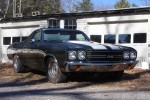
RideTech looked at the muscle and pony car markets out there and decided that they needed to provide people a sensible, cost effective, and robust suspension option that allowed them to keep the muscle car wheel and tire look and not compromise the ride quality that they want in a driver. The answer is Street Grip and we’re happy to say that the 1970 El Camino you’ll see here got kit 001 off the production line and it works like a boss.
What’s the point? Don’t all suspension setups do the same thing?
Well, generally speaking yes but anyone who has even the slightest inkling of how the world of pro touring and suspensions systems have advanced over the last decade or so understands that there are a multitude of options for people who want to go whole hog in the competition arena but for people who wanted a comprehensive upgrade that wasn’t going to require them to compromise on the comforts of their muscle or pony car, things have been limited. Stock replacement parts are better than blown out factory original junk but they are only going to get you back to what the car was good for to start with. Other than that there was the piecemeal approach of trying to match different components from different companies and occasionally guys could get it right but most of the time, something was lacking.
Your suspension system is kind of like an orchestra. When everyone is in time and in tune it is a pleasurable experience. When one section is not, the whole thing is out of whack and unlistenable. This is what the key to Street Grip is. The pieces are all designed and matched to work in concert with each other and perhaps more importantly with the tires on your car.
At the end of the day, Street Grip is designed to take your muscle or pony car and make it way more fun to drive while maintaining the traditional muscle car look that you love. This is not about big wheels and short sidewall tires. This is about maximizing the potential of your combo and in the process making your car more fun than you every really knew it could be. If you are rolling on say, a Radial T/A, a set of Cooper Cobras, and you love the looks, Street Grip is your jam.
Our test subject –
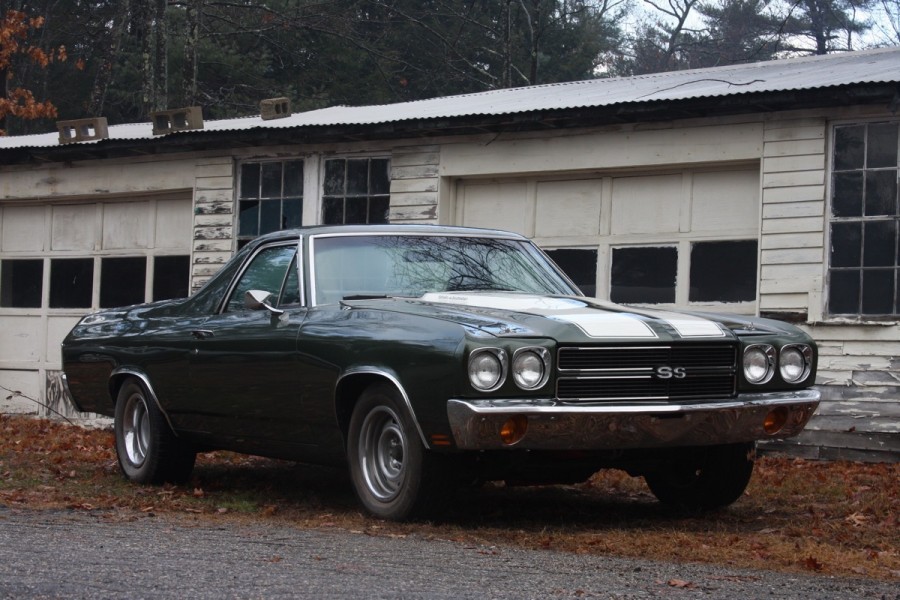
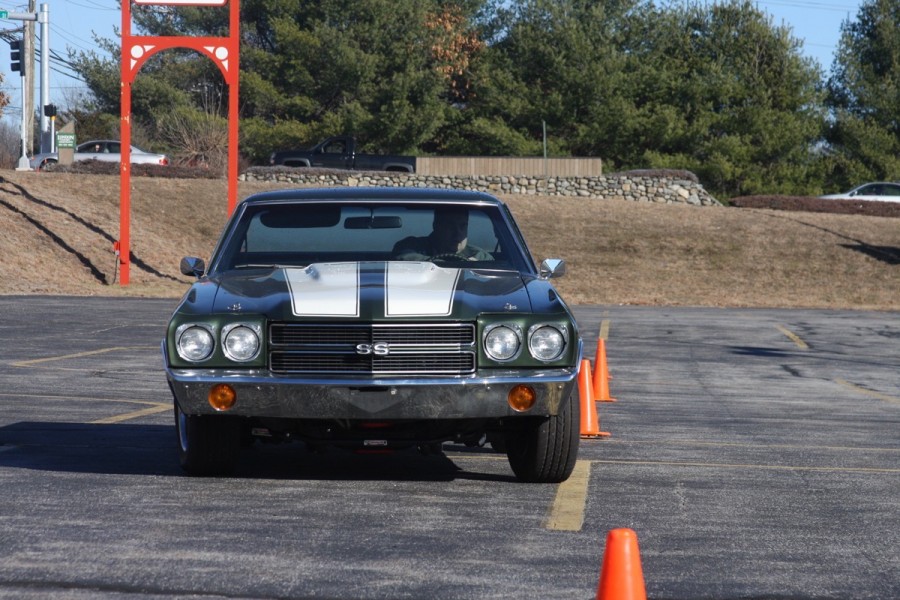
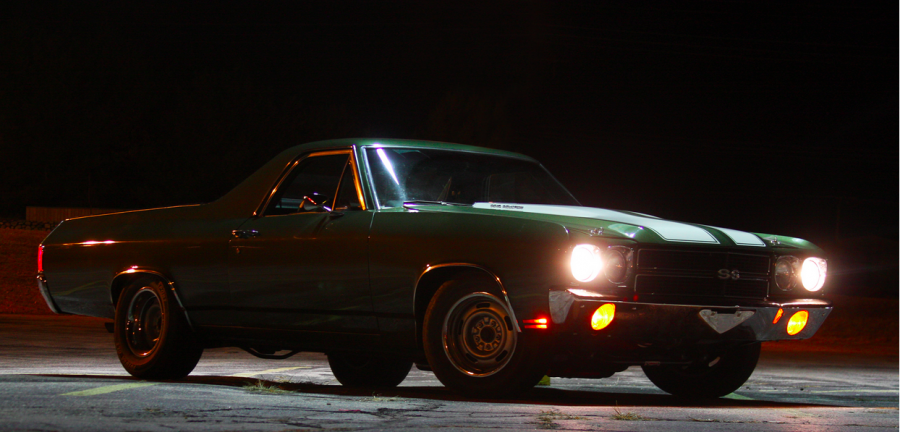
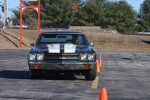
We went hunting for a classic GM A-body for this story and we found a good one in the form of the 1970 Chevrolet El Camino you’ll be gawking at for the rest of this story. This is a great car to show off the Street Grip system because it is rolling on those traditional muscle car tires with the smaller wheel diameter and taller sidewalls that were the hallmark of these things and it has a healthy Chevy rat motor under the hood. Being a big block machine with lots of weight bias to the nose, it exhibited some really wonky qualities during our impromptu slalom testing by the shop we were working out of.
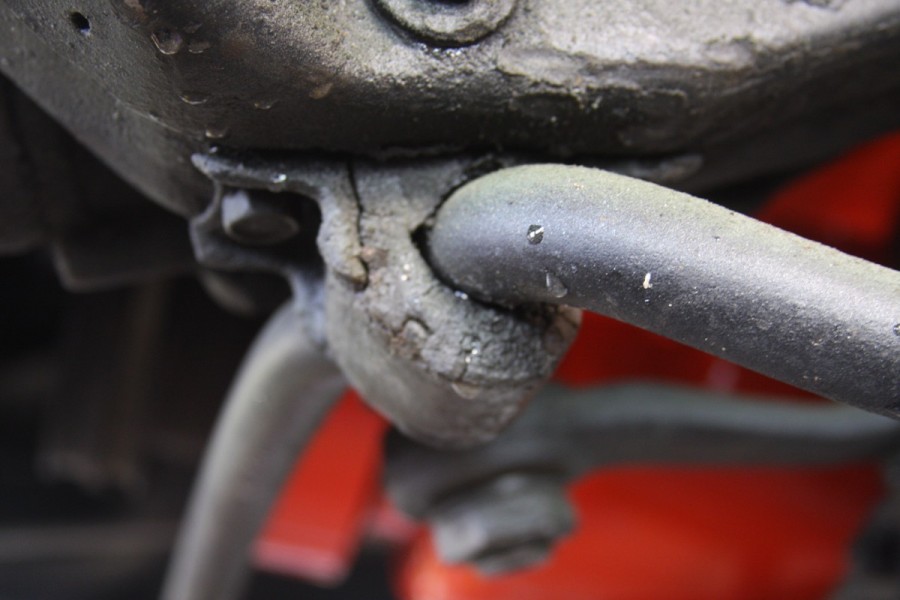
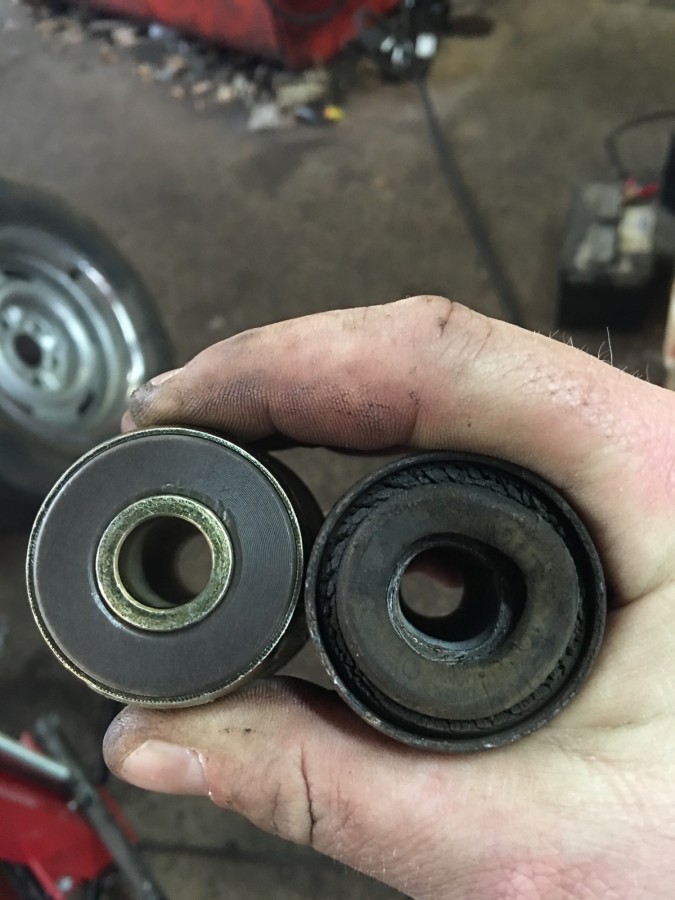
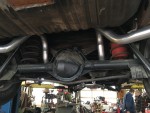
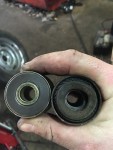
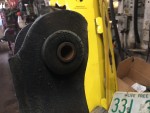
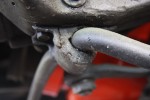
The car as we found it was equipped with bone stock style suspension. At some point in its life, this former Georgia car had had some suspension service done. We found some recently replaced stock style shocks under it and the upper control arm bushings had been replaced at some point. We also found 45 year old stock springs under the car and lower control arm bushings that were completely hashed once we took the thing apart. The El Camino had the stock sway bars installed front and rear. Again, the stock rubber bushings were mangled. Completely wallowed out and crumbling.
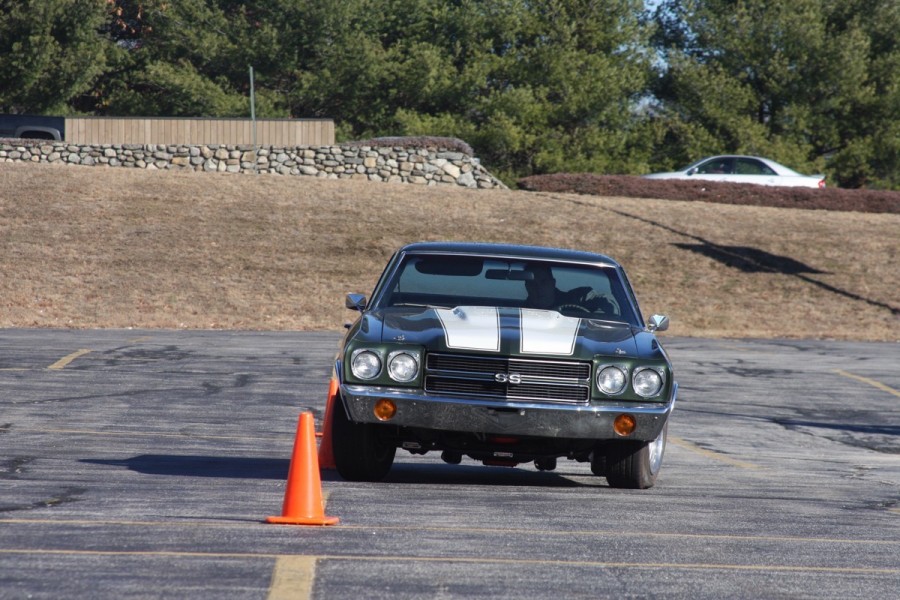
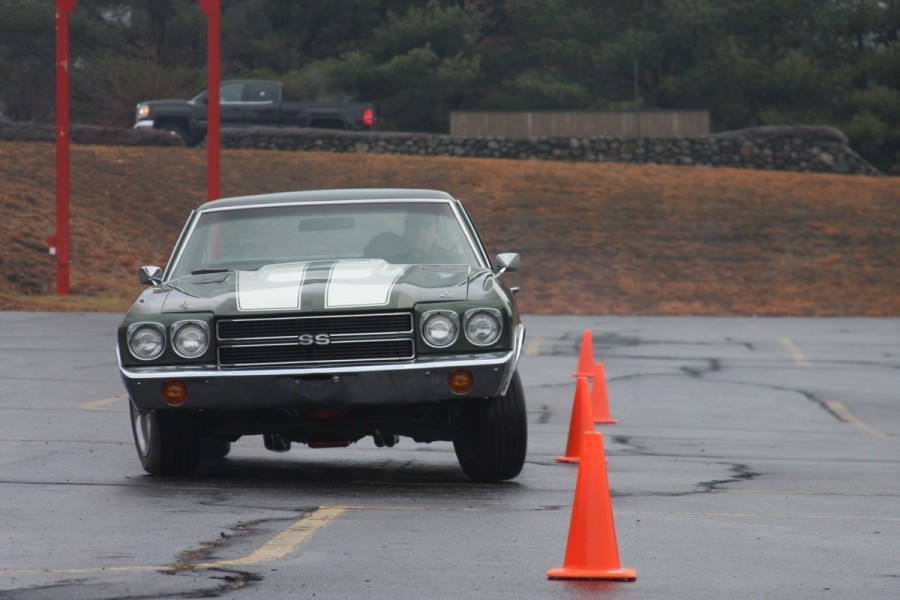
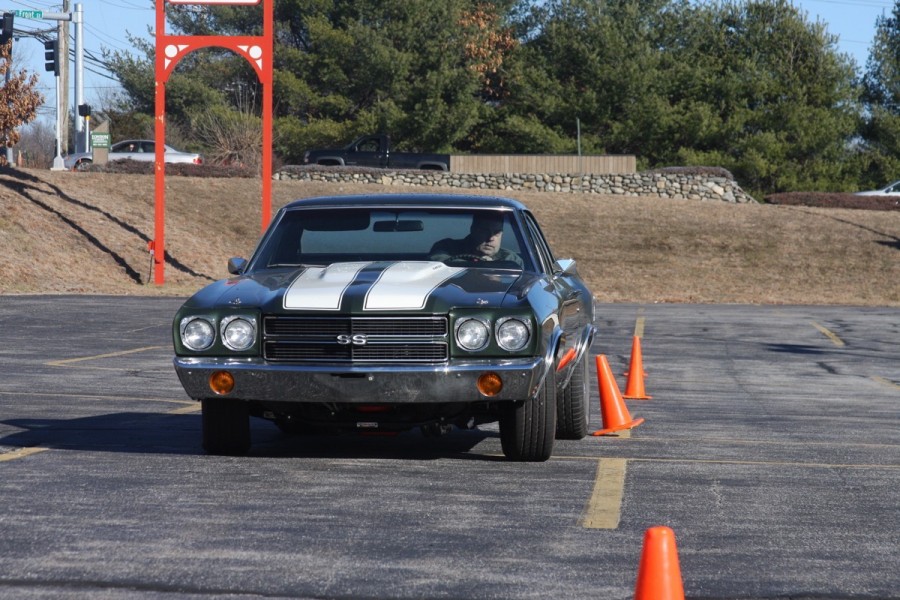
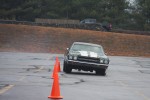
So, now that you know what we were working with, here’s how it looked when we took the car to our testing facility (a Tractor Supply parking lot) after it stopped raining on the day we decided to wrench:
Pretty typical of a car with worn components, less than optimal factory camber curve, and little weenie sway bars. Oh, and this was when it was wet out! Imagine if the tires had full grip in this situation. So with a car that leaned like a cruise ship in rough seas, we had two options. Build a bar in the back and hire Issac to pour us drinks or upgrade this thing to make it better riding, better steering, and lots more fun. Issac was booked so we decided to go to work.
Parts…sweet, sweet parts –
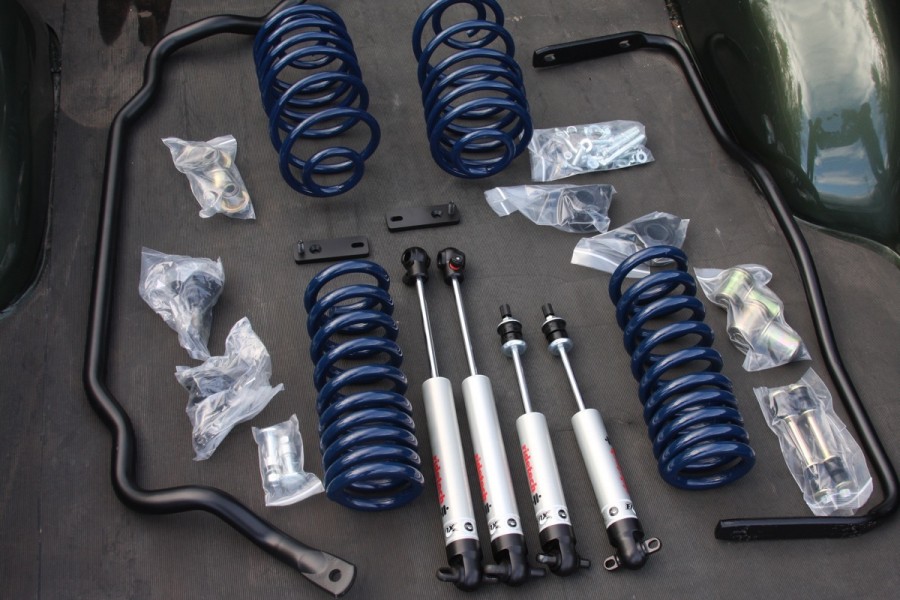
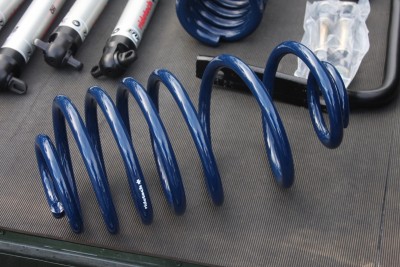
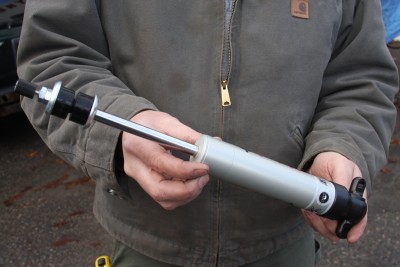
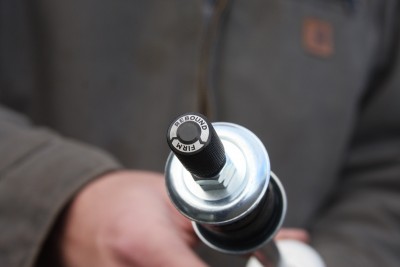
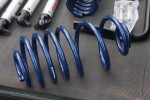
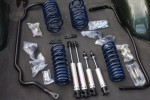
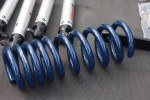
So if you watched the video above the great looking host told you what you get as part of the kit. Dual-rate springs, RideTech single adjustable shocks, tall upper ball joints to help change the camber curve, RideTech tuned sway bars, and Delrin bushings for the front control arms (both upper and lower) as well as new sway bar bushings with Delrin inserts. Here’s all the stuff:
A closer look at the test subject –
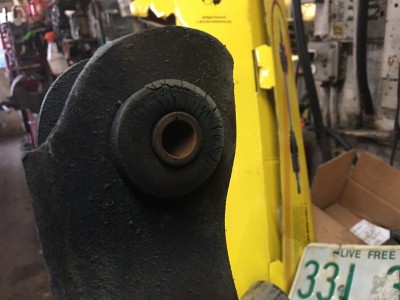
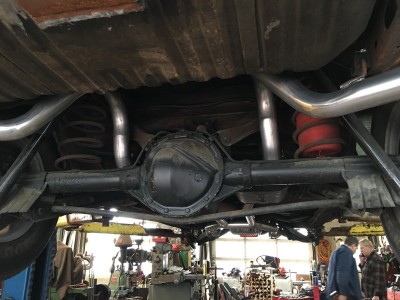
When we got the car up on the lift at Beard’s Auto and Truck Repair in Merrimack, New Hampshire after horsing around on the slalom we inspected the parts and pieces we were going to be replacing. Here’s exactly what we saw:
There’s no brain surgery involved –
We’re not going to go through a full kill install story here because frankly there is not that much excitement to it all. If you have never taken apart the front suspension of your car, read up and take your time. This is not a race and if there are two things we’d tell you that take some time it is (a) carefully taking the front end apart to make sure you are being safe with those front springs which have a LOT of stored energy in them and (b) again taking your time and not rushing the installation of the new bushings. This is a job that can be done at home but like most things, if you can finagle some time on a lift, it’ll make your life a little easier. We thinking most of the readers of this story have done front end work before but if you have not, read a shop manual or hit the YouTubes for solid advice on being safe with that part of the job.
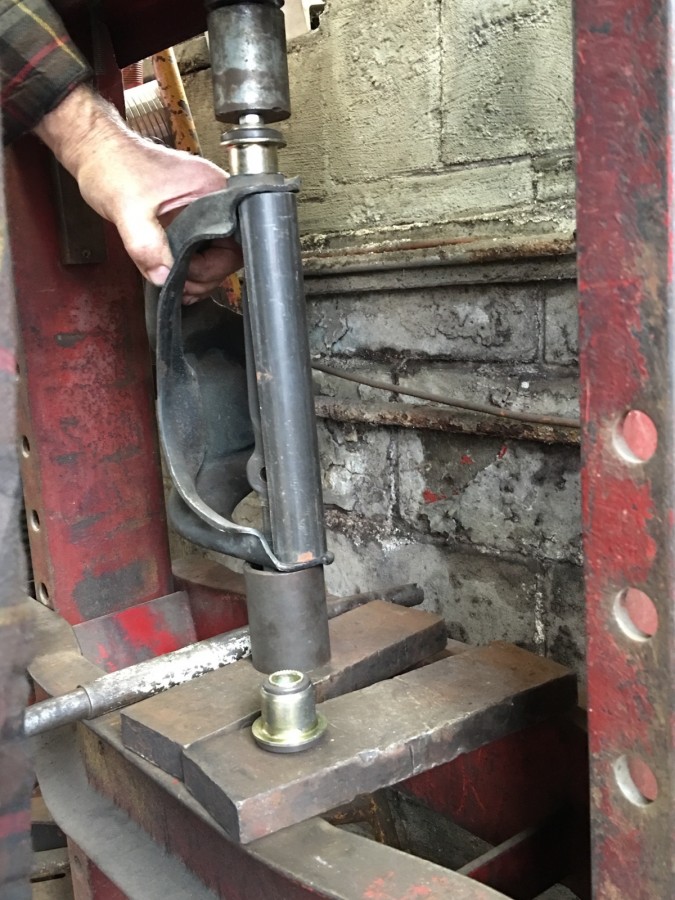
Regarding the bushings. These are pieces that are essentially press fit and the control arms on your car are stamped steel. They can move, distort, and bend if you try to take shortcuts with this job. The provided RideTech directions have some great common sense solutions to keep you from bending your stuff. Either heed those or farm this piece of the job out to a local shop with some experience and a press. That’s your call. Elbow grease or wallet grease can solve this issue in whatever manner you want to solve it by.
We made a support out of chromoly tubing to support the upper arms when we were pressing the old bushings out and the new ones in. Failing to support the arm structure in this process, no matter the manner you are doing it, won’t be good for your control arms. For demonstration purposes you see the whole bushing in the press. RideTech recommends installing the shell first and then the actual bushing.
Some stuff may look different…don’t freak out!
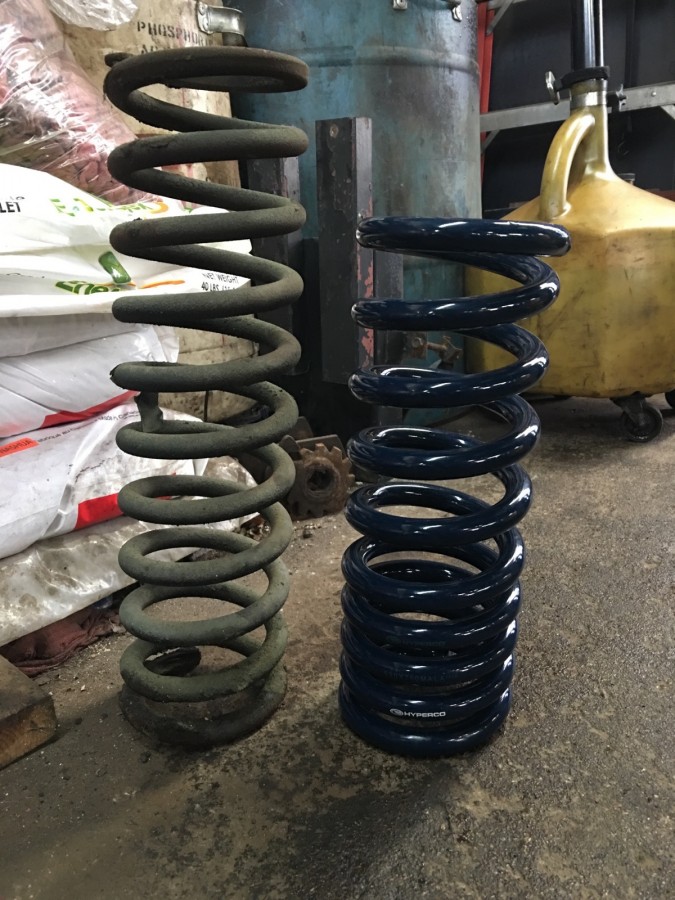
The dual rate coil springs in the front are far shorter than the stockers that came out of this big block car and the elder statesman of our group was worried that the thing would be dragging the bumper when we let the car down. Here’s why:
Woah, right? Wrong. The rate, materials, and engineering in the new springs make the old springs look…well, old. There is a slight reduction in ride height but nothing that suggests you’d ever have any trouble going down the road. We actually drove this thing through some pretty big chuck holes in a dirt lot and we were not even close to touching a header collector to the ground. The shorter springs make installation A BREEZE as compared to making those tall stockers go back home.
What’s the ride height difference?
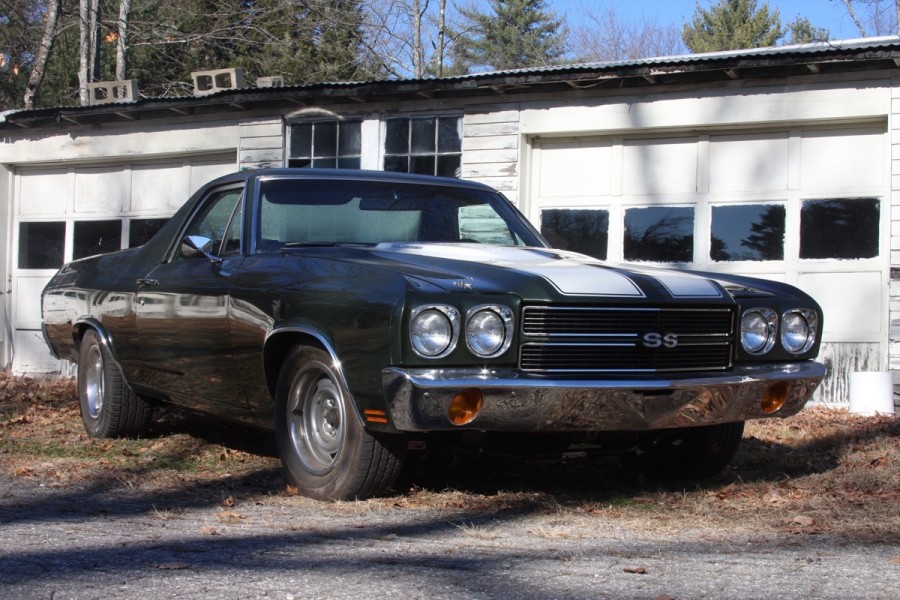
Here’s what it was on the stock parts and after the installation of the Street Grip package:
The thing looks flat out bad ass, right? Not slammed, not laid out, but just perfect. Tucking a little of that front tire, a little bit of that rear tire, and just enough stance that hardcore guys will notice that something’s been done.
So how much better does it work? How does it go down the road?
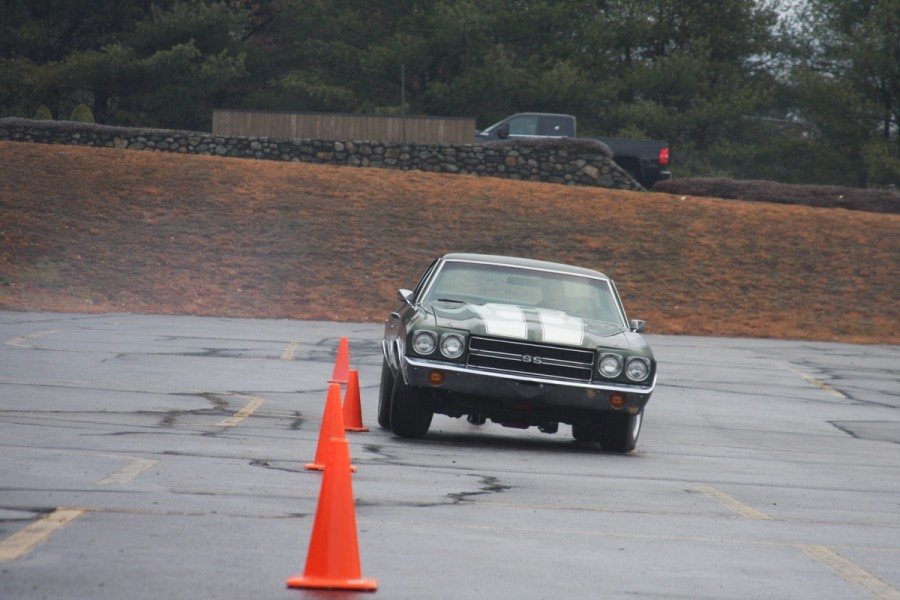
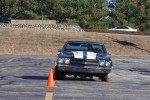
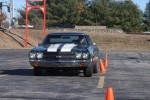
The performance characteristics of the car changed dramatically for the better. Here’s what the “after” slalom looked like:
In terms of the ride quality, the shocks and the dual rate springs are what really sets this kit apart (along with the bushings that free up the control arms to actually do what they are supposed to do). We followed the directions provided to give the car a more firm ride with the adjustments and then went cruising, looking for pot holes, rough pavement, and whatever else we could bump. It rides great. Absolutely no harshness. It soaks up bumps and feels far more connected to the road overall. It no longer pulled the nose dive move upon braking and the whole machine felt like it was working just like it was supposed to. The big block was pulling hard and the tires were stuck to the ground in a way that would make any muscle car fan happy. It’ll also make your wife happy because she’s not going to be bashing her kidneys or bashing her head off the ceiling as the car bounces around.
The final word –
It was a solid day’s work (including a lunch break) to get the job done. About eight hours with two guys working (not at a pro’s pace) and goofing off. The return was a car that became way better all around. Suspension upgrades provide some of the most visceral and immediate feedback to the driver in all of hot rodding. There’s no delay in knowing whether it worked or not or whether you like it or not. We loved the way the car worked after installing the Street Grip system.
A HUGE thanks to Dave Beard and his family for allowing us the use of a shop bay for this story and the installation of the parts. Not only a repair shop, Dave builds drag racing chassis here and operates DragsterSupply.com from this location as well. We had a blast wrenching and Charlie who owns this Elky is going to have a blast cruising it for years to come.
Thanks again to our friends at BangShift.com for this article! Check out more pictures below.


