How To Build a Rearend With Currie Enterprises
One of the most overlooked items on just about any car is the rearend. We love the shiney wheels, the heart-stopping brakes, making tons of horsepower and even miles deep paint. A rearend just isn’t that sexy of a part, we don’t see it and for the most part it’s a set-it and forget-it type deal. That shouldn’t be the case though, as it’s a major part in making all those horses connect to the ground.
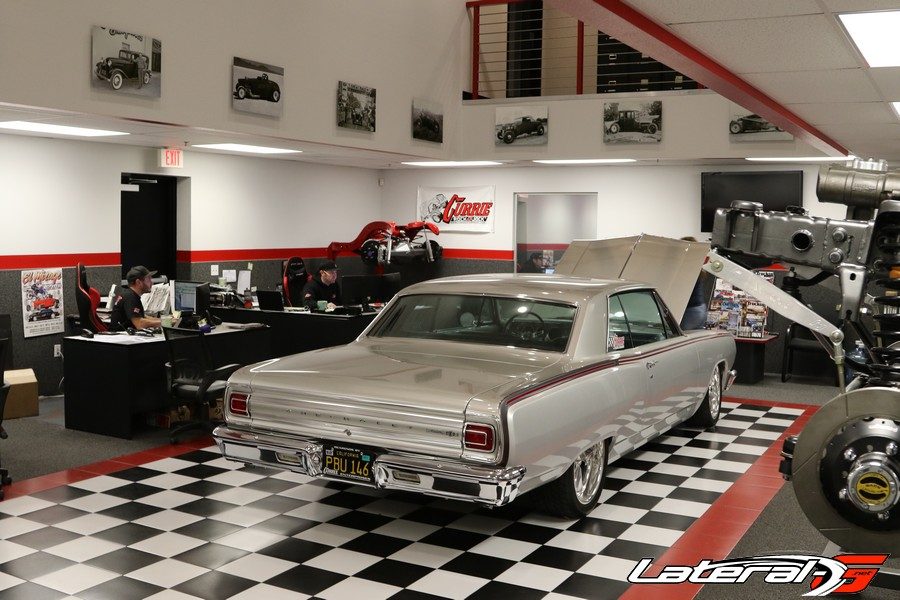
Currie Enterprises was founded by Frank Currie back in 1959. He started his business building differentials for material handling equipment, but after a few decades his son’s took over the business. They weren’t just handed the keys either, they grew up operating the machines to fabricate rearends since they were old enough to walk. They saw potential in the car market and started making rearends for V8 conversion vehicles such as Chevy Vegas, Mini Trucks like the Luv’s and Couriers. Fast forward a few more decades and they are in a 40,000 sq.-ft. state of the art manufacturing facility in Corona, CA that can build just about any differential for anything you can dream up.
In our project ’66 Chevelle, we needed a new rearend. The factory 12-bolt was tired and in need of a rebuild. Instead of upgrading with C-Clip eliminators and everything else, we decided to go ahead and order up a brand new Currie rearend for it. If you’re anything like us, you love to see how things are made. Especially when they are 100% made here in the United States.
Arriving at their plant in Corona, CA, we met up with Brian Shephard who got us all set up. First he wanted to know what the plans are with the car, what suspension it has, which brakes it has, and a host of other questions. Currie makes everything from direct bolt-in replacements, to 100% custom rearends, to building a new rearend and using your old brackets. No matter the challenge, they can handle it. After talking with him, it was decided that a Currie 9″ with a TrueTrac helical gear limited slip differential was the best set up for our Chevelle. We could have gone with a full floater, but it would have been overkill for our needs.
Building a Currie 9″
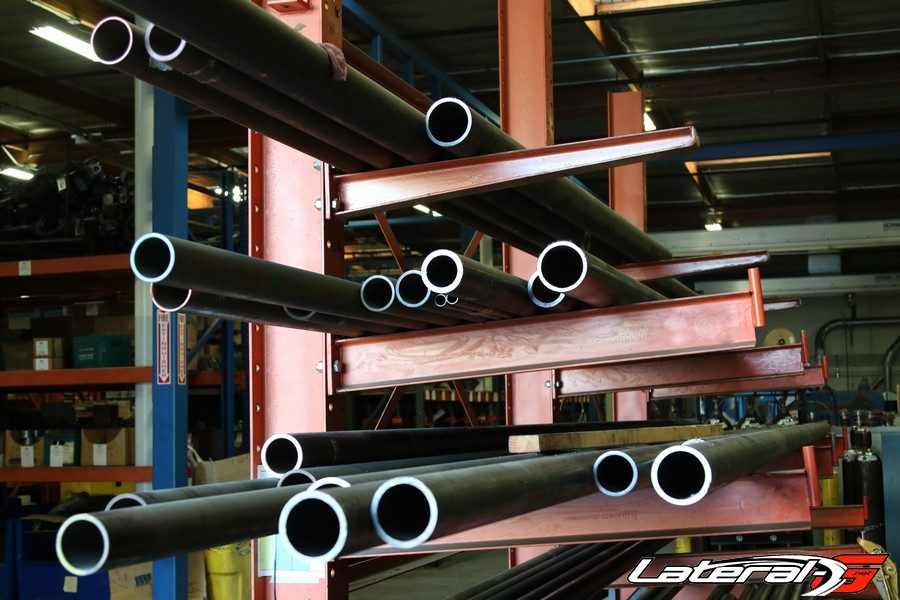
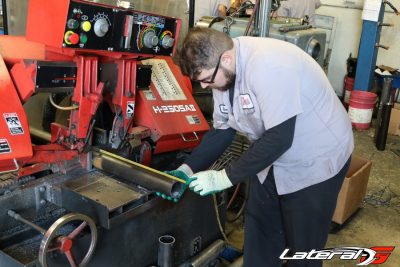
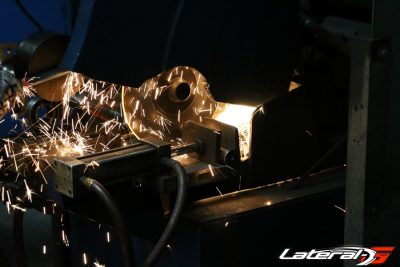
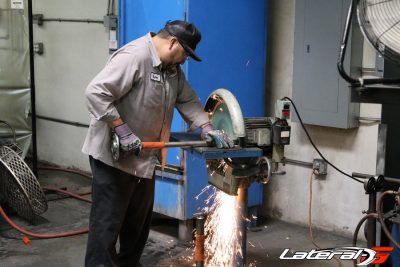
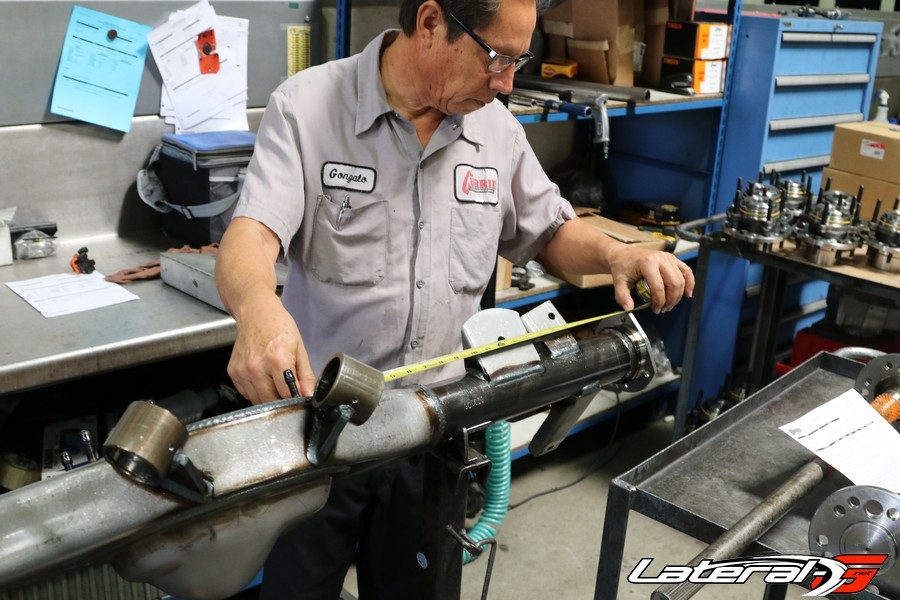
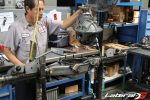
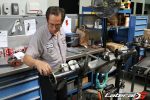
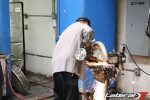
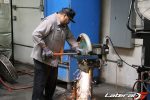
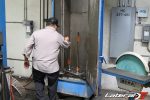
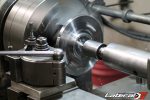
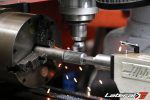
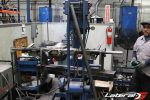
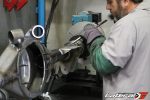
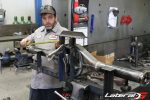
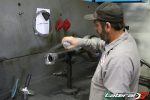
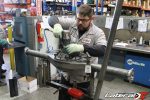
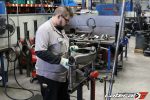
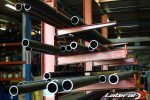
The first step in building our Currie 9″ rear was to grab the American made axle tubes and cut them to length. During this process each tube is measured, measured again, and then once more for to ensure a correct and precise rear. Once they are cut to length they are put in a lathe to quickly clean up the tubes of any burrs.
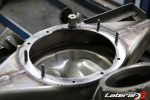
From here a housing was grabbed off the shelf. “While we don’t produce the housing center stampings here in house, those along with the few parts we don’t manufacture ourselves are all made within a 30-mile radius from Currie. Everything is made for us, with our own tooling, here in the United States,” explained Brian.
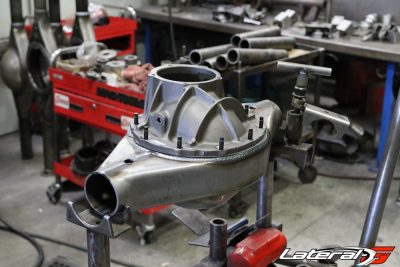
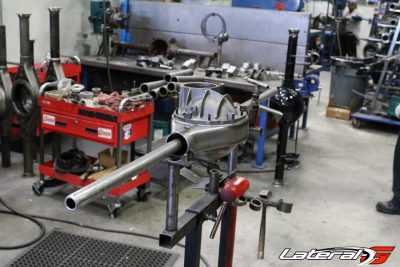
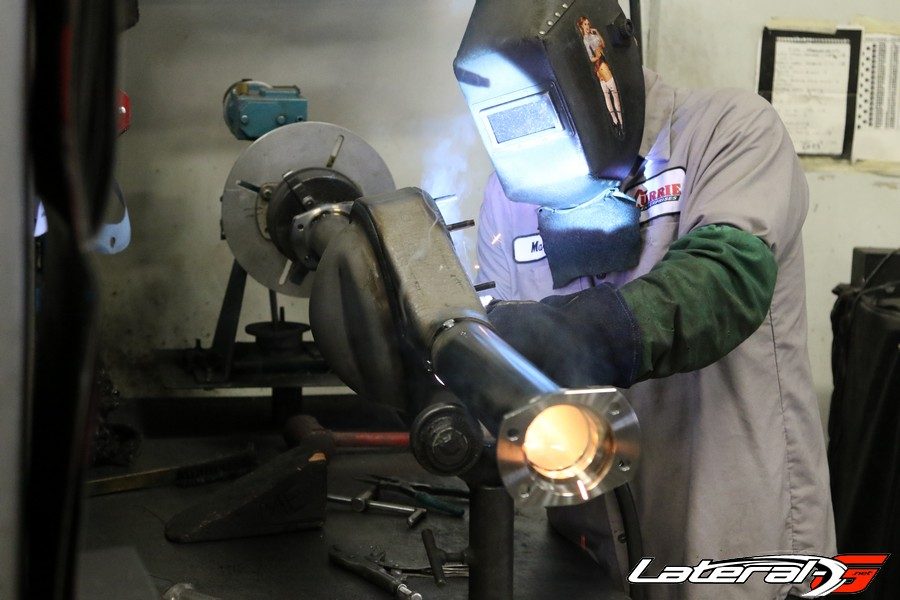
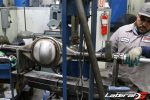
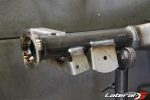
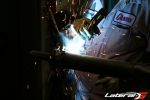
With the housing placed in the jig, the axle tubes are inserted in place and a third member is bolted in to mock everything up. After the flanges are put in the tubing, everything is tack welded into place.
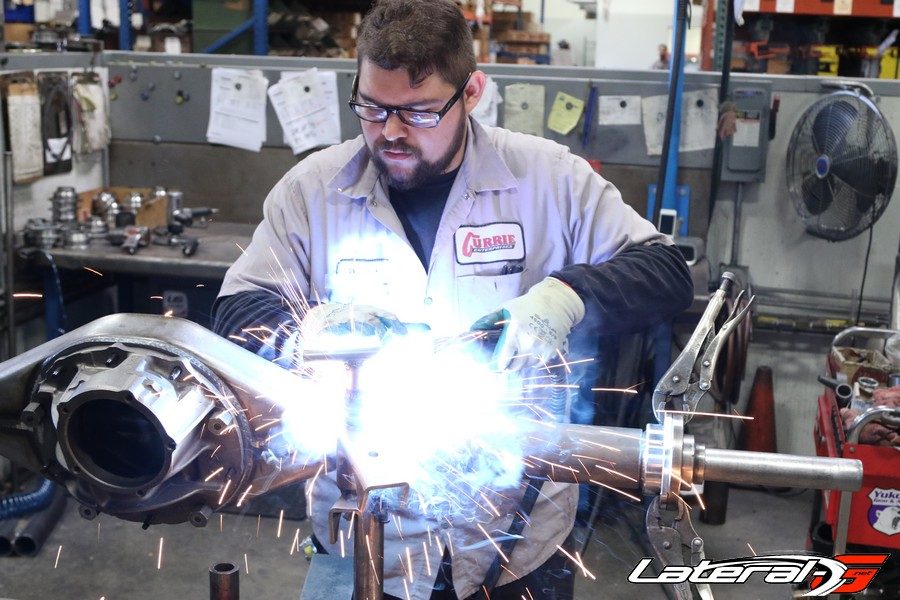
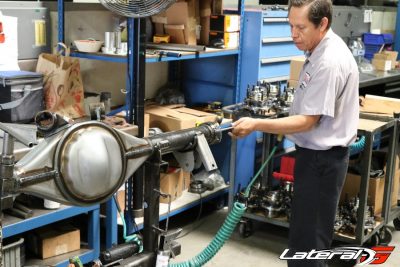
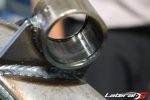
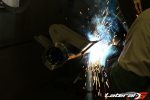
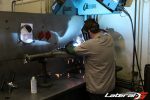
One thing we noted was the high level of quality control. Every time the housing was moved from one station to the next, all of the measurements were double checked. The next station involved fully welding the tubes to the housing and outer flanges inside and out.
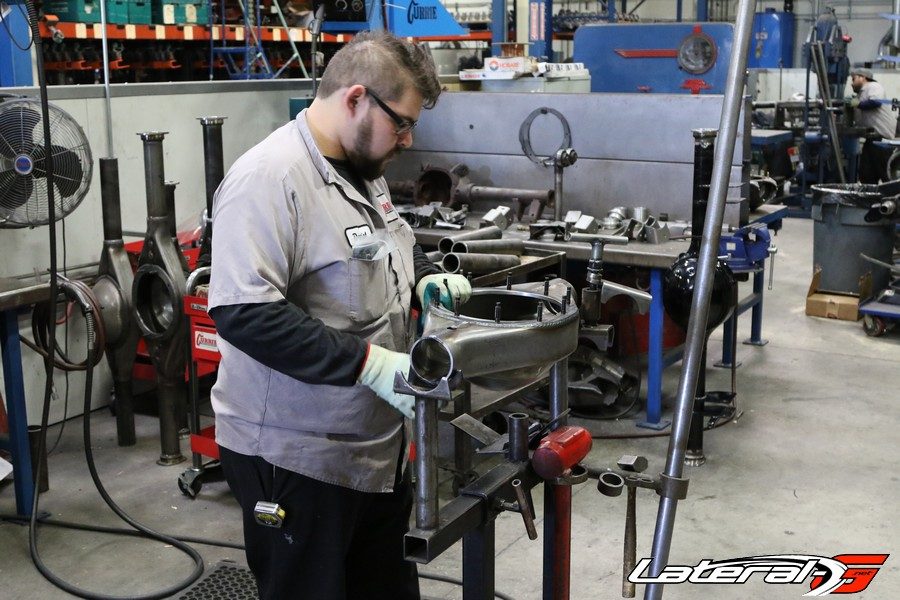
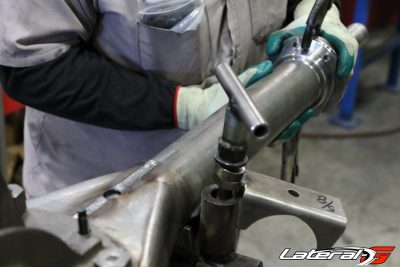
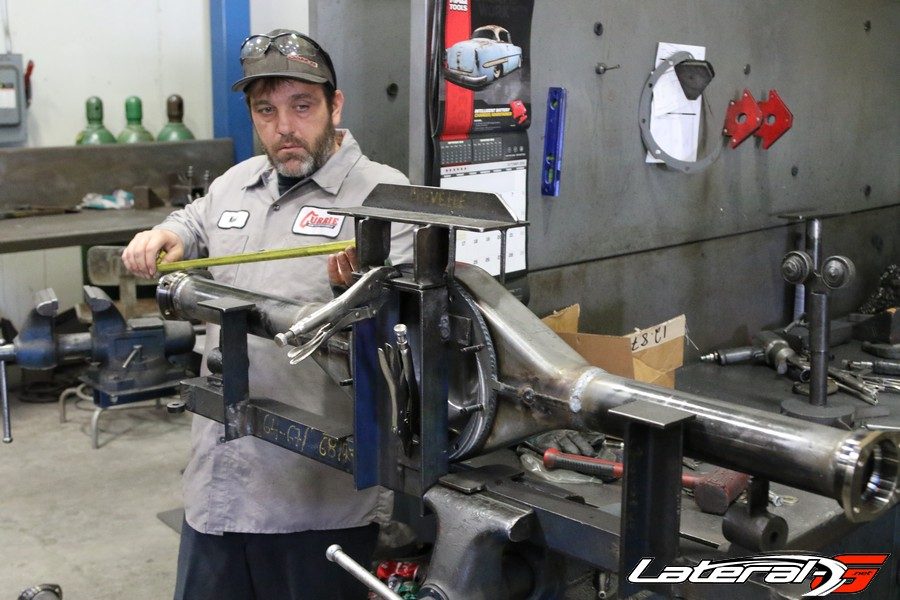
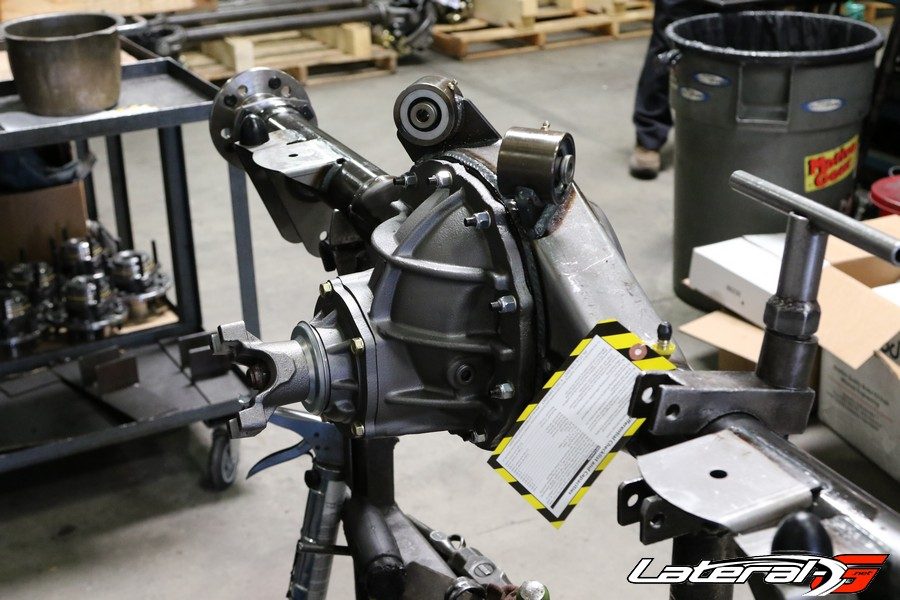
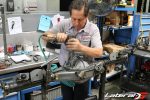
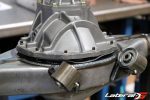
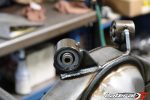
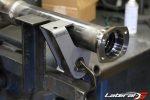
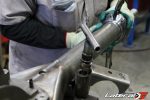
Once fully welded, the technician then placed the housing in a jig to properly place all the suspension mounts on the rearend. Again, meticulously measuring each one to ensure proper placement. Once tacked in place, he then fully welds each bracket. His final step was showing the pride in his workmanship by taking a few minutes to remove any weld splatter and make sure each weld meets his standards.
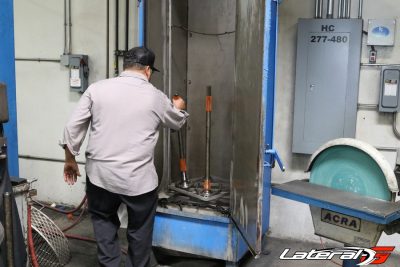
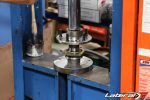
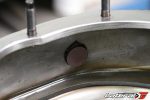
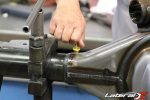
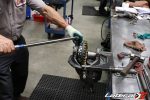
The rear is then moved to a drill press where the breather hole is drilled. After that, the tech moves the rear to a hydraulic press. “This is a tricky process where the tech checks to make sure everything is still true and square after welding. The rear usually needs to be tweaked just a hair to ensure this. Too much and it’s a useless bent housing. Luckily he does this day in and day out, and is able to know exactly how much pressure to apply,” explained Brian. With a minor tweak, our housing was straight as an arrow and off to hot dipping for a thorough cleaning.
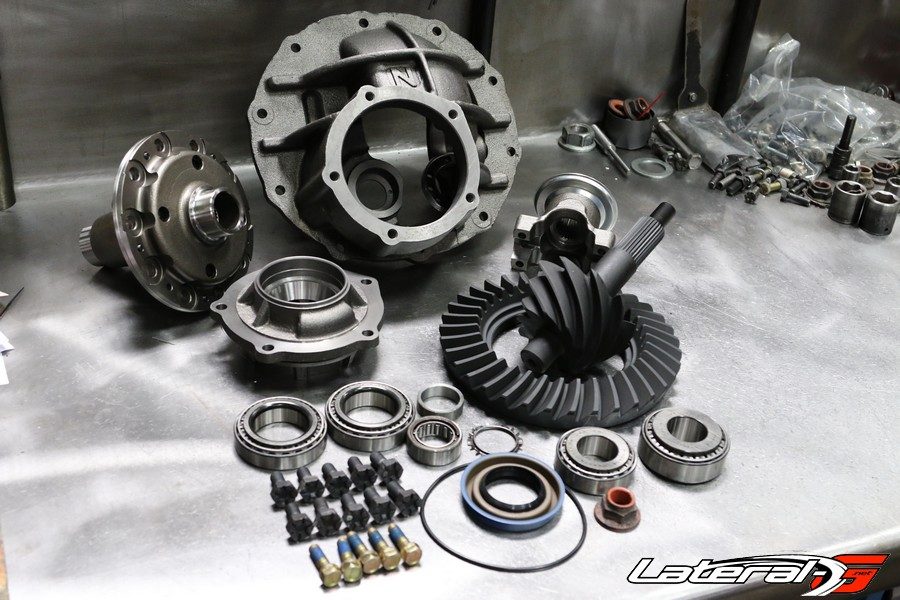
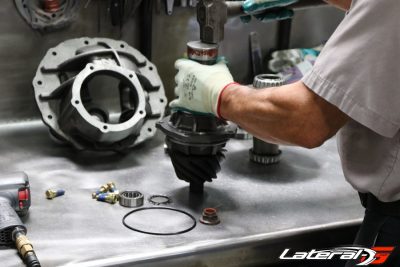
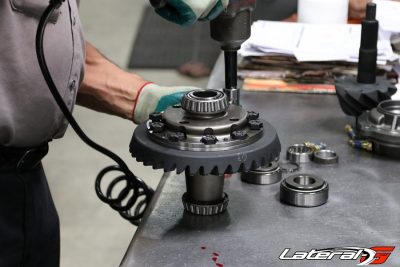
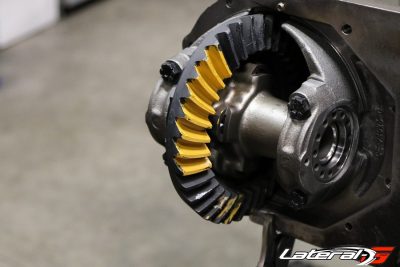
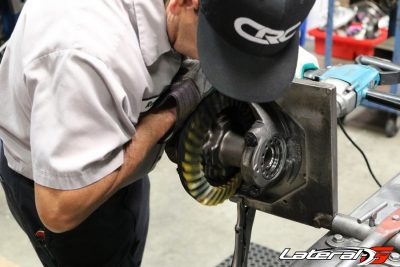
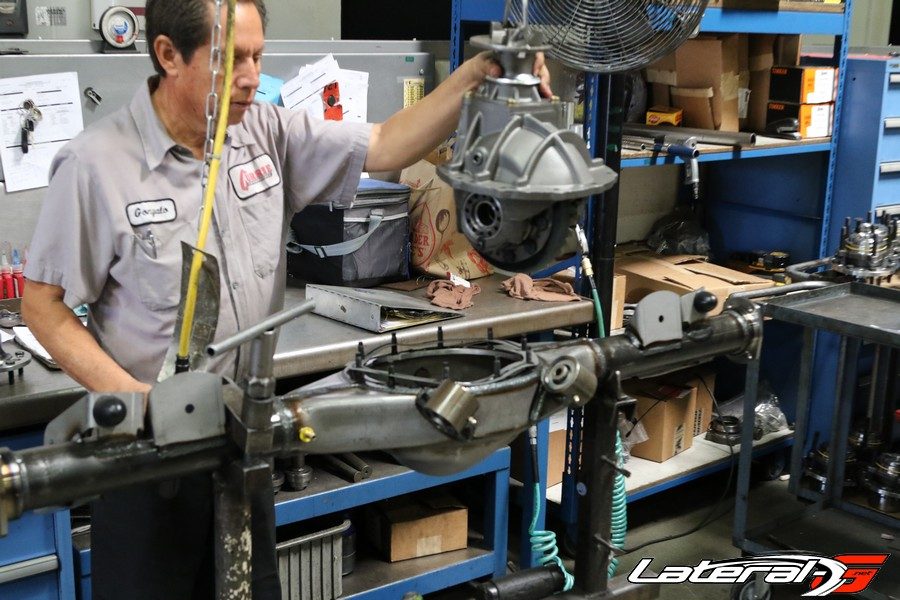
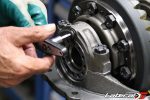
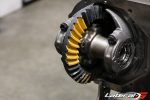
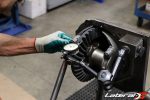
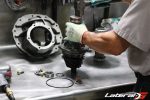
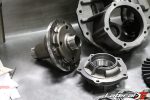
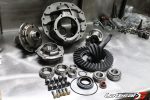
While the rear was being hot dipped, it was time to build the third member. The tech doing this made it look insanely easy and for good reason – he does this exact job all day, everyday. He starts by laying out all the parts and assembling the ring and pinion assembly. In a special jig he’s able to set the lash and check it. After a few basic tweaks, he had the lash perfect. Every bolt was torqued down to spec and used thread locker to ensure endless miles of trouble-free operation.
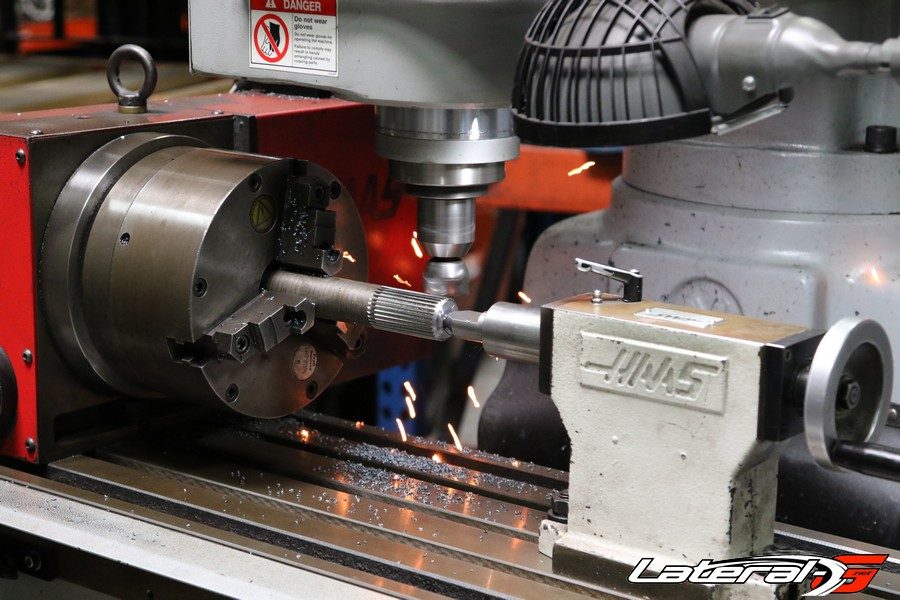
After the third member was complete Brian walked us over to the axle area of the factory. “We have the full capability to build any kind of axle we need. Some of them are already splined and we just cut to fit, while others are completely custom and we cut our own splines in house,” stated Brian. Since ours was a basic 9″, they had the axles with splines already sitting on the shelf ready to pop in.
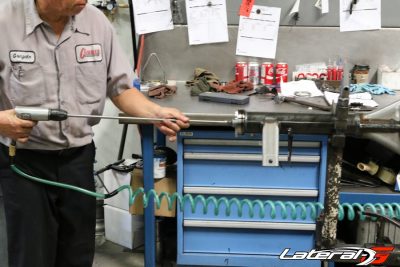
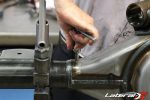
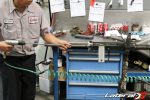
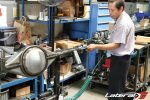
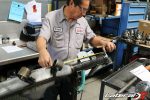
With all the pieces of the puzzle complete, the time came for final assembly. The housing was placed in a special vise and you guessed it – measured again to ensure proper length. After verifying all measurements, his first step was to make sure the housing was 100% free of any burrs or metal shavings. This was accomplished by running a series of brushes and rags down the axle tubes and inside the housing.
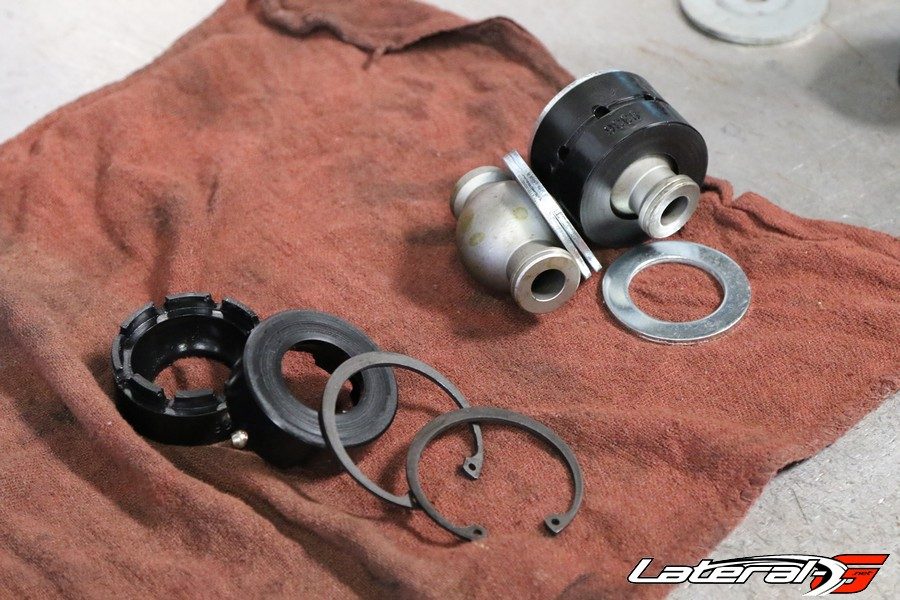
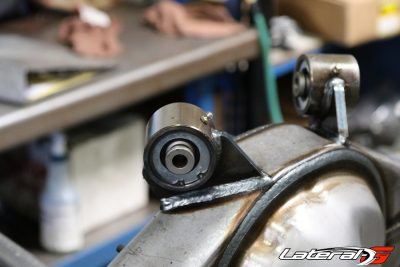
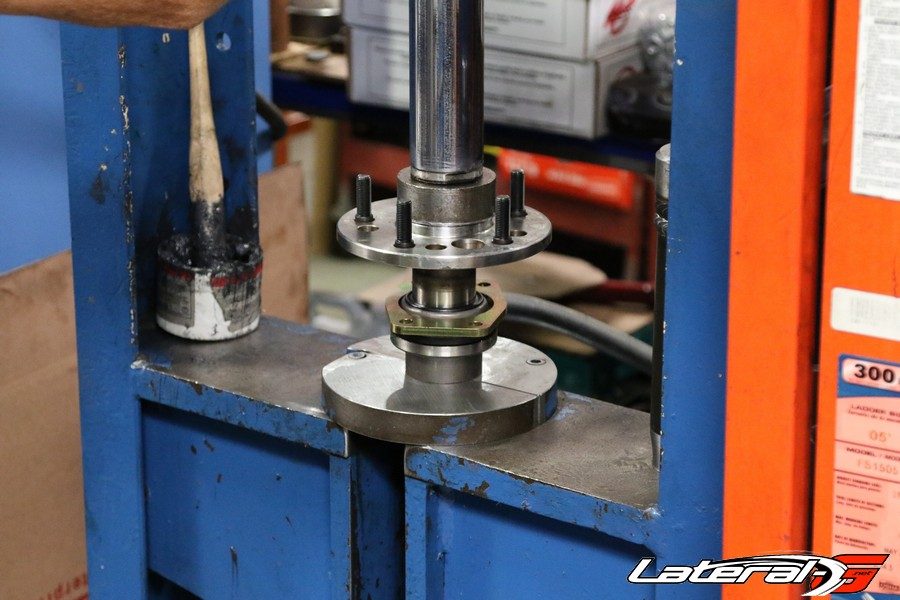
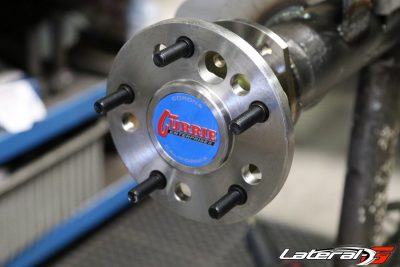
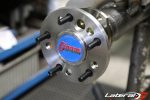
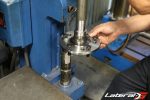
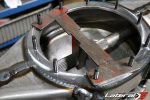
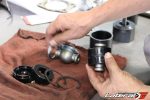
Then the time came to assemble and install the Currie built Johnny Joints. “These joints free up the binding that a converging four-link sees. They are 100% rebuild-able too, should they ever wear out,” explained Brian. Urethane bump stops are bolted on, then a pass/no-pass gauge was put in the housing to check the axle lengths. Once they passed this test, the axle studs are pressed into place.
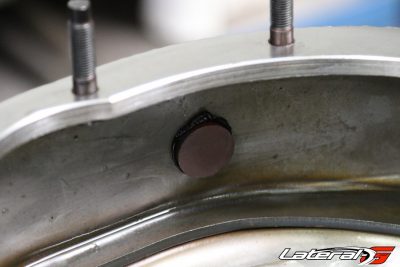
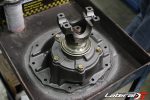
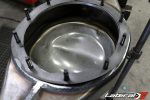
A magnet is stuck in the bottom of the housing with a little silicon to make sure it doesn’t move around. “This magnet acts as oil filter filter for the rear, catching any metal shavings that might happen,” explained Brian. Then a bead of silicone is applied around the housing and the third member is dropped in place with a gasket. After lowering the third member into place, it’s torqued down to spec.
Grabbing the axles, he then presses new bearings onto them and slides the axles into the housing. “One thing to note during this process is that we can install your brakes for you as well. We have customers send them in and we are happy to bolt them up which saves them time and frustration on their end,” noted Brian. The last step is to fill it with fluid and it’s important to note to never use any synthetic fluid in the rear as that will cause failure.
For us, we loaded up the rear and headed back to the shop to paint the rear end and start bolting it up in the car! No matter what your needs are for a rearend, from a full floater, to basic replacement, they have you covered. Give them a call at (714) 528-6957 or hop on their site for more information.


