Installing Billet Aluminum Trunk Hinges
Eddie Motorsports are known for a wide variety of billet accessories including hood hinges and serpentine systems. We were recently poking around on their site ordering up a set of hood hinges for our 1955 Bel Air project and saw they made trunk hinges for it too.
The factory hinges worked just fine – they have the arms attached to the tension rods to keep the trunk lid up. But if we are upgrading everything else on the car, why not the trunk hinges too? Another plus is that these hinges will give us a little more room under the package tray where we stuffed our battery, subwoofer, amplifier, charging lugs, and battery disconnect switch. Eddie Motorsports offers them in a few different finishes, but we went with a plain black powder coat.
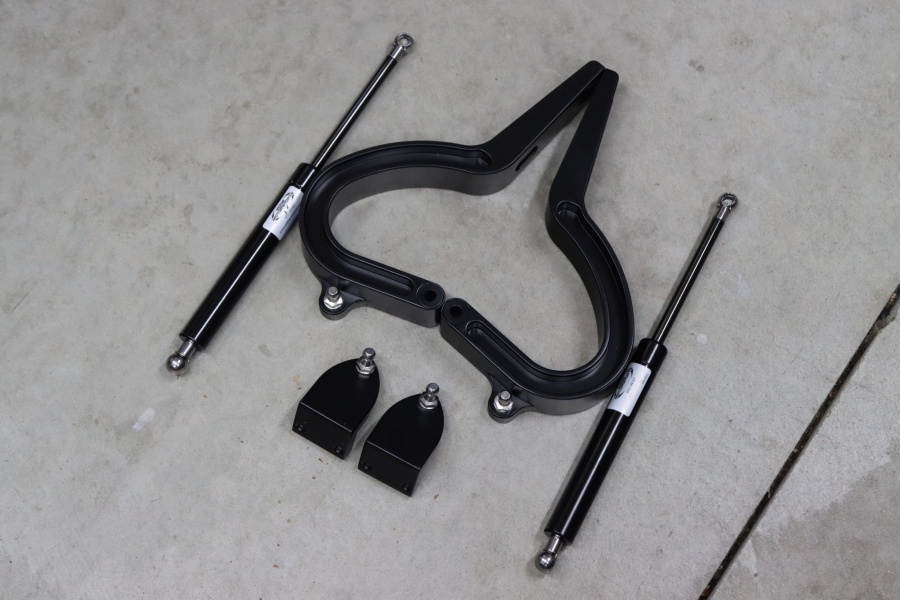
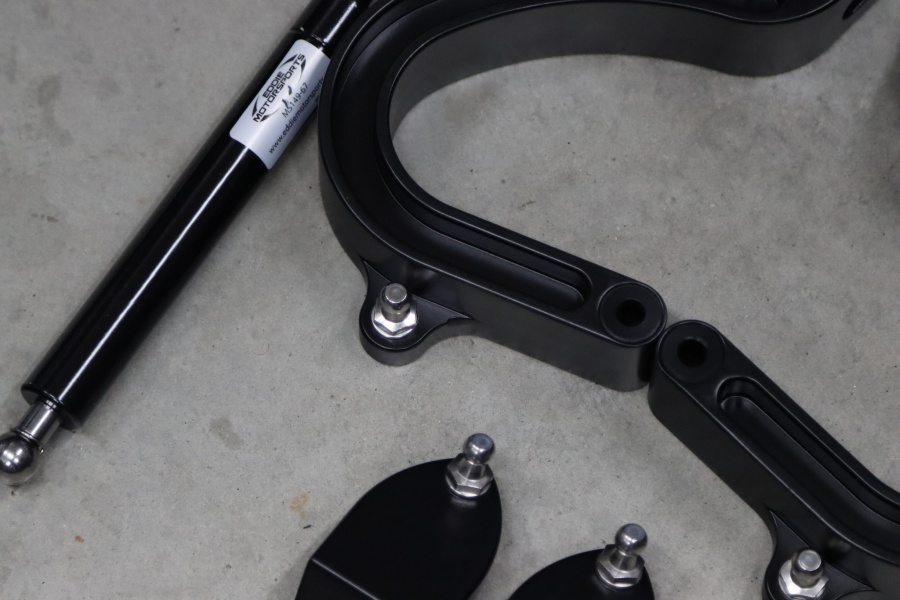
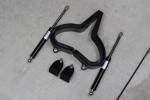
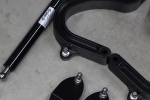
Once they showed up in the mail, we took them out of the package to see how they work. The hinge that rotates on the body and bolts to the trunk lid is replaced, the tension rods are removed, and a set of gas struts are installed. The first step though was to remove the tension rods. One thing to note here is you will have to remove your trunk lid for this installation so make sure to have an extra set of hands around to help remove and install it back on.
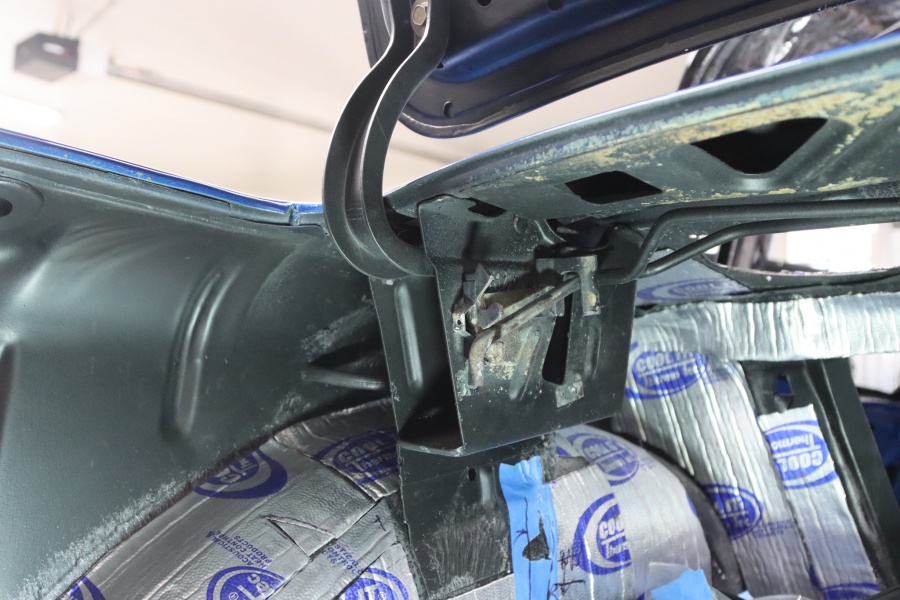
Removing The Old
Removing the tension rods was pretty easy – we grabbed a pry bar and popped the end out of the holder. This was a little violent as they are under tension and there’s probably a better/safer way to do it, but that’s how we did it. With the extra set of hands, we then unbolted the trunk lid and set it aside. Pro-tip: use blue painters tape on both the trunk lid and the body for some insurance against any scratches. We also taped off the edges where the factory hinges mount so we had a reference point when installing the trunk lid back on.
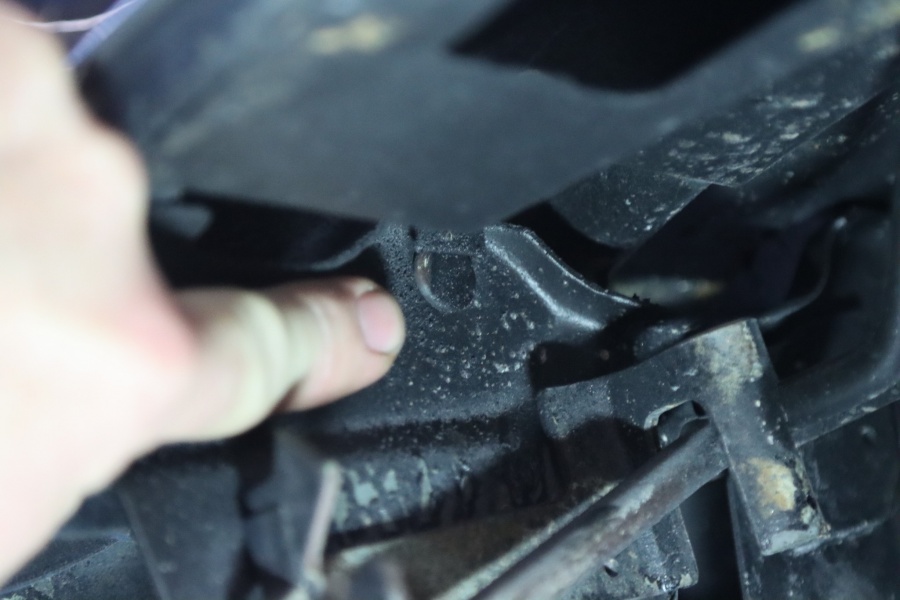
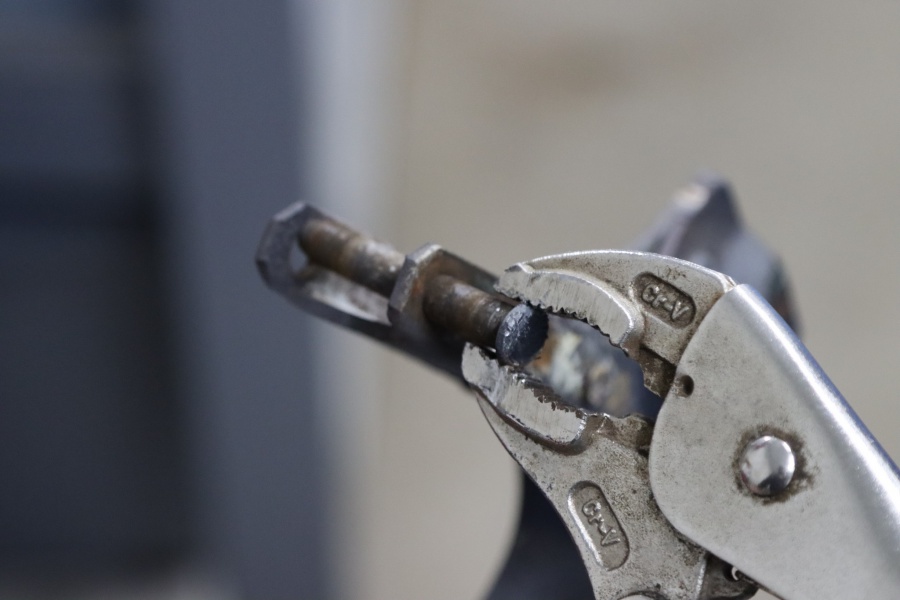
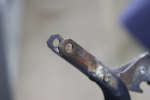
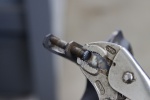
With the trunk lid off, we needed to remove the old stamped hinges. On the inside of the hinge, there’s a piece of metal bent over the end of the pin. We bent that out of the way, then worked the pin out of it’s slot and the hinge came with it and repeated the process on the other side – that was it! Disassembly complete.
Installing The New
On this car the rear seat isn’t installed. If yours is, you’ll have to remove that in order to complete the installation of these new trunk hinges. We started by installing the new hinges with the supplied pins. These pins fit tighter than the stock pins and have a groove in them to accept a C-Clip. While they have bushings, we applied a little grease for good measure. Remember the pins install from the inside of the car to the outside – towards the quarter panel.
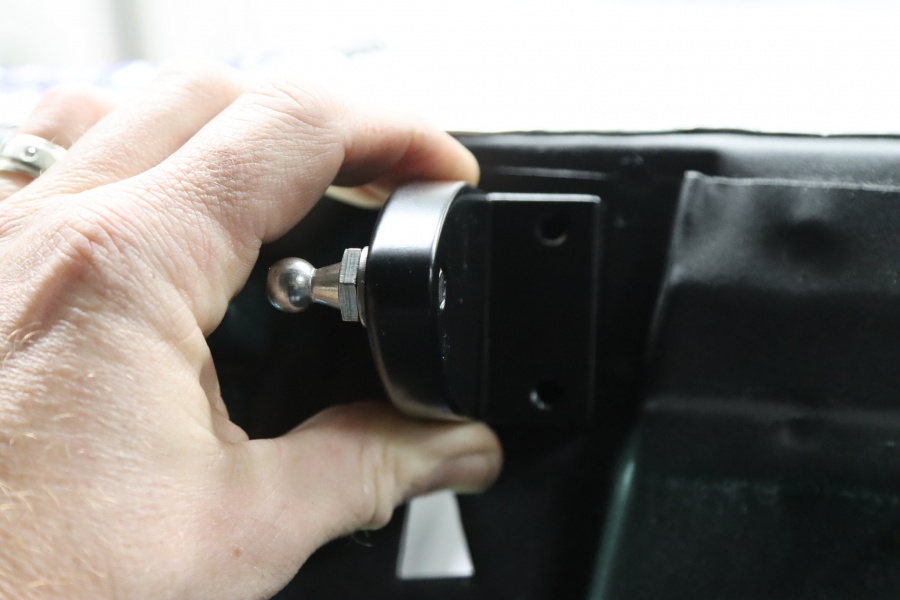
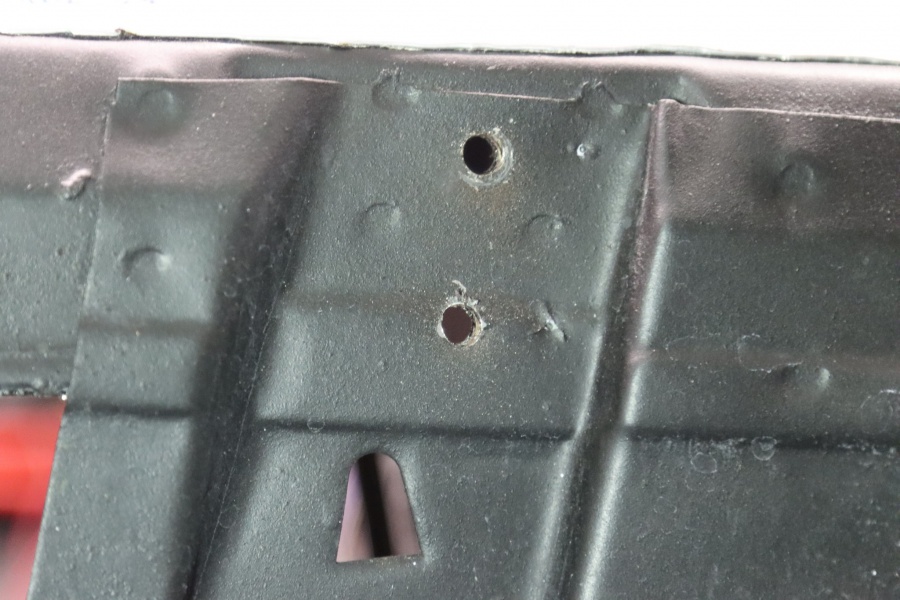
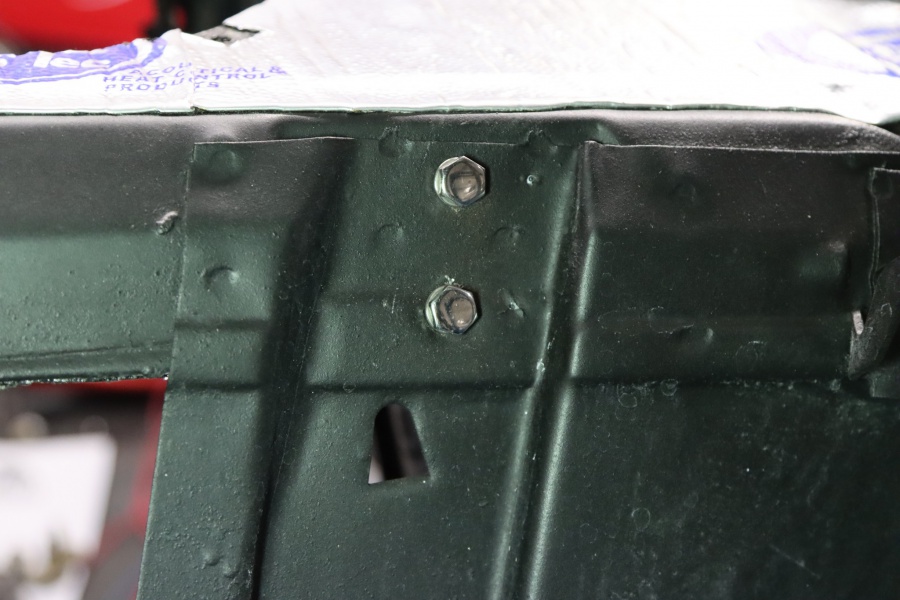
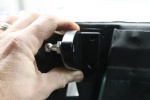
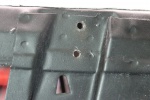
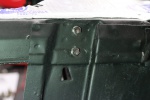
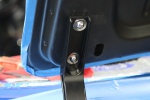
Our next step was to install a mount on the wall the back seat rests against. This mount has a ball stud where the gas shock attaches. There was a template in the package to show where to mount this bracket but naturally we lost it. What we did was pop the gas shock on both studs and figured out where this mount has to be installed. After drilling two holes, we bolted the mount to the brace and repeated the steps on the other side.


From here we then removed the clips on the gas struts, installed the struts, and reinstalled the clips. Then it was time to bolt the trunk lid back down. With help, we bolted the trunk lid to the Eddie Motorsports hinges with their supplied Allen head bolts.
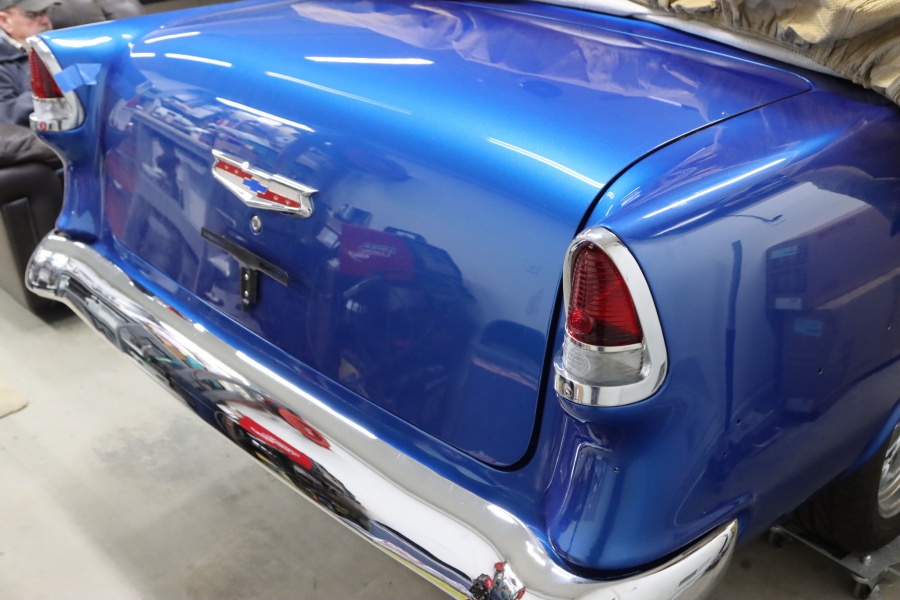
We very very carefully and slowly lowered the trunk lid down to check fitment. We had to loosen and adjust the trunk lid a couple times to get it perfect, but that was it! The trunk lid now opens so much smoother and quieter than before. Well worth the few hours worth of work. Now onto everything else!
If you’re interested in a set of Eddie Motorsports trunk hinges for your ride, hop on their site at EddieMotorsports.com or give them a call at (909) 581-7398


