Installing A Complete Flowmaster Kit On A Chevelle
As we progress down the road on our Project Way-Gone build, the time came for exhaust. We knew that we wanted to run Flowmaster to get that classic sound. There’s nothing quite like cruising down the road with the windows down and punching it to hear those Flowmaster mufflers give off those sweet tunes!
We know that Flowmaster makes great exhaust for cars. A few years ago we installed a complete Flowmaster kit on a LS2 powered ’65 Chevelle and loved the way it all fit and sounded. We wanted that same great fitment, but we wanted to tone down the level a little bit with this kit. This car is really mellow and we want the exhaust to reflect that.

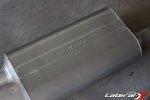
Luckily, Flowmaster has over a dozen different mufflers from stock to race. The other kit had a set of 40 Series mufflers on it which sound amazing. The kit we ordered has a set of 50 series mufflers, which is actually on the different end of the spectrum. These mufflers will have a nice tone to them but not be too much louder than stock.
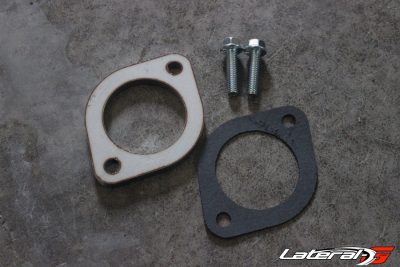
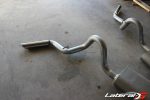
The rest of the kit is all 2.5″ which allows for plenty of clearance going up and over the axle along with maintaining ground clearance. The kit comes with all the hangers, brackets and clamps to get the kit installed. The only part this kit doesn’t include is a way to mount the exhaust to the headers or manifolds. With thousands of different manifolds and headers on the market, it would be almost impossible to make a kit to bolt right up to an existing manifold.
Installation Begins
Our first step of the installation was to lay everything out and see what we had and get a general idea of how things laid out. We already had a basic idea from the other kit we installed but it’s still a good idea to see how it all lays out while reading over the directions.

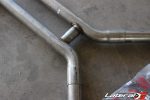
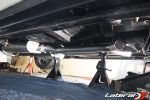
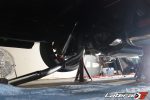
The instruction told us to take the mufflers and hang them off the back. While supported on jack stands we then took the H-Pipe section and slid it into the front of the mufflers. While doing this we used the supplied U-Bolt clamps to keep things held in place. With the mufflers and H-Pipe in place, we moved forward and slid the pipes that go between the manifolds and H-Pipe.
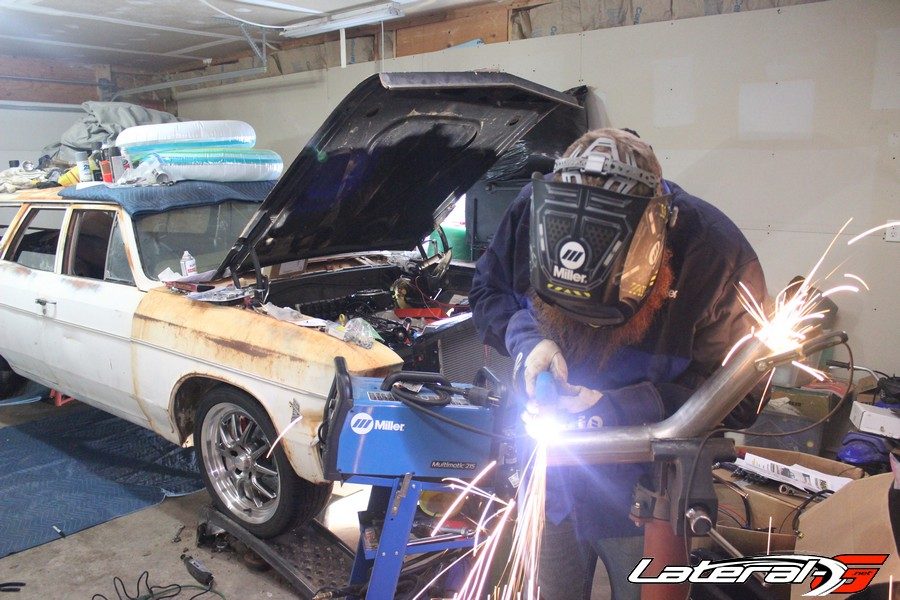
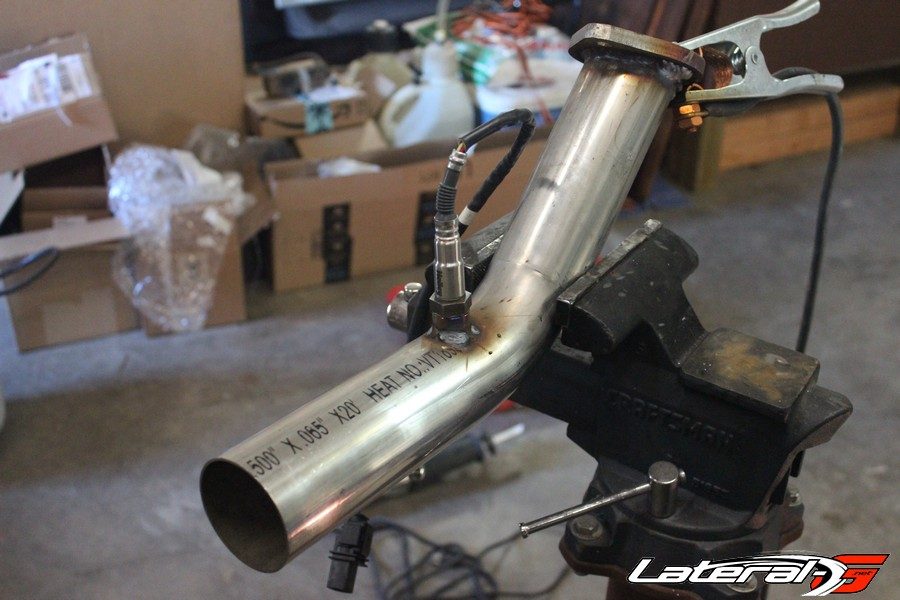
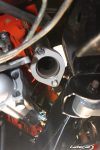
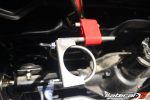
Since we aren’t running headers, we had to get the exhaust connected to the manifolds. Luckily the Hedman manifolds included a downpipe in order to get the exhaust where it needs to be. What we ended up doing was grabbing our Miller 625 X-Treme plasma cutter to trim up the pipe to get the right angle on it. Then with our Miller Multimatic 215 we welded it all up. While we were doing this we also installed a bung for an O2 sensor.

With the downpipes installed we took some time to cut the intermediate pipe to fit correctly. This was a case where we cut the pipe a little bit at a time in order to make sure we could get the best fit. With that done we welded up this pipe to the downpipes.
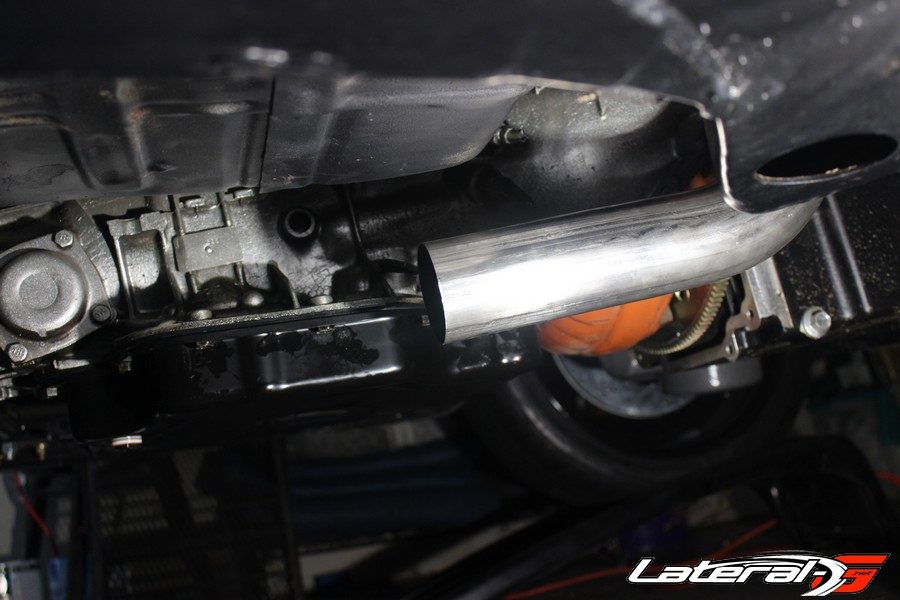

At this point we raised up the back of the car to allow the axle to droop down. This allows us to slip the exhaust that goes up and over the exhaust past the axle easily. After slipping these pipes into the mufflers we took some time to make sure there was plenty of clearance around the rear suspension, axle and fuel lines. We made sure during suspension travel the exhaust will still clear as well. Once we were happy we mounted the rear brackets to the frame.

Finishing Touches
With the entire exhaust in place, we went the extra mile and fully welded every joint. This isn’t a necessary step, but we feel it provides a better leak-proof connection and it’s a little cleaner look and one less bolt we have to double check later on down the road.
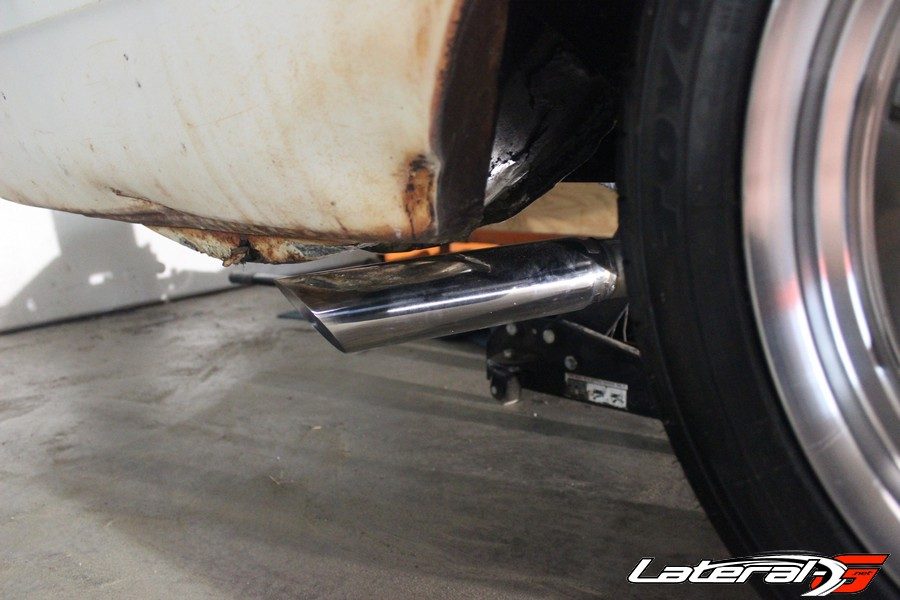
If it’s a kit designed for your application, you expect it to fit. This kit from Flowmaster was easy to install and fit great. Next step is to get the engine running so we can actually hear how great this exhaust will sound!
For more information or to order up a kit for your ride, hop on FlowmasterMufflers.com or call (707) 544-4761


