For those of us with classic’s that have swapped over to a manual transmission or more exactly installed a hydraulic clutch master cylinder, you know what a pain it can be. Sure there are these kits that help; they mount the master cylinder but most of the time you still have to make sure the angle of everything is correct, that the pedal isn’t over or under stroke the master, and so on. It’s not too terribly hard but it takes some time and math to get it just perfect for the best performance and longevity.
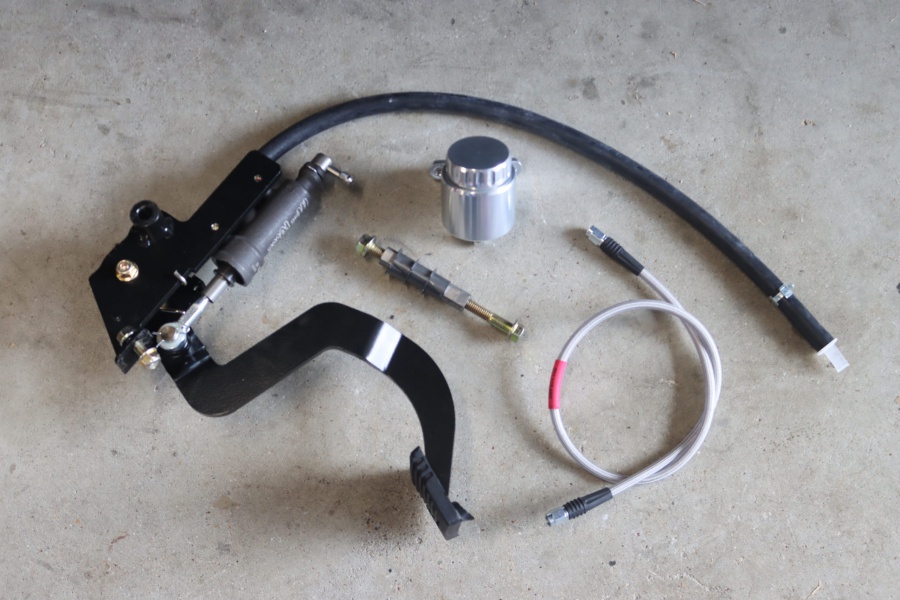
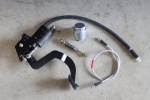
American Powertrain is solving that issue for us with classic cars. They have worked on engineering a complete new clutch pedal that already has the master cylinder mounted and with perfect geometry. We wanted to try one of these out on our Project No-Name ’66 Chevelle so we gave them boys a call and ordered one up. They have the same set up for most popular domestic classic car applications.
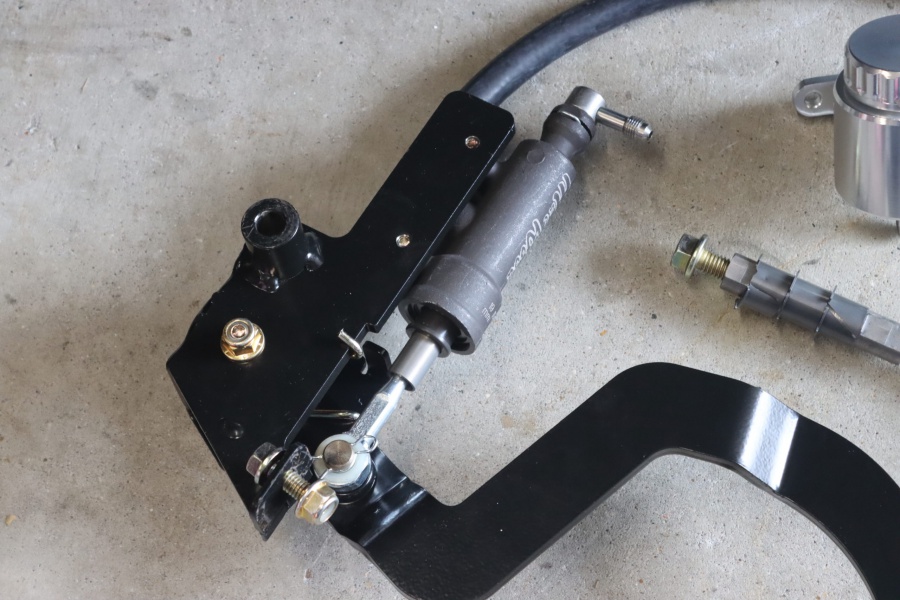
We spoke with Matt Graves of American Powertrain about this set up. “We have the ultimate solution for you, Part No CAGM-40014. This is a completely new, bolt-in clutch pedal assembly with the clutch master cylinder installed already. If you need the kit with a hydraulic throwout bearing, that’s Part No HMGM-40021. Other benefits are that you won’t have to remove your brake booster to install a bracket, won’t have to cut any major cuts into your firewall, and it’s a cleaner installation with less parts under the hood.”
Installing The Clutch Master Cylinder Pedal
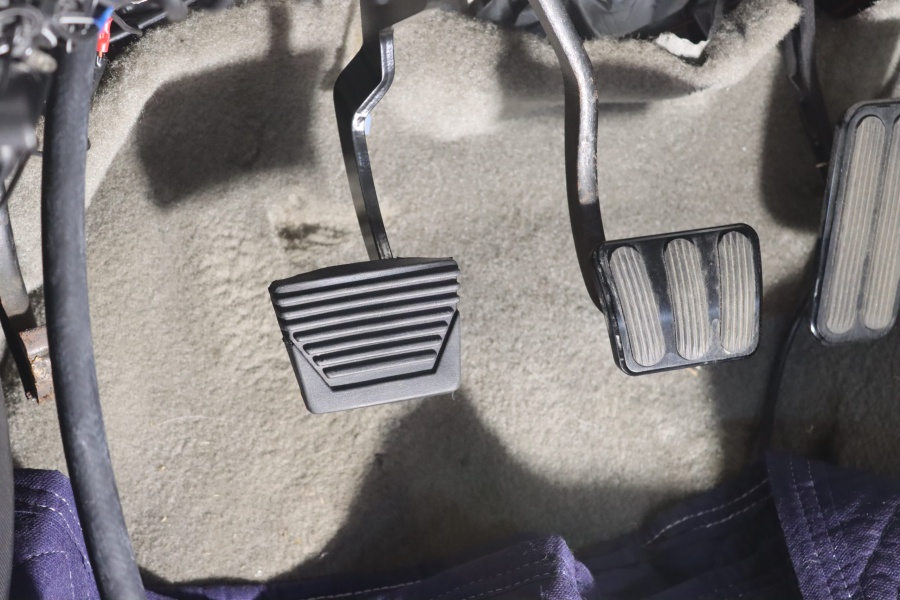
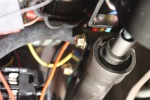
In order to install this set up you’ll need to remove the factory clutch pedal. If you reach up on the passenger side of the brake pedal where it pivots, there’s a clip that you can pop off. With this clip off, you can slide the entire clutch pedal off towards the drivers side. You’ll need to make sure any factory linkage is disconnected as well.
Then you’ll take the new pivot sleeve and slide that in from the drivers side, towards the passenger side. Note that we include new bushings if you need them. This sleeve has two bolts threaded into it. The shorter one is the bolt that goes towards the passenger side.
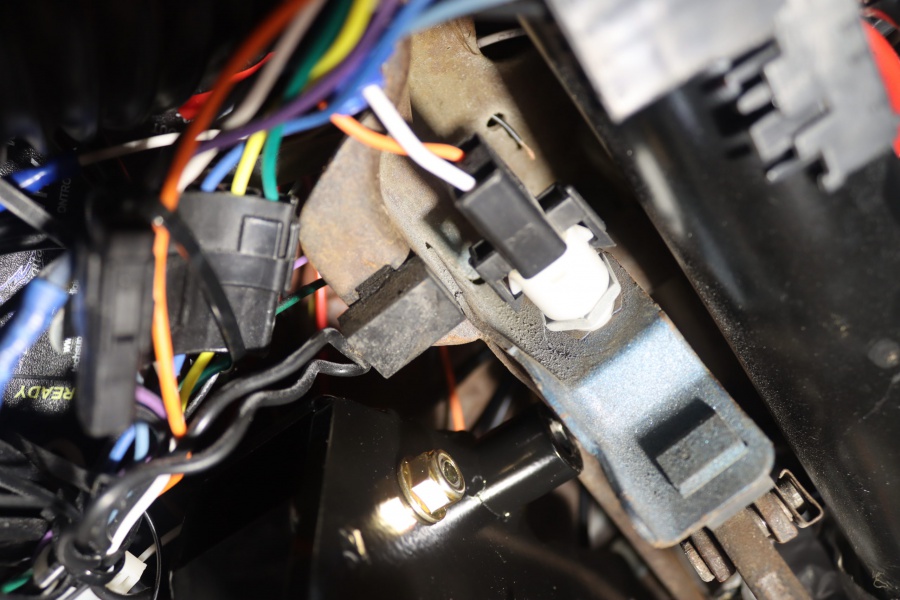
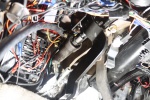
To the left of the brake switch is the rubber block that has to be removed for installation.
Slide the new pivot sleeve from the passenger side, through the factory bracket, through the brake pedal, and then through the bracket. At this point you’ll need to remove the rubber stopper that the factory clutch rests against on the factory bracket.
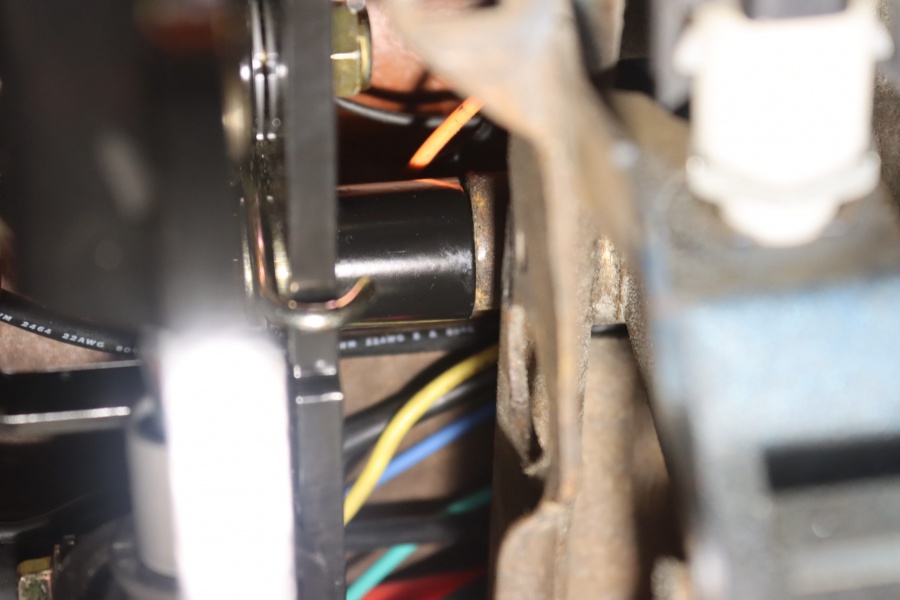
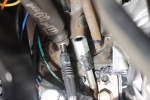
Raise the new clutch pedal assembly up, and thread the longer bolt through the assembly and thread into the pivot sleeve. Leave it loose for now. The second bolt will go through where the factory rubber stopper attaches. One note here is that the new clutch pedal assembly will go on top of the factory bracket, not underneath. Bolting it underneath will affect the geometry and your pedals won’t sit flush.
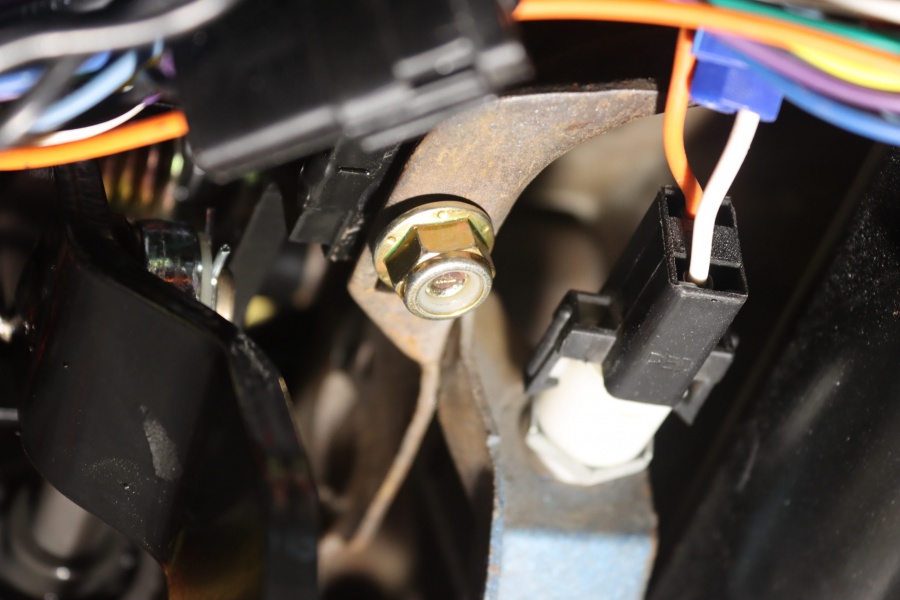
Once you have both bolts started, you can snug both of them down. The last steps are to hook the new braided line up to the clutch master and down to your hydraulic throwout bearing. The other part is to mount your reservoir somewhere accessible and hook up the hose that comes from the top of the clutch master to the reservoir.
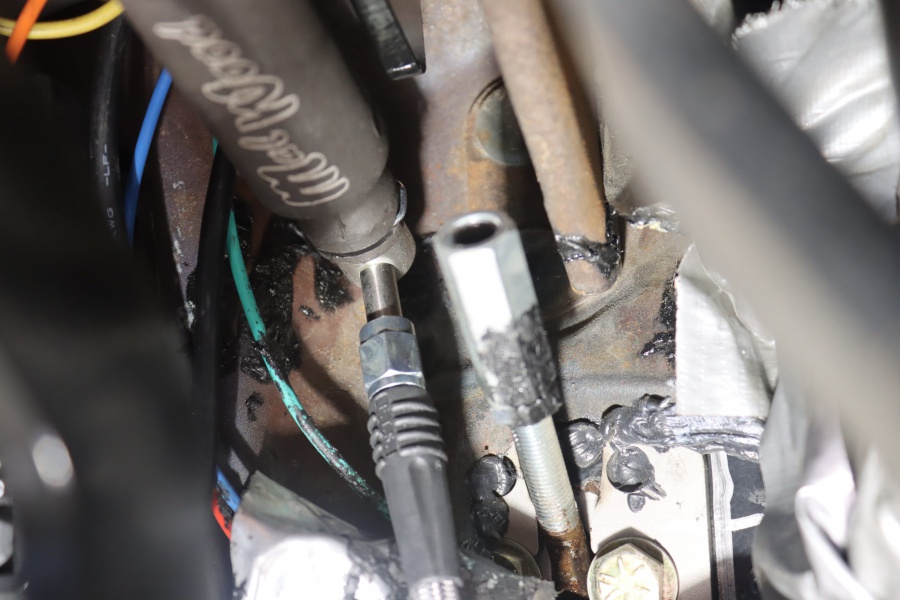
Bleed the entire system and you’re ready to hit the road! If you have any other questions please give the friendly techs a call at (931) 646-4836 or hop on AmericanPowertrain.com
