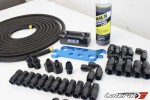
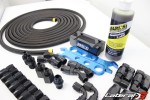
If you’re still taking a piece of rubber hose and clamping it down with an old-school hose clamp, the time has come to step up your game. AN fittings aren’t exactly a new revelation in the hose and fitting world – they have been around for over 50 years.
In fact, AN fittings got their start in the military – AN stands for Army Navy, a joint venture to unionize fittings during World War II. The same technology that fed fuel to the massive B-29 Super Fortress’s is what can be delivering fuel to your engine.
The technology behind AN fittings is fairly simple. Instead of relying on an O-ring that may dry out and harden over time, they use two metal surfaces to form a seal. These surfaces are at a 37-degree angle, forming a seal that’s unmatched. AN fittings and hose are capable of handling high pressure ratings found in fuel systems to power steering lines and all other fluids on a vehicle.
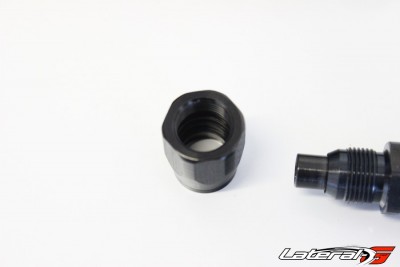 When the time came to plumb a fuel system for our LS swap project, we didn’t want to go cheap and risk leaks. The worst case scenario is our beautiful ride goes up in flames, an outcome we didn’t want to happen. We gave the experts at Earl’s Hose and Fittings a call, who helped to found the aftermarket AN plumbing industry and is now owned by Holley. We spoke with Blane Burnett, a top student in the internal engineering classes Earl’s offers so he knows his hose and fittings. He informed us that “the first thing to understand about AN plumbing is that it is primarily a safety item. Sure, you can doctor up some sort of a fluid transfer system for a given application, but the key concern is to keep that fluid transferring through a system safely when heat, vibration and high speed are thrown into the mix. That means using quality fittings and hoses such as those manufactured in the USA by Earl’s Performance Plumbing.”
Continuing on, Burnett explained “beyond that, it is also important to use the proper hoses and fittings for the job at hand. Properly considering the necessary hose sizes required for flow requirements is imperative as well.”
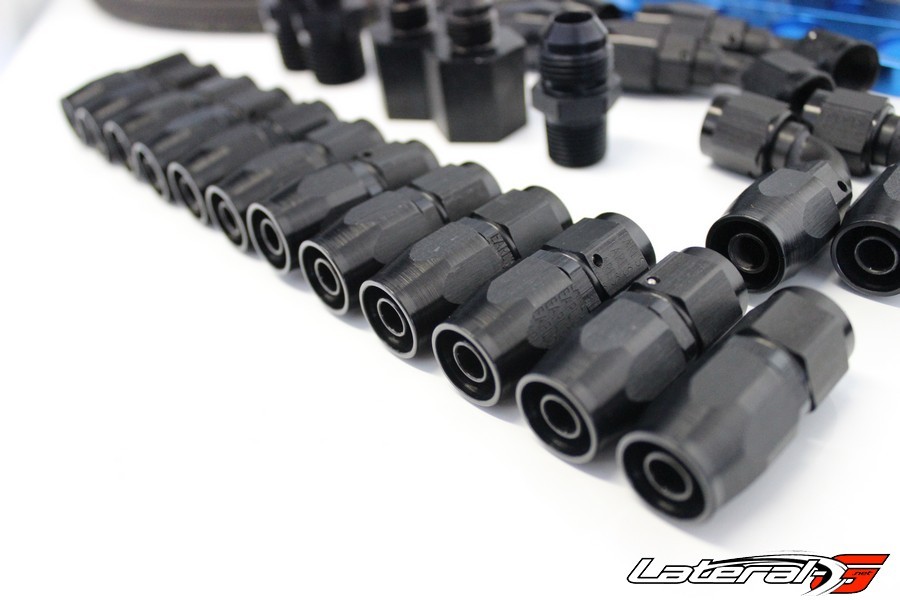
Just like any other part on your car, there is a ton of options for AN fittings. These aren’t hats where a “one size fits all” application applies. The style of fitting and the style of hose will all depend on your preference, application and usage. Instead of guessing what we need, we let Holley decide for us, and we simply picked out the different variations we needed for our application. We’d suggest you also call them and talk to the experts about getting the right hose and fittings for your application.
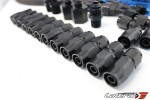
When talking with Blane Burnett, he told us that “we make an assortment of fittings that are designed to work specifically with our various hose offerings. We also offer these fittings in two hard coat anodized finishes: traditional red and blue, and our latest mil-spec Ano-Tuff black coating.”
Installation
Creating your own hose with AN fittings is really easy process that anybody can do. The first step is to layout what you’re plumbing. We drew up a sketch of the complete fuel system, marking which fittings we would need along the way. At the end of it, we had a grocery list of fittings. One thing we suggest doing is adding a few extra fittings of each size to your list. After ordering up everything and starting to lay it out, we quickly found out that our original game plan had changed, so we needed a few extra fittings which required us to place another order.
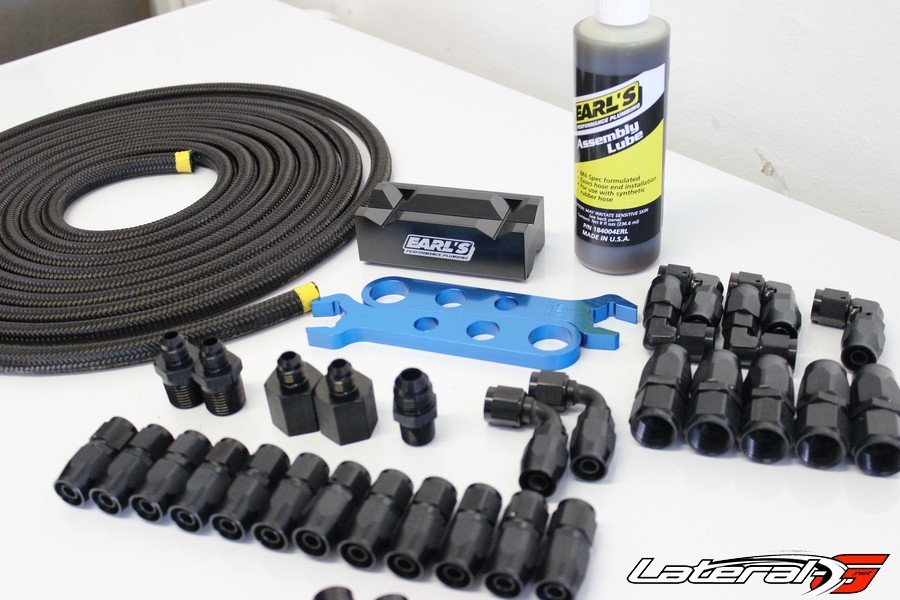
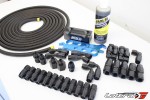
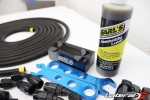
Once we knew the layout, and measured, the time came to create our very first connection. Now in order to make installation as easy and fool-proof as possible, we picked up a few other tools from Earl’s as well. This included a set of magnetic jaws that snap onto your vise and hold the fittings when you make the connection. The second item was a set of AN wrenches, to ensure that we didn’t scratch or mar the fittings themselves. Lastly and probably the most important was a bottle of Earl’s Assembly Lube. This lube allows the threads to go together without any problems, and allows the hose to slide onto the metal pipe part of the fittings. With these tools, creating our first connection was cake.
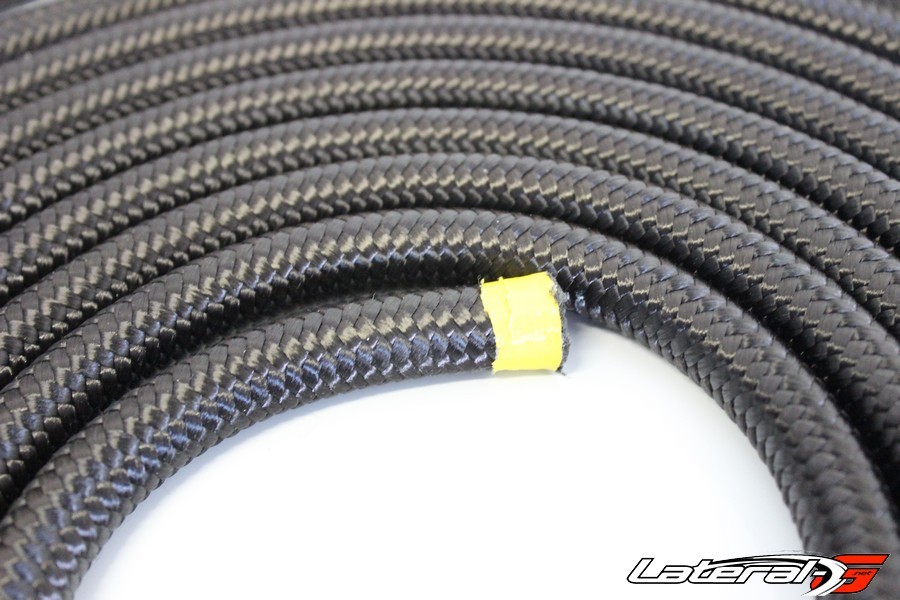
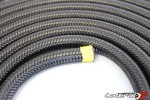
We first started by cutting the braided hose. What we did was take some tape and wrap the hose several times, right where it needed to be cut. This allowed the hose to get cut without fraying the protective braiding. Every time we cut the hose we used the tape.
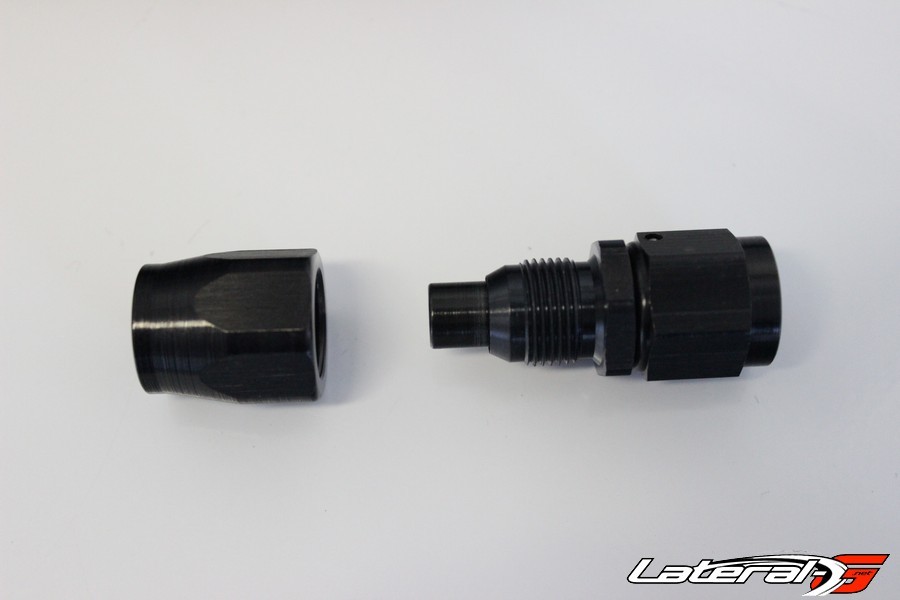
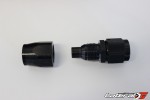
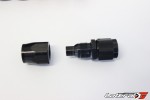
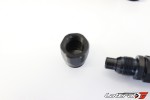
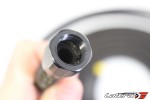
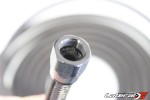
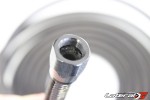
From here we un-threaded the fitting. This allowed us to slide the hose into the female part of the assembly. We then applied a few drops of assembly lube on the threads and shaft, then started putting the two pieces together by hand. Once we couldn’t hand tighten them any further, we used a wrench. Make sure to go very slow and watch for the hose to push out. If it does, you’ll need to start over.
Just like that, in less than five minutes we had our very first connection done. Each one after that went smoother and took less time. In an afternoon we completely plumbed an entire fuel system along with the transmission cooler. The best part was when we hit the key and primed the fuel system – there was zero leaks! Hard to beat that.
One crucial piece we will mention is to not mix and match your hose and fittings with another manufacture. Just recently we picked up a new project vehicle that had already been plumbed with another manufactures’ AN fittings and hose. Their -6 female would not screw onto the Earls -6 male. We could have forced it, but it wouldn’t have been a quality seal that we could rely on. Even if you have the temptation, stick to a single manufacture!
Next time you’re getting ready to plumb your ride, make sure to give Holley a call at (866) 464-6553 or hop on their site!
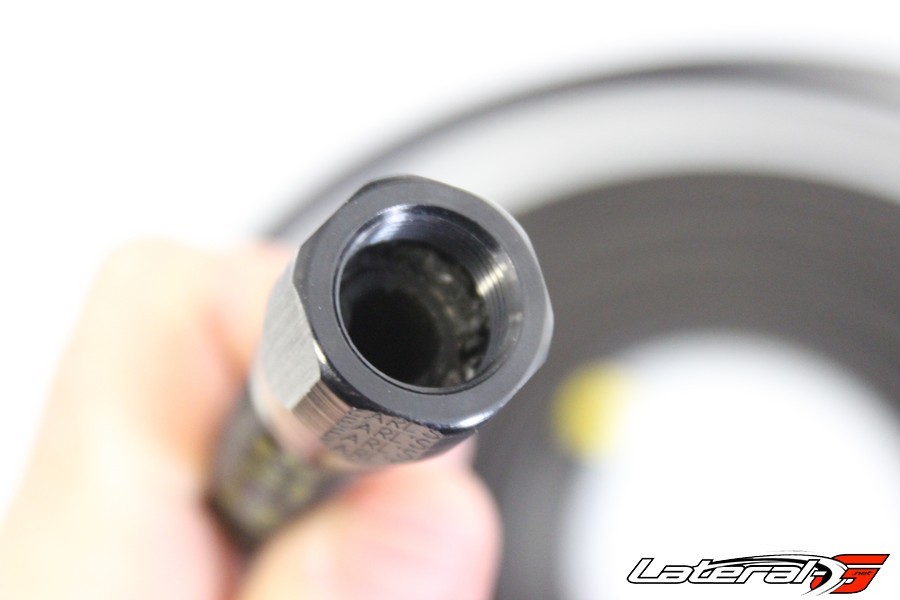
Here the hose is pushed into the female part of the fitting. From here we screwed the male pipe part in, creating an ultra leak-free fitting!


