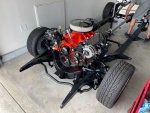
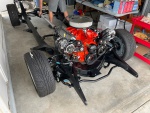
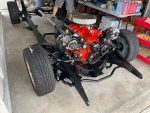
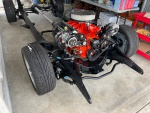
’55 Bel Air Engine, Transmission and Steering Now Complete!
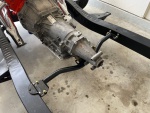
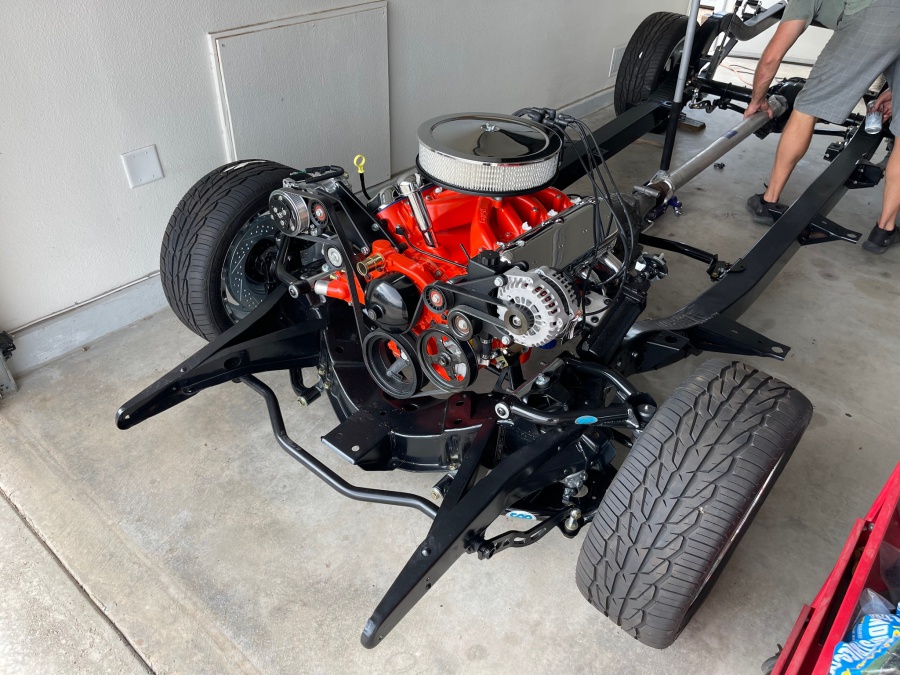
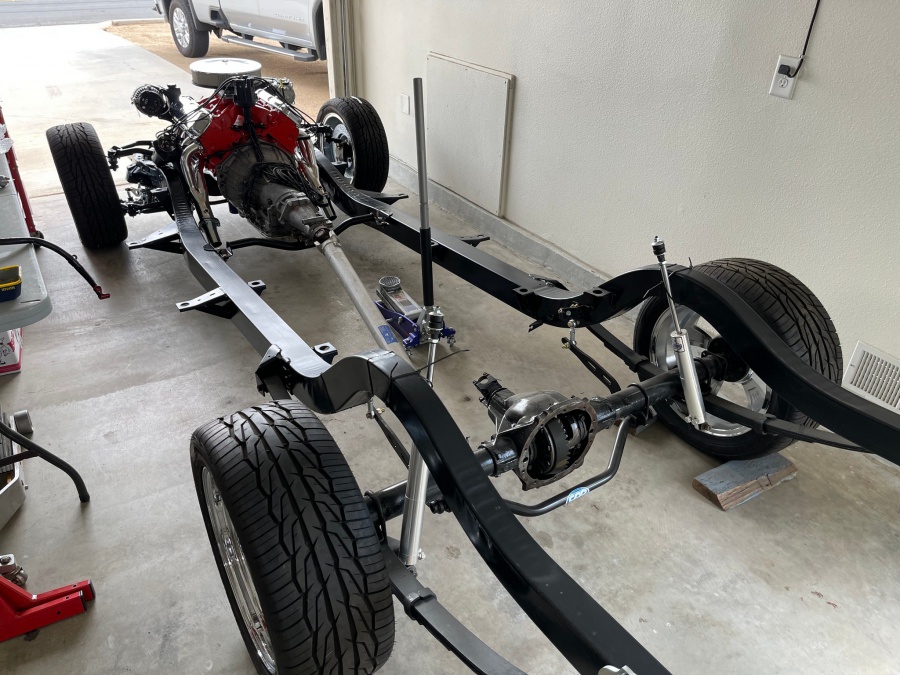
A few months back we worked on Building The Ultimate LS BBC for our Project ’55 Bel Air. The time had come to nestle the engine down into it’s new home, which is a stock frame we built at the beginning of the year. We started the process by bolting up our 4L60e transmission – you’re probably wondering why we didn’t go with a 4L80e and the answer is pretty simple, this is a cruiser. We built it to handle back roads and driving coast to coast. Remember the 5.3L is bone stock minus a Thumpr cam, so there’s no reason this 4L60e won’t live behind this engine for years and years.
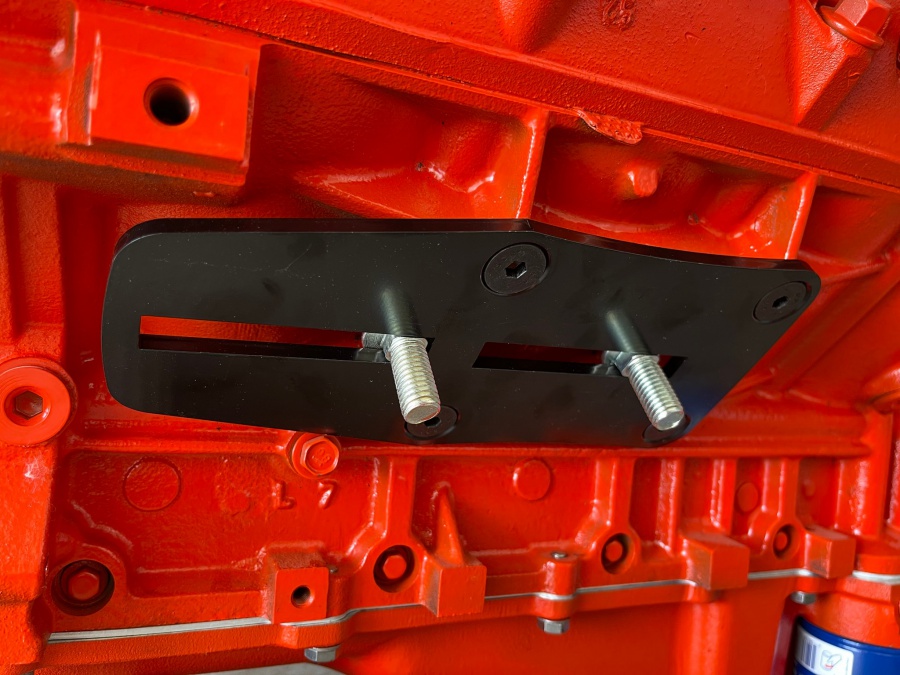
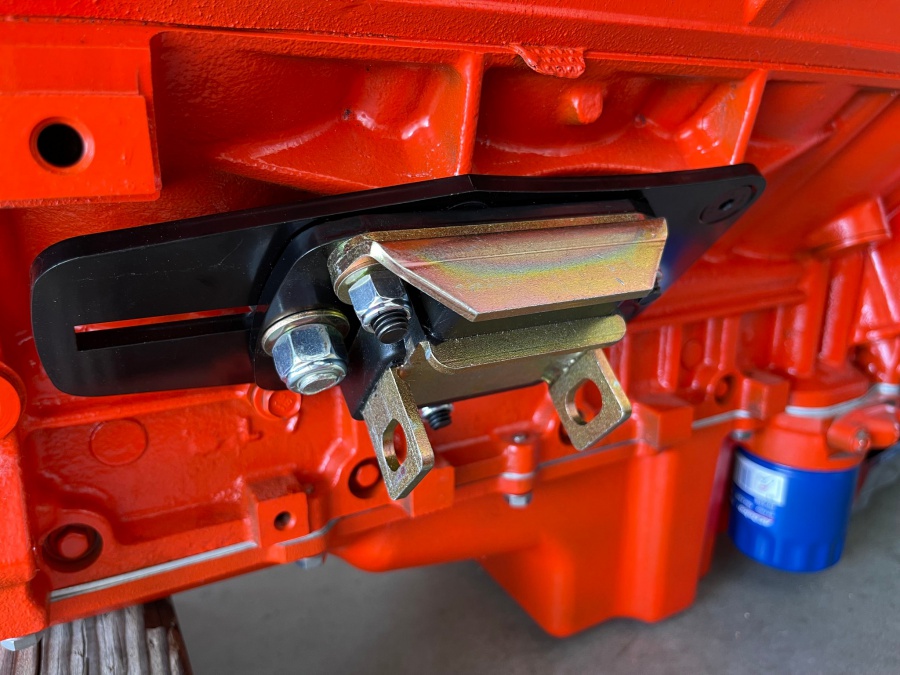
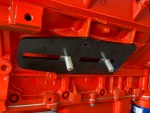
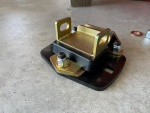
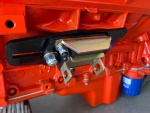
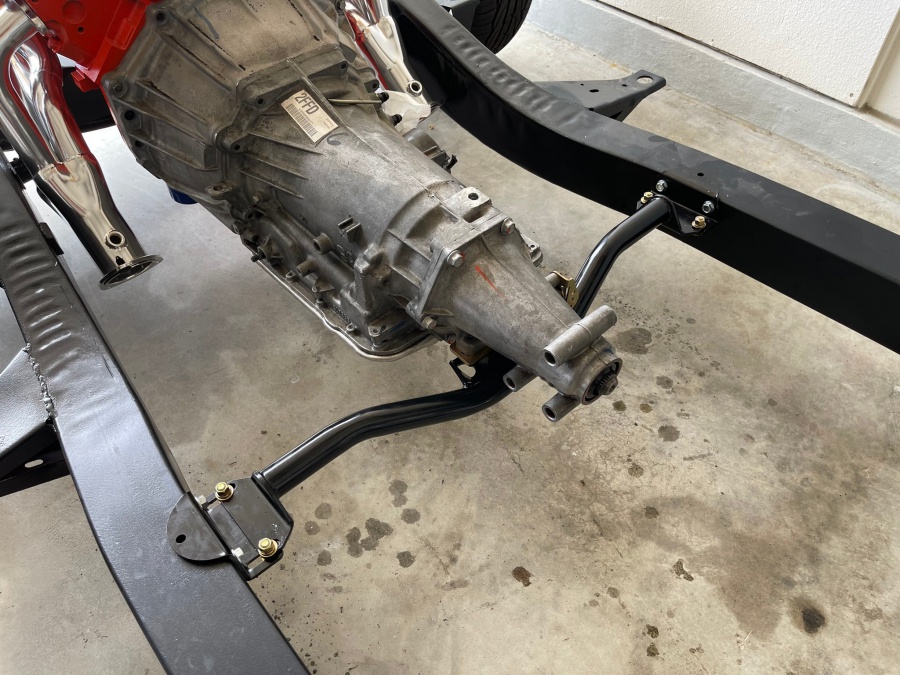
At this point we really wanted to bolt up the 4L60e to get the proper placement for our CPP transmission mount. We had already installed the CPP frame mounts for an LS when we built the frame, so this time around we just had to mount the adapters to the engine and bolt up the SBC poly mount. We’ve used these same mounts in our Project No Name Chevelle and our Project Way Gone Chevelle wagon with great success. They offer a ton of adjust-ability and provide a great amount of isolation from engine vibrations.
The LS BBC Finds Its New Home
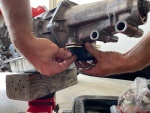
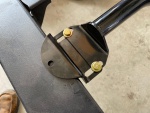
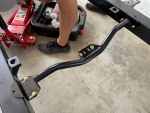
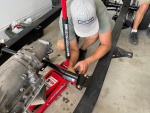
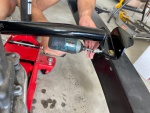
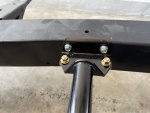
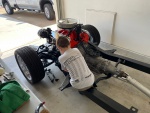
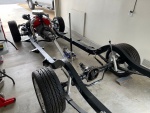
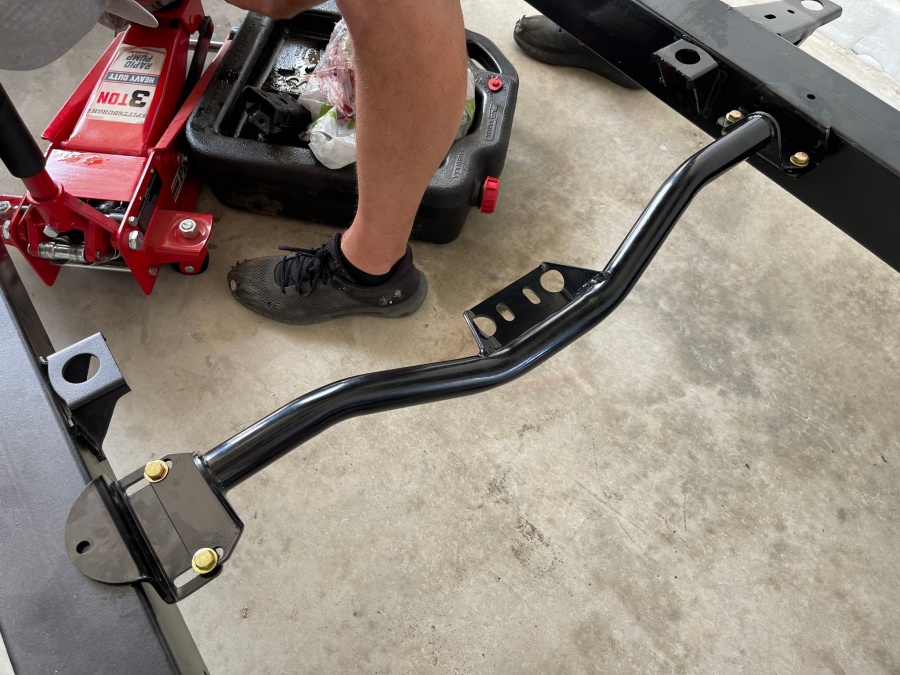
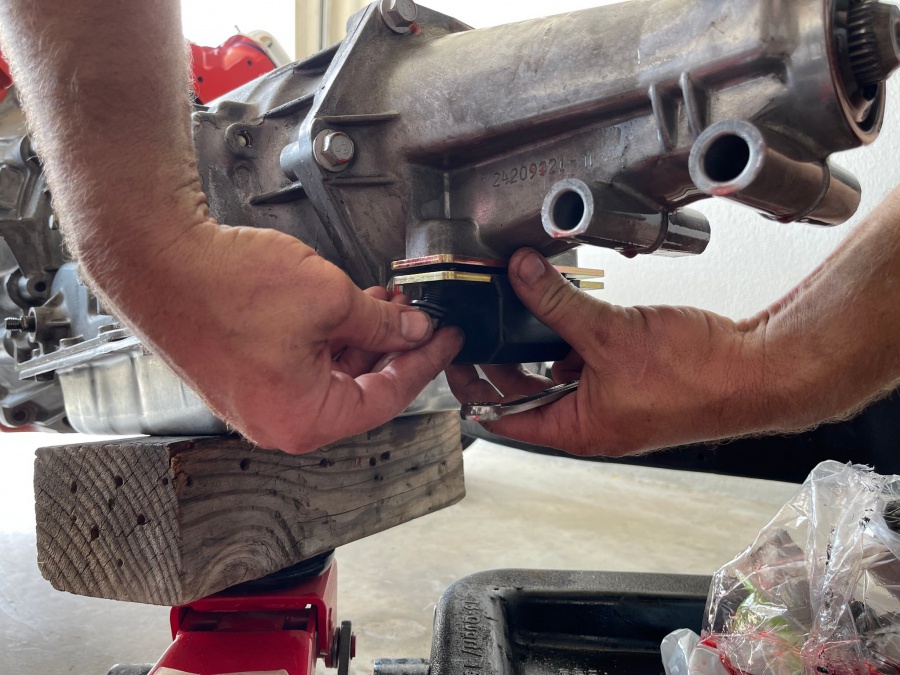
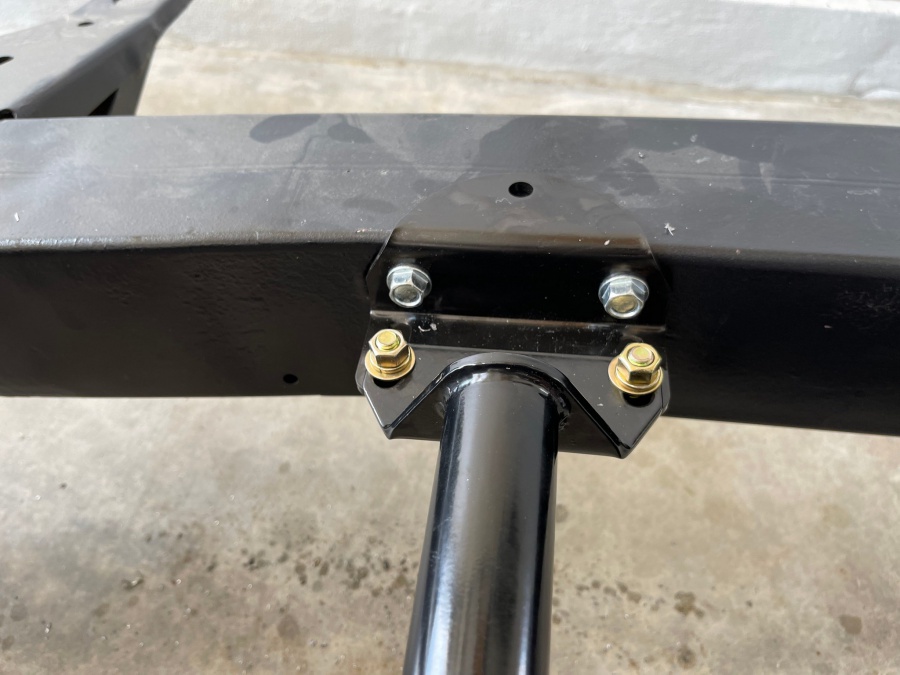
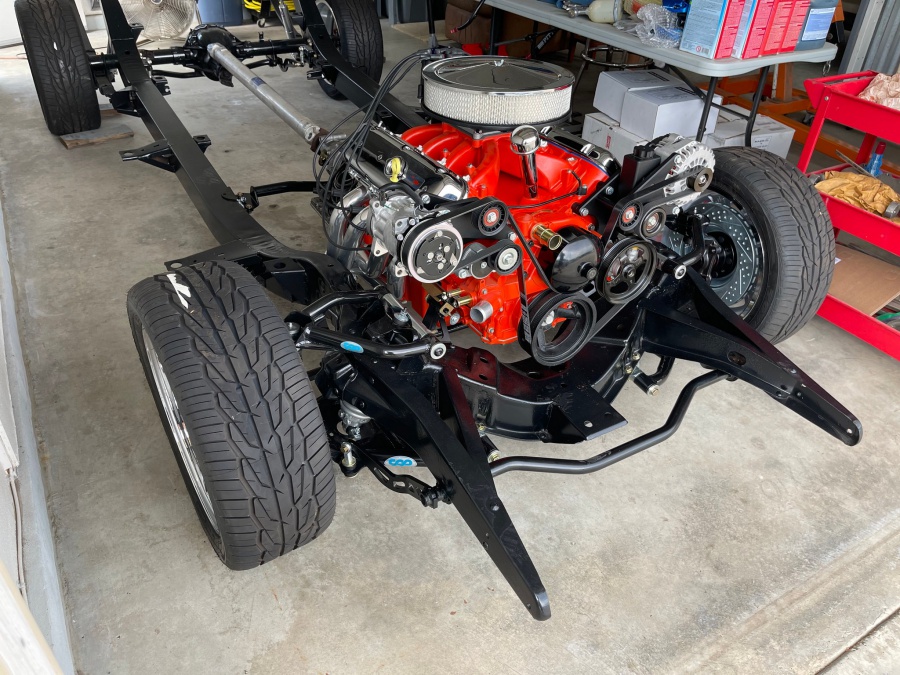
With the mounts on the engine we slid it into the frame, while holding the rear of the trans up. The Classic Performance Products transmission cross member is a slick piece. There’s two braces that mount to the frame with self-cutting bolts, then a cross member that can slide around to the perfect spot – the kit even includes a new poly transmission mount! We loosely bolted the frame mounts to the cross member, then slid it under the transmission under the new poly mount. After getting everything square and in the perfect spot, we drilled and bolted down the side mounts before tightening everything else up.
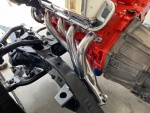
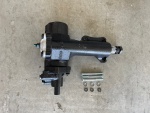
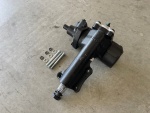
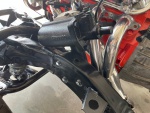
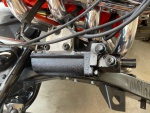
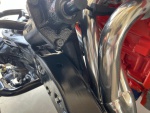
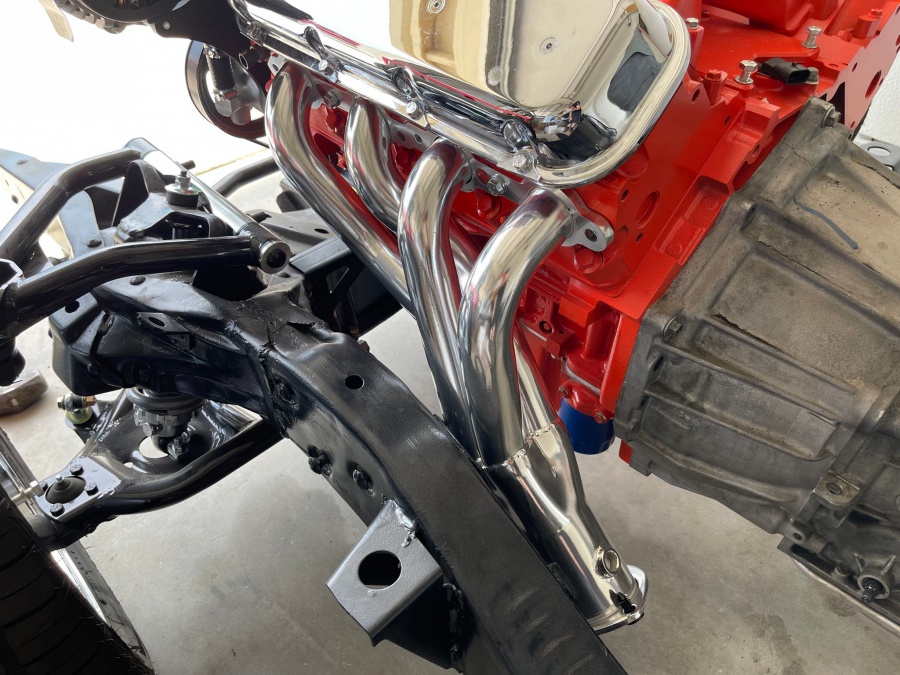
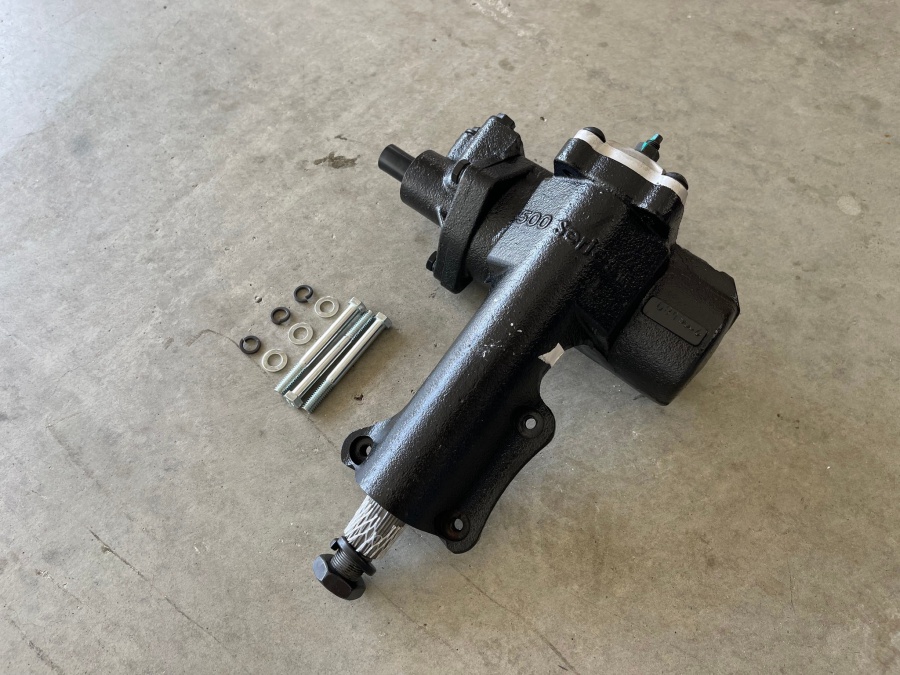
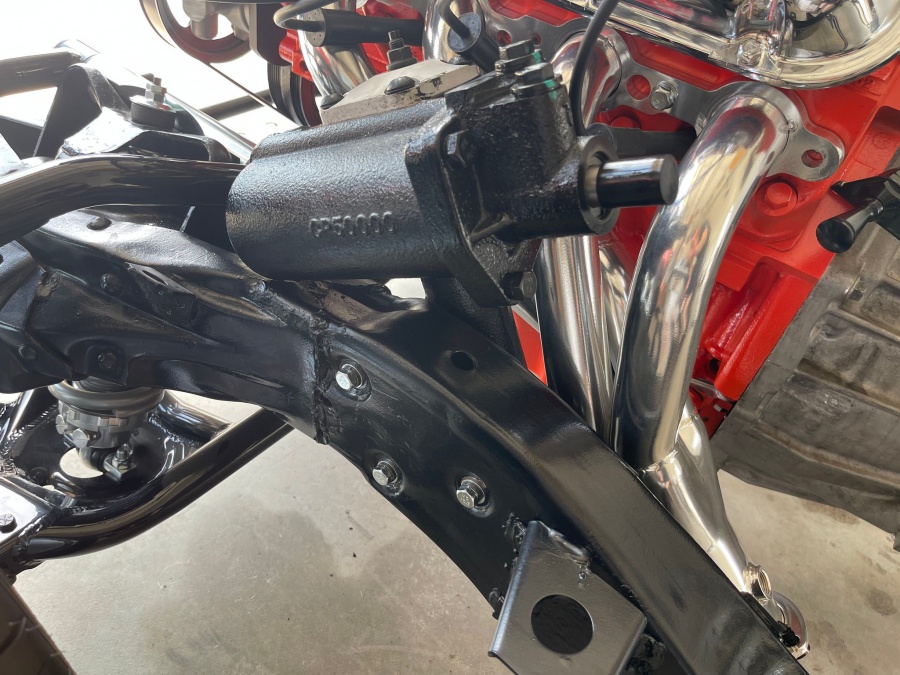
Part of this LS Swap Kit from CPP included a set of headers, which we bolted up at this point. There was tons of clearance, but we hadn’t installed the steering box or steering linkages yet – so that’s what we did next! The steering box is a power steering box that bolts right into the factory location with three bolts. Even with the steering box in place, there was still plenty of room around the box for the headers.
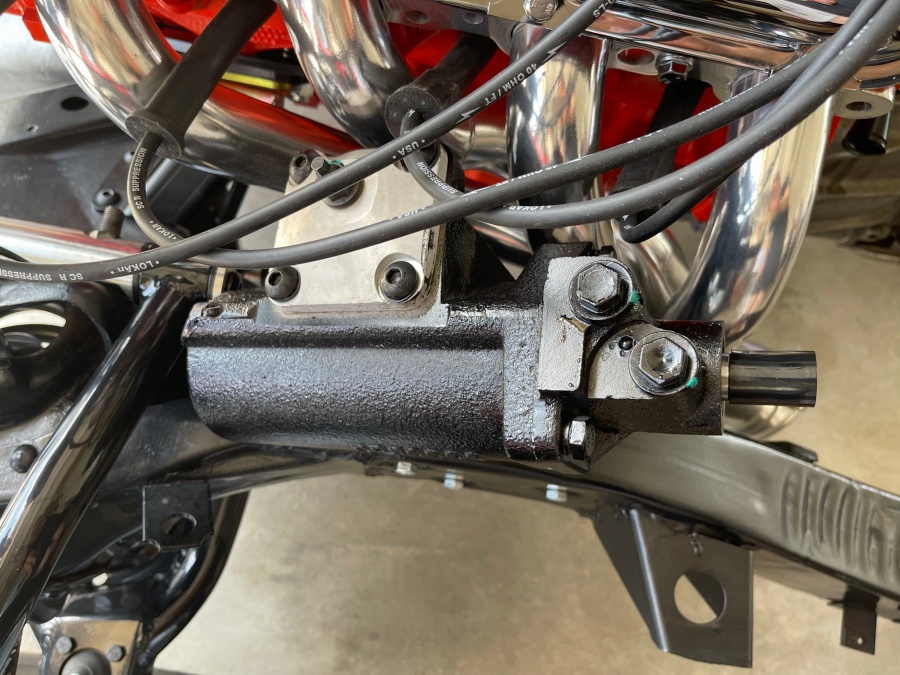
Steering New Directions
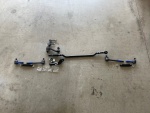
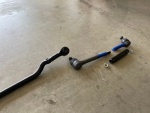
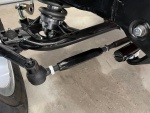
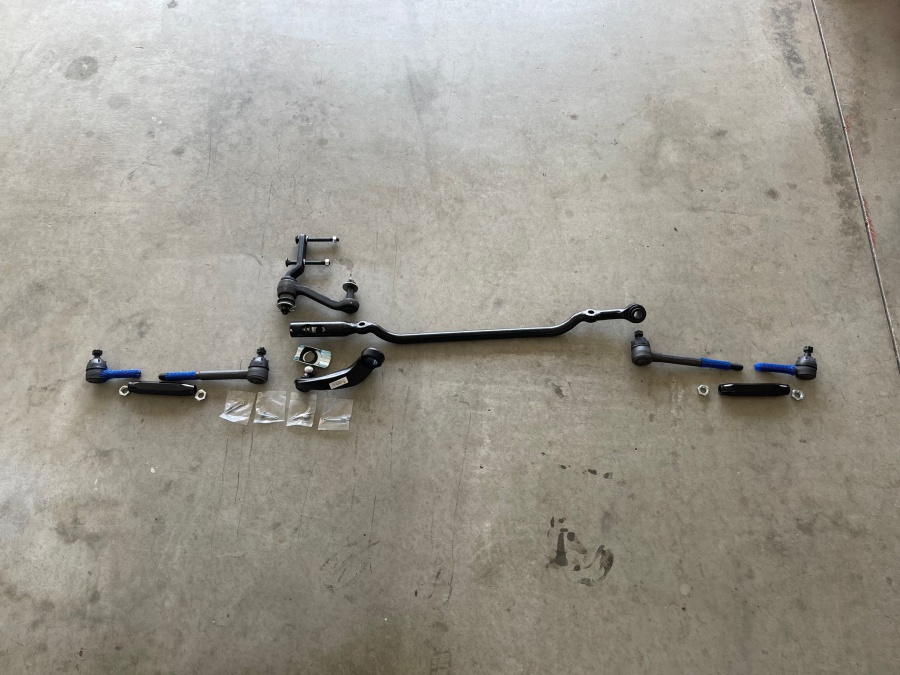
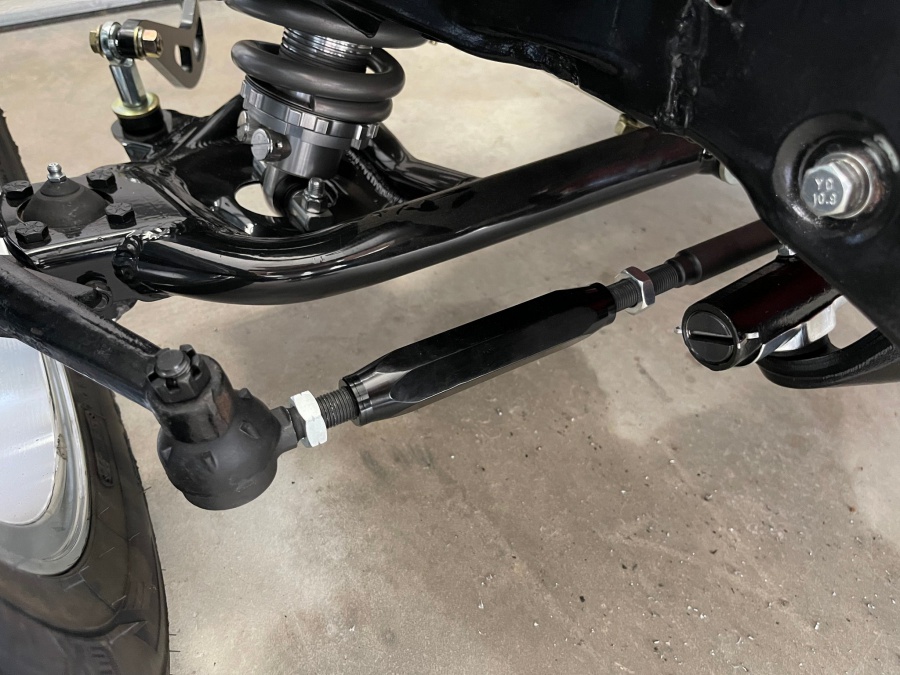
When we picked up the steering box we also grabbed a complete linkage kit so everything would be fresh and tight when it came time to hit the road. We assembled the tie rods and centerlink, then bolted the completed assembly to the new idler arm, pitman arm and the steering arms on the spindles. We eye-balled the alignment and called it good for now – we will dial that in once the body is back on the frame.
For more information or to order up your Classic Performance Products, hop on their site or give them a call at (800) 522-5004


