Project ’55 Bel Air Takes On New Life
Over the last few years, you may have noticed a few articles with some installations being completed on a ’55 Bel Air four door. This car has been daily driven and just enjoyed, with no intentions of racing or anything like that. We’ve had our fun and decided it was time to tear it apart, repaint it and give it the full restoration it deserved. At some point in it’s life it had been “restored” and we use that term lightly as it had a amateur garage paint job and a host of other issues.
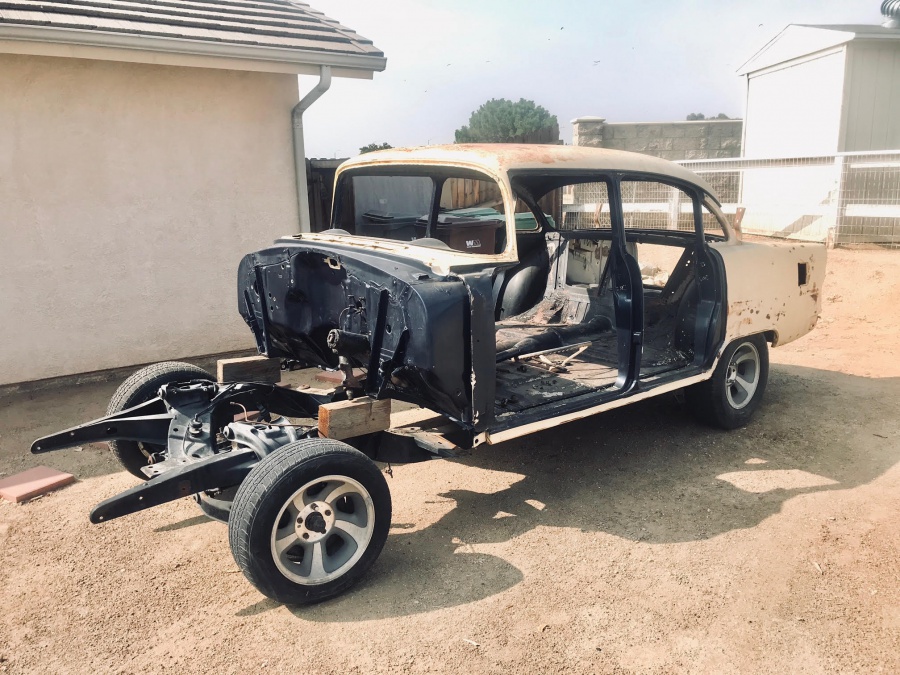
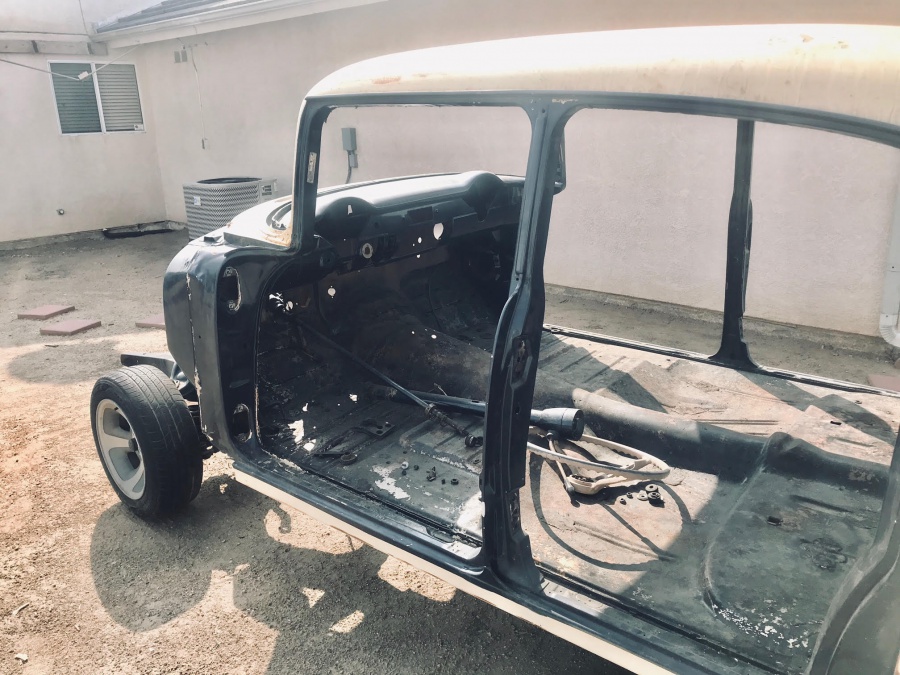
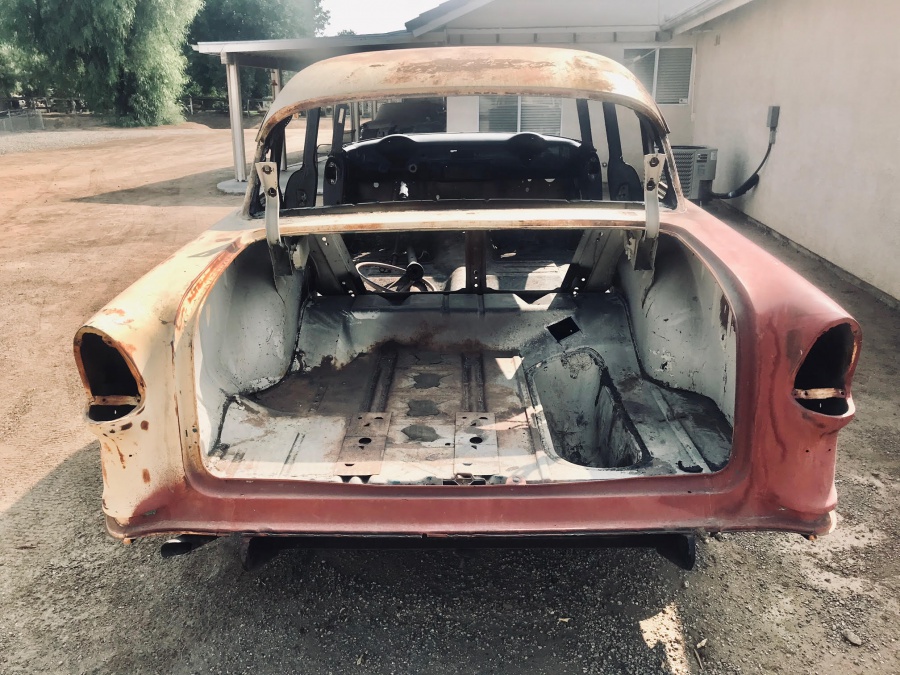
We started to tear apart the car and found out the front fenders were trashed. Sure, they make new ones but we decided to poke around and see if there were any good used ones out there. As if the car gods were speaking to us, another ’55 Bel Air four door popped up a few miles away. The car had also started it’s restoration process and never left paint jail. In primer and completely disassembled but a complete car sans engine and trans, we dragged it home for a few thousand bucks. The original intent to steal parts from it for our original ’55.
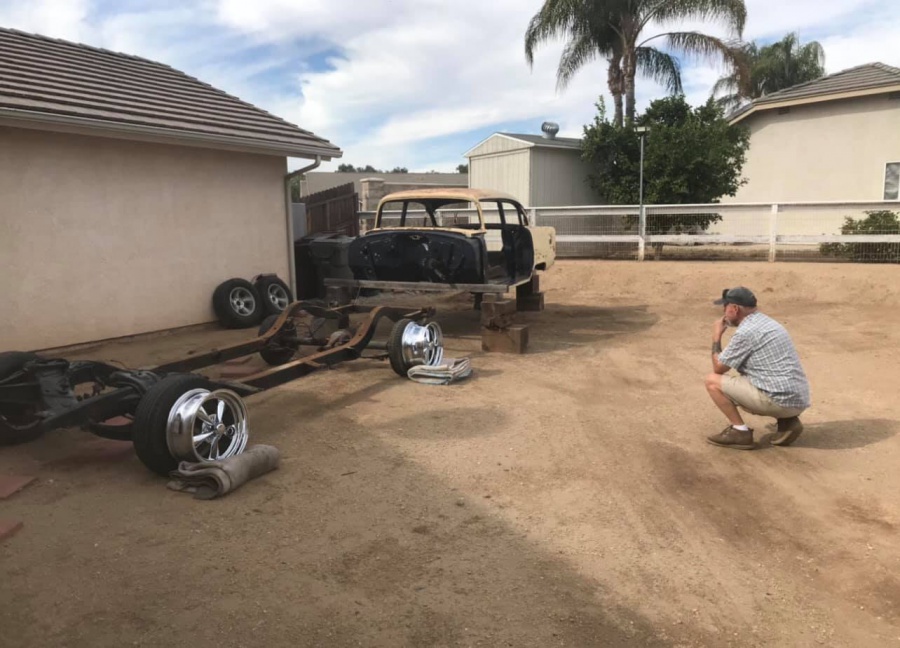
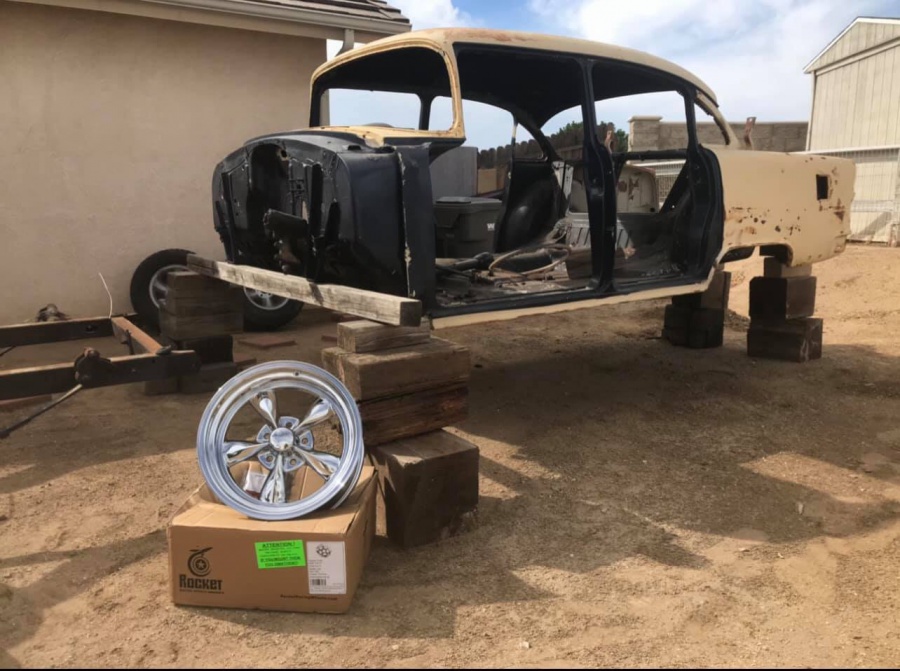
Then things took a bit of a change and we noticed that overall the body was in much better shape than our original one. We thought “let’s use the new body and swap the frames.” But that sounded like a lot of work. Then the thought came to reverse our original plans – build the new ’55 and use the old one for parts! Since we had a clean start, we decided we were going to build this new ’55 exactly how we want, not finishing off somebody else’s vision like the other one.
Starting From Scratch
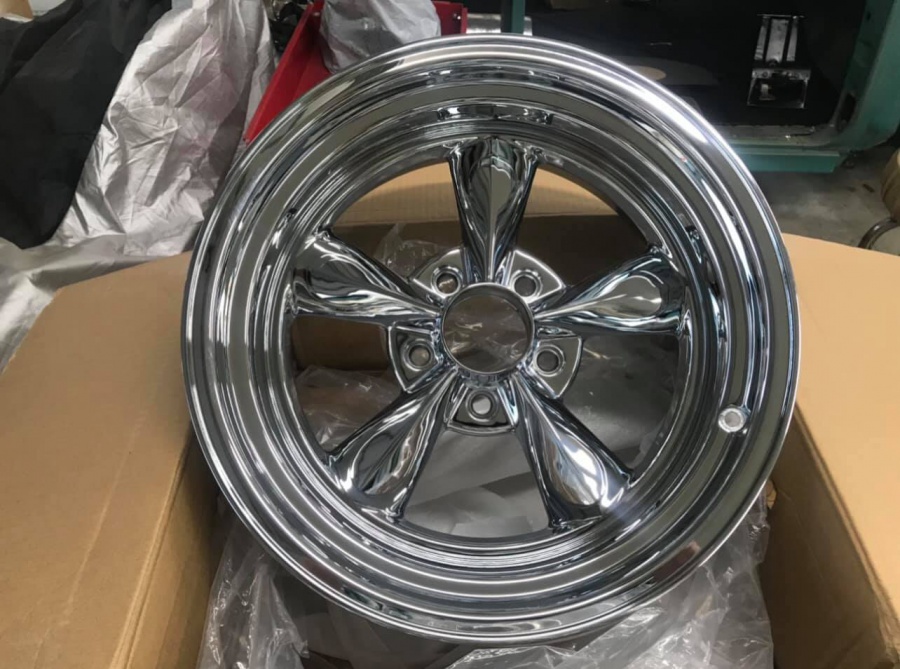
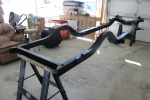
That’s exactly what we did and we ordered up a set of Rocket Racing Fuel wheels in chrome. A absolutely classic look for any car, especially a Tri-Five. We ordered a set of 17×7’s for the front and 17×8’s for the rear to have a little bit bigger tire in the rear. We loved the Toyo Extensa HP II’s on our Project Way-Gone so much, we ordered a set for this car too. We just wanted a tire that would ride nicely and have moderate performance but last for tens of thousands of miles. With our vision started coming to fruition, we stripped the old frame down to bare metal, cleaned it and painted it up.
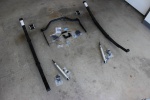
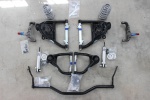
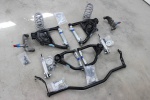
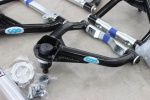
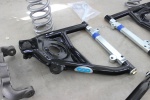
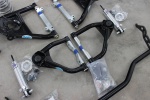
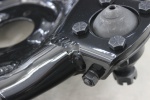
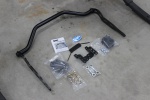
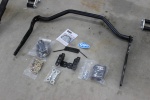
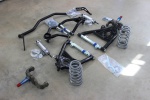
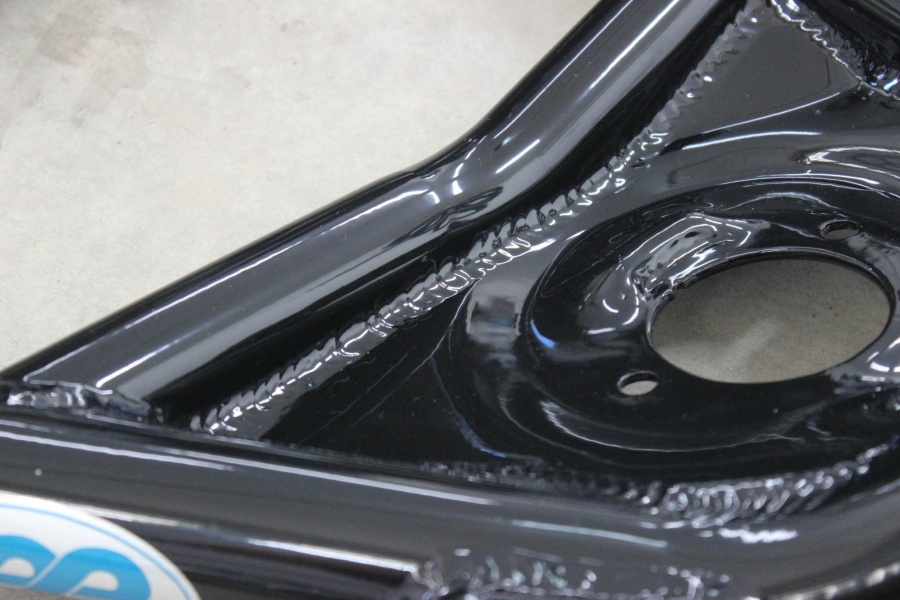
Our next step was to call Classic Performance Products who has just about everything you can imagine for Tri-Fives, all the way down to replacement frames! We told them our vision for the car, something that drives amazing, has the ability to handle a back country road with ease, cruise coast to coast or the local burger joint, and won’t beat us up. They recommended their Pro Touring Stage II kit. This kit comes with everything we need: Tubular upper and lower control arms, Front and rear sway bars, Rear lowering leaf springs, and four Viking Performance shocks to tie it all together. The sway bars we upgraded to a hollow splined version. These upgraded sway bars offer lots more clearance for when you turn hard so the tires don’t rub. Another benefit is the multi-hole design that allows us to stiffen or soften up the sway bars depending if we are country cruisin’ or racing at the track. On top of all that they are significantly lighter than a solid bar which means at the end of the day the car will be faster with less weight.


The control arms have updated geometry to improve the camber curve and correct the caster for modern radial tires. The front and rear sway bars will ensure the car stays planted around corners while the multi-leaf springs in the rear will drop the car 2″ and provide a comfortable ride.
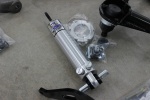
Naturally, we want to have a bit of an altitude adjustment with this ’55 to get it sitting just right. The one thing we really like since we’ve used them a few times in the past is the Viking Performance hybrid coil overs and shocks.To start off we installed a set of 2″ drop spindles. With the Viking Performance they offer a variety of shocks to fit factory ride heights or dropped ride heights. The coil over kit we are installing here is a factory ride height but can be fine tuned to dial in our perfect ride height. 
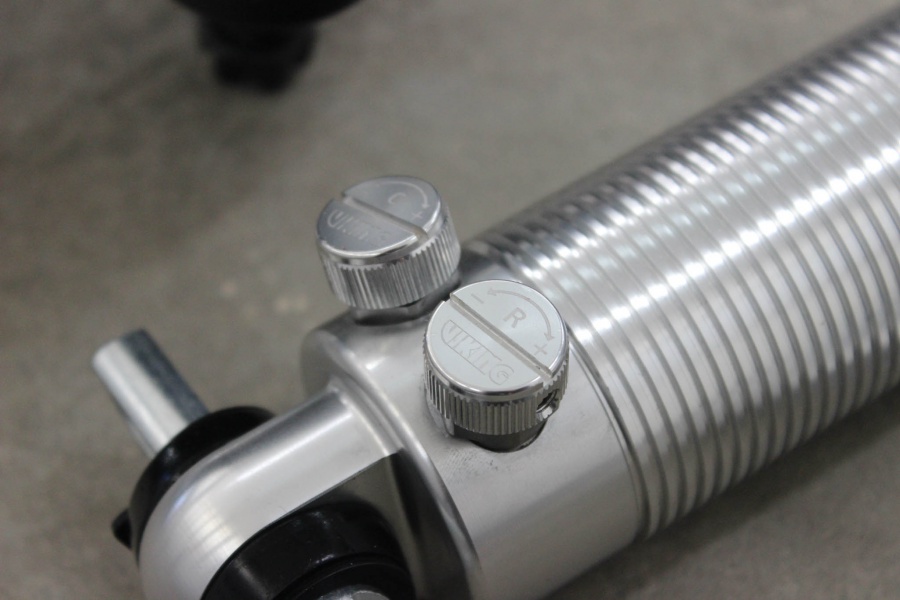


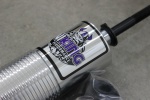
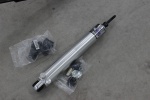
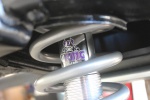
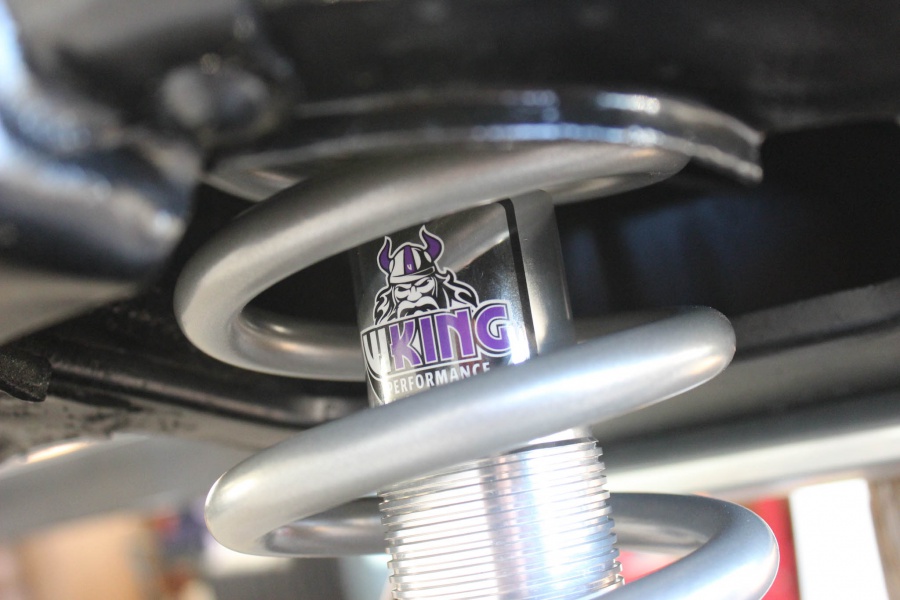
These shocks are a trick smooth body in the rear and have a compression setting and separate rebound setting. Each knob has 19 adjustment points or “clicks.” In the past we’ve found these work amazing for dialing in the perfect ride quality to our liking. Or if we load down the trunk we can stiffen them up a bit to help with the extra weight or stiffen them up if we are going to hit the autocross track. The fronts are a hybrid coil over where the shock is threaded and coil mounts on it, but still utilizes the factory spring pocket at the top. Just like the rear shocks they have the dual adjustment knobs with 19 clicks each. However being a threaded body we can fine tune the ride height even more so we can easily raise or lower the front of the car to our standards. After running these on Project No Name for tens of thousands of miles we were happy to use them again.

Bolting On The Goodies
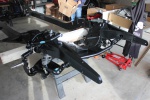
Seeing all the parts laid out on the floor was a bit overwhelming at first. But in reality the hard part was already done – disassembling the stock 65 year old suspension! With a clean slate the parts practically installed themselves. We started with the rear first before tackling the front end.


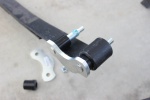
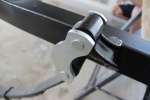
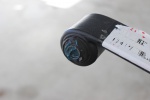
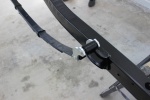
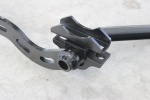
On the rear leafs we picked up a set of poly bushings to use. Poly is a great upgrade over rubber since it doesn’t conform as much which leads to a more predictable ride. The leafs already had rubber bushings installed on the front end and we opted to leave those in there since we really don’t have plans to autocross the car much and figured a little extra give when cruising would be preferred over the extra performance. We reused the factory leaf mounting bolts and installed the front of the leaf. In the rear we used the poly bushings and went ahead and picked up new hangars. You can easily reuse your factory hangers but we wanted it to be all fresh and new. While installing all these we did use a little grease to ensure a smooth and squeak free ride.

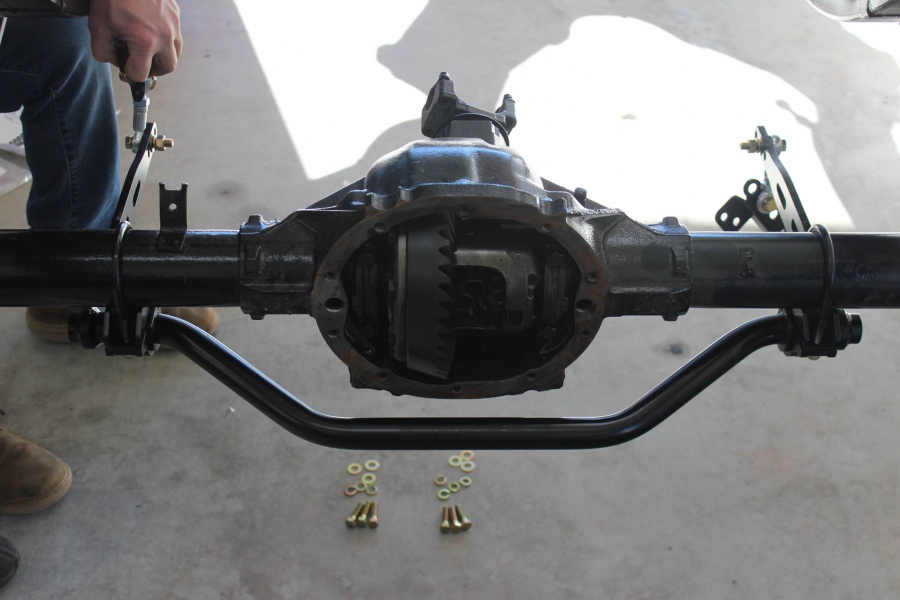
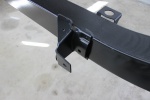
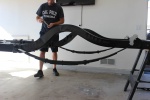
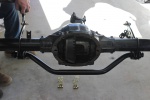
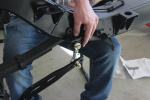
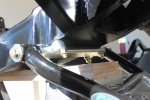
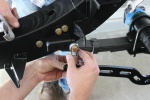
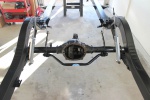
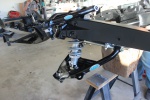
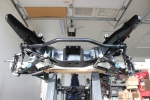
With the leafs in place we installed the rearend which happens to be a 10-bolt Posi unit in our case. With the rear sitting in it’s home, we tackled installing the rear sway bar. We first started by installing the U-bolts and clamps that hold the sway bar to the rear but leaving them a little bit loose. On the frame side CPP supplies brackets that hold the rod end which connects to the sway bar. These require you to drill three holes per side to complete installation. With the brackets installed we connected them to the sway bar with the rod ends and we were finished! The rear Viking shocks mount to the leaf spring bracket and then up to the body which isn’t sitting on the frame yet – we installed the shocks to get the look but will pull them back off when setting the body down.
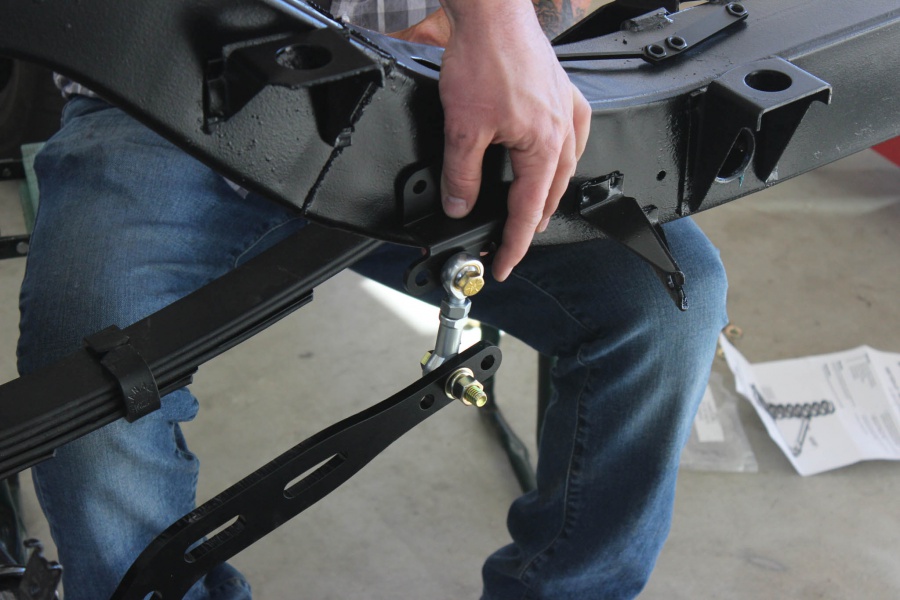
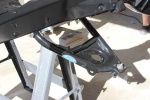
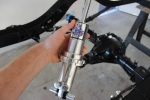
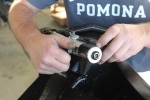
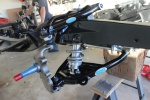
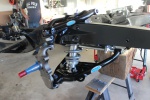
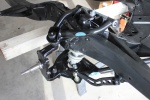
Moving to the front we started by installing the lower control arm. Note that the arms are left and right dependent, don’t flip them backwards. An easy way to tell is that the sway bar mounting tab will always go forward. The lower arms install with the new provided hardware – four bolts per side. Before installing the upper control arms, we decided to go ahead and tackle the Viking Performance coil over install. The first step is to use anti-seize on the body of the shock! There’s a lock ring that goes on first, followed by a retainer ring. We upgraded to the roller bearing set up as well which makes it easier to adjust the ride height. Then we slid the spring down over the entire set up.
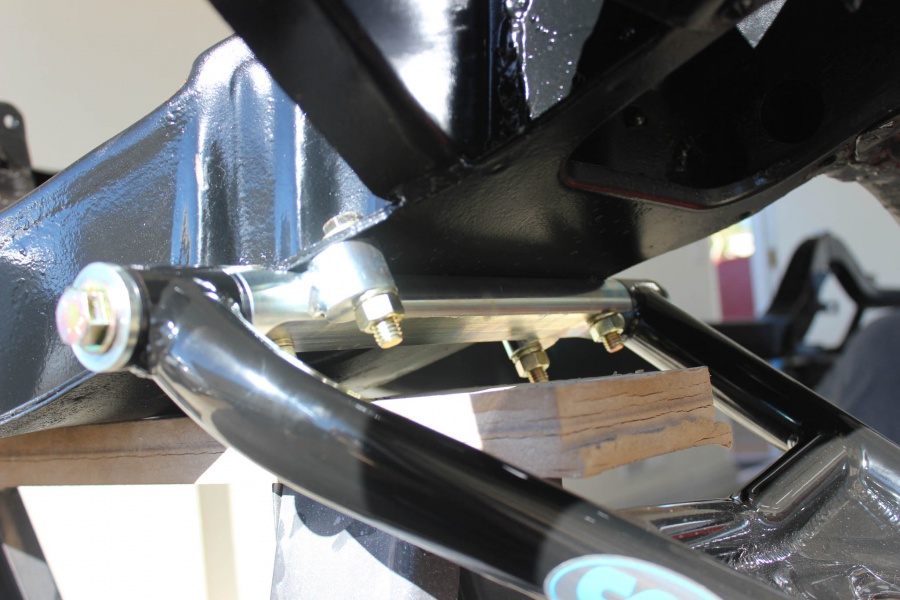
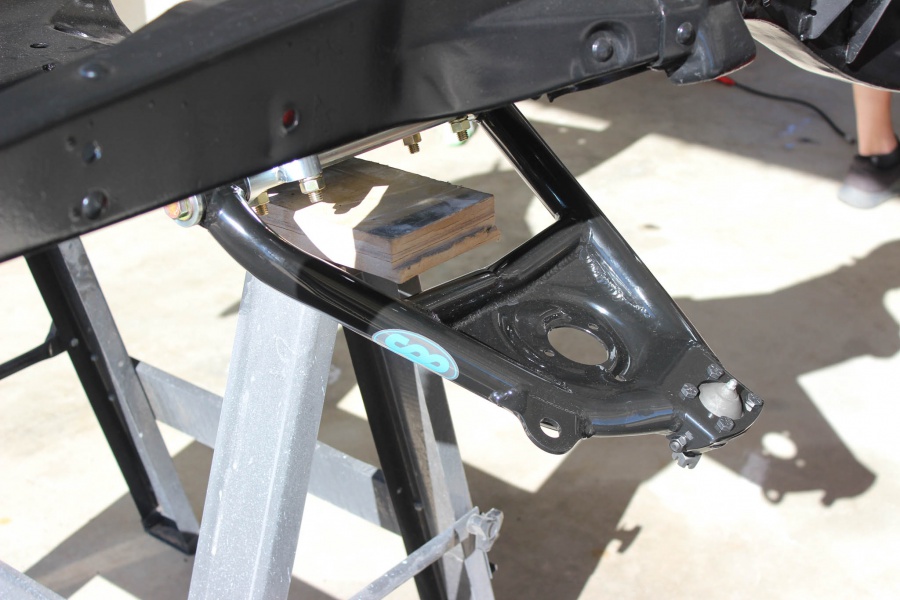
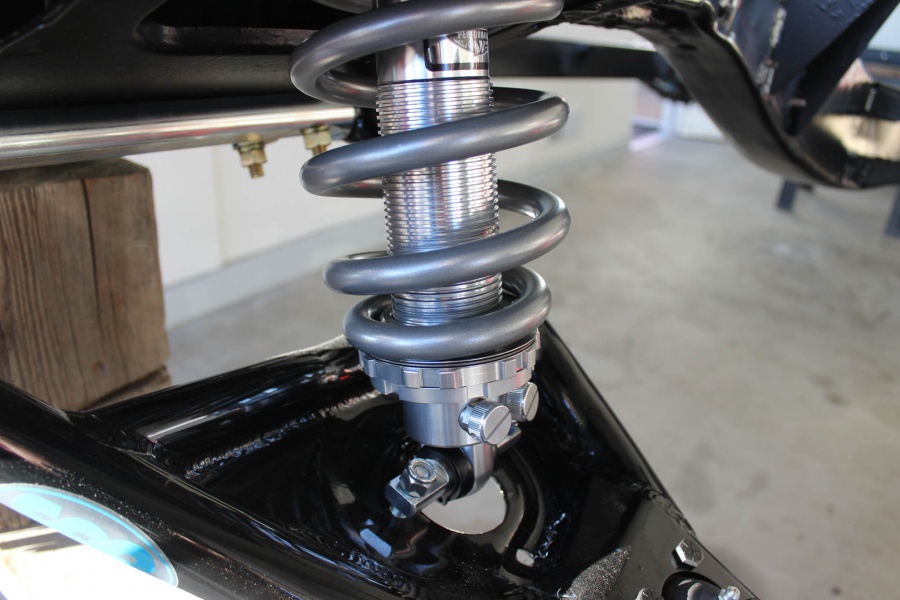
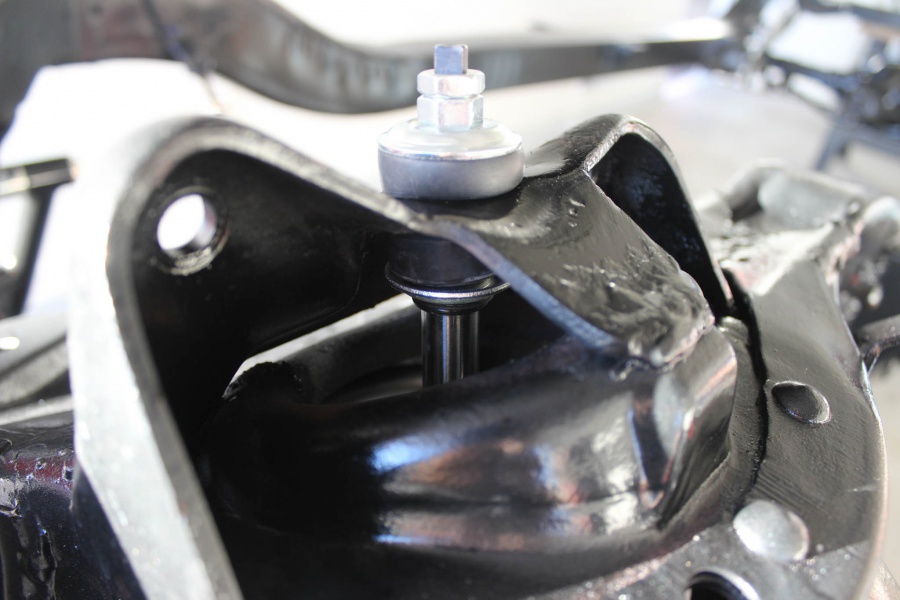
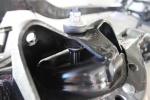
On the lower control arm the Viking shock mounts to the stock shock mounting holes on the top of the lower control arm. The top of the coil over set up mounts using the factory upper shock mounting hole. It’s important to make sure that the spring is sitting in the spring pocket during this process. With the Viking coil over installed we installed the upper control arms by reusing the factory two bolts on each side. Then with the control arms and springs installed we bolted the drop spindles into place.
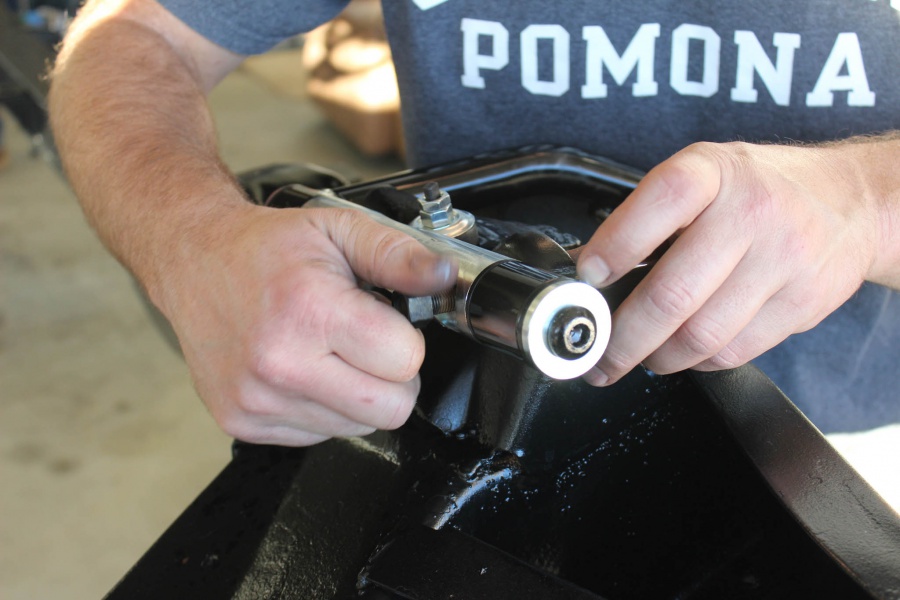
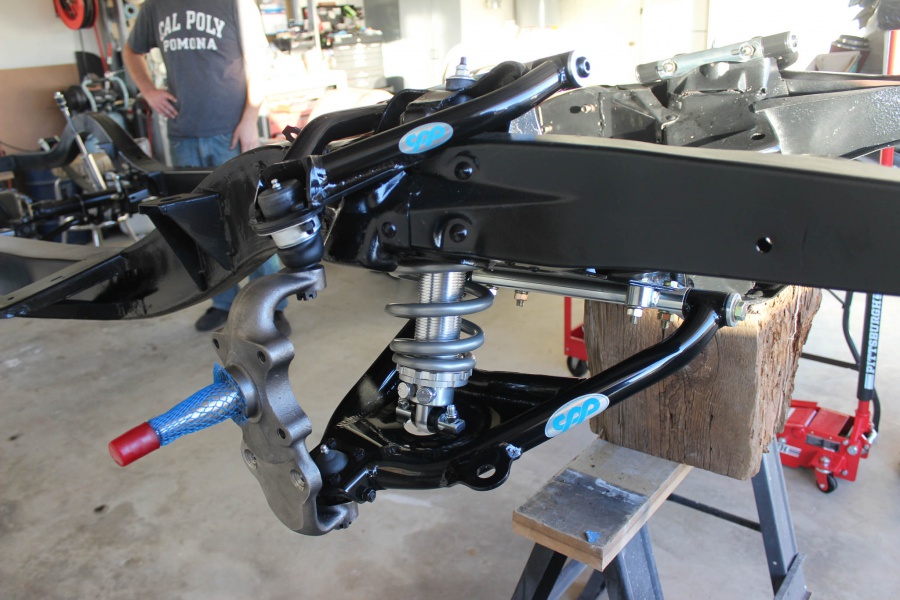
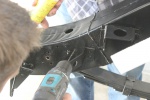
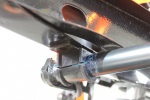
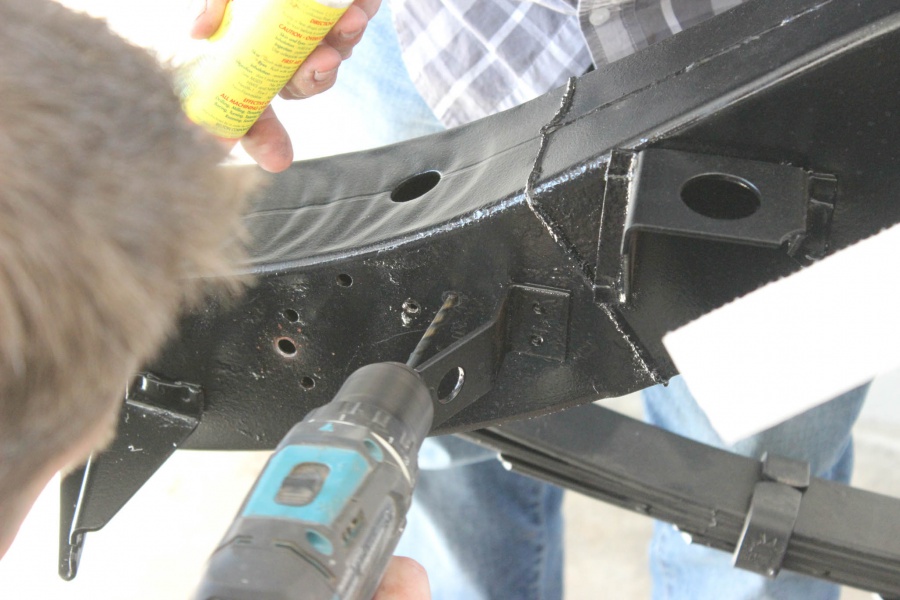
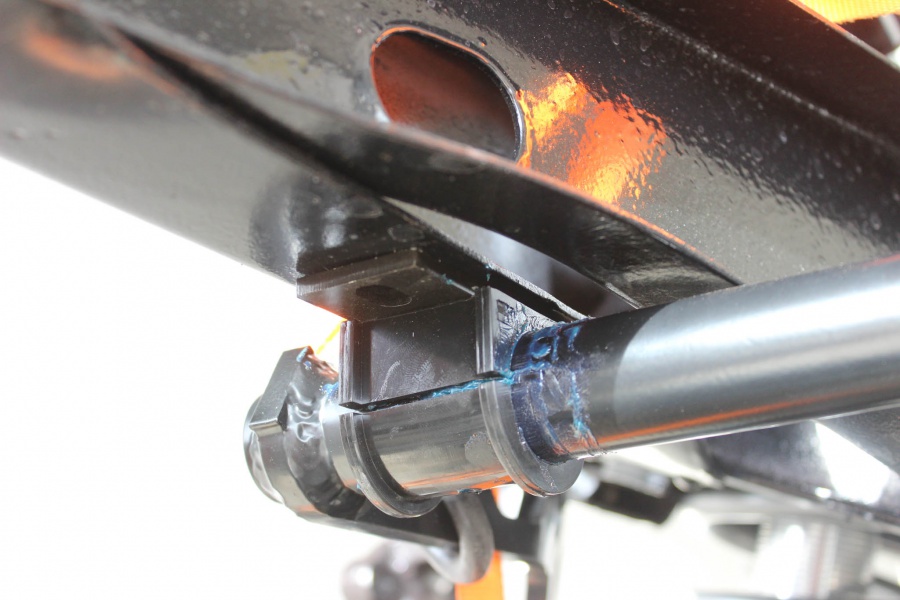
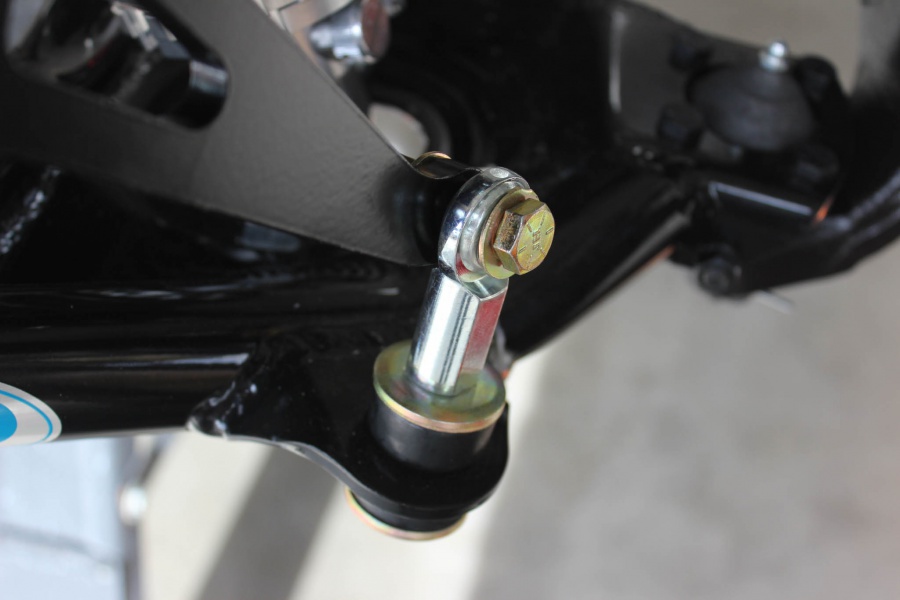
The last thing we needed to do in order to complete the suspension is install the front sway bar. Now there are no factory provisions for the the sway bar on the frame which means we had to drill holes for the brackets. We started the install by installing the end links on the lower control arms then holding the sway bar into position. Then we marked the frame, drilled holes, and installed the sway bar bushings on the frame.
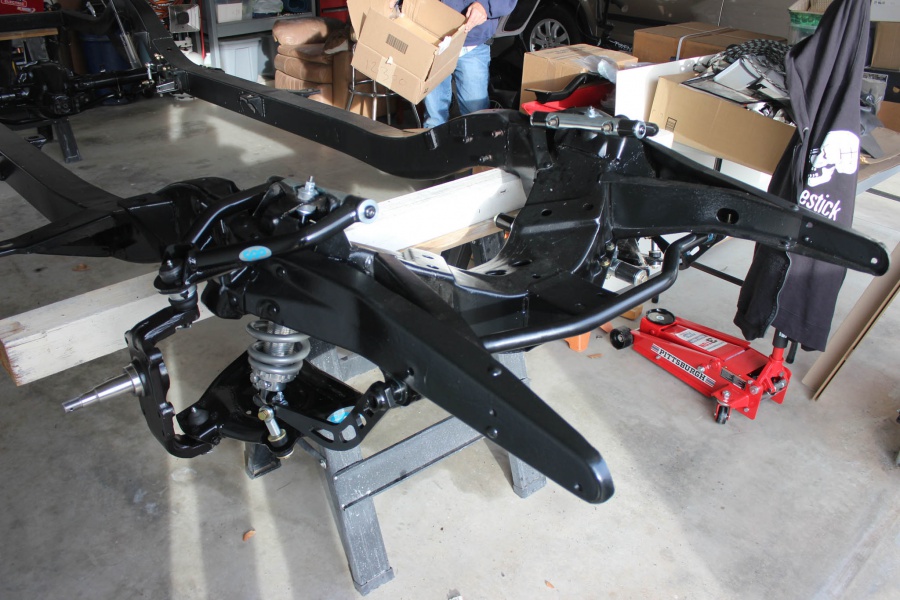
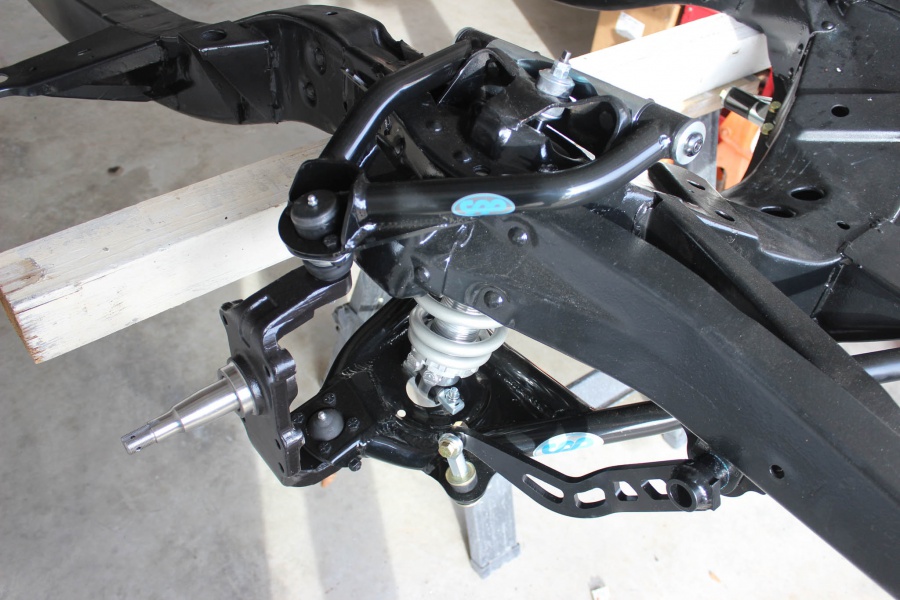
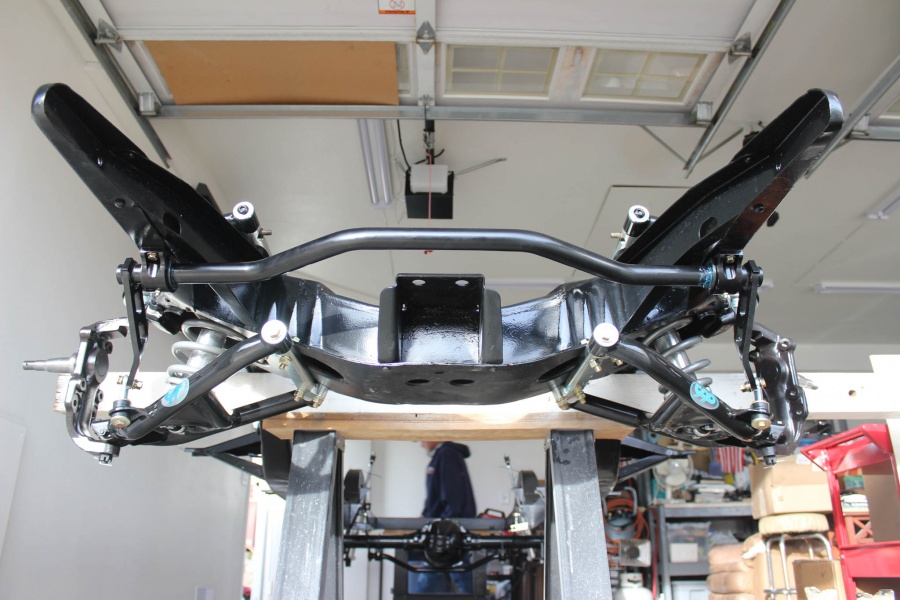
That was it! We thought this might be a much bigger job but we completed the entire install in less than a day with plenty of bench racing in between. Naturally we are going to go with an LS swap and CPP makes a kit to bolt an LS right into these Tri-Fives. We picked that kit up as well but will go over that install in another story along with the steering and brakes. Stay tuned!
For more information reach out to Rocket Racing Wheels, Viking Performance and Classic Performance Products.


