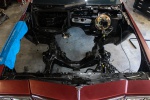
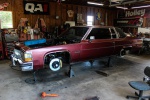
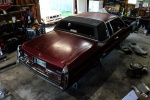
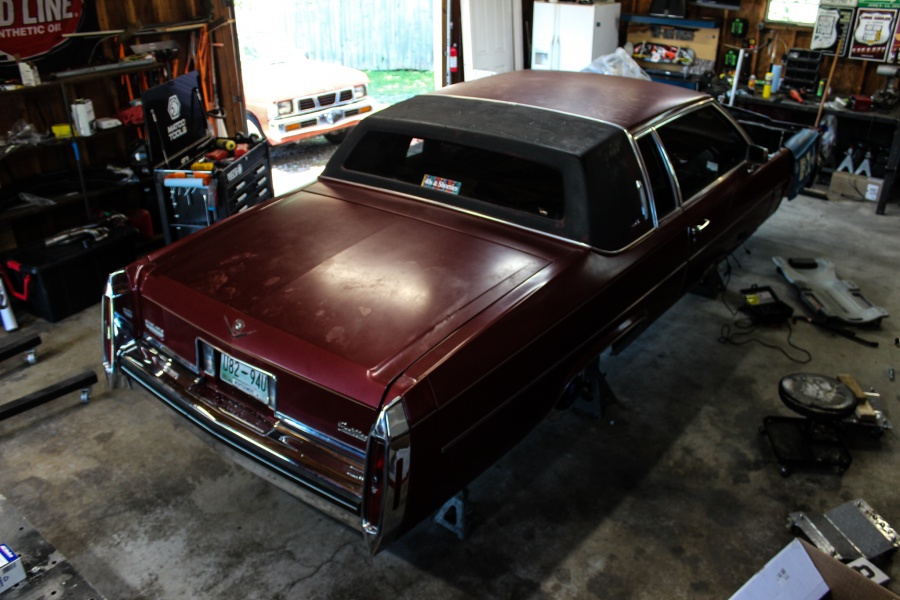
When this ’83 Cadillac Coupe De Ville aka “Project Chicken Coupe” rolled off the assembly line, it had luxury. What it didn’t have was stopping power, or the ability to handle a corner at any speed. Today, we are going to change that and turn it into a Pro-Luxury machine. QA1 is handling the suspension while Baer Brakes is handling the stopping power.
QA1 Doesn’t Make Cadillac Suspension
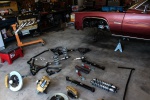
That’s what we thought too! Where the heck would we find performance suspension for an ’83 Caddy that wasn’t custom built? Digging into it this car it is a GM “C-Body.” We found out through research that the C-Body is actually a B-Body that’s been stretched in the middle. That means anything off a B-Body such as a Caprice or Impala will bolt right up – double A-Arms in the front and a triangulated four-link in the rear. We had a bare frame and you can see where there’s a front stub and a rear stub, they just welded in different center sections to lengthen or shorten the car.

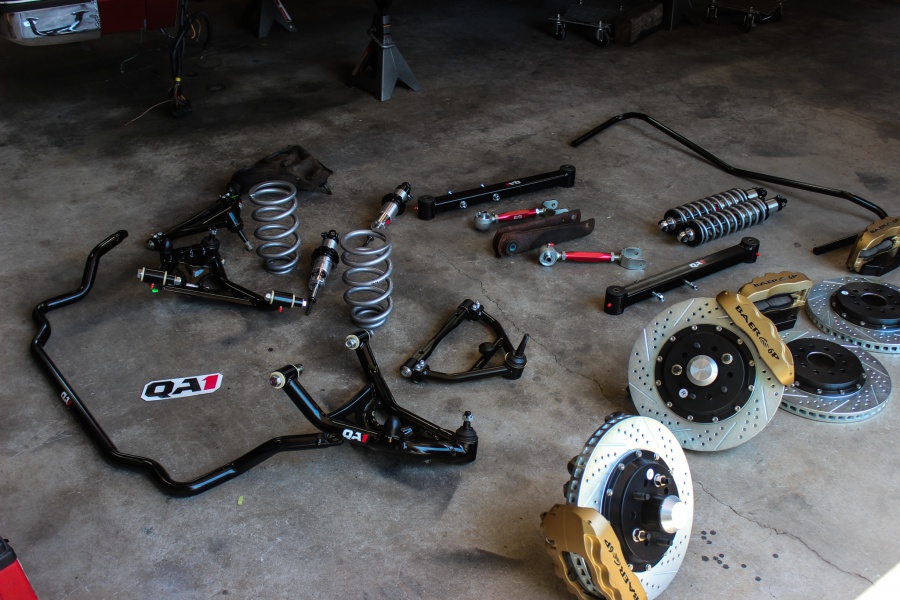

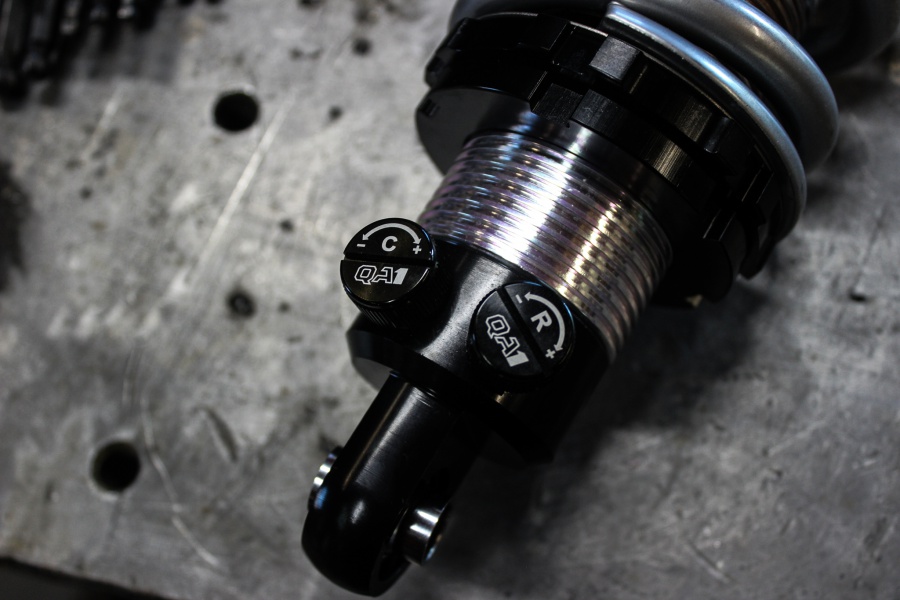
We hopped on QA1’s website and saw they had quite a few different options for these C/B-Body cars. They have kits to make them handle or for drag racing, along with just individual parts. On the handling side they have three different levels. The first is a coil over and sway bar kit that uses the factory control arms. The second includes all that plus all new control arms and trailing arms. The third kit has all the new control arms and trailing arms, but offers their MOD Series coil overs that offer on-the-car valve adjustments. We ended up going with the second kit that still offers dual adjustable shocks. We want this car to handle, but we aren’t trying to win Good Guys Autocross with it.
Installing QA1
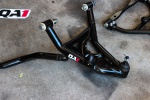
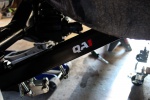
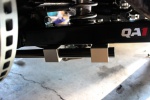
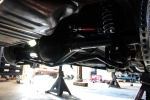
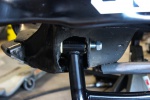
We started installation of the QA1 kit in the rear. The rear lower trailing arms are a much stronger boxed control arm, while the uppers feature a spherical ball joint on the other. This frees up the binding that’s common with triangulated four-links allowing the rear end to move up and down freely. We bolted all four arms to our Currie 9″ rear, then slid the entire assembly under the car and bolted it to the frame.
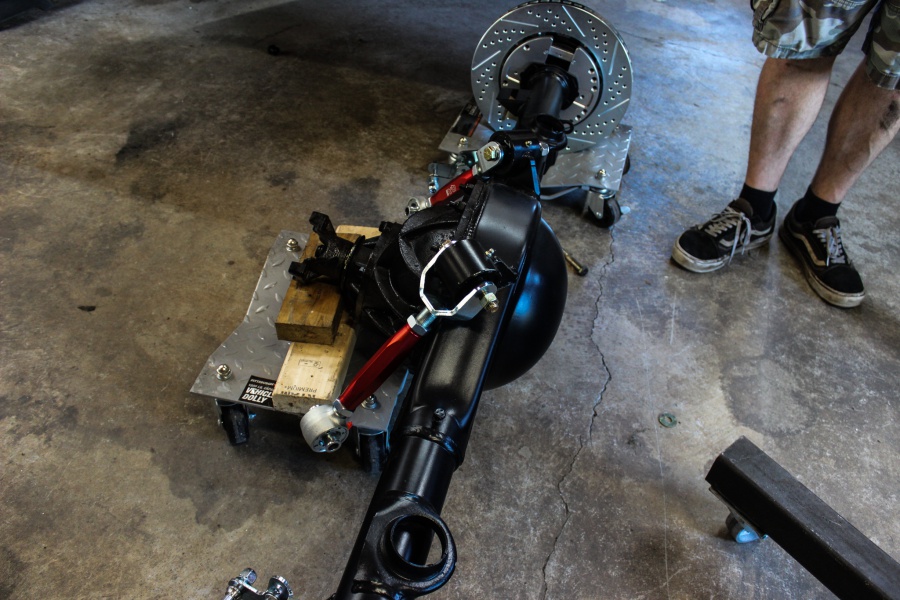
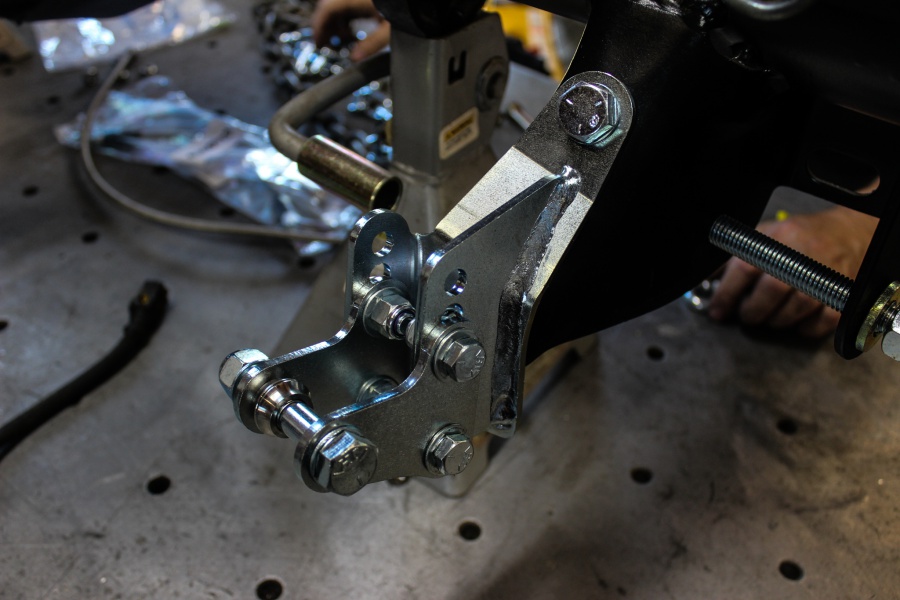
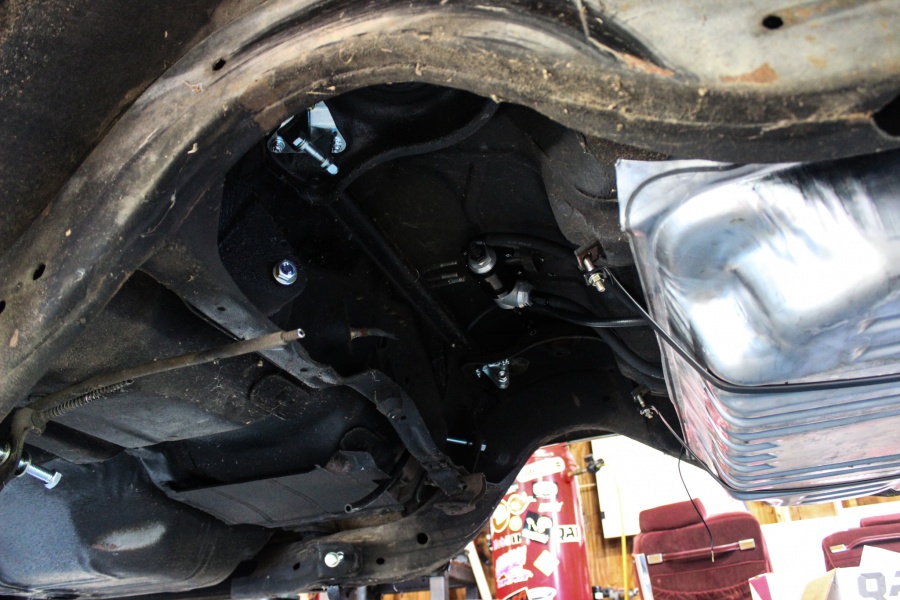
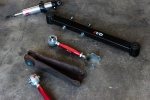
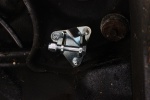
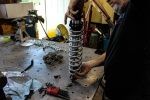
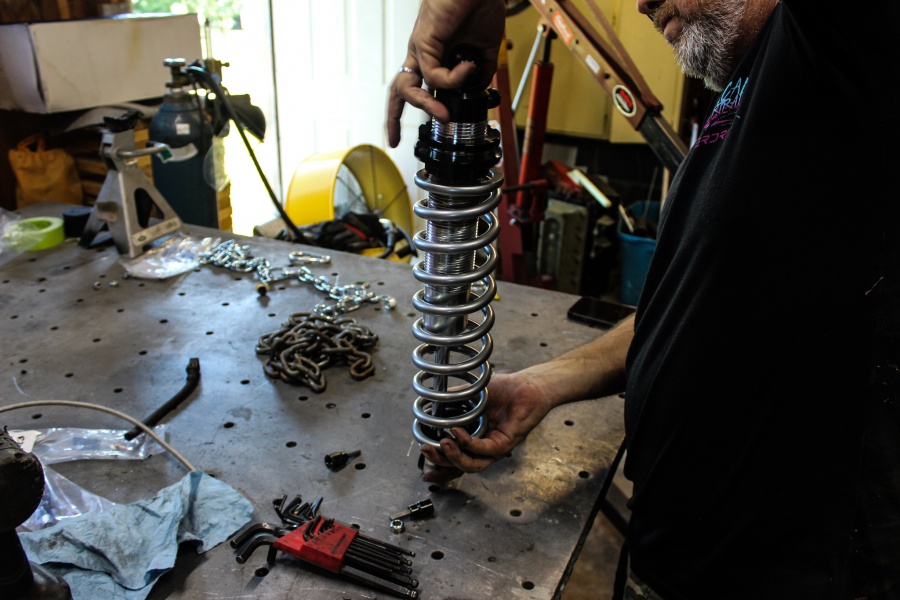
The rear coil over conversion was simple, a bracket bolts to the lower shock mount on the rear end, then we drilled and bolted an additional bolt into place. On the top side QA1 supplies a bracket to bolt to the frame to accept the double-shear coil over. With the brackets installed we then assembled the coil overs which consists of setting thrust washers down, the spring and the hat then sliding the entire assembly under the car. Our last step was to install the rear sway bar – we did this by bolting the brackets to sway bar, then lifting the bar up into position to bolt to the lower rear trailing arms.

To The Front
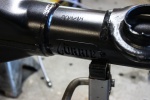
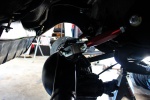
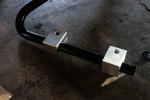
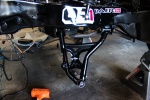
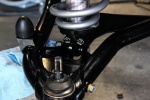
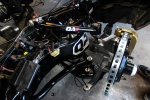
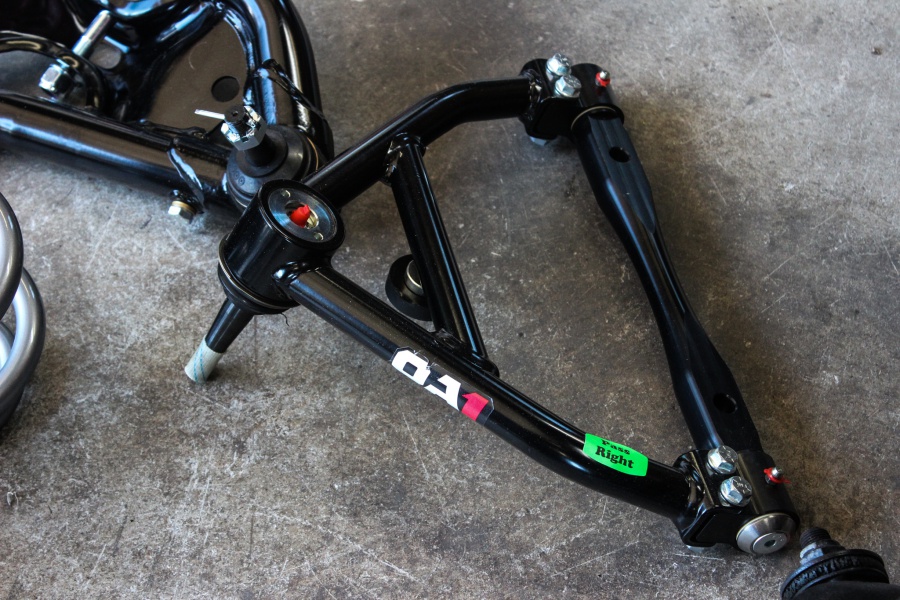
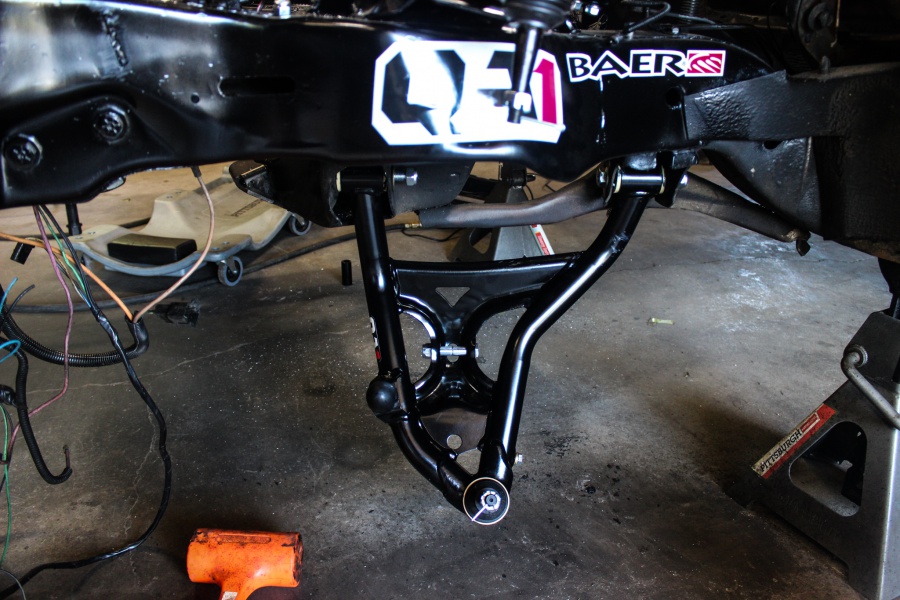
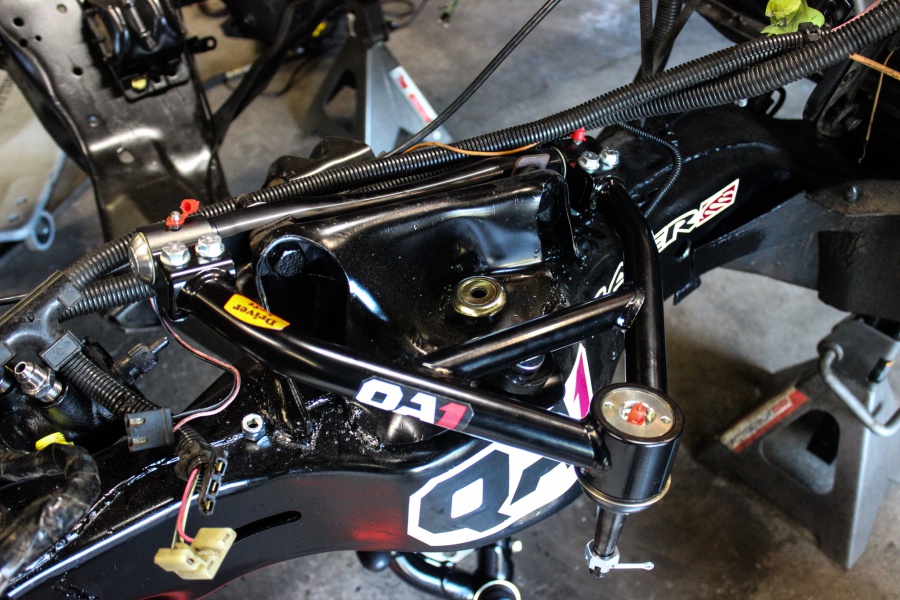
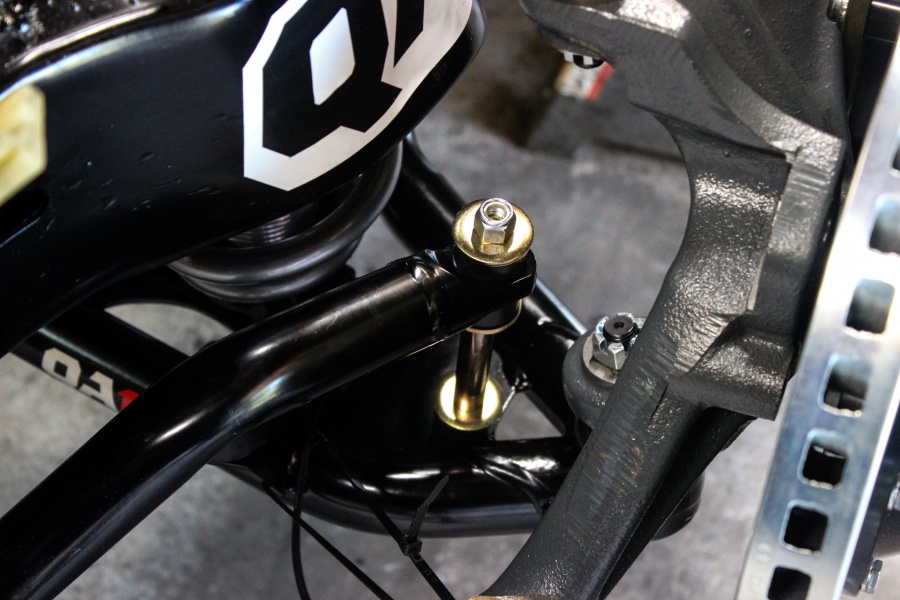
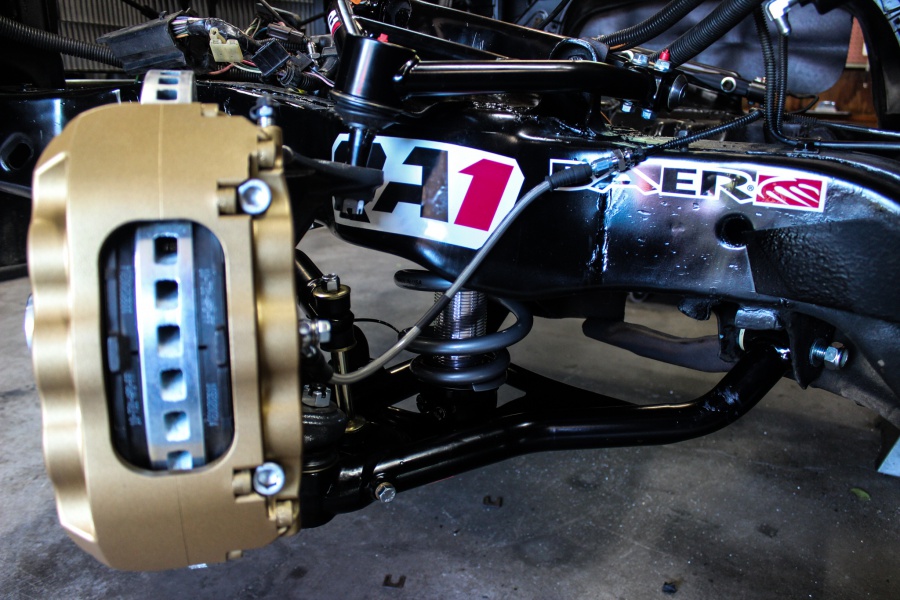
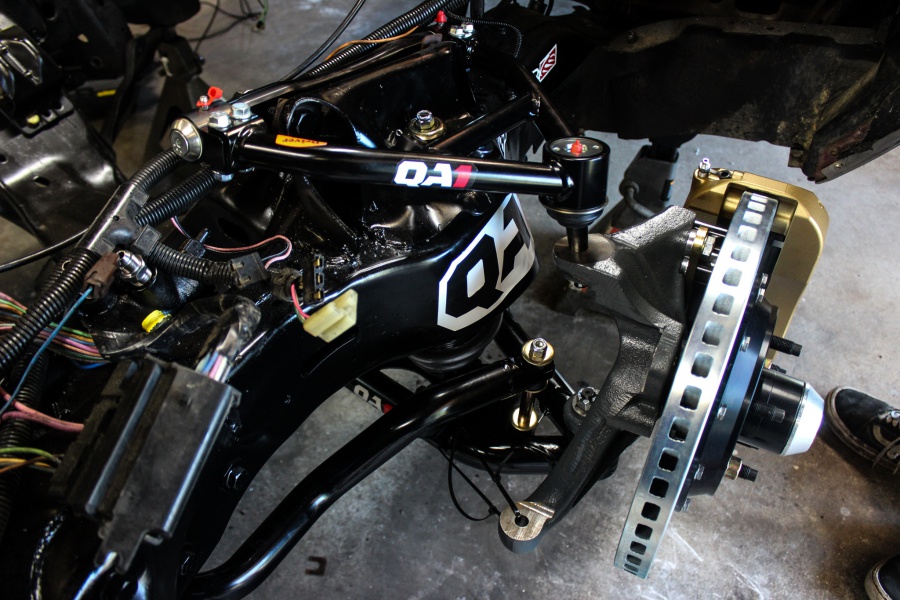
Since we weren’t lifting a heavy rear end in the front, it was even easier! The tubular control arms offer a multitude of benefits over the factory control arms: they are stronger, weigh less, increase caster/camber, fix the camber curve, they have performance bushings that don’t flex as much as rubber, they articulate better and finally, they look amazing! If that’s not enough reason to switch over to these QA1 arms we don’t know what is. We started by bolting on the lower arms in the factory frame points. Then we slide the upper arms into place – careful here, there is a right and a left side but they are marked.
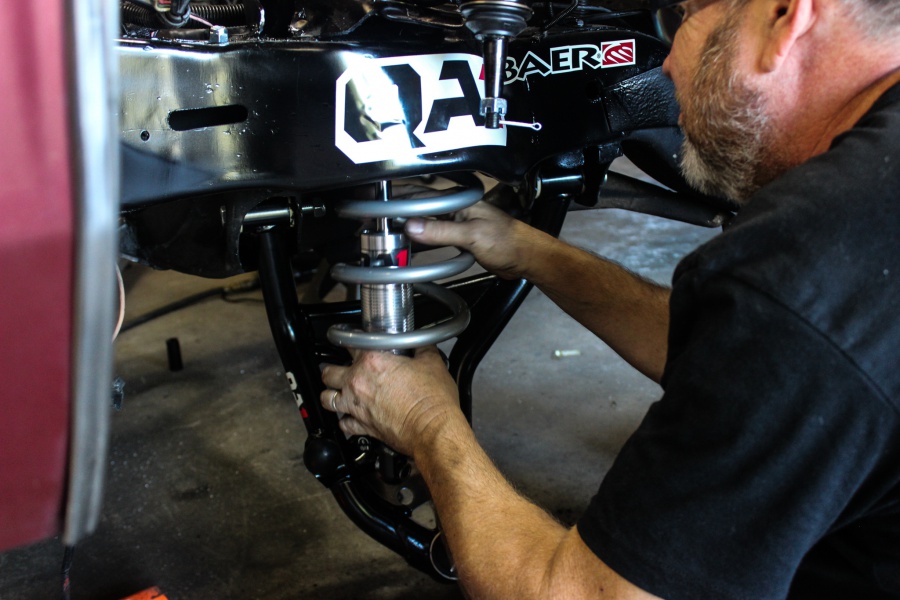
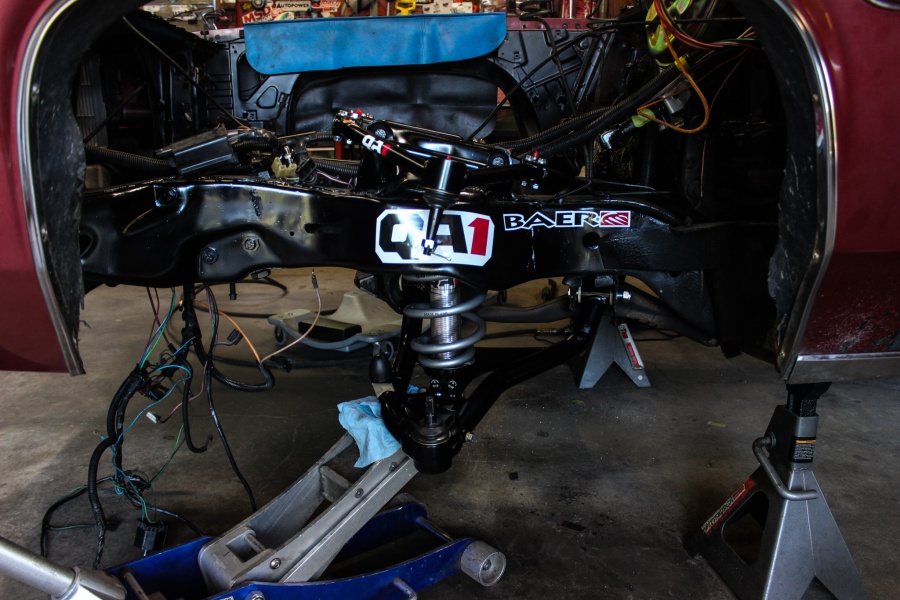

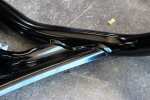
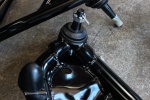
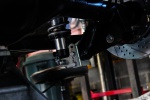
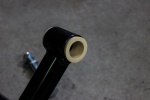
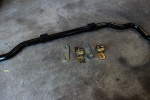
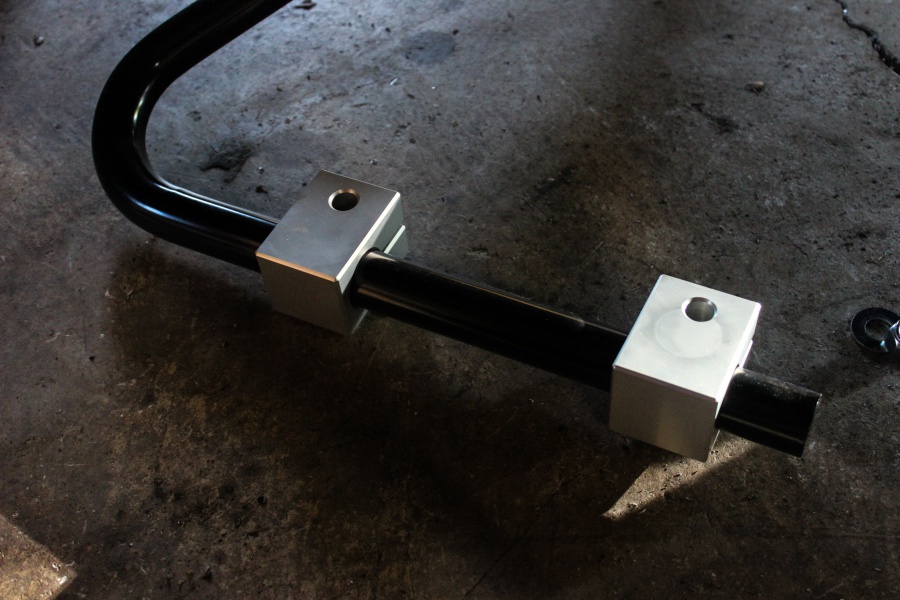
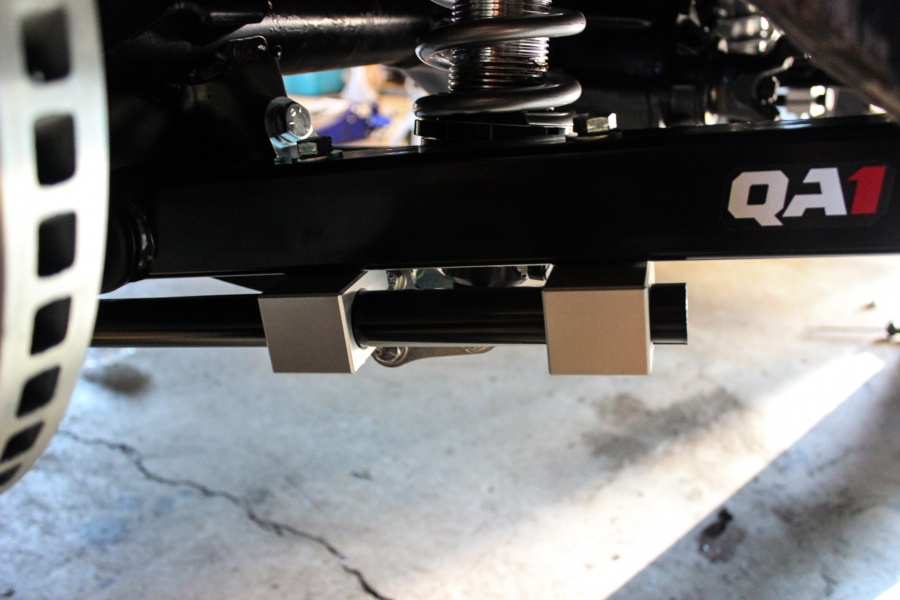
After assembling the coil over and making sure to use anti-seize on the threads, we slid them into the frame and bolted it all down. Our last step was to install the hollow sway bar – it looks big and beefy but it’s lightweight! Dropping a few pounds off this car won’t hurt anything and the extra strength of it will help this car stay flat during corners.

Stopping Power with Baer Brakes
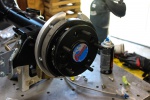
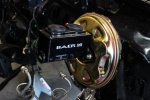
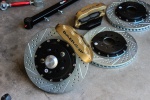
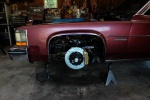
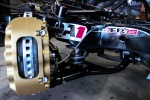
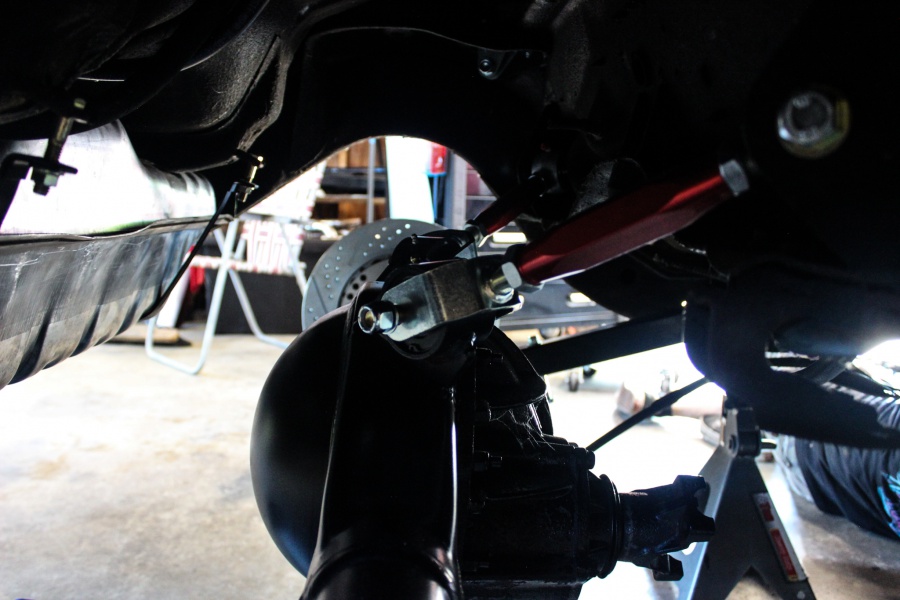
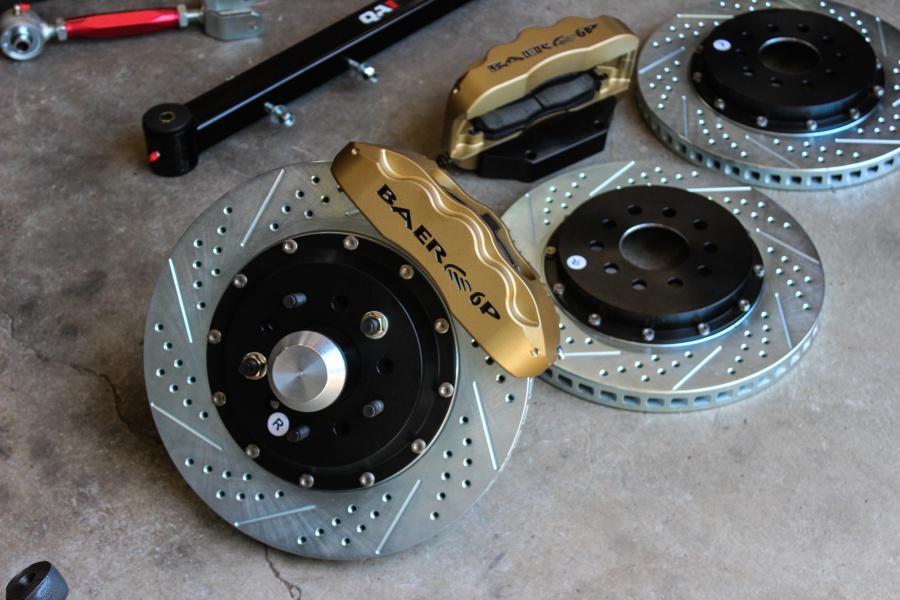
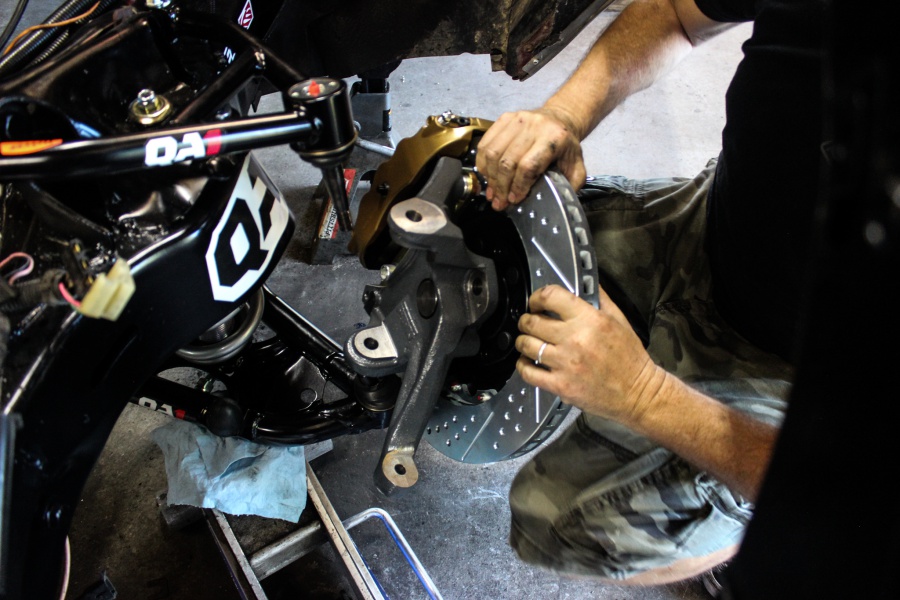
Did you know this car weighed almost 4,000 lbs brand new? It’s no lightweight car where a smaller brake package could make do. We will lose a little bit of that weight with the lighter suspension and aluminum motor, but overall this car will stay right around that same weight. We hopped on Baer Brakes’ website and saw the options they had. The rear being a big-bearing Ford Torino 9″ meant they had just about any kind of brake package we could want. On the front end Baer is able to modify new B-Body spindles to accept their brakes. One thing we learned is that these spindles are the same as a 1979-1981 F-Body, which opened up brake options for us. With all this in mind we elected to go with a Pro+ “6P” set up. This is a six-piston caliper along with two-piece 14″ drilled and slotted rotors. These are “Big Ass Brakes” and this car needs them!
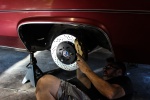
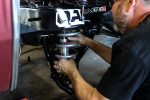
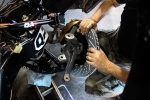
The rear was a fairly straight installation. They have an integrated parking brake so we had to pop the axles out in order to install the new backing plates. Once that was done it was a matter of sliding the rotor on, and bolting on the caliper.

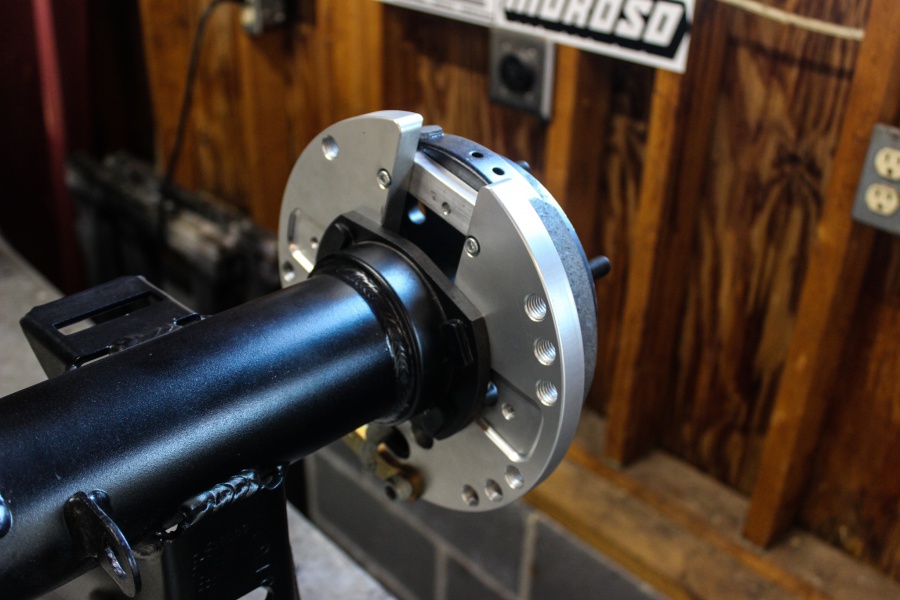

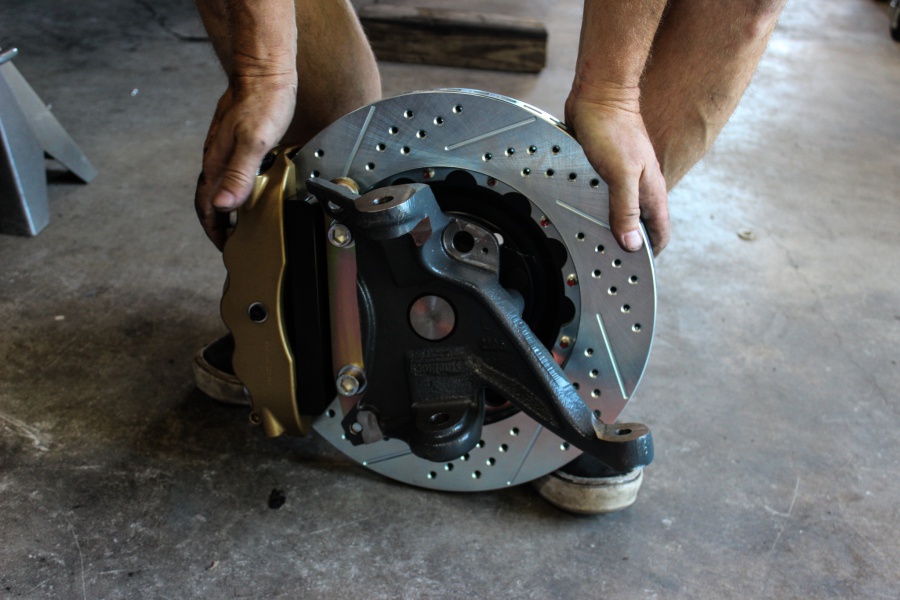
Installing the front brakes is even easier as Baer does 95% of the work. You see a B-Body spindle has cast-in caliper mounts. In order to move the caliper out for a bigger rotor, Baer cuts off those ears and bolts up a new caliper bracket. They go ahead and assemble the whole spindle too! All we had to do was set the spindle on the ball joints, attach the tie-rods and brake hose then bleed the brakes. The whole entire process is so easy thanks to Baer. While we were upgrading the brakes we went ahead and put on a Baer ReMaster cylinder, proportioning valve and lines as well to complete the whole package.
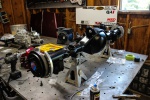
With the suspension and brakes knocked out in a day, our next step is to install our Warhawk 427 cubic-inch LS and 6-Speed Magnum! Stay tuned!