Building A Blown LS
On our Project 1966 Chevelle, we’ve dubbed it Version 3.0 since this is really the third major round of upgrades for the car. The very first time we upgraded the engine was over 10 years ago when we rebuilt the 454 BBC that came in the car. The second time around was four years ago when we ditched the BBC and went with a built LS3.
In all honesty, the plans this time were to rebuild that LS3. The engine ran great but had some odd quirks to it and consumed more oil than it should have. We attributed this to a set of rings that weren’t quite sealing up. We figured that we’d pull the engine, toss in a new set of rings and be good to go.
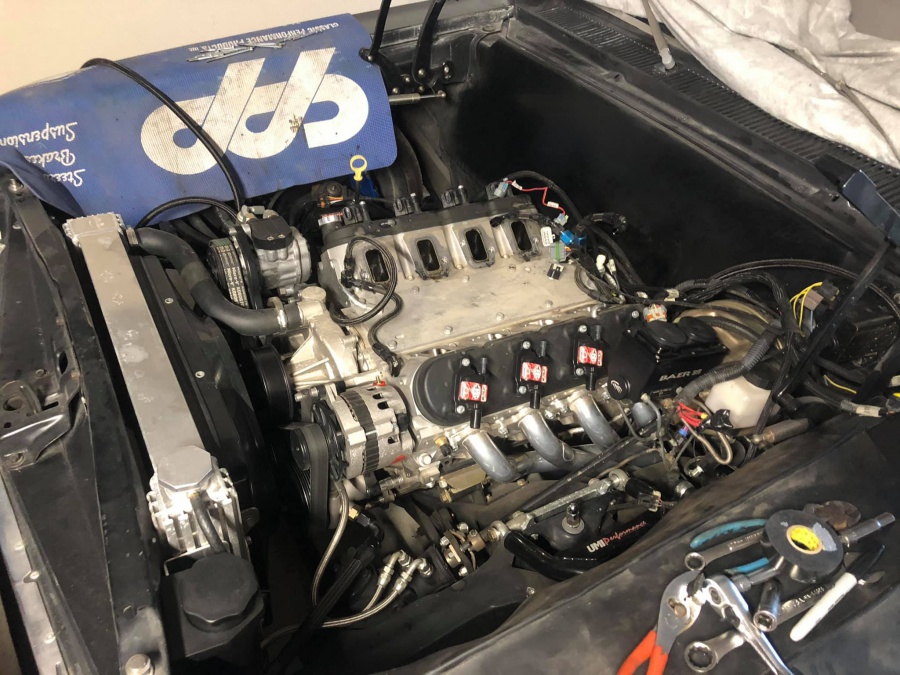
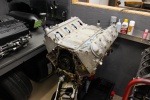
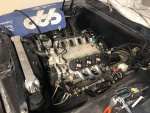
The old LS3 coming out for inspection.
That’s about where our luck ran out. We took the engine over to the experts at Pro Touring Texas, who specialize in building LS engines. After a complete tear down on the engine, they found issue after issue and were surprised it was still running! Then we came to a crucial cross road – do we spend the money on rebuilding it or do we just start from scratch?
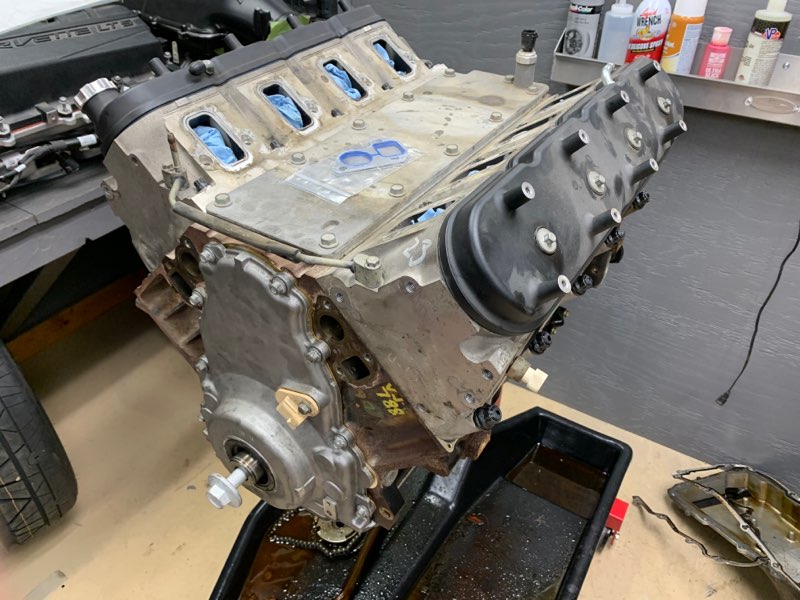
Junkyard LY6 6.0L “V3.0”
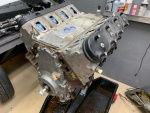
Eager to try something different, we went with the latter route. Instead of building a complete engine from scratch, we decided to go a more affordable way – buy a junkyard engine and throw a TorqStorm supercharger on it. Pro Touring Texas checked around and found us an LY6 with only 100K on the clock. The LY6 engine is a 6.0L LS engine – in short, it’s an LS3 with a steel block.
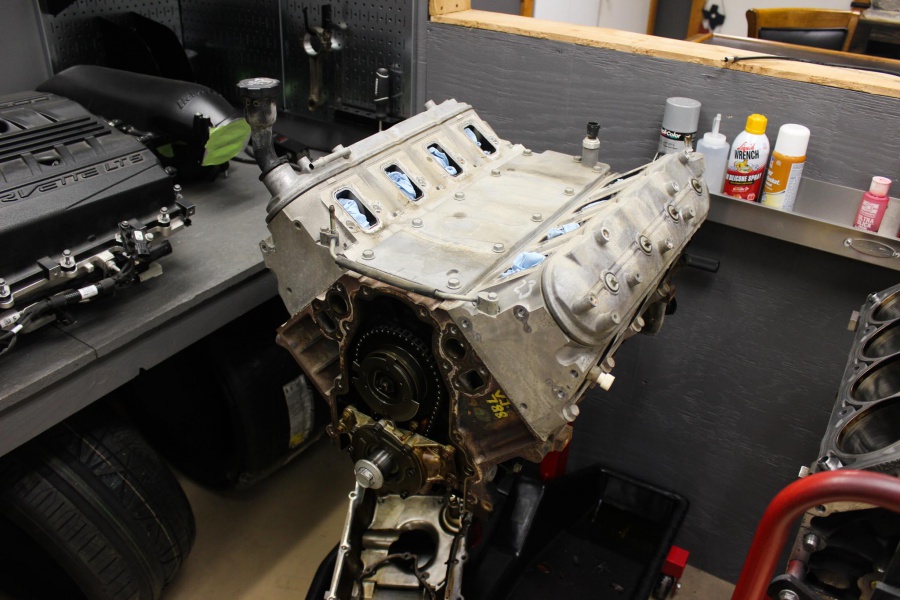
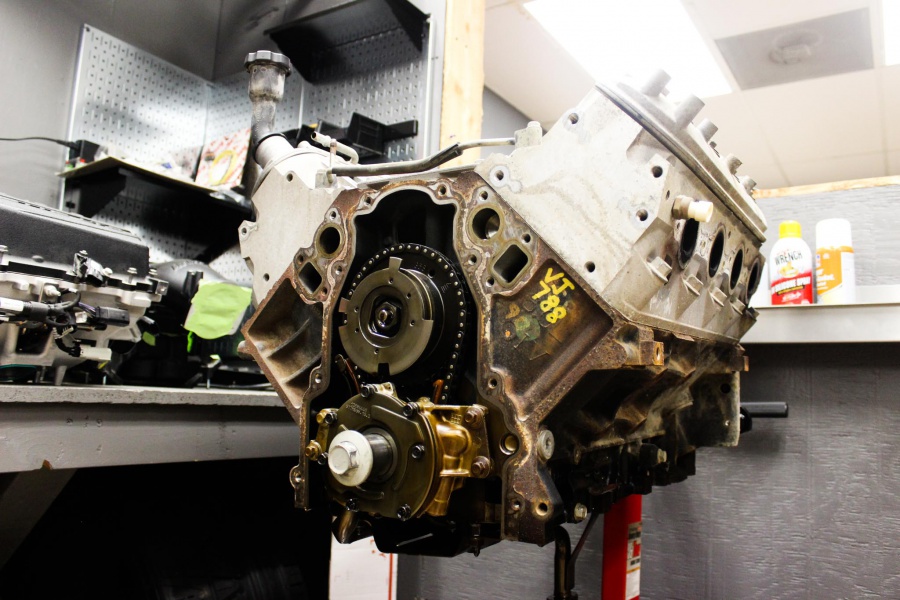
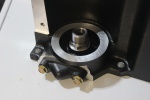
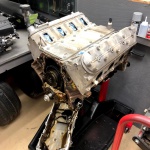
Now we wanted to do a few upgrades to this engine to not only gain a few extra horsepower, but to make sure it will last for tens of thousands of miles with the TorqStorm supercharger shoving air into it. The first step was popping the oil pan and heads off the engine to inspect bearings and cylinders for any sort of abnormal wear. Everything looked spotless, so we didn’t need to tear into the short block any further.
Building The Beast
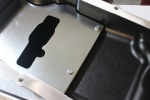
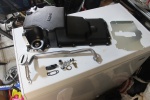
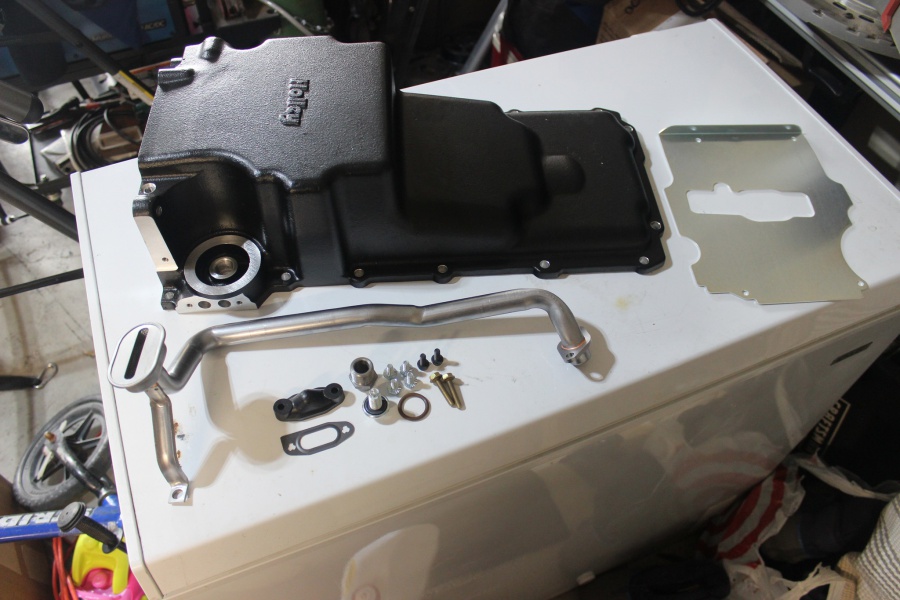
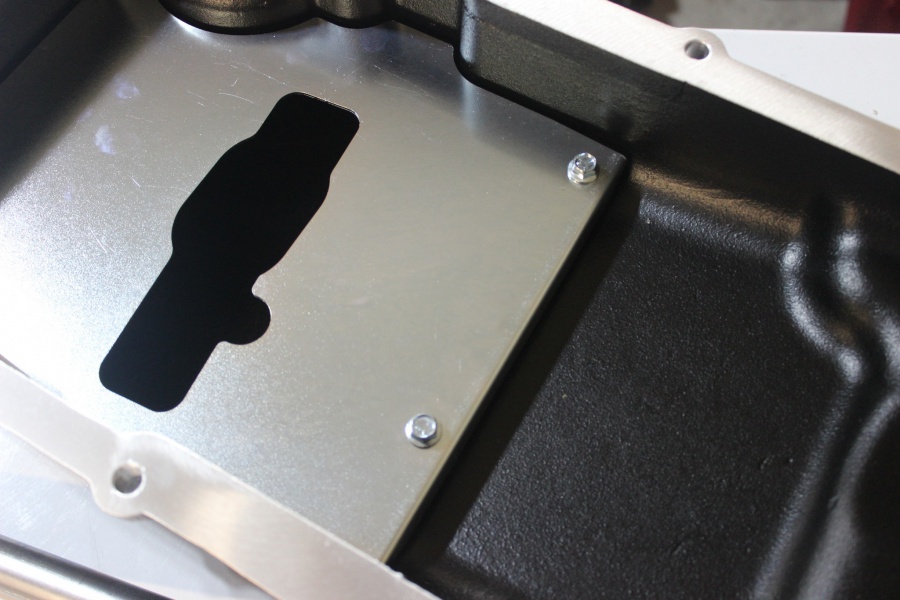
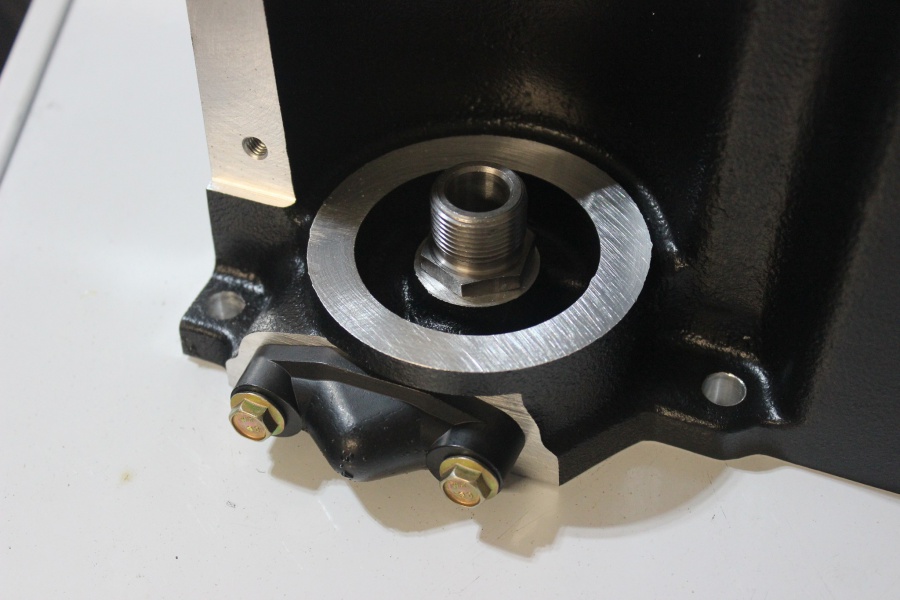
While Pro Touring Texas was tearing into the engine and inspecting the block, we ordered up parts to finish the engine off. To start we ordered a Holley 302-2 oil pan. This pan will give us much needed ground clearance along with tons of clearance at the front for the inner tie rods. Our old 302-1 pan worked great but the inner tie rods would hit the pan a little bit at full lock so now this issue is fixed for us.
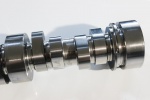
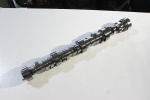
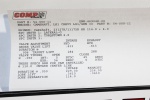
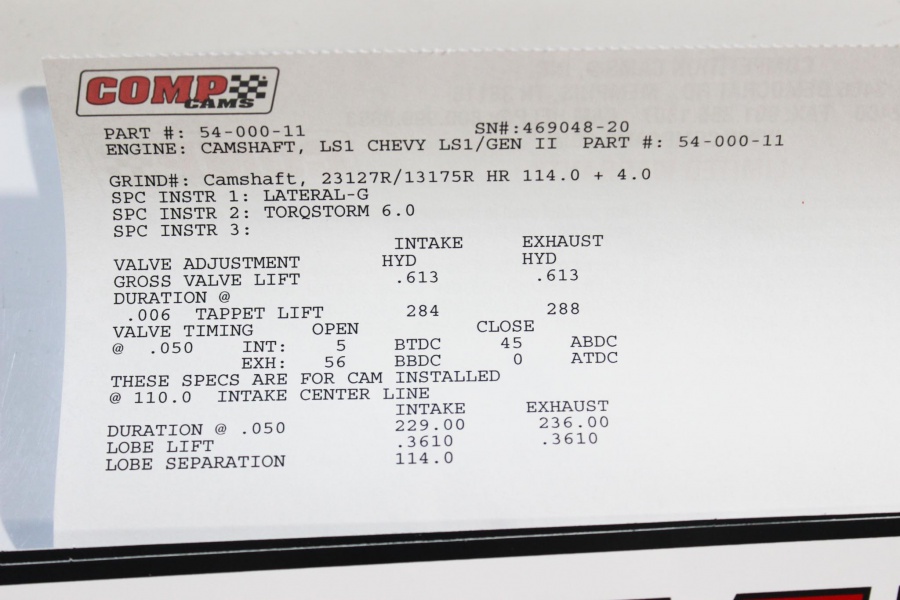
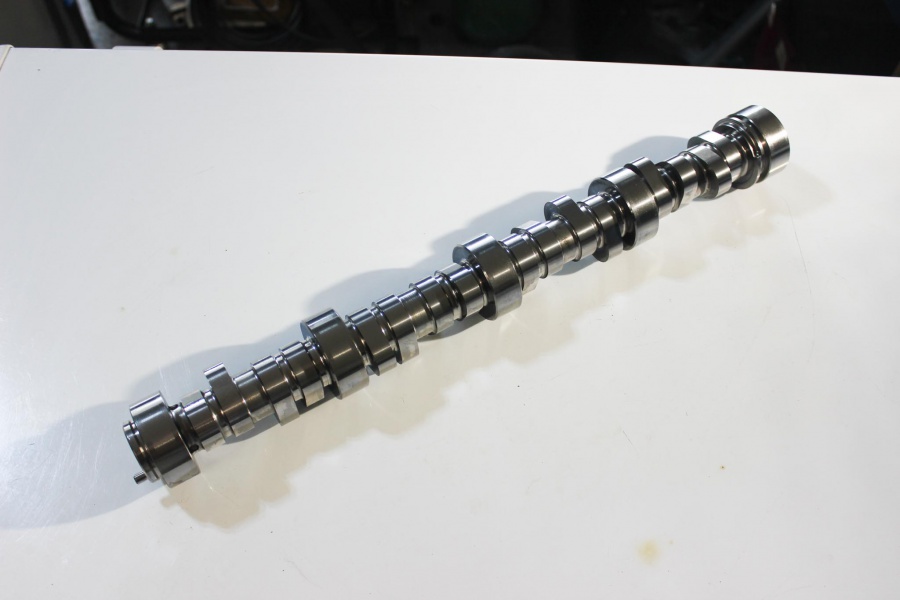
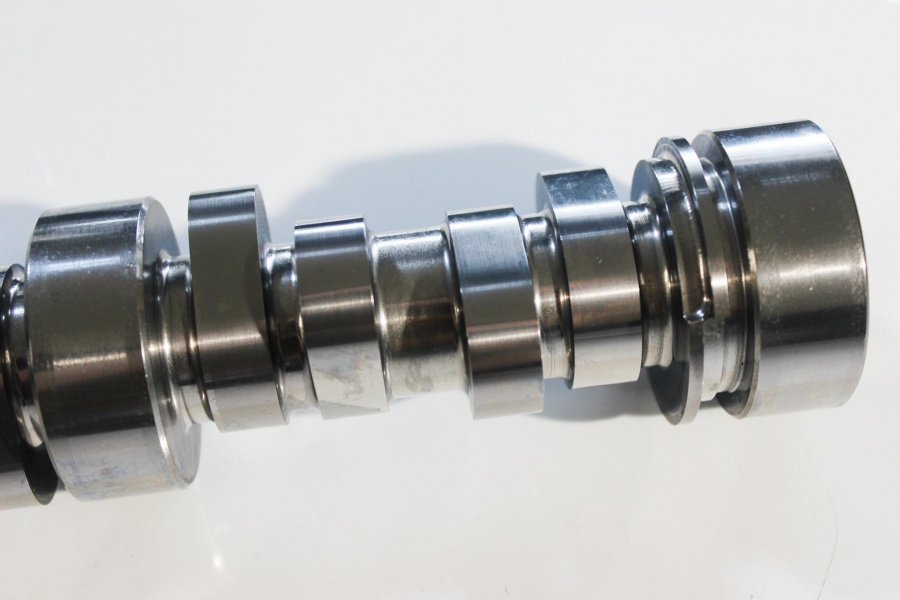
Then we gave a call over to Comp Cams for a slew of goodies to make this engine not only make lots of power but do it reliably mile after mile which is our goal with this car – to drive it till the wheels fall off. Let’s start with the heart of it all, the camshaft. For that we spoke with Chris Ryan, a master of camshafts. For this engine he had a custom ground camshaft that’s designed specifically for a centrifugal blower like the TorqStorm. The specs on this bump stick are here below:
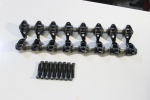
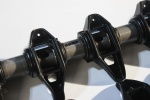
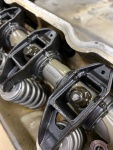
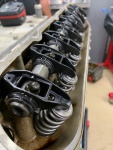
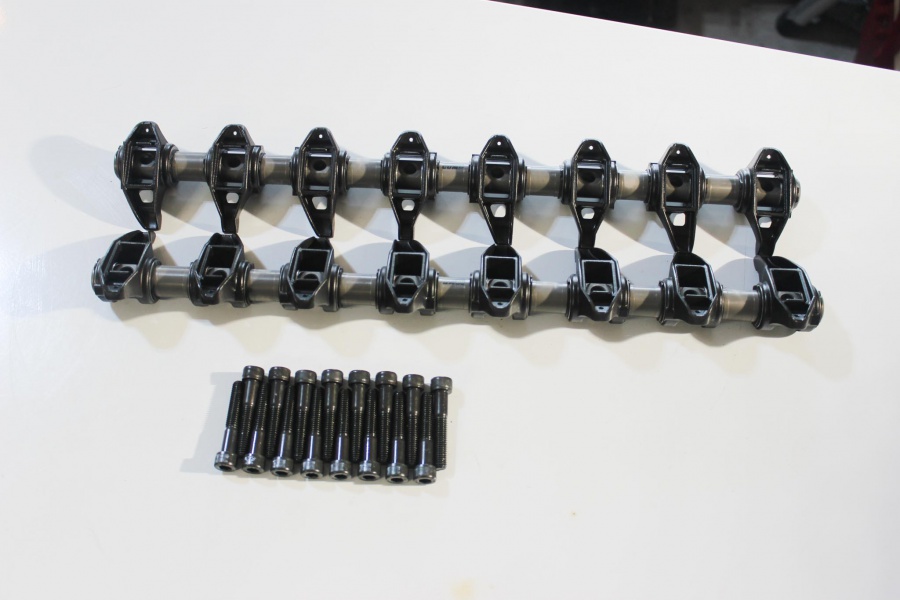
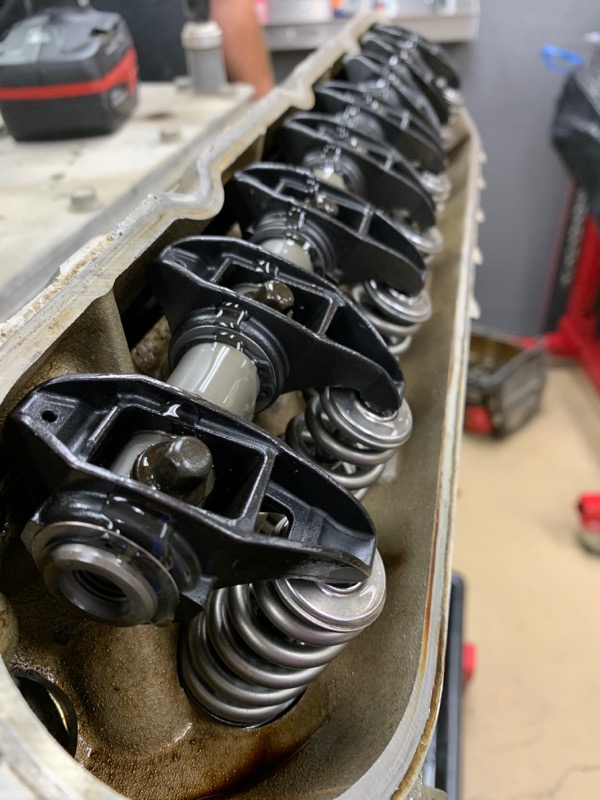
On the top end we ordered a set of Comp’s BSR Shaft Rockers. These utilize a tri-layer bushing instead of a needle bearing, one of the weak points on an LS engine. The shaft itself is nitrided for strength and threaded in case someone would want to oil feed the rockers through the shaft. For such a complex and trick part, the installation was a breeze! We literally took them out of the box and bolted them onto the heads. No pushing out old bearings and pressing in new ones.
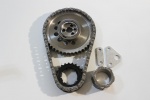
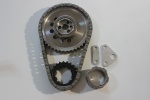
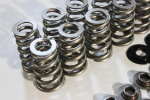
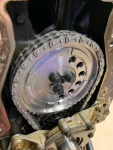
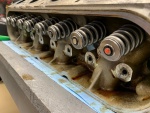
In order to ensure that the cam is always perfectly in sync we upgraded to a dual roller timing chain set for extra insurance. We also upgraded the valve springs to match the bigger lift cam and these included new valve seals – lucky for us they did as one valve seal was barely starting to leak.
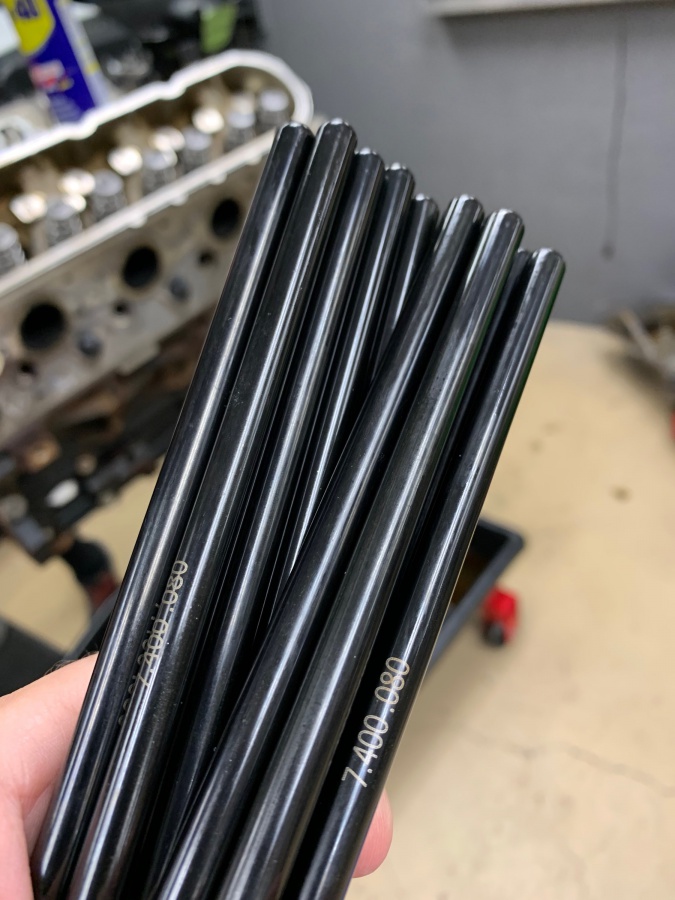
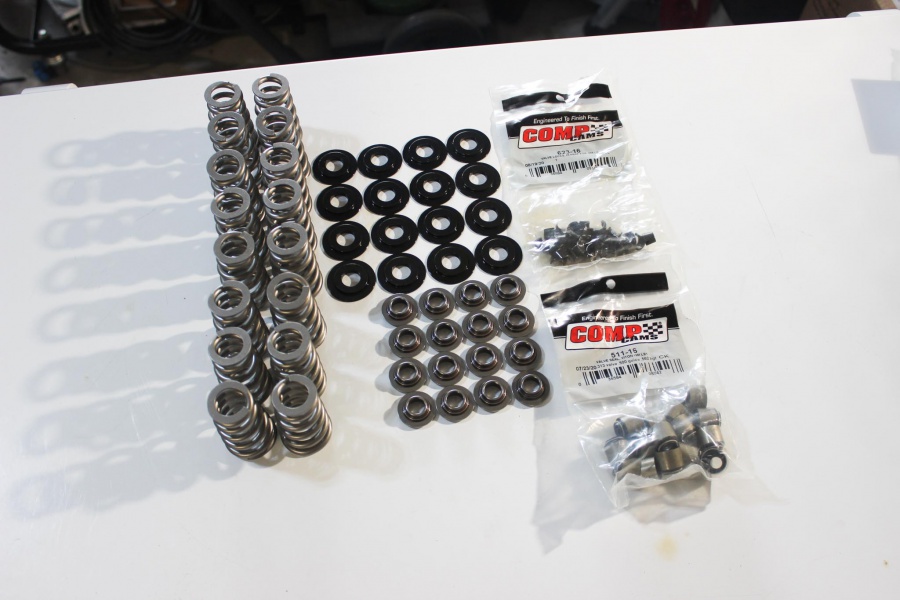
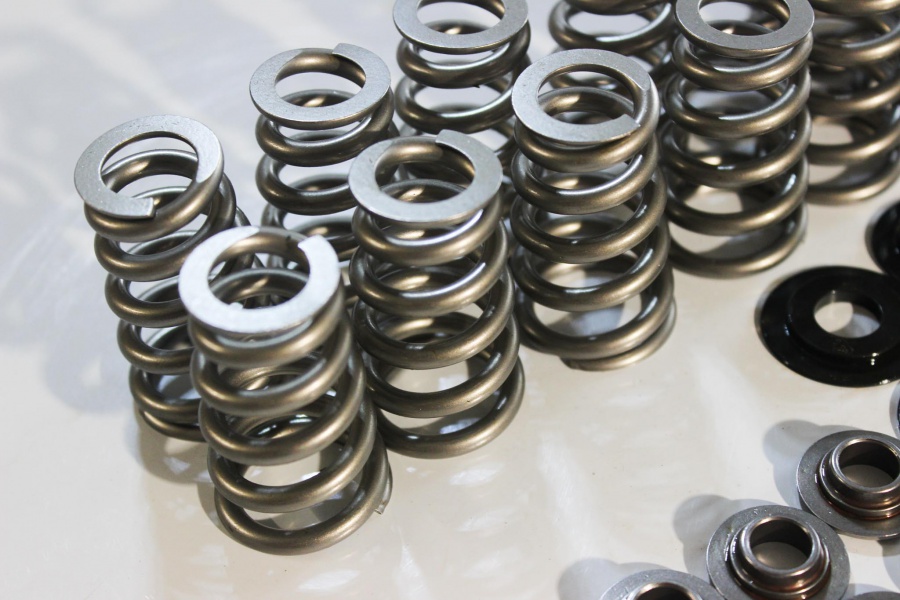
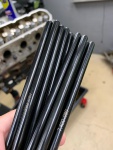
We reused the LS3’s lifters to delete the DOD lifters in this LY6 and then upgraded the push rods to a set of Comp Cam push rods for extra strength and durability. Lastly, we upgraded to a Comp Cams dual chain timing set. Again, extra strength in the name of reliability is our goal here.
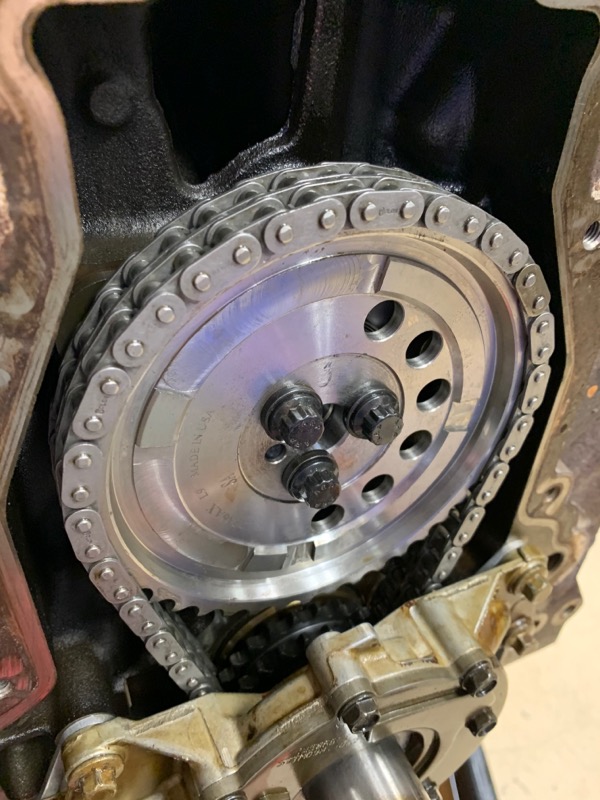
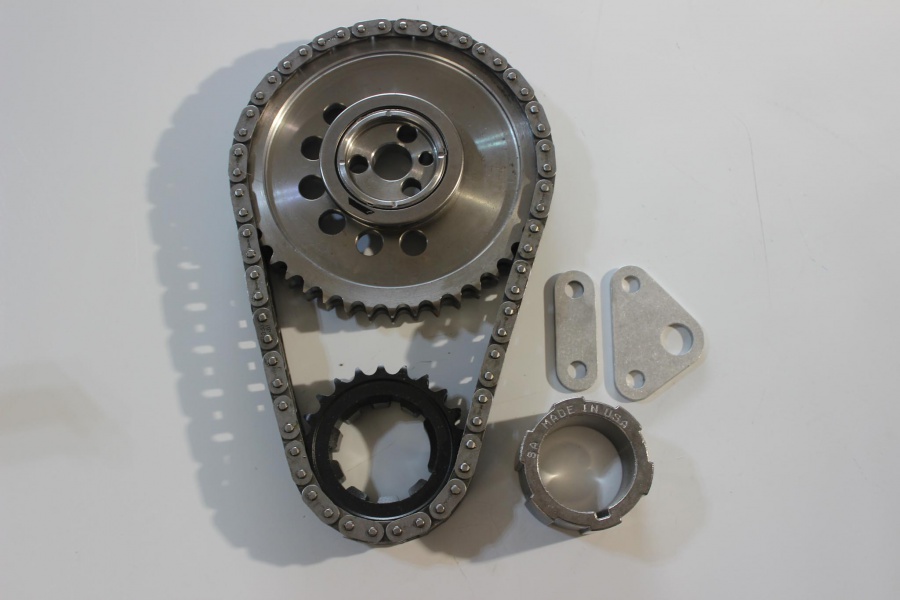
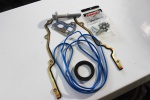
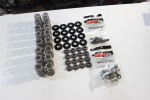
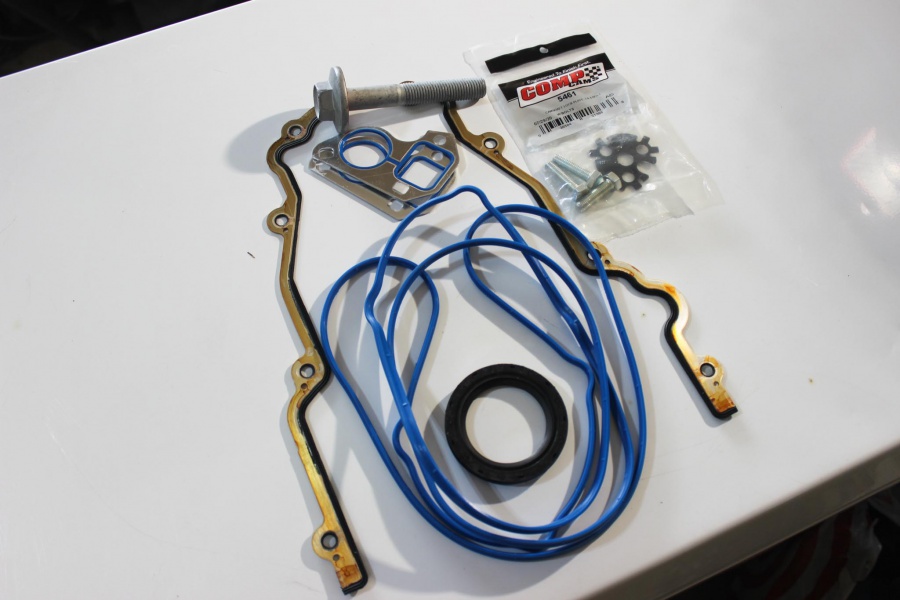
Another trick kit we picked up from Comp Cams is a camshaft swap kit. Basically this is all the seals you’ll need to replace the camshaft in the engine including the torq bolt for the crankshaft! It was nice having all new gaskets to install to ensure zero leaks and it’s one part number instead of a few different ones at the local auto parts store.
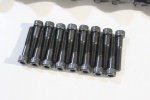
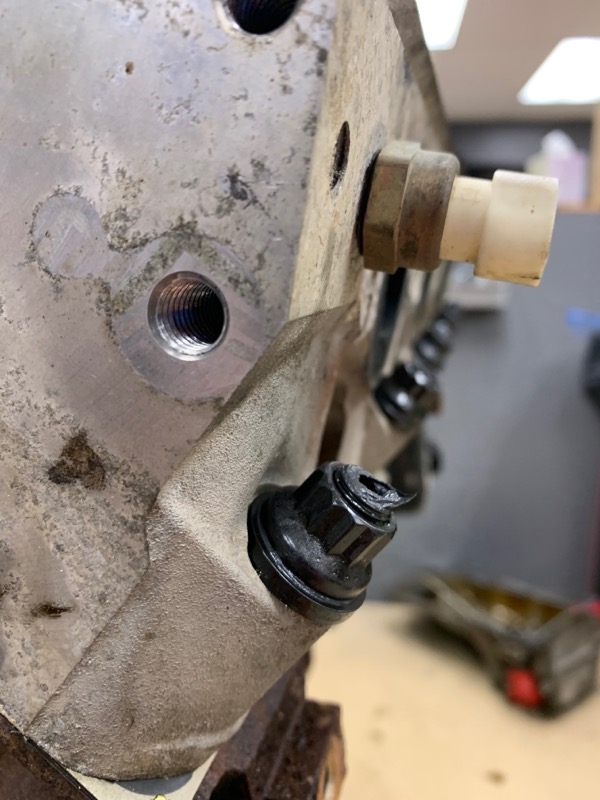
The last few upgrades we included were a set of ARP head studs and LS9 head gaskets. We could have used stock head bolts but with this engine seeing boost, we wanted the extra insurance for set of ARP Racing head studs offered. The installation of the head studs is pretty straight forward and a great way to ensure we won’t have any problems for thousands and thousands of miles.
The long block is now complete – time to get the rest of the parts needed to install this engine back together. Keep an eye out for the next segment on this engine build!
