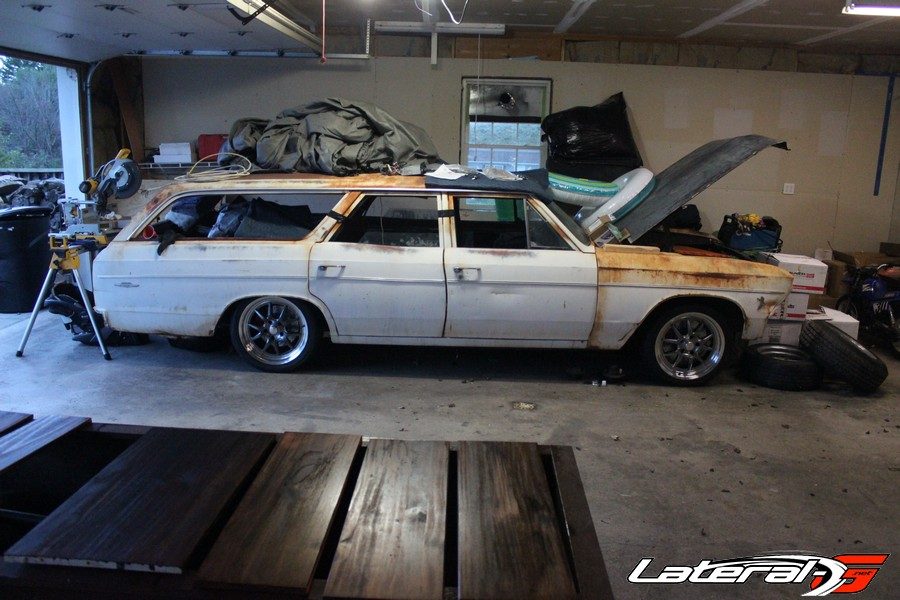
1966 Chevelle Wagon: Project Way-Gone
Back when we left off our first installment of our 1966 Chevelle Wagon build, we had just set the foundation. Our boxed El Camino frame was powder coated at Eddie Motorsports then outfitted with Chris Alston Chassisworks suspension and plumbed with Inline Tube. Then we installed a CPP steering box and Pro Forged steering components. Lastly we set an LS engine outfitted with some Hedman and Edelbrock goodies between the rails.
Rust Be Gone
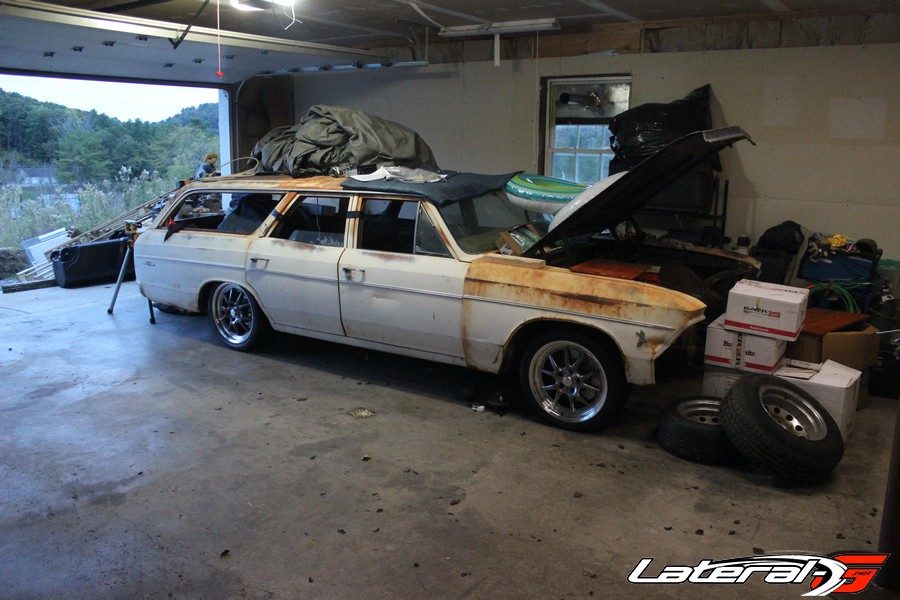
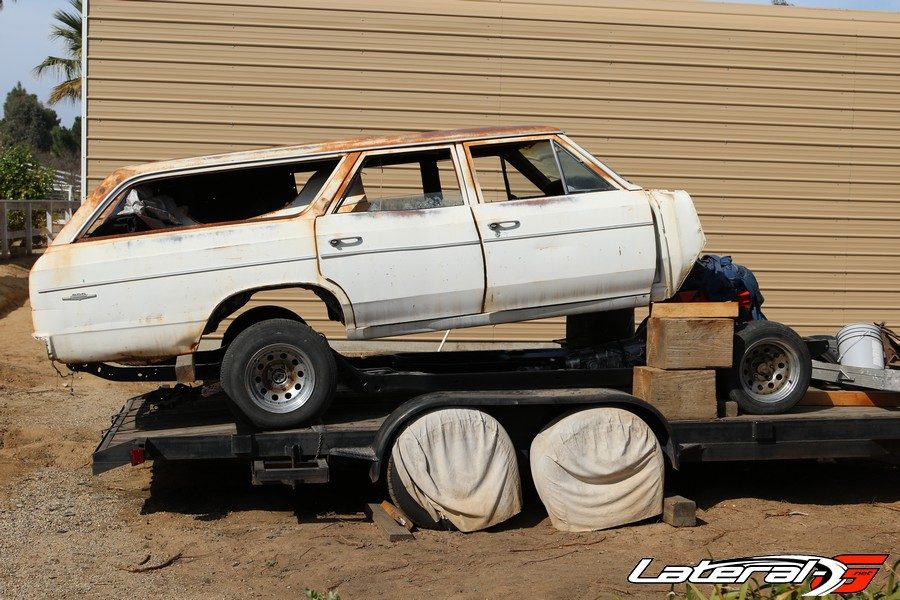
The next step was for us to get the body on the frame. Before we could do that, we had to prep the body a bit. This body sat in the dry arid California desert most of it’s life. Rust was minimal, but it’s not rust free.
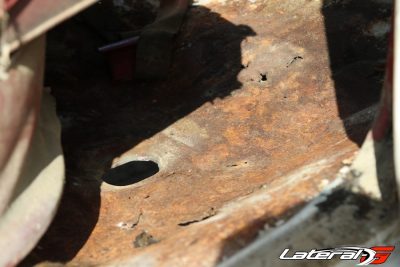


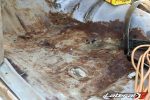
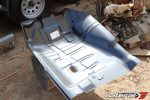
We started to wire wheel and clean up the underside when we found a few rust spots that had to be cleaned up before painting. Upon further inspection, we were going to have to replace the drivers front floor pan, along with the passenger rear floor pan. We hopped on Summit Racing and the next day we had both the floor pans in our hands.
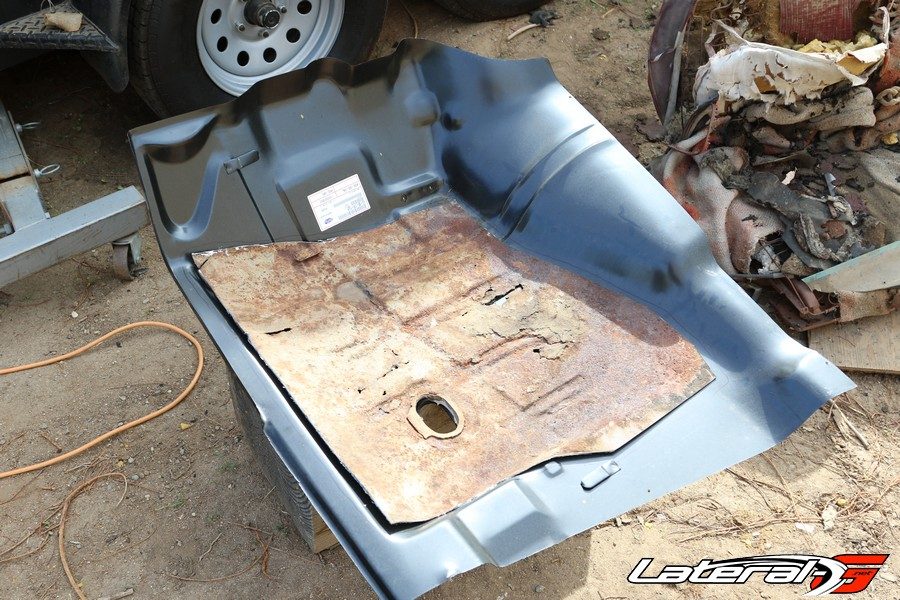

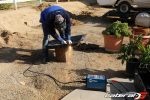
Grabbing our Spectrum 625 X-TREME plasma cutter, we were able to cut out the old pans within a few minutes. We took the rusty pieces and used them as a template for cutting out the patch panels from the new floor pans. Grabbing our handy grinder, we spent some time grinding and cleaning up all the edges.
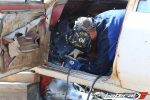
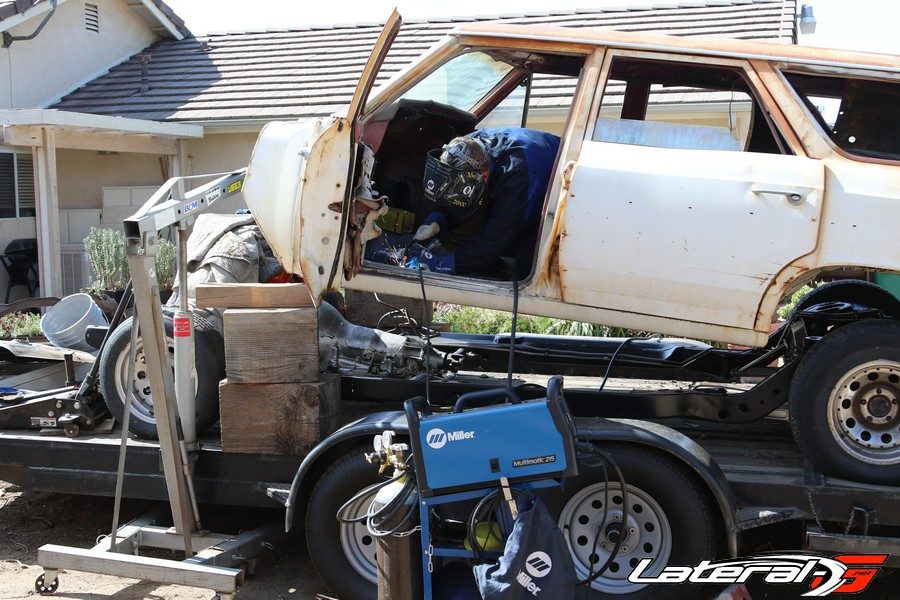
Our next step was to grab our Miller Multimatic 215 welder. While we were doing this work, the body was on a trailer in the backyard. With the flexibility of the Multimatic, moving the welder to be near the car was cake – we were happy for that! The whole unit is less than 50 lbs so moving it from the front of the garage to where the car was at was an easy process. While this machine can do Stick, MIG and TIG, we opted for some nice MIG welds for this sheet metal replacement. After laying down the welds to secure the patches in place, we sealed all the seams and painted everything to protect it – the floors were good as new!
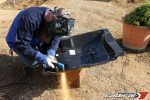
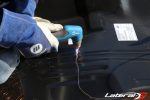
On the underside of the body we used truck bed liner from a spray paint can. We hadn’t used it before from a spray paint can, and it worked okay. It’s nowhere near as thick as a professional set up, but we just needed it all painted black and figured the extra thickness would help protect and keep things a hair quieter.
Our last step was to put the body on the frame. We used a set of polyurethane body bushings for an improved ride and longer lasting than the factory bushings.
Put A Stop To It!
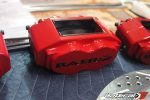
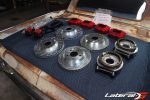
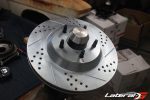
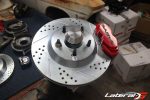
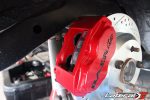
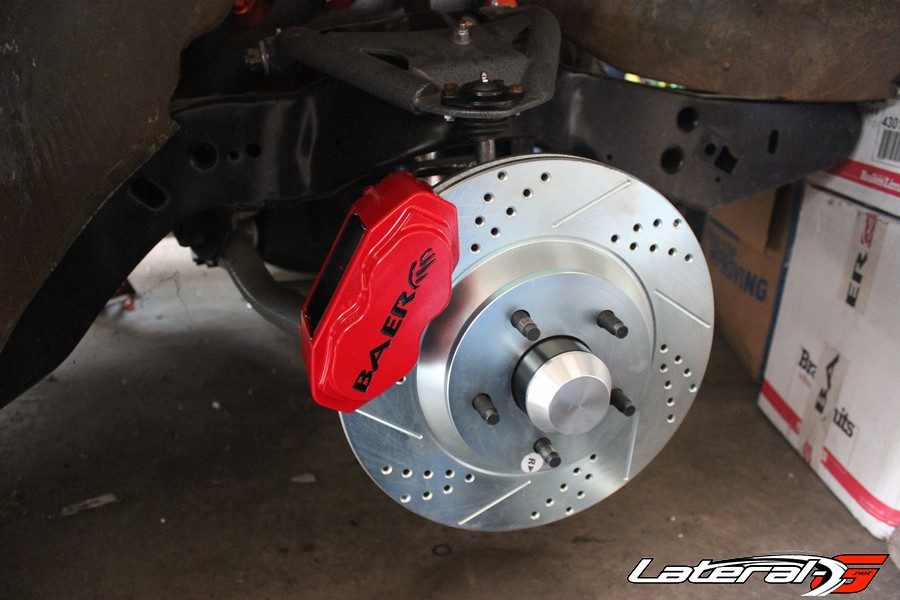
With the body on the frame and the Chris Alston suspension installed, the time came to make this car a roller. Going with our budget quality build theme, we called up Baer brakes for a set of disc brakes for the car. We told them the plans with the car of being a cruiser with light autocross duty, but staying budget friendly too.

“I would suggest our SS4 caliper set up. These are still a four piston billet aluminum caliper matched with a 13″ rotor up front and 11″ in the rear. They are a budget friendly brake package and still work with most cast 17-inch wheels,” stated Rick Elam of Baer. We are utilizing the stock drum brake spindle and a factory 10-bolt rear so these brakes will work great for us.


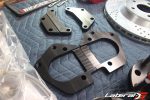
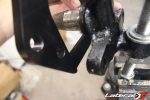
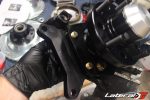
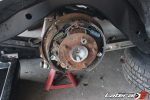
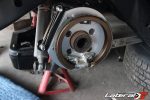
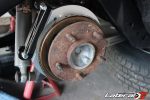
Installation was really straight forward as you’d expect. We started in the front by stripping the factory spindles of the drum brakes and steering arms. After a quick scrub and paint job, the time came for installation. The first step was to reinstall the steering arms with a provided caliper bracket and bolts. “These caliper brackets are designed to work with either drum or disc spindles,” continued Elam.
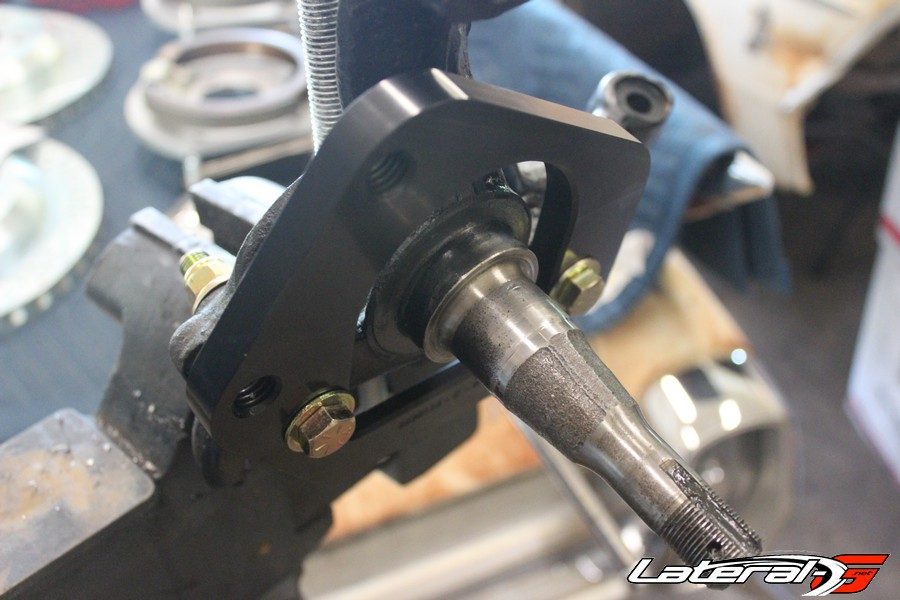

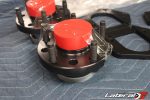
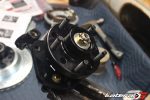
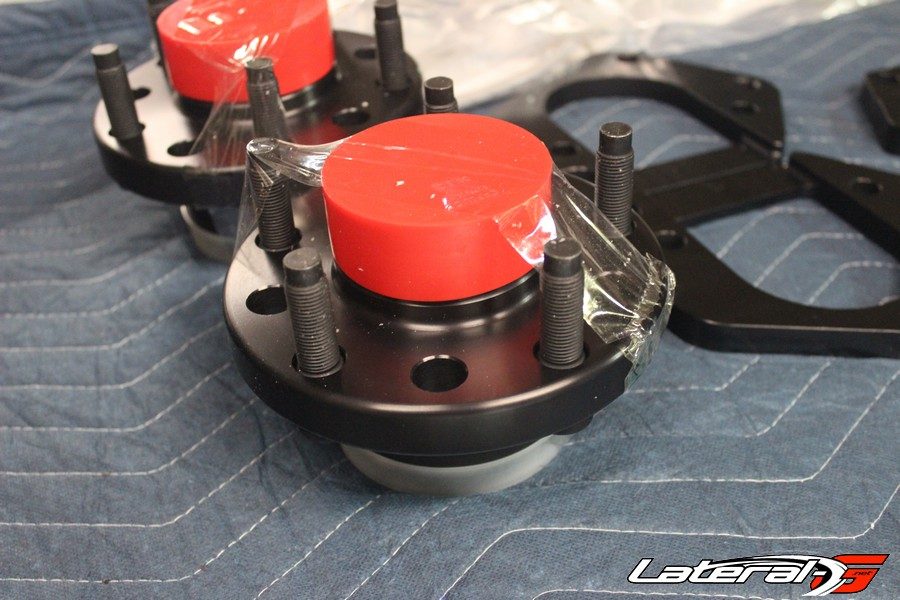
The next step was to use the new Baer hub assembly. These are outfitted with 1/2″ studs as the factory studs are 7/16″ which adds a level of strength and safety. The hubs come with the bearings pre-greased and sitting inside. All we had to do was pop off the protective caps and slide the whole assembly on the spindle. Per the Baer instructions, we snugged down the hub and spun it to seat the bearings then backed off the castle nut, set the tension then installed the dust cap.
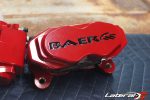
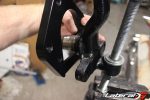
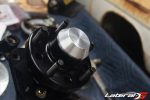
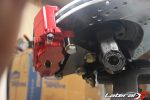
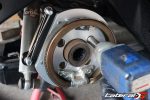
Grabbing the caliper bracket, we bolted it to the spindle bracket using the provided bolts. From here we took the directional rotors and slid it onto the hub and used a few nuts to tighten it down and hold it in place. The next part is crucial where we installed the caliper and a set of dial calipers.
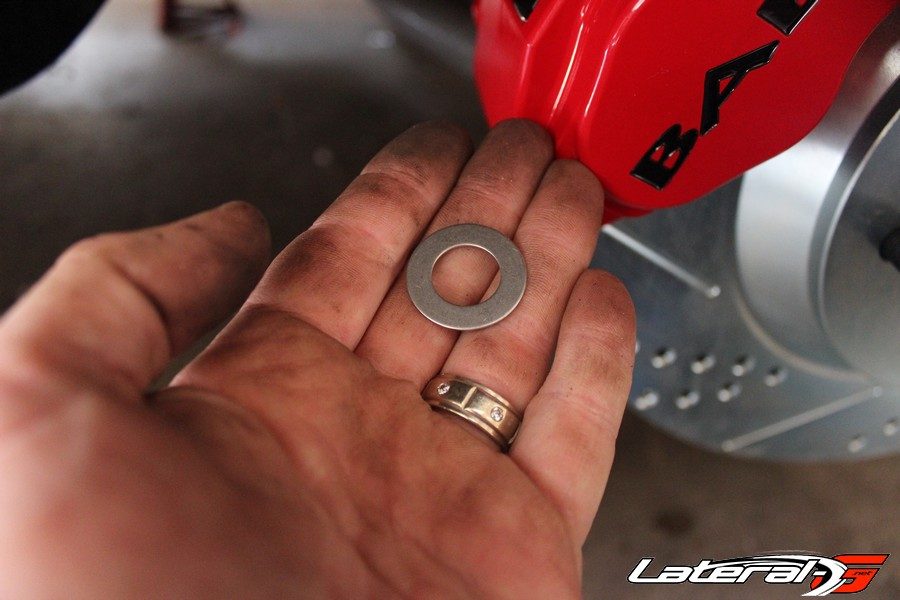
In order to get a squeak free and the best performance, you have to properly shim the caliper to the middle of the rotor. Due to small manufacturing defects in the factory spindles this is a necessary step but an easy one. After measuring and shimming we had the caliper smack dab in the middle of the rotor. Our last step was install the brake hoses and lines on to each front caliper.
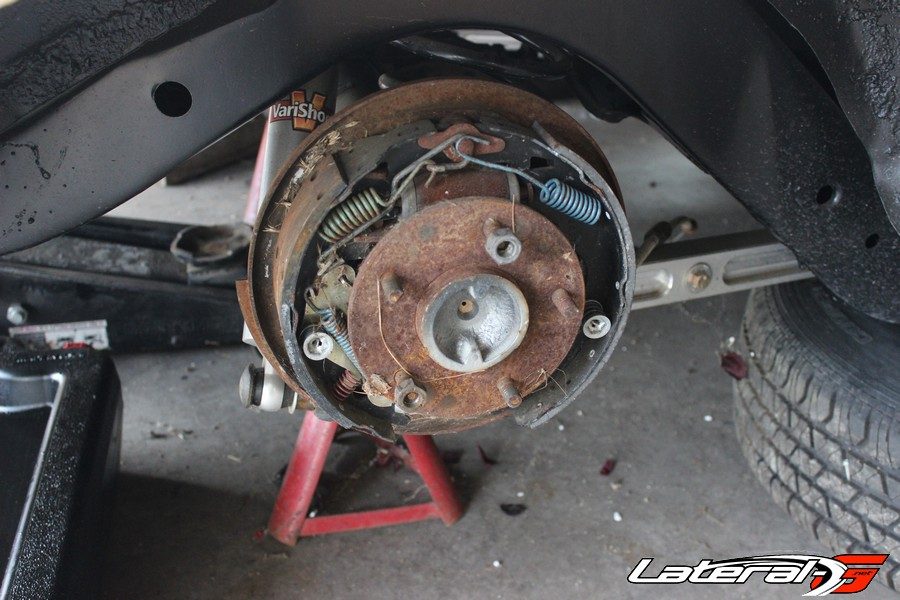
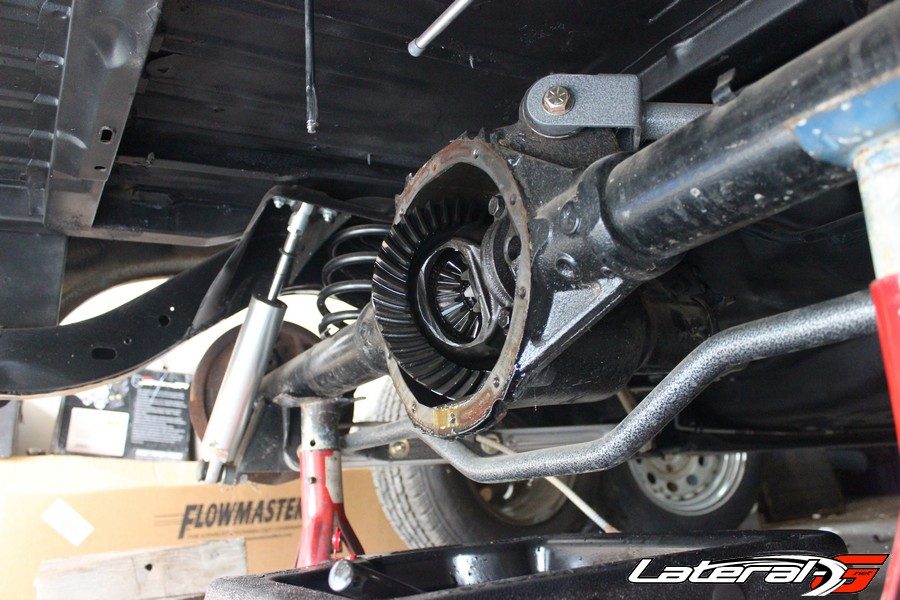
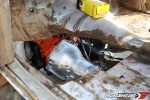
The rear brakes are just about as easy to install as the fronts. In order to install the rears, we had to pop the out the axles. This involves taking the differential cover off, removing the the c-clips and allowing the axles to be removed from the housing.
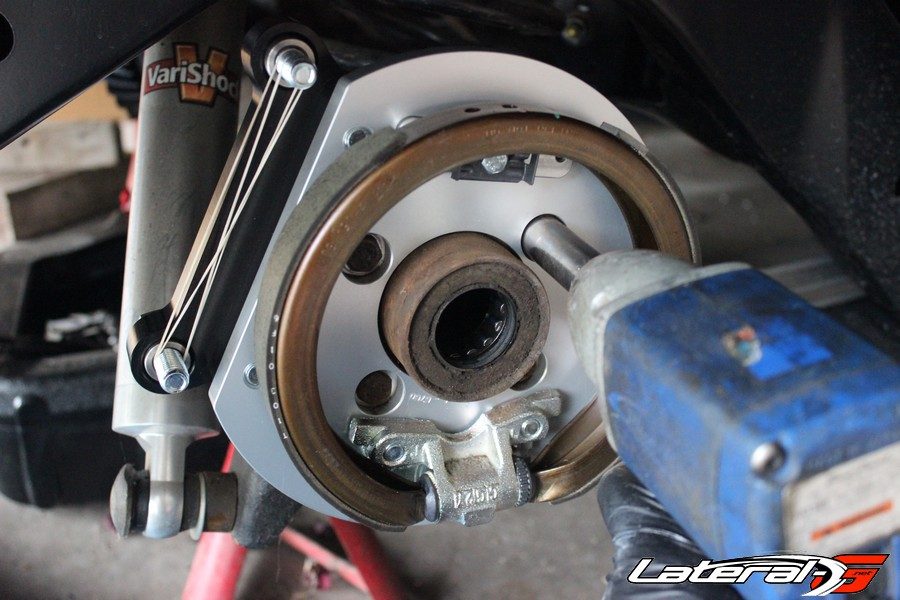
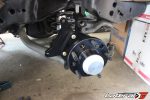
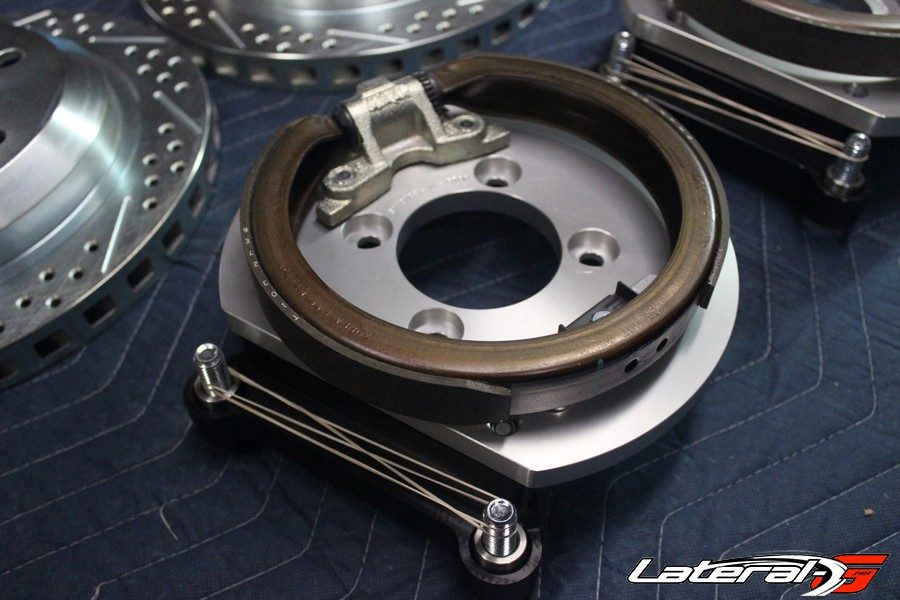
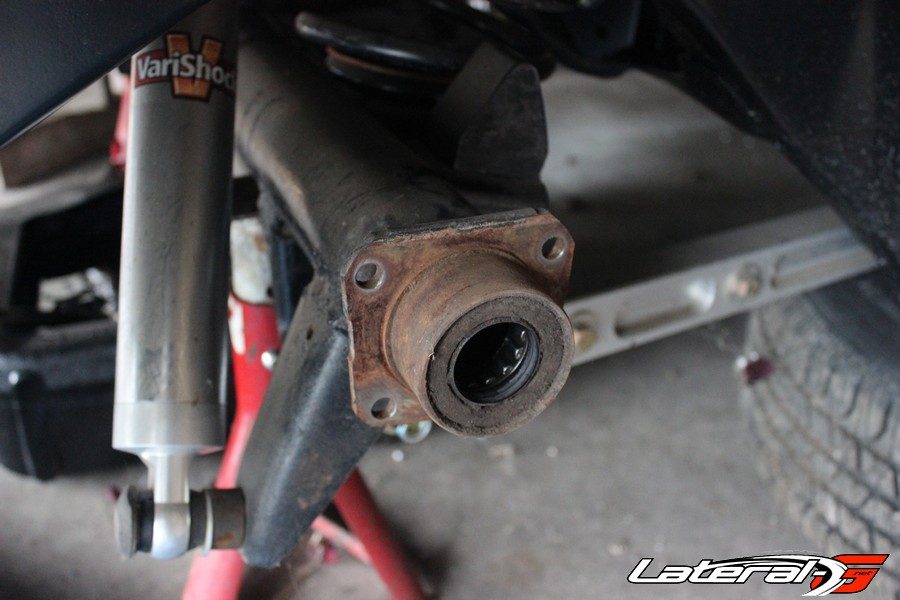
With the axles out of the way, we took the four bolts off the held the factory drum brakes to the axle housing. Reusing those bolts, we installed the new bracket to the housing. This is a bracket, backing plate and emergency brake all in one – pretty darn slick. With both of these installed, we reassembled the axles and topped off the fluid.
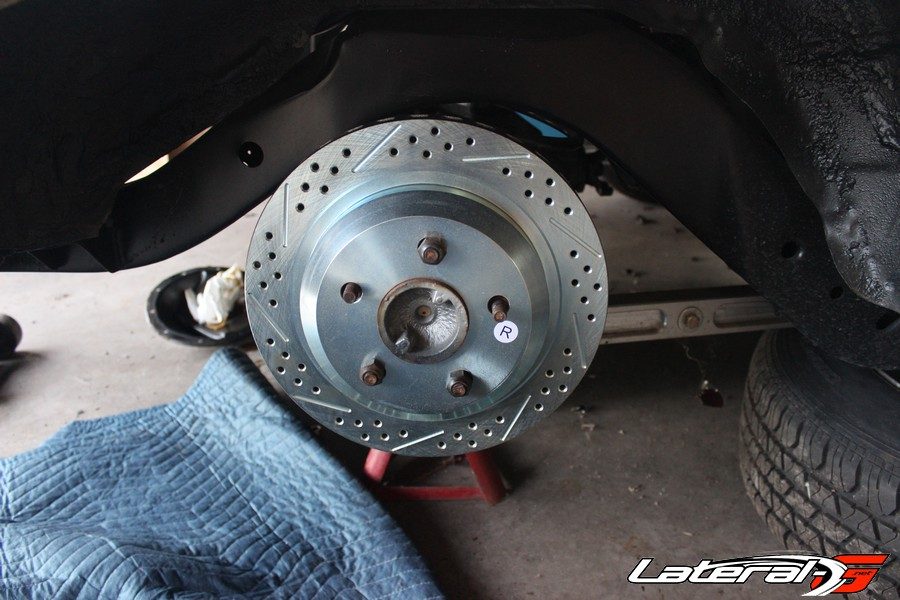
Our next step was to slide the rotors onto the axles and use a few nuts to hold them in place. The rears we double checked to make sure the caliper landed close to the middle of the rotor. “These rears utilize our verislide brackets that allow the caliper to float and avoid piston knock-back when using C-Clips,” stated Elam. Our last step was to install the rear brake lines.

We also grabbed a Baer ReMaster cylinder, but didn’t install it. We have to order up a booster and finish running the lines up there in order to be able to bleed the brakes.
Rolling Along
With the brakes finished up, it was time to throw a set of wheels and tires on the car. With the big Baer brakes we couldn’t use a factory 14″ or even a 15″ rim. Plus we wanted something that was a bit more modern looking but still cost effective.
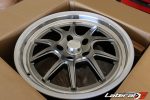
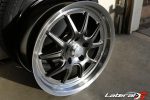
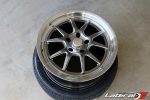
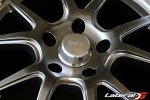
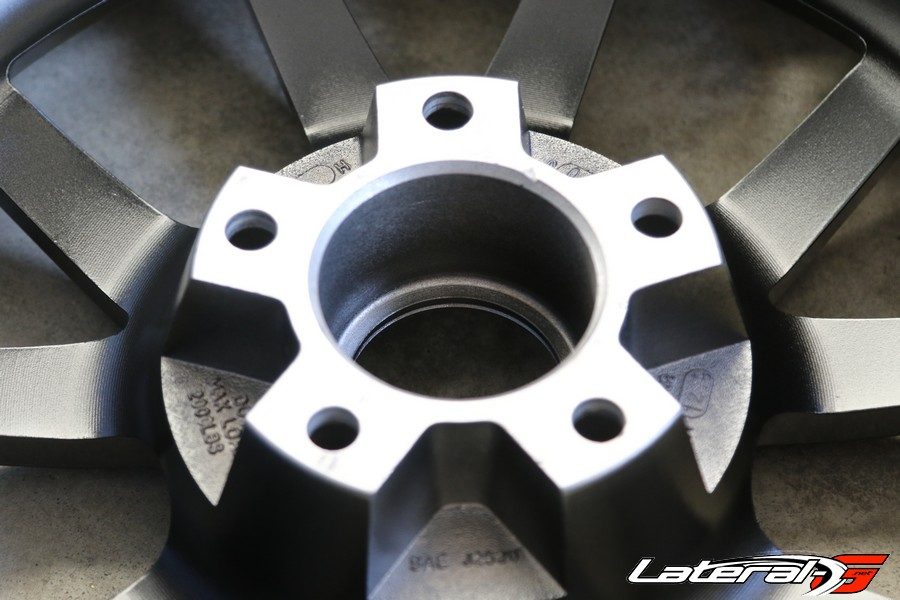
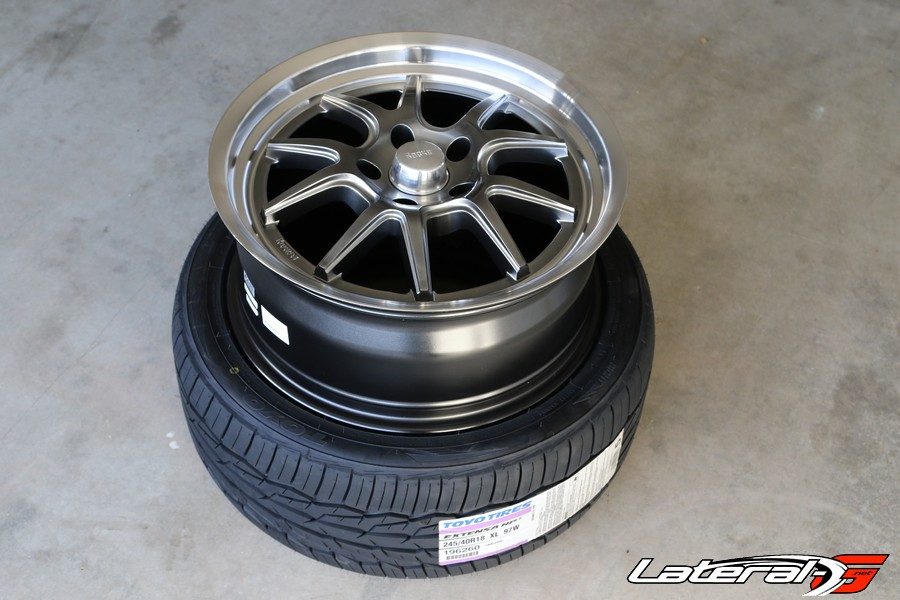
We reached out to Rocket Racing Wheels to handle that task. While the have a plethora of wheel choices including some nostalgic five-spoke wheels we had our eyes on, they had a different suggestion. “Take a look at our new Rocket Attack, track and touring series wheel,” stated President David Coker. “These feature our flow-form, semi-formed technology,” continued Coker.
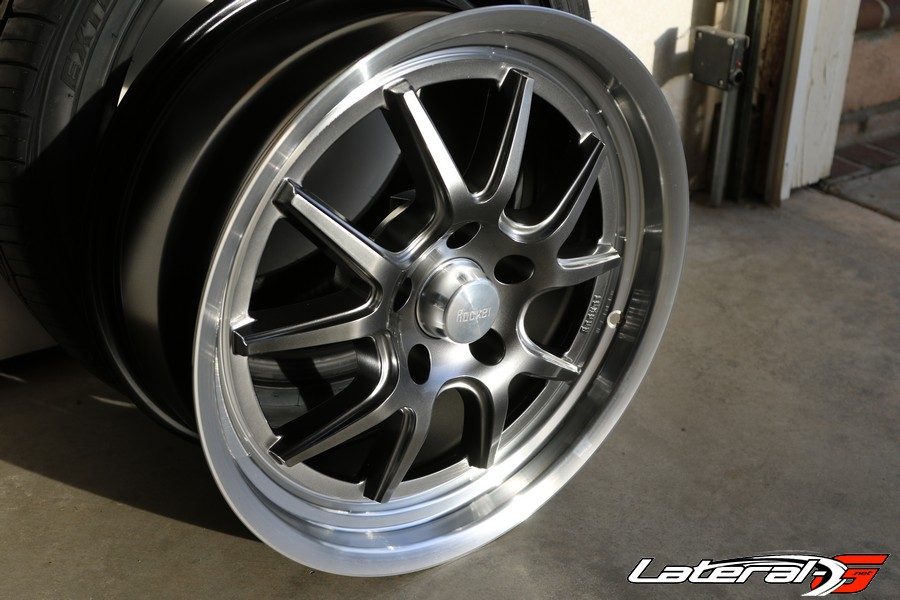
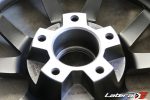
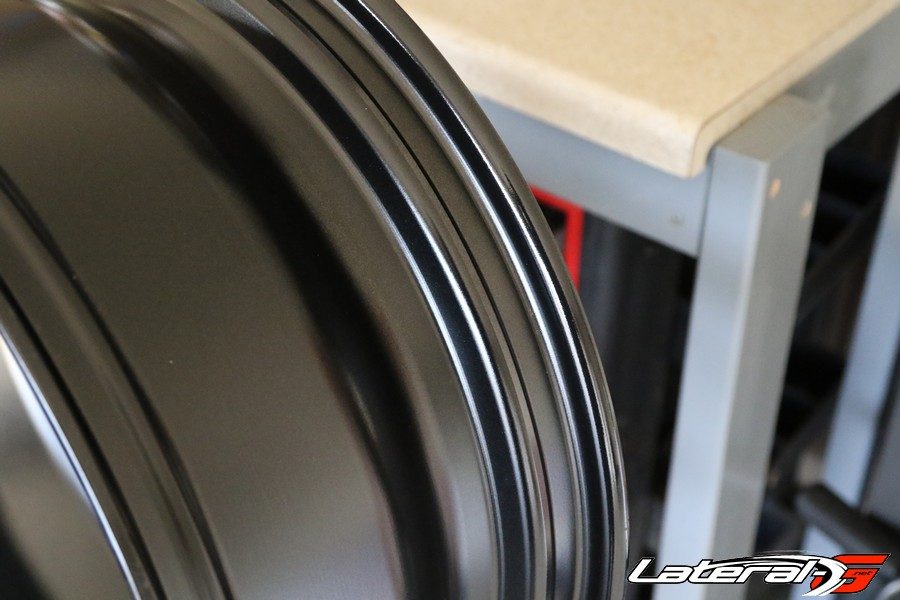
Our first question was what’s flow form? Coker explained it for us by saying that “flow-form is a hybrid between a cast and a fully forged wheel. In essence we cast the wheel, but spin the center at high speed and stretch out the barrel part of the wheel.” What this does is create a very strong wheel similar to a fully forged wheel, but remains one piece and lower in cost similar to a cast wheel. The best of both worlds!
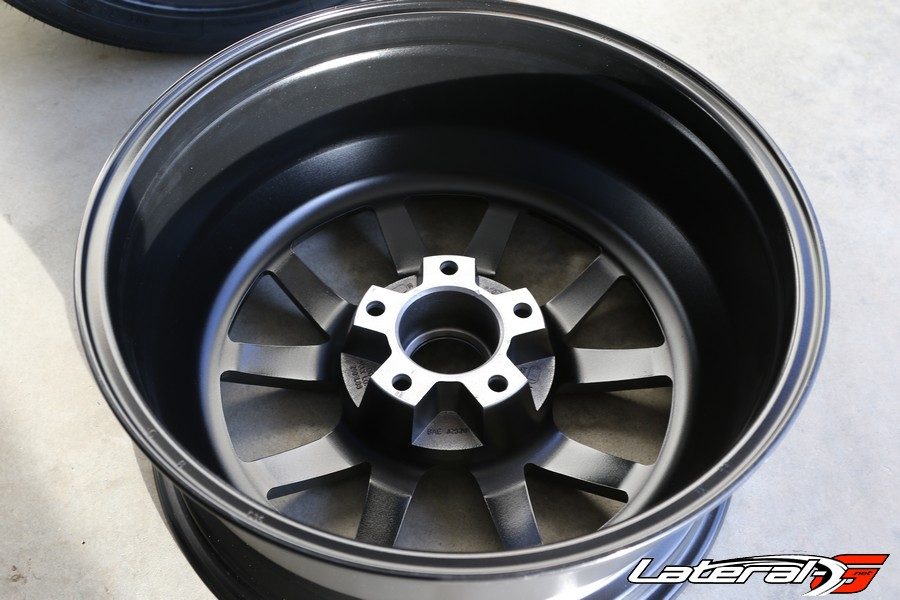

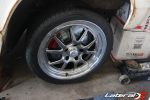
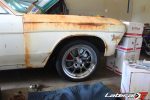
We liked the look of the wheel, and liked the price even better. A perfect combination for our quality budget build. Our wagon allows for bigger wheels but we went with a 18×8″ wheel with a 5″ backspace at all four corners. We know that this car could easily accept a wider wheel in the rear and front but we want to be able to rotate the wheels front to back to get the max tire life. Another concern is that we didn’t want to have any issues with rubbing when turning.
Where The Rubber Meets The Road
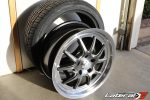
The last step to make this car a roller was to get a set of rubber to wrap around our Rocket Racing Wheels. We need a tire that’s performance orientated but will last. There’s plenty of performance tires out there that stick like glue on the course, but then you give up longevity.
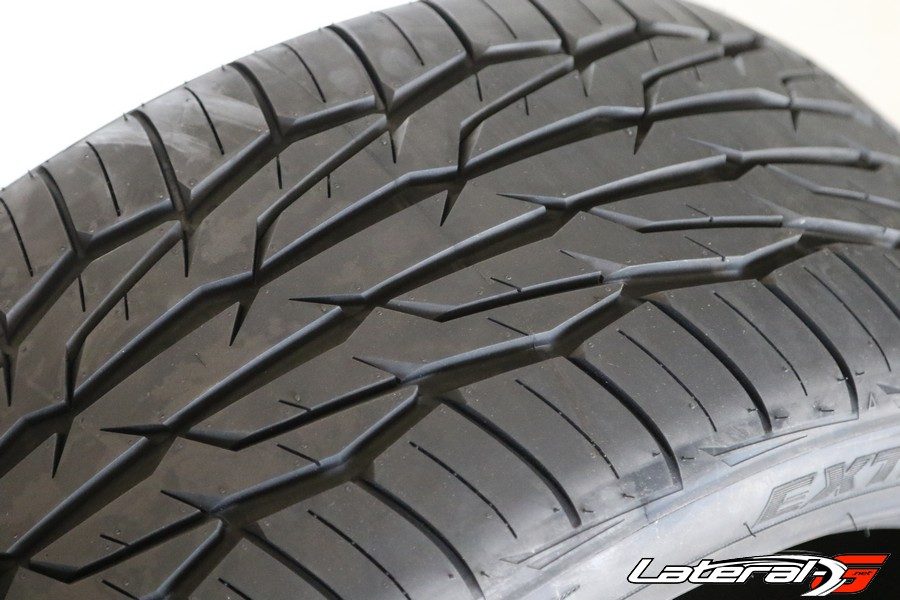
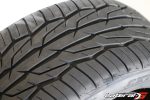
Toyo Tires was up to the task and has a great tire for us. “I’d recommend the new Extensa HP II,” states Jay Jones. Looking them up we saw an aggressive looking tire tread, but a 45,000 mile warranty which shows they are made to handle but offer the longevity we are looking for. “These tires are an all season performance car tire. These are perfect for a classic muscle car or modern muscle cars as well. With a 500 treadwear rating they will give you a long life as well.
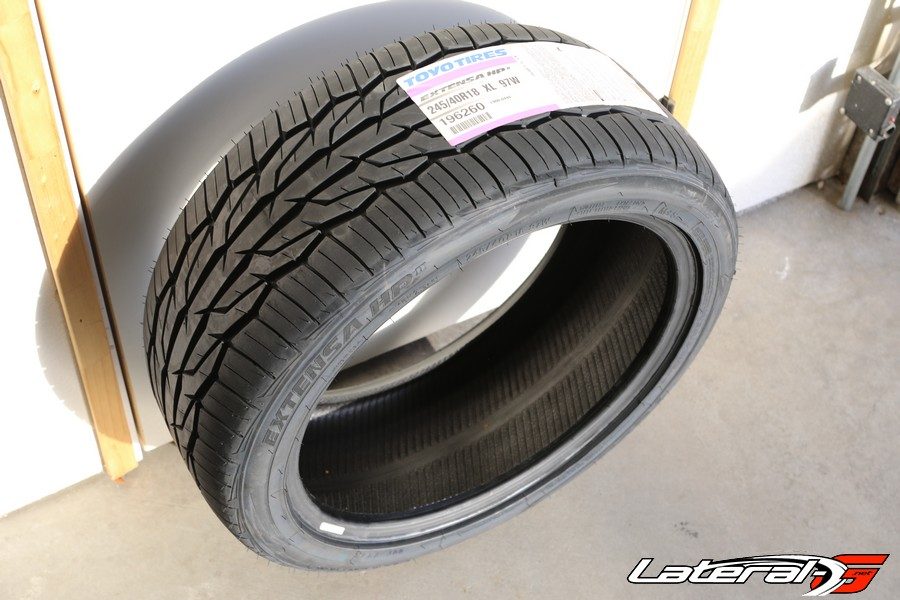
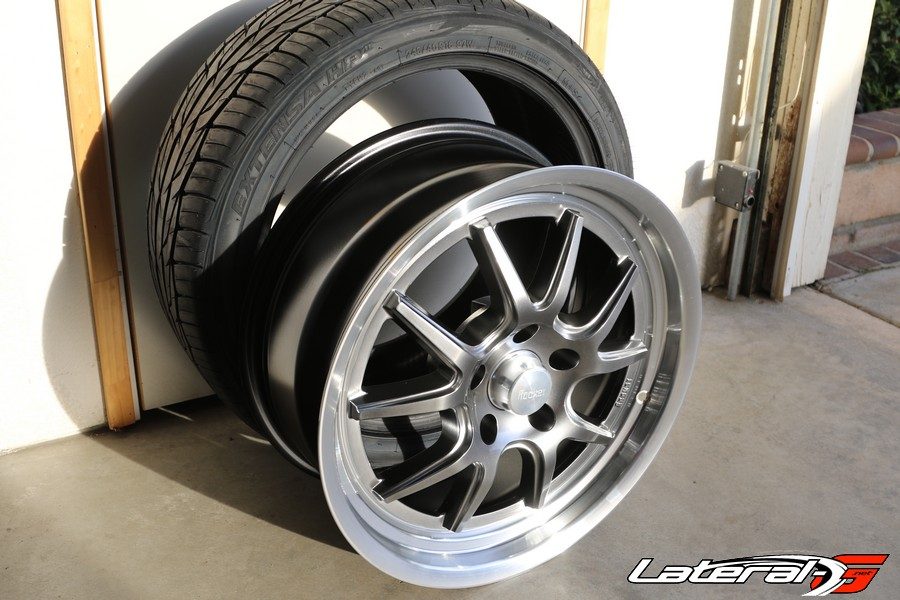
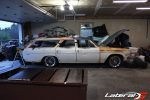
We chose a 245/40 size tire. Again a conservative size that will allow us to rotate them around. With the wheels and tires in hand, we had them mounted and balanced. The last step is to throw the wheels on the car and see how it looks!