Hear The Horses Run With Holley Performance!
After months of hard work, the time had come to make the push to get the LS engine in our 1966 Chevelle wagon fired up. When we bought this car, it was just the shell and that’s it. Getting to hear it fire up for the first time would be a huge milestone for the car and a big motivation push for us. Luckily, Holley Performance had all the goods to make this happen.
Up to this point, the engine was in the car and the only thing lacking to hear it run was the fuel system along with an engine harness to connect all the systems and make it run. We already had the hard lines plumbed from Inline Tube, but that’s it.
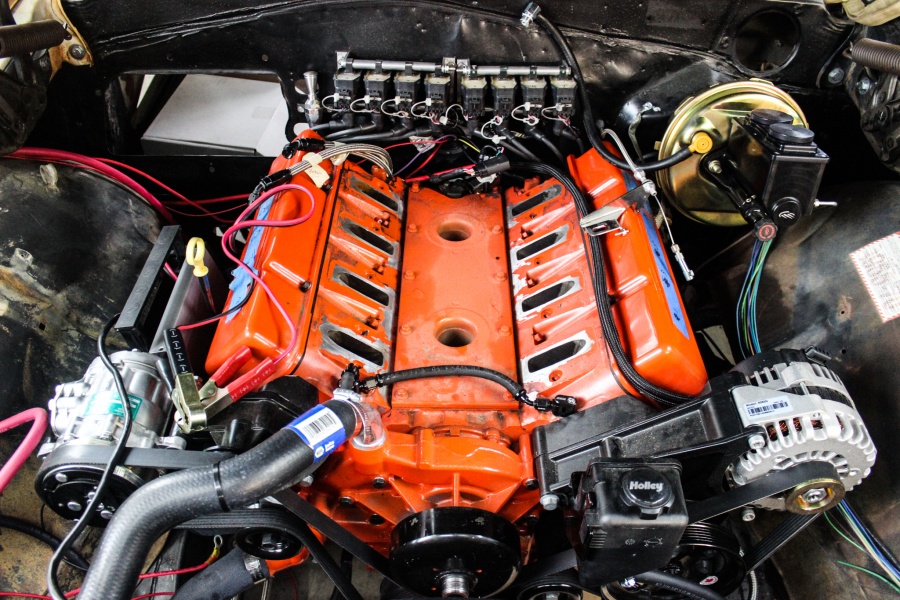
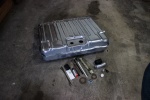
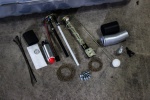
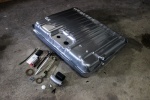
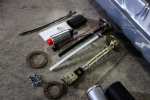
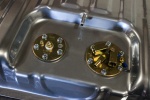
We hopped on Holley’s website and made a list of everything we needed to get fuel into the engine and hear it run. Starting from the back, we picked up a new fuel tank that’s made for EFI with a sump inside the tank and a spot to mount a high pressure fuel pump. Naturally, we ordered up a fuel pump from Holley along with the sending unit to make it all work.
On the engine side, we ordered an intake, fuel rails and injectors, throttle body, fuel pressure regulator along with a slew of Earl’s Fittings to plumb it all up. The last thing we ordered was a new Terminator X computer and wiring harness to get everything running.
Gassing Up
Just as we started our list, we started our installation the same way. There’s more than one way to skin a cat, and there’s more than one way to plumb a fuel system. Since this car will have EFI, we needed a high pressure fuel set up. When plumbing up a system you can run a pump in-tank, in-line or do a sump set up. Now, we feel that the best way for our set up is in-tank.
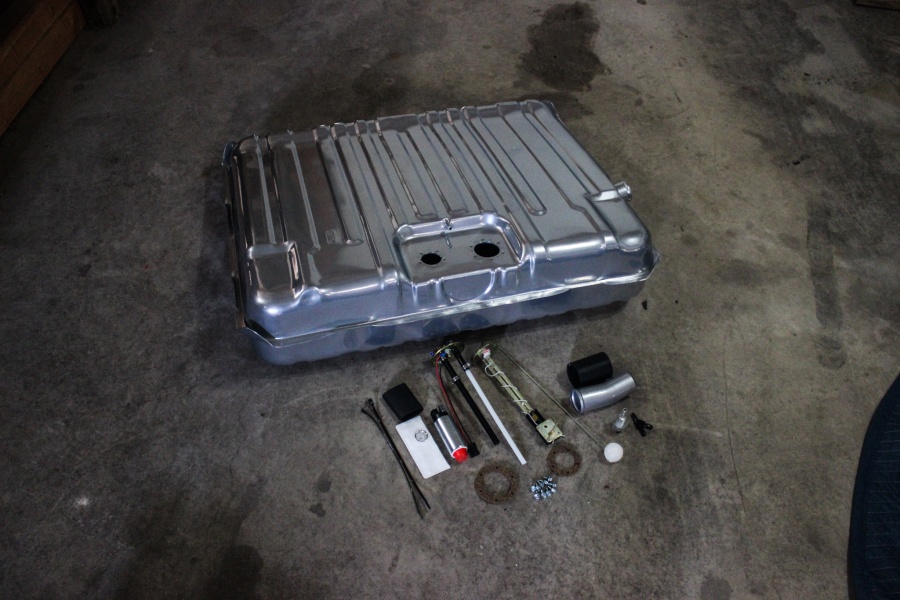
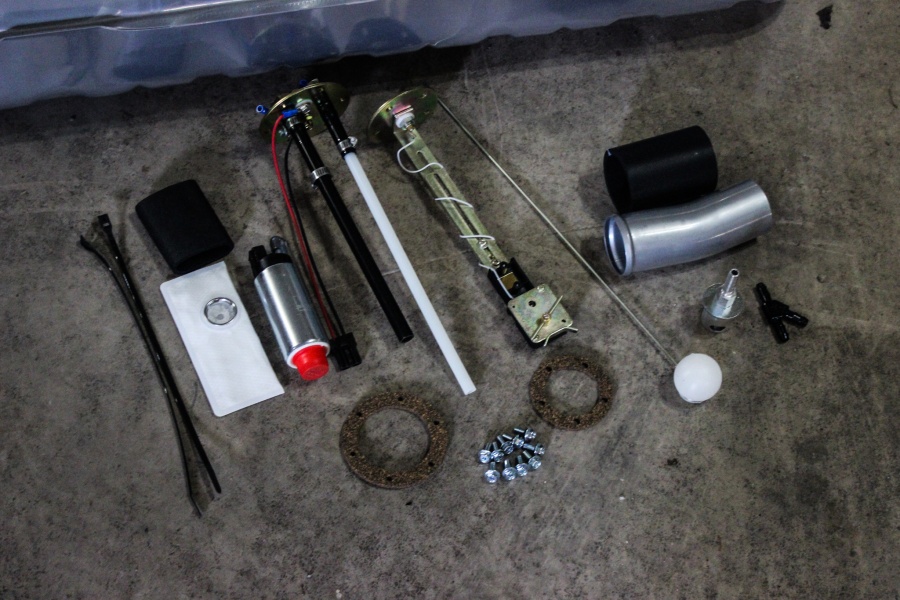
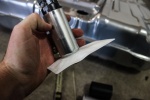
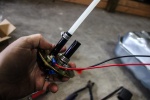
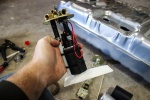
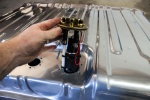
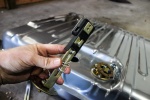
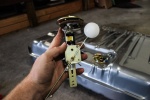
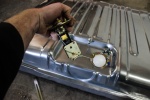
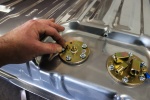
This tank with Holley has the provision for an in-tank pump, along with a sump to keep fuel feeding the pump even under cornering. We started our installation by installing the pump, along with the sending unit. These are pretty straight forward, but the sending unit did need to be trimmed to fit the tank – an easy task by following the instructions.
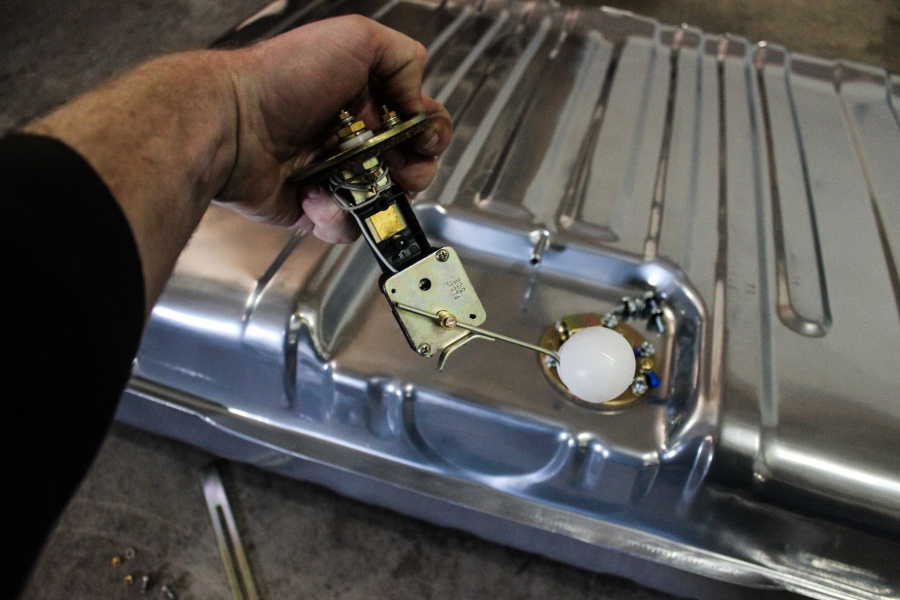
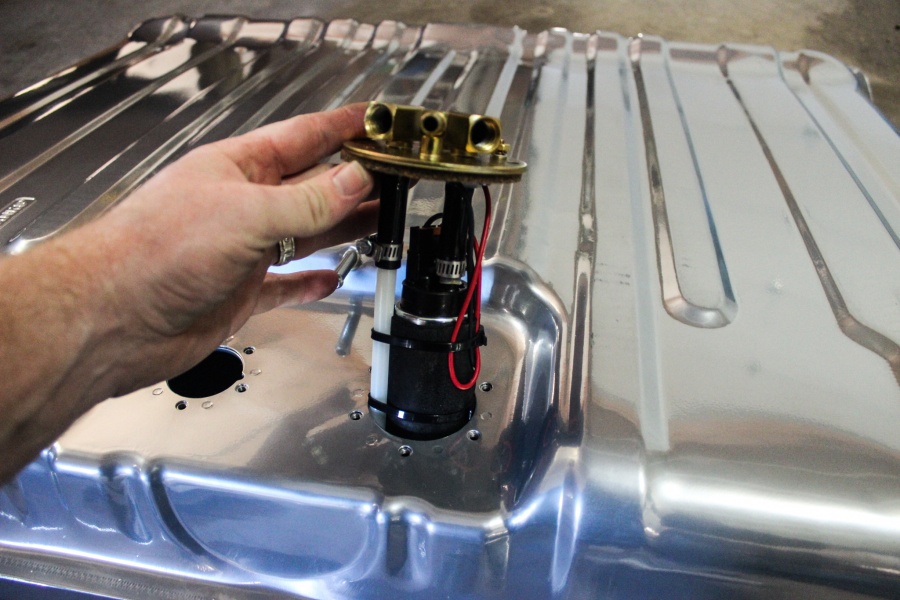
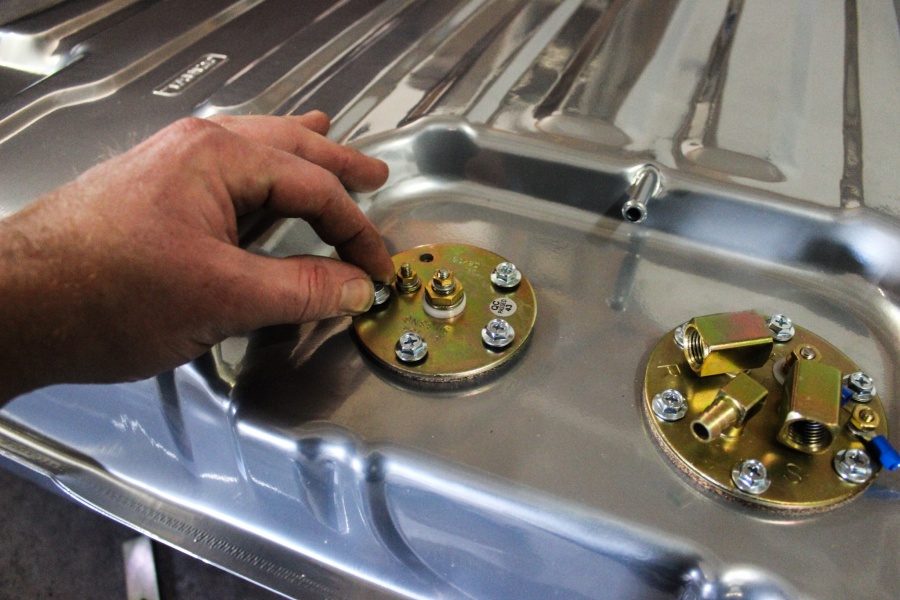
Trimming the sending unit requires measuring and trimming the float arm so that it will give you a proper fuel reading. Just like anything, we measured a few times before cutting to ensure that the Dakota Digital fuel gauge will read accurately.
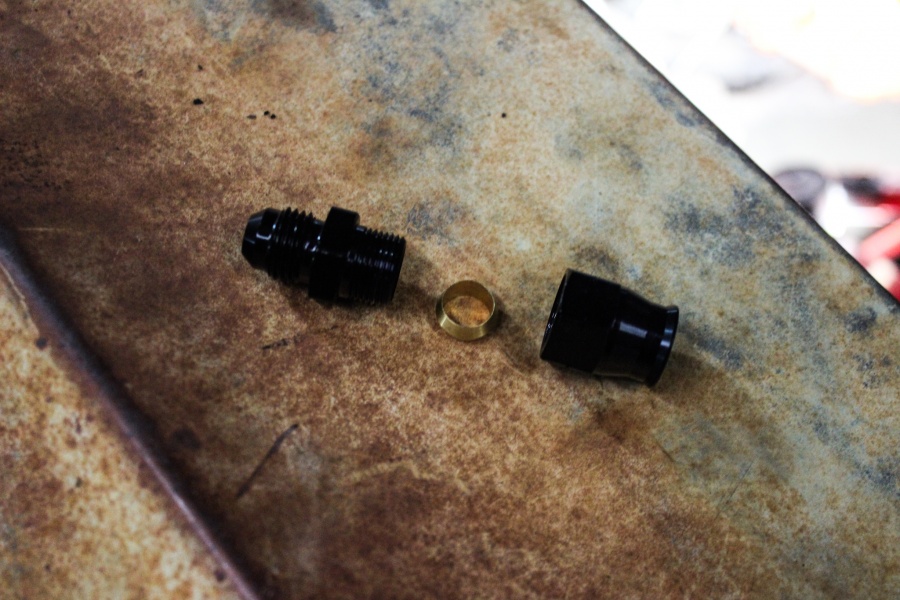
With the fuel pump and sending unit installed, we positioned the tank up into position and and connected the power for the fuel pump and grounds. Then we used our Earl’s fittings and hose to connect to the fuel pump to the hard lines from InLine Tube before bolting the whole assembly in the car.
Buttoning Up The Engine
Before we could get to plumbing the fuel system on the engine, we had a few more things to install before we got to that point. For starters, we needed to get the air delivery sorted out.
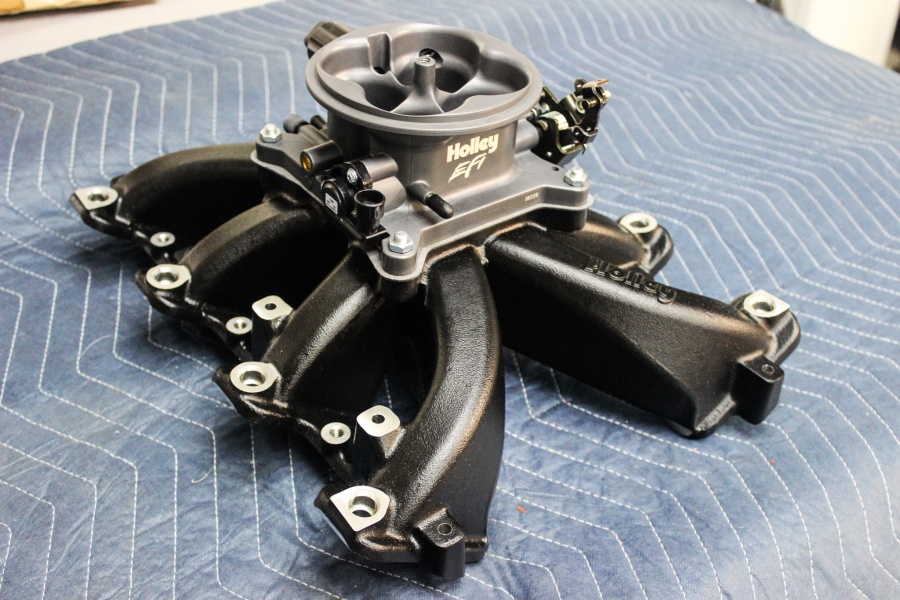
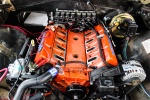
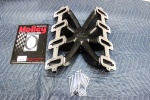
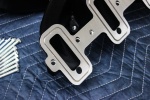
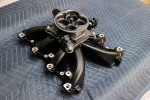
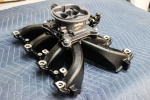
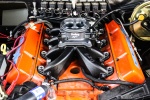
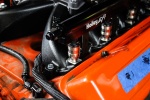
Easy enough as we had ordered up a Holley intake and throttle body. The intake is available in cast or black, we chose the slick black version. It’s a single plane intake manifold that already has the machined bosses for a fuel rail set up. This will help give us that old-school carburetor look while staying perfectly fuel injected.
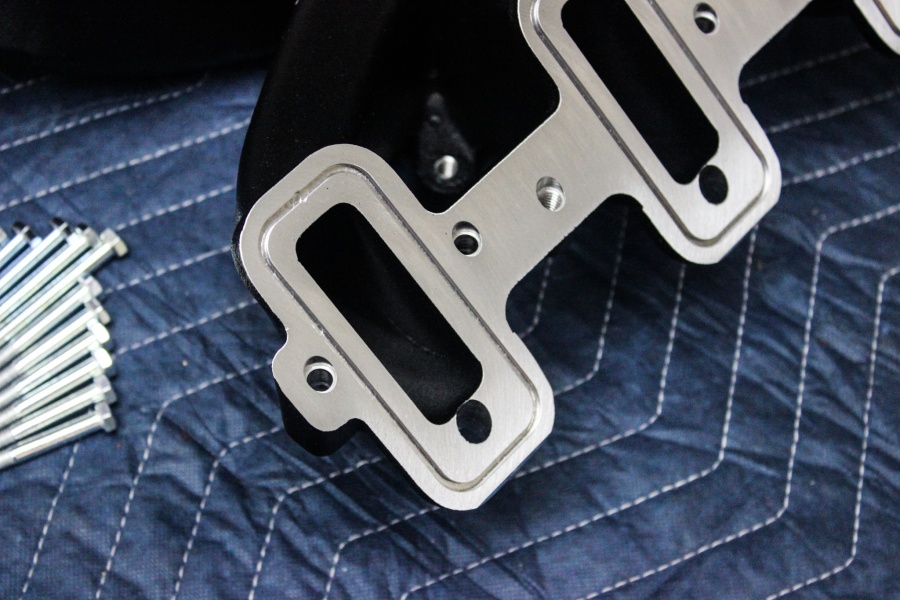
Installing the intake was easy as the required bolts and O-Rings for the runners are supplied. We slipped the O-Rings into the runners, and set the intake down onto the intake valley and torqued down the bolts.
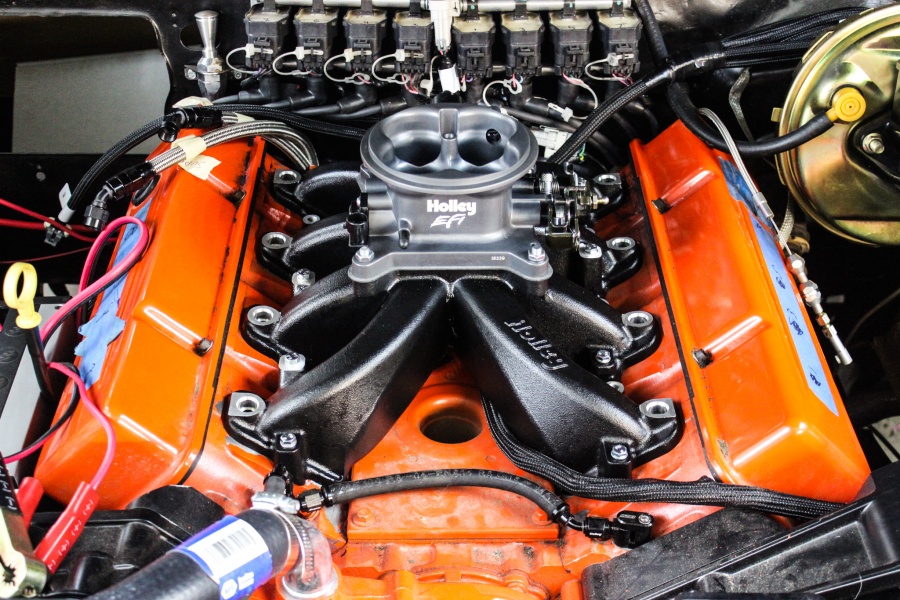
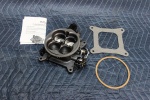
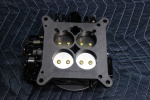
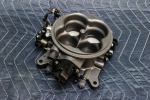
The next step was to take the four barrel throttle body from Holley and bolt that down. This throttle body we picked up in a gray color since it’s slick but they also offer it in a polished version as well. This throttle body flows 1000CFM to handle high horsepower applications – which gives us room for upgrades later on down the road.
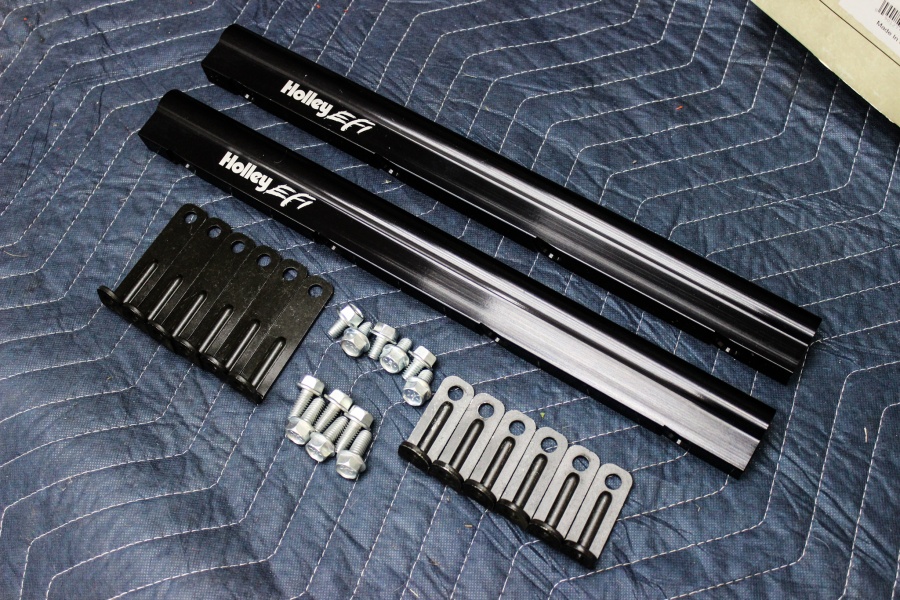
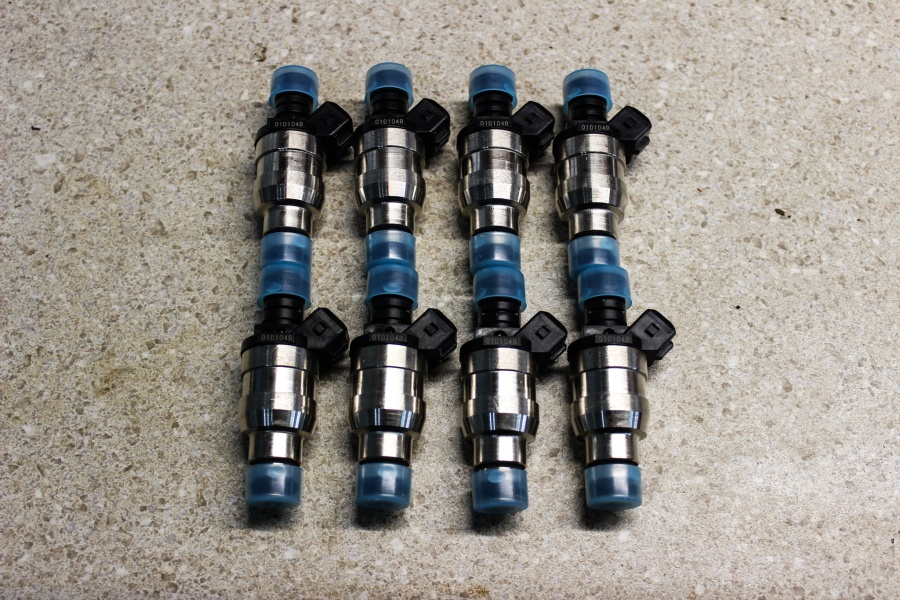
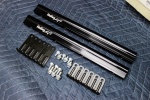
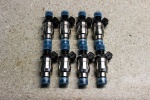
Our next step was to install a set of Accel fuel injectors with a set of Holley fuel rails. Now since this is a street application we went with a basic set of 24 lb/hr injectors, again a part that can easily be upgraded when we decide to bump up the power on this little 5.3L LM7.
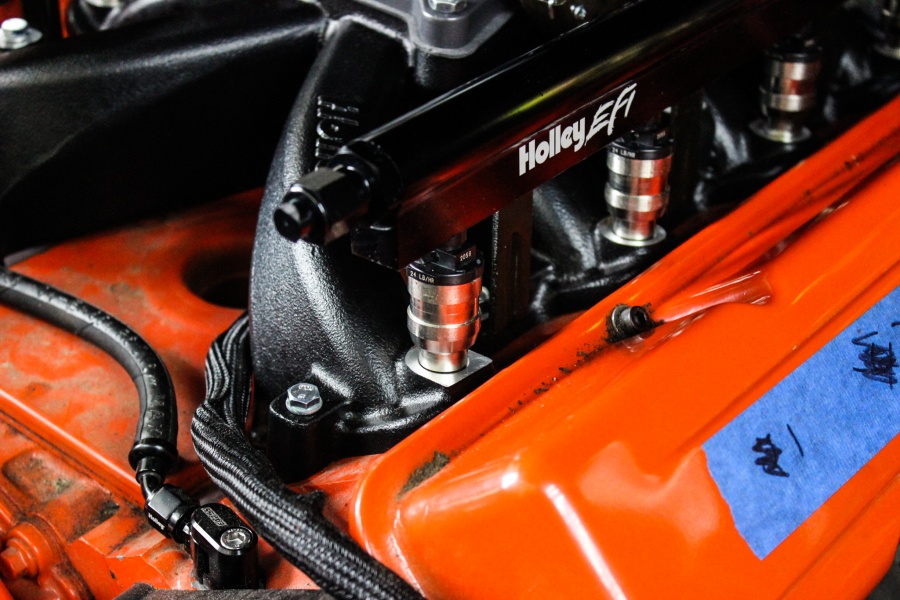
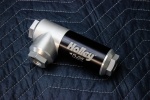
In order to finish the plumbing, we needed to connect the fuel lines from the frame up to the fuel rails. But first, we needed a fuel pressure regulator. Easy enough as Holley has this trick regulator that has a built in fuel filter as well. Since we needed both of those, that’s the set up we used.
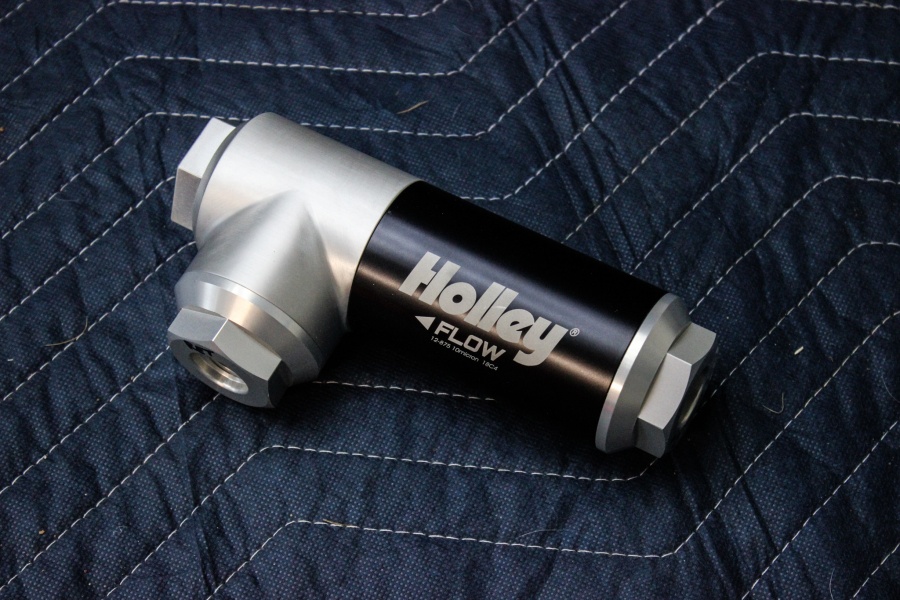
We started the plumbing by utilizing Earl’s hose and AN fittings. The regulator we mounted under the floor board right next to the hard lines mounted to the frame. Then we ran the hose up to a “Y” and then to both fuel rails. Now the best method is to mount the regulator post fuel rails or at minimum connect the two rails together. With this being a fairly stock engine we simply capped off the rails and called it a day.
Terminator X
The last thing we needed to hear this engine run was something to get the cylinders firing! When we pulled this long block out of our friends shed, there was no wiring harness or computer to make it all run. There are almost endless options out there for wiring and a computer.
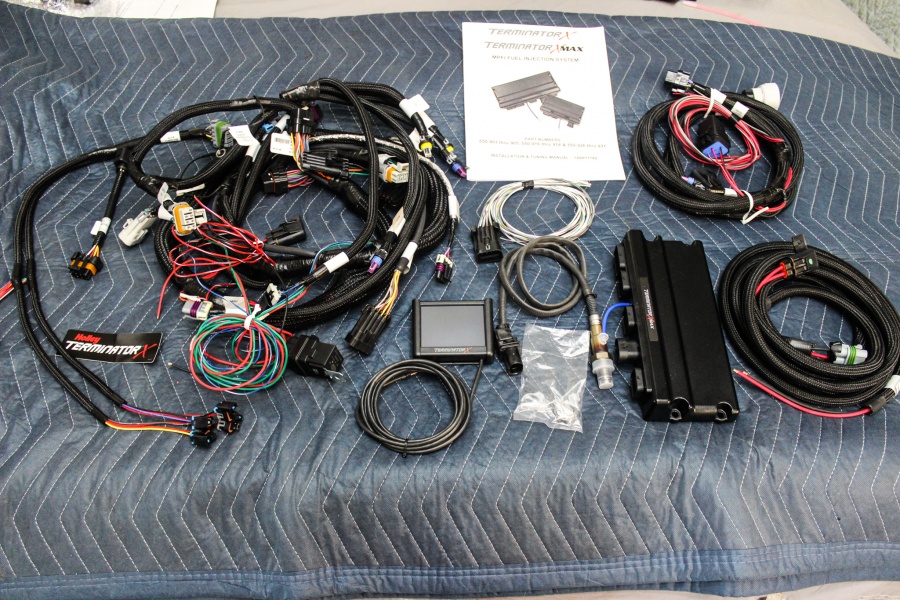
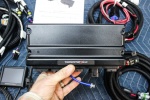
At first glance we thought using a factory harness and computer would be our cheapest and easiest option. But then we thought about either paying to have somebody clean it up or taking the time to clean it up along with flashing the computer and it quickly didn’t add up. That’s when we looked at the new Terminator X wiring and computer system from Holley for an affordable option.
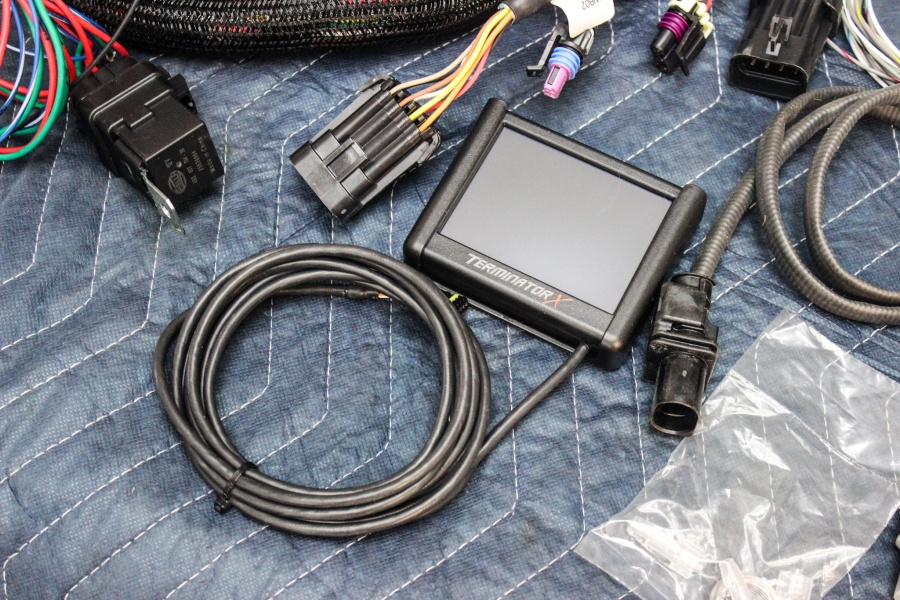
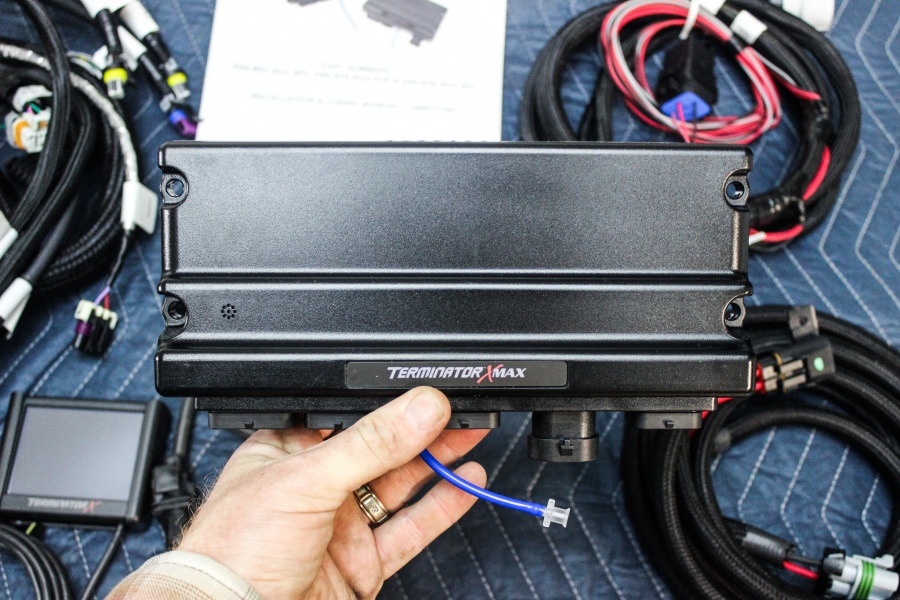
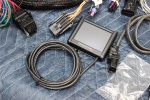
There are a few options for this set up depending on your application. They can include a 3.5″ touchscreen that allows you to monitor and tune the computer. Another option is if you’re using a modern transmission such as a 4L60e or 4L80e. What we ordered up was the whole set up with the touch screen and provisions for the modern transmission. If you’ll remember though our current set up is a TH400 trans we bought for $100. Our thinking is that we want to be able to upgrade the transmission at a later date and might as well have the capability with the computer to do so.
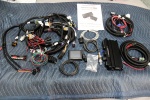
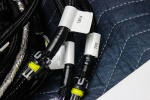
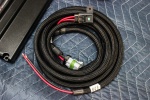
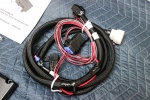
We started by laying out the wiring and figuring out where to mount everything. We decided to mount the computer under the dash and run the harness through the firewall right where the distributor would normally be. The harness itself is clean, concise and wrapped in loom for a professional look. Naturally, every connector is properly labeled for easy identification.
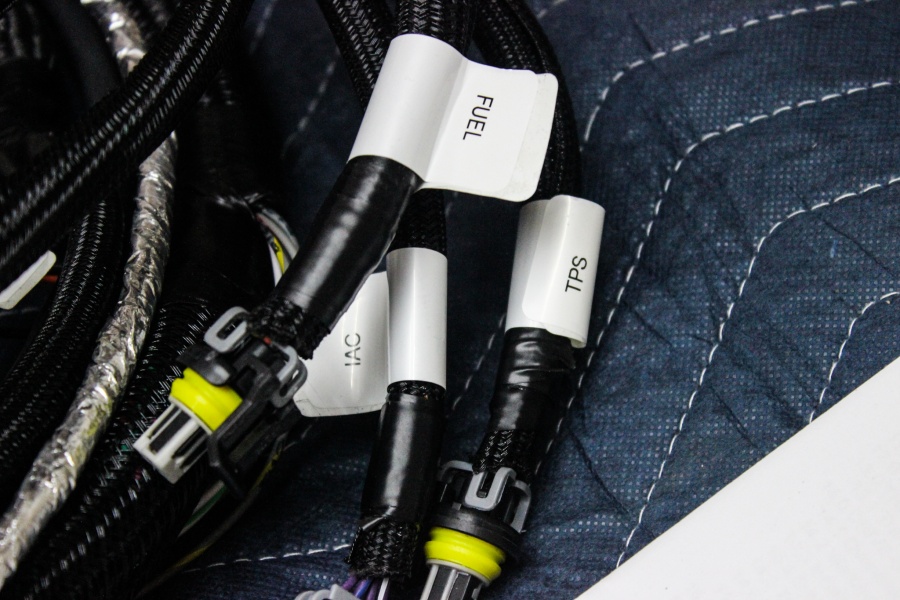
The quick start up guide showed everything that’s required for a start up. There’s plenty of extra sensors you can hook up for additional features but we just wanted to hear this engine run! What was required to hear it run was the water temp sensor, IAC, TPS, MAT, MAP, Crank Position Sensor, Cam Position Sensor, O2 Sensor, fuel injectors and coils. In addition to those is a dedicated power and ground that has to be hooked directly to the battery and a few other power wires. With those hooked up, we were ready to hear it run.
The first time you turn the key on, the wizard pops up on the hand held. We answered a handful of basic questions such as displacement, cam size, number of cylinders, firing order, and a few others. Then it had us cycle the key off. When we cycled the key back on, the fuel pump primed. We ended up cycling the key a few times in order to work all the air out of the system.
After that we hit the key and it fired right up! The engine idled and all the oils started to burn off. This initial fire we were running around checking fluids and looking for leaks and we did find a few. We did let it warm up enough to get into closed loop mode, which we noticed as the idle changed as the computer started to learn.
Up next for us is to make this car a driver so we can go around the block! Stay tuned as we are super close to that goal and can’t wait to hear the engine really run!


