Project Way-Gone: Installing The Chevelle Dash
With our goal of getting this Project Way-Gone ’66 Chevelle Wagon running and driving, we had a lot of tasks at hand to make that all happen. We recently got it running and that really stoked the fire to get this car in driving condition.
Most of the hard work had been done to make that happen since the entire driveline was finished already. In our previous article we go over the entire fuel system install which was one of the big pieces to get it running. Then we installed all the Lokar pieces to be able to shift the gears and work the throttle. After all that we finally bled the Baer brakes and ReMaster to be able to stop this car!

The last major piece we were missing was to be able to turn the wheels. To remind you, when we bought this car it was the body only, including the dash missing out of it and steering column.
We knew we needed a dash. A little over a year ago we reached out to Rotten Metal Garage who sold us a nice ’67 Chevelle dash. The problem we ran into is that the ’67 dash is different than the ’66 dash. The steering column on a ’67 is much larger which means the dash is larger around that area along with the bracket under the dash that the pedals mount to. We knew this when buying the dash – but wanted to see if we could avoid cutting it up further.
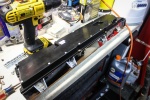
We mentioned this to our friends at Mid-Atlantic Muscle Cars and they happened to have a ’66 Chevelle dash leftover from a car they built last year. Next thing you know we swap the dashes and we are good to go. They even had the new ’66 dash sand blasted for us so all we had to do was prime and paint it – we could handle that!

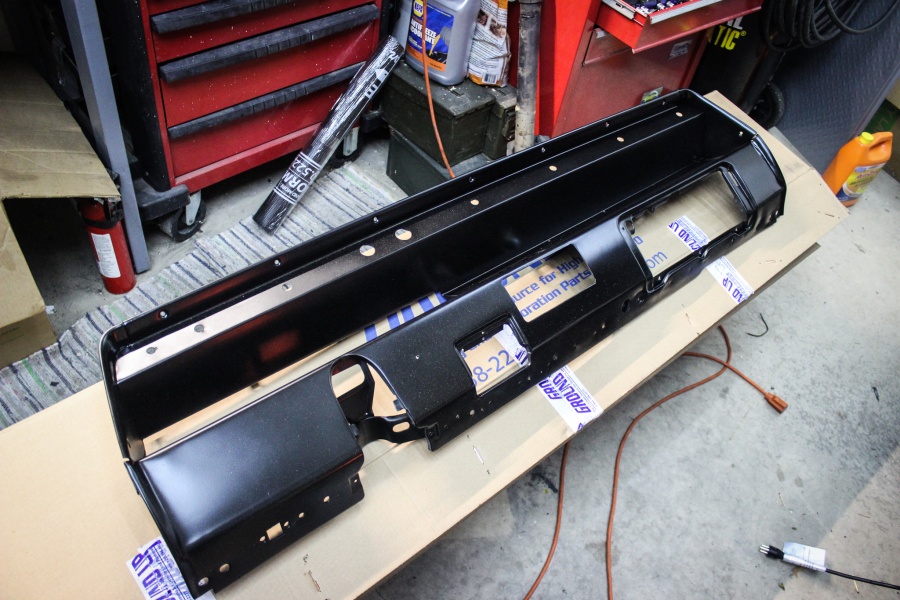
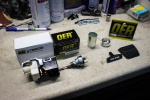
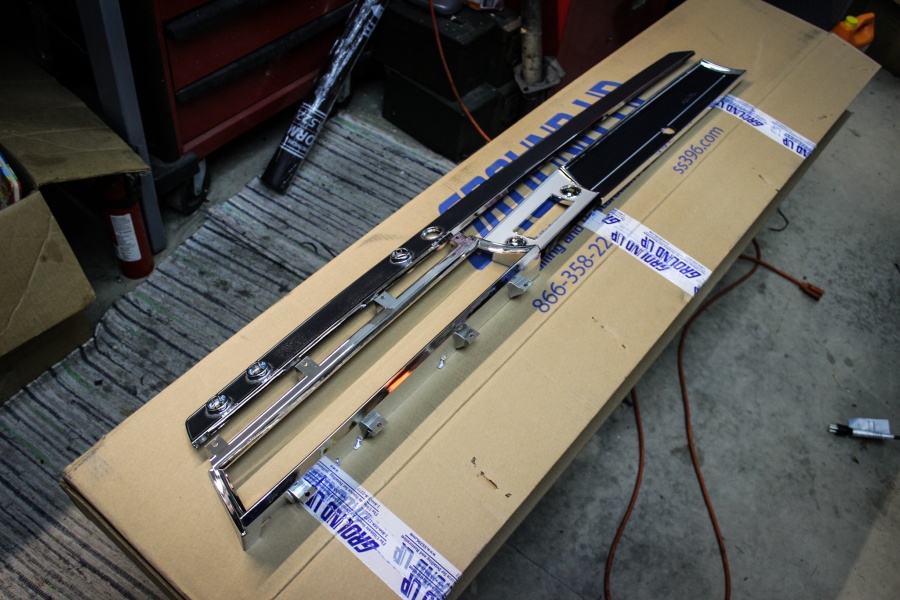
With a freshly blasted, primed and painted dash, we needed to fill all the holes in the dash. What we did was hop on Ground-Up Restoration’s website and ordered the gauntlet of parts to finish up the dash. This included the speedometer bezel, radio bezel, glove box bezel and the strip that goes across the top of the dash. We also ordered up all the knobs and nuts to install the switches in the dash. For now, we aren’t going to worry about a radio or air conditioning.
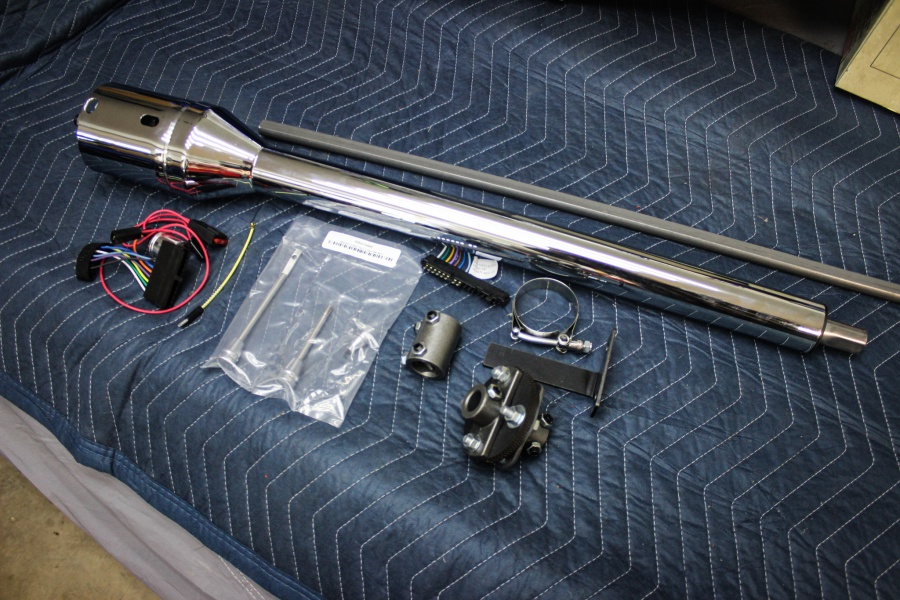
While we were ordering up those parts we went ahead and ordered up a new Ididit tilt-column and a billet steering wheel from Eddie Motorsports to top it off.
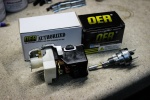
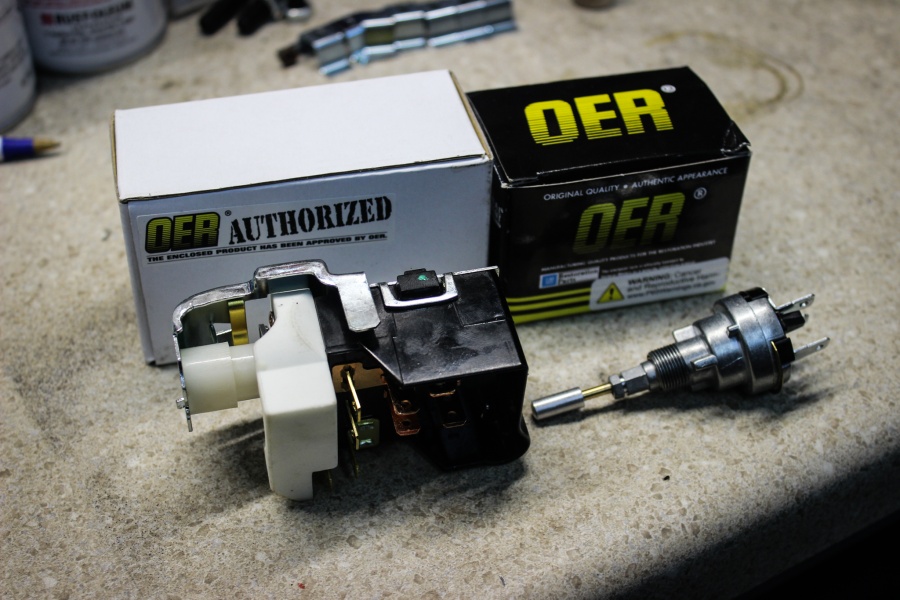
Before we install the dash we needed to replace the severely cracked dash pad as well. There’s quite a few companies out there that make them, but we chose OER – Original Equipment Reproduction. Their parts are the closest in quality and correctness to original parts on our classic cars. We also ordered the wiper switch, headlight switch, and a few other odds and ends from them to finish up the dash.
Installation
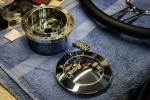
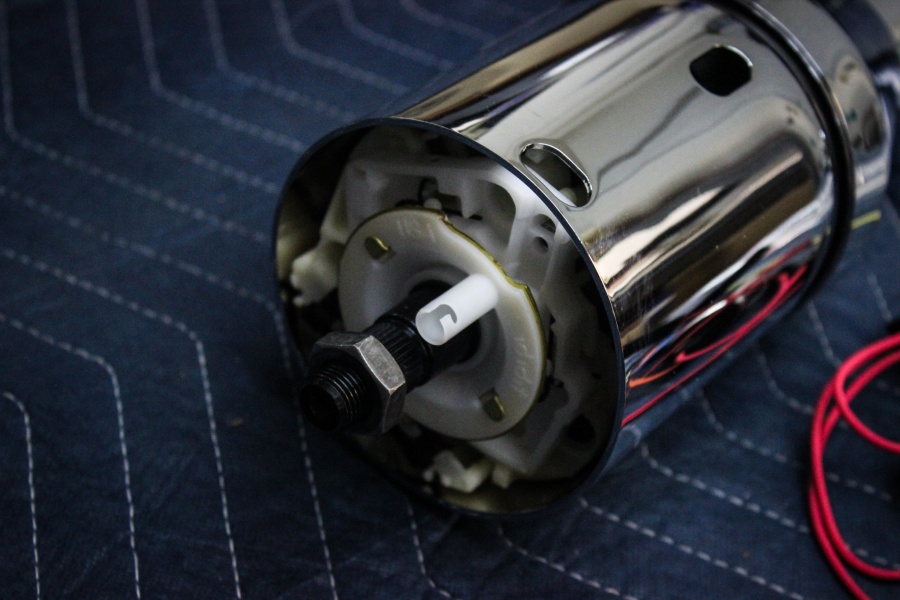
Our first step to getting all this together was to get the Ididit column prepped for installation. The column is a bolt in thing, minus cutting the Double-D shaft. We chose Ididit as we know these are quality columns and easy to install. We have them in several vehicles and have had zero issues with them! They offer them in a chrome, black or bare and we opted for the chrome version.
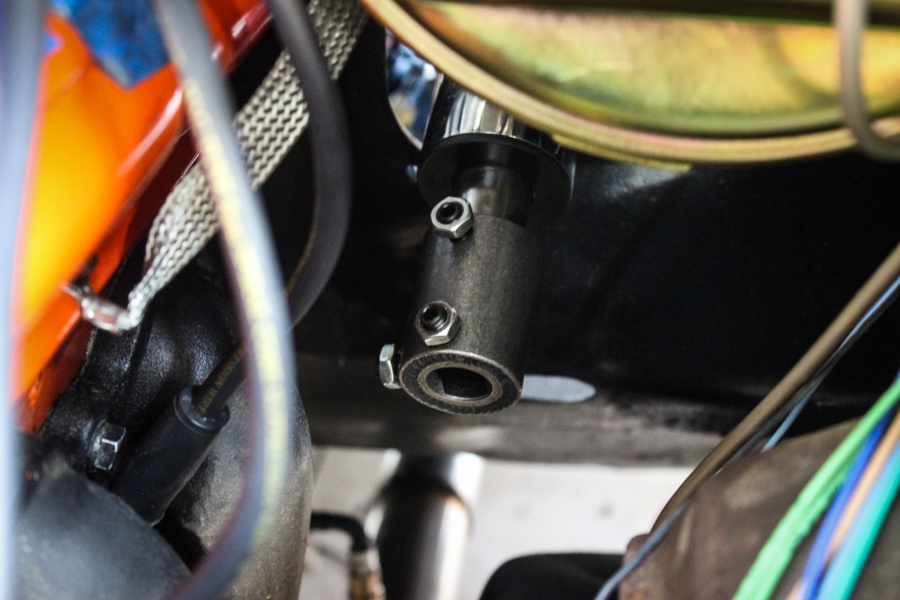

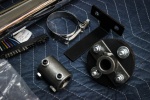
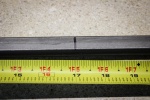
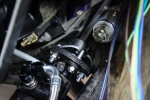
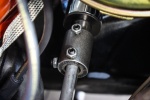
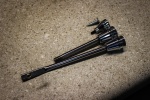
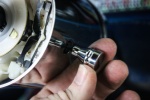
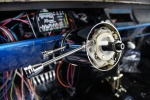
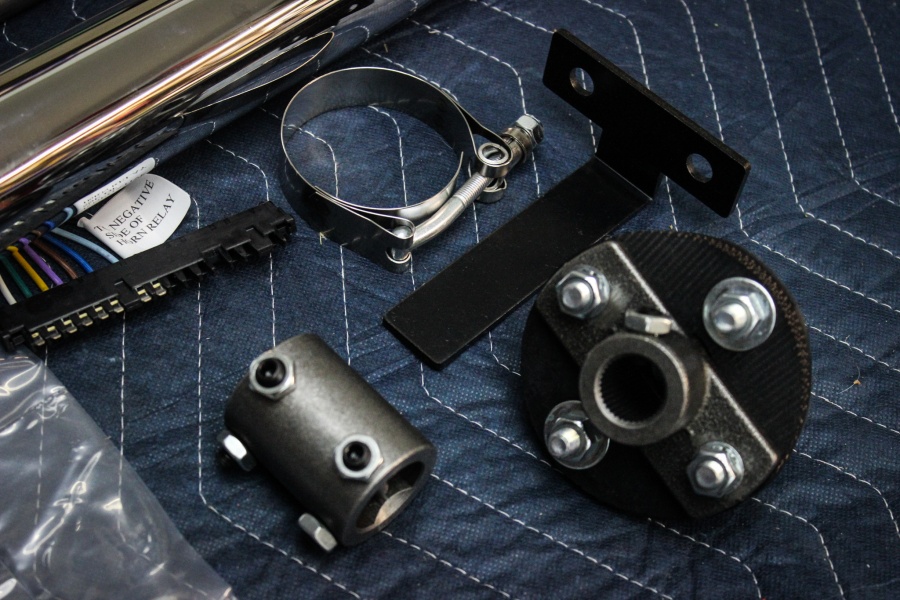
We started the install of the Ididit column by putting the supplied rag joint onto the CPP steering box and shaft connector onto the column. Then we mounted the column inside the car at the right depth we preferred. With the column poking through the firewall we measured between the coupler and rag-joint so we know the length we need for the Double-D shaft.

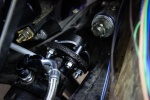
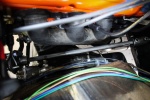
After cutting the Double-D shaft we painted it and slid everything together. The problem we ran into with this car is the plate to cover the big hole in the firewall where the steering column goes through was missing. But we had some scrap metal laying around and our Miller 625 X-Treme Plasma cutter so we cut one out really quick, welded it to the firewall and welded the lower column mount to it.
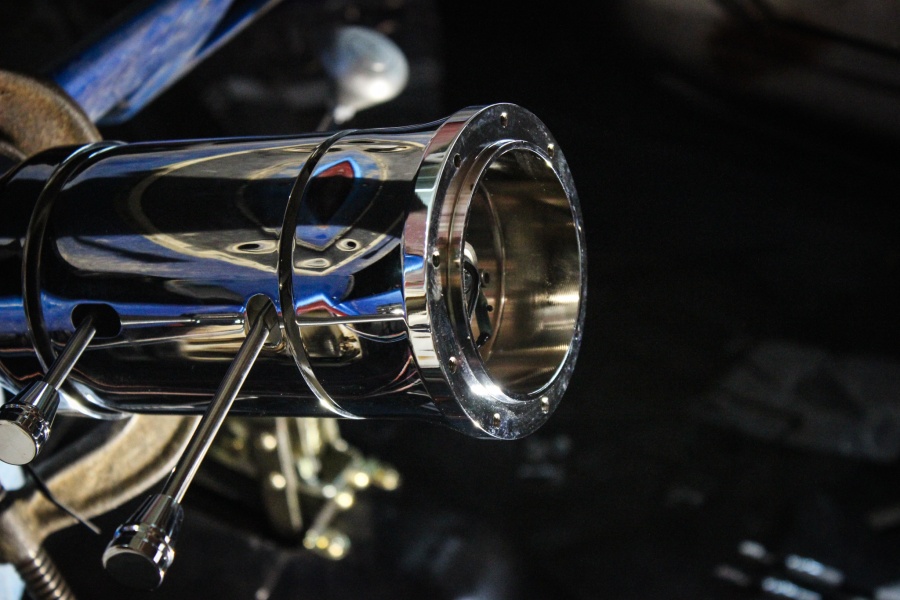
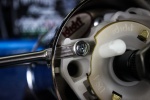
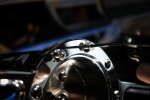
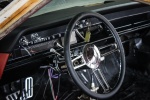
Installing the Eddie Motorsports wheel was a piece of cake. They had the correct adapter for this column which slides over the shaft and tightens down with a single nut. The wheel itself bolts down to the adapter and a beauty cap snaps in place.

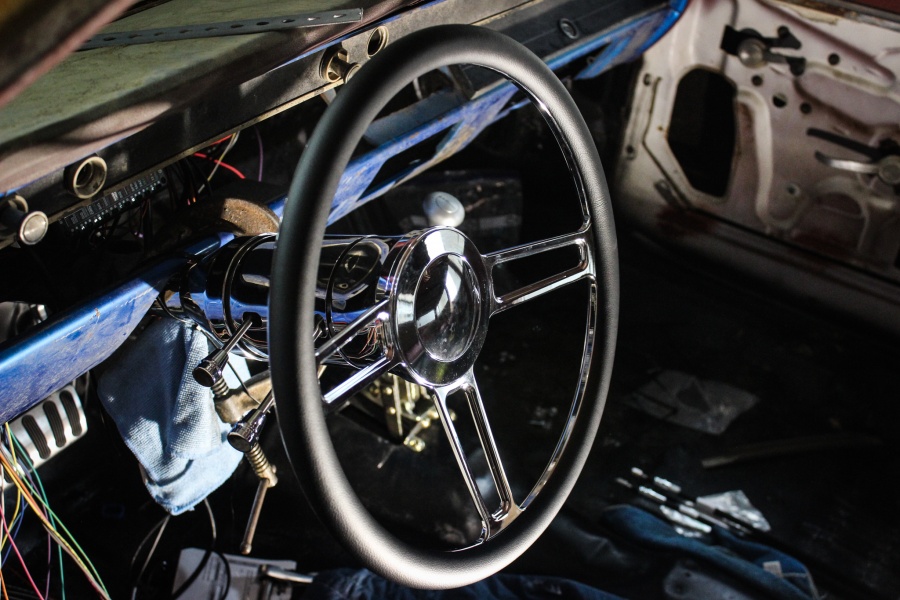
For steering wheels Eddie Motorsports has a ton of different designs along with color options. We wanted something clean and simple with a classic flair to it. In other builds we have done black powder coated versions but this one we went with a traditional polished version to compliment the chrome steering column.
Dashing
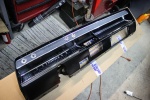
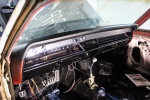
The dash on this car is a two piece deal that makes it incredibly hard to work on the dash once it’s installed. With the freshly painted dash we grabbed the pieces from Ground-Up and started installing them. In an earlier article we had already wired up the Dakota Digital RTX gauges, but now we get to mount them in the dash! We mounted the gauges to the speedometer bezel, then mounted the entire assembly into the dash.

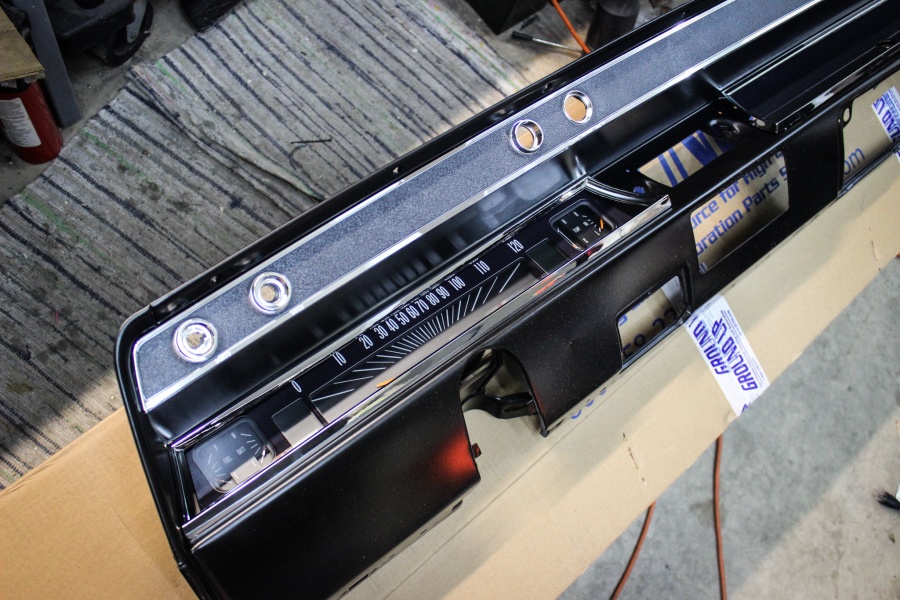
From here we mounted up the glove box bezel which is simply screwed into place from the backside with small screws. We had also purchased a hardware kit from Ground Up to make all these mounts a breeze.
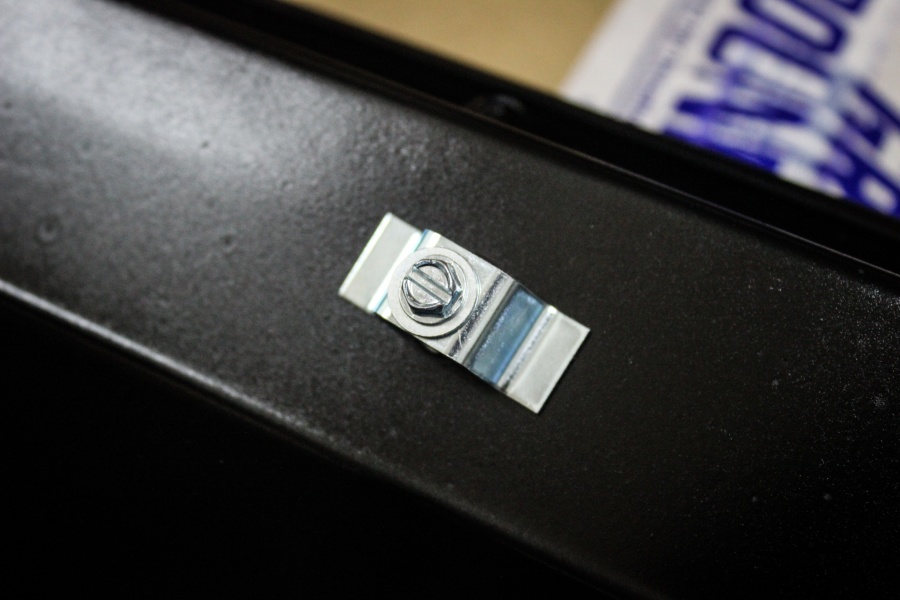
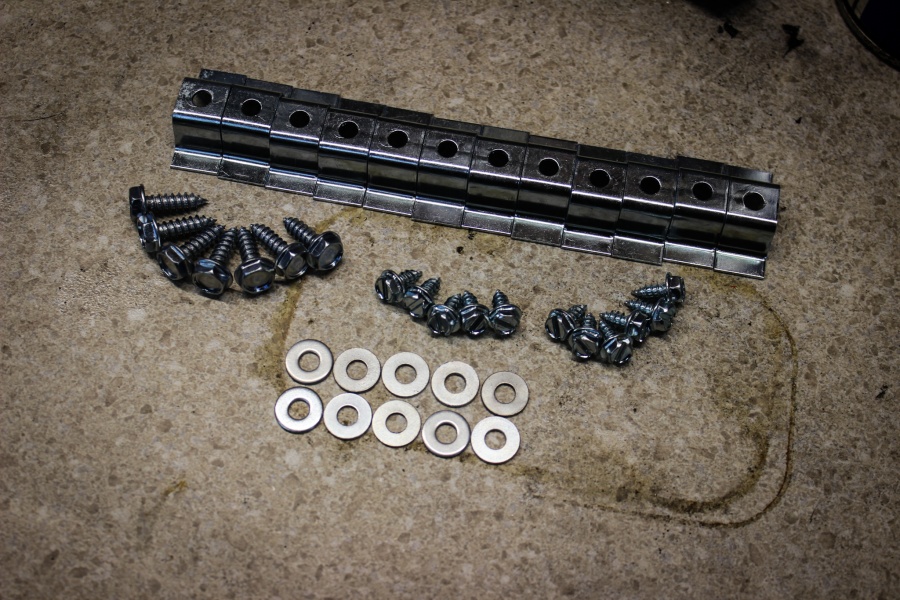
The instrument strip that goes across the dash was next up. This strip is held in place with these small clips that were included in the hardware kit. At this point we went ahead and installed the cigarette lighter as it’s a one wire part.

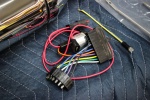
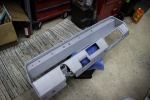
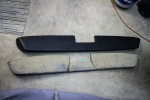
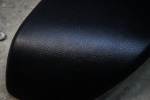
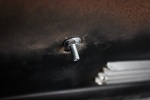
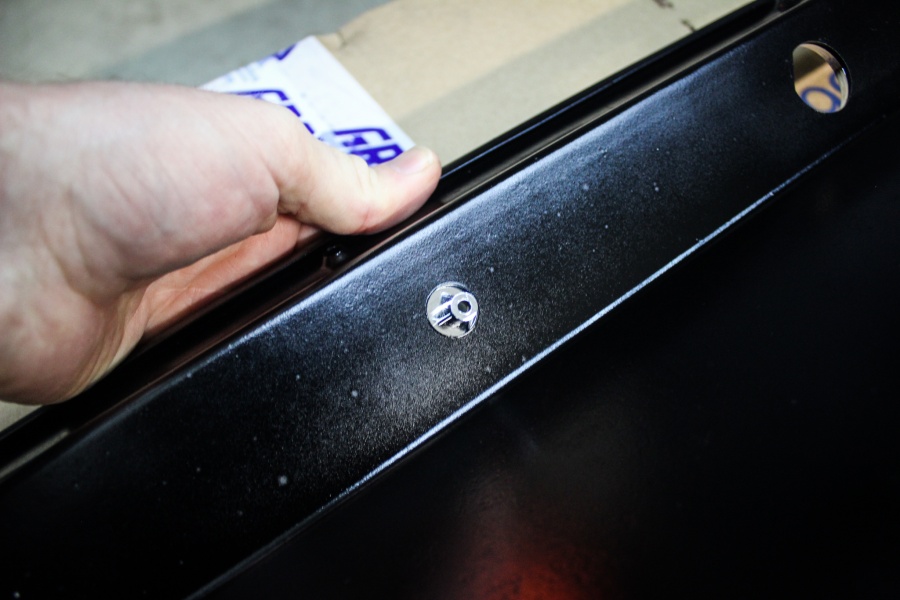
Before we installed the dash we went back to the Painless Wiring and wired in the headlight and wiper switch we ordered from OER. The other thing we had to do was install the new dash pad from OER. The original pad from 1966 was still in the car and absolutely trashed. On this car there are several studs that go through the dash with cutting nuts that hold it in place.
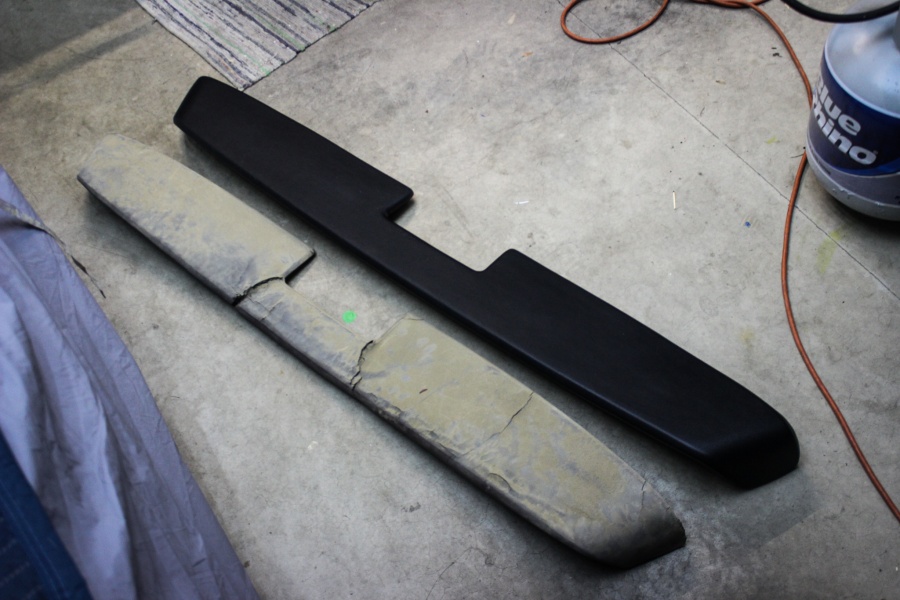
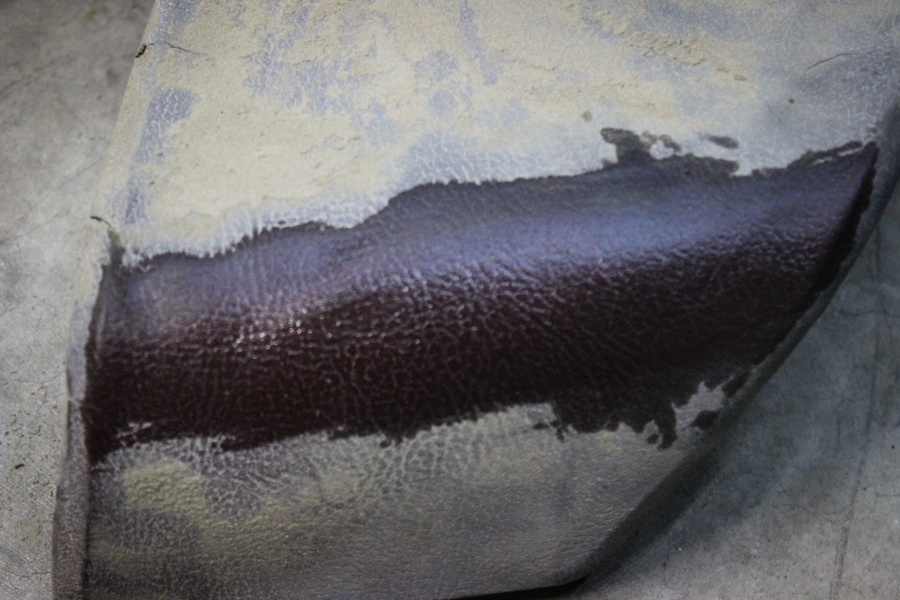

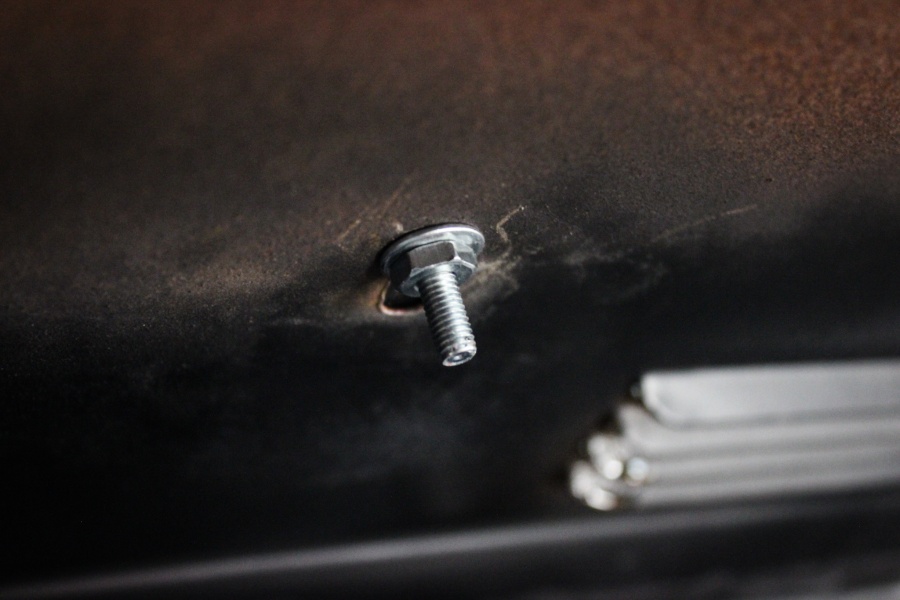
The new dash pad was a great match for the car as the shape, design, measurement and even grain are a perfect match for the original! We popped the old dash pad off, cleaned the metal, then slid the new pad in place. On the underside instead of using the cutter nuts it’s a regular nut to secure the pad in place.

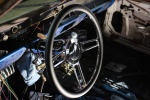
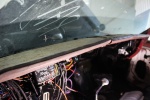
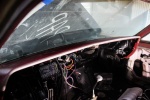
Time to finally install this dash! We started the process by laying the dash on the floor and installing the ignition, headlight and wiper switches in the dash. Then we lifted the dash into place and secured it with the screws and bolts.
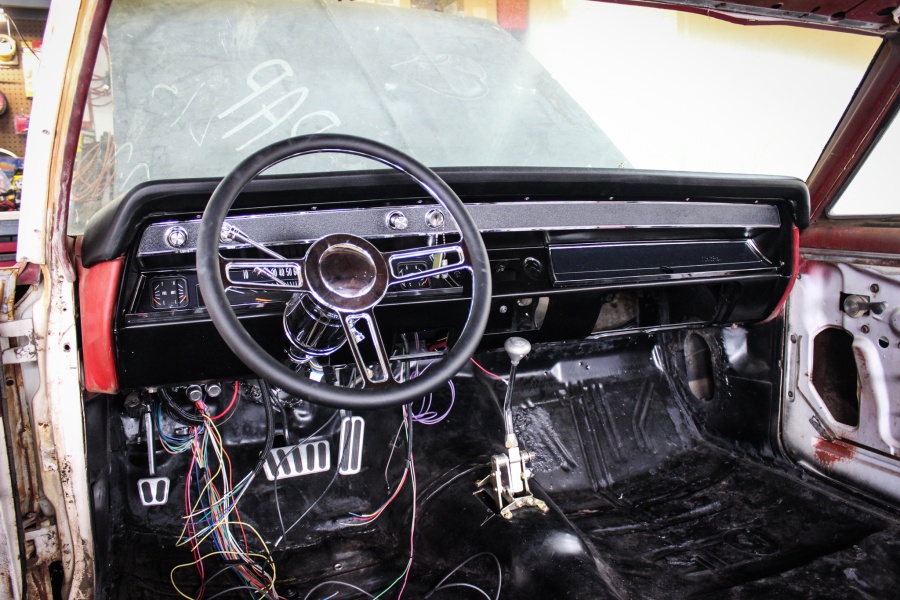
Since the steering column had already been test fitted, our last step was to install the column into place for good! We slid the entire assembly through the firewall then tightened down the set screws along with the mount at the firewall and at the dash. Since the steering wheel was already on the column we were done! We still need to wire up the column but for right now, we can officially move the car under it’s own power.